How to Draw a Pointing Finger
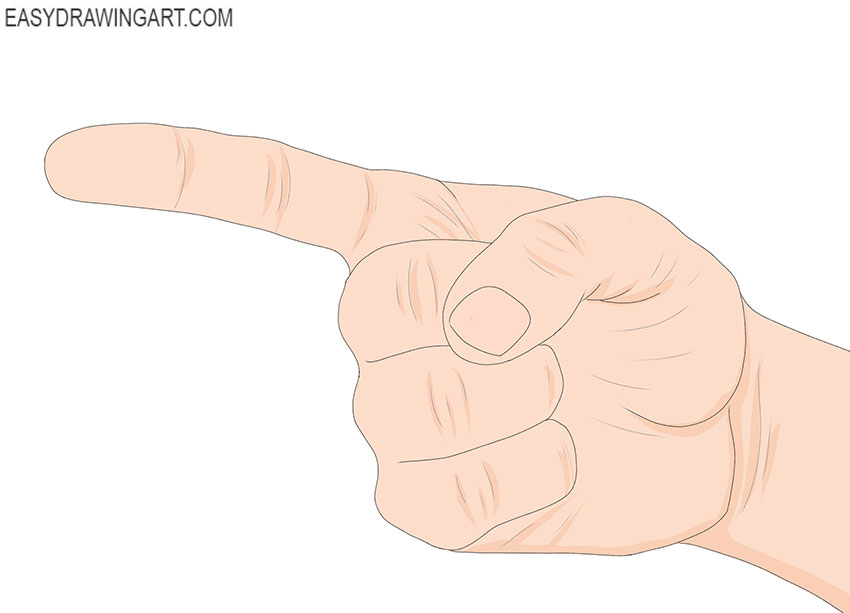
This tutorial will be useful for any artist because you will learn how to draw a pointing finger. This gesture is commonly used to direct attention to a person, object, or direction.
This tutorial will also help you improve your spatial awareness and learn how to draw hands. Pay close attention to the position and shape of each finger, and keep all the fingers correctly sized so that your drawing looks natural.
Time needed: 1 hour
How to Draw a Pointing Finger
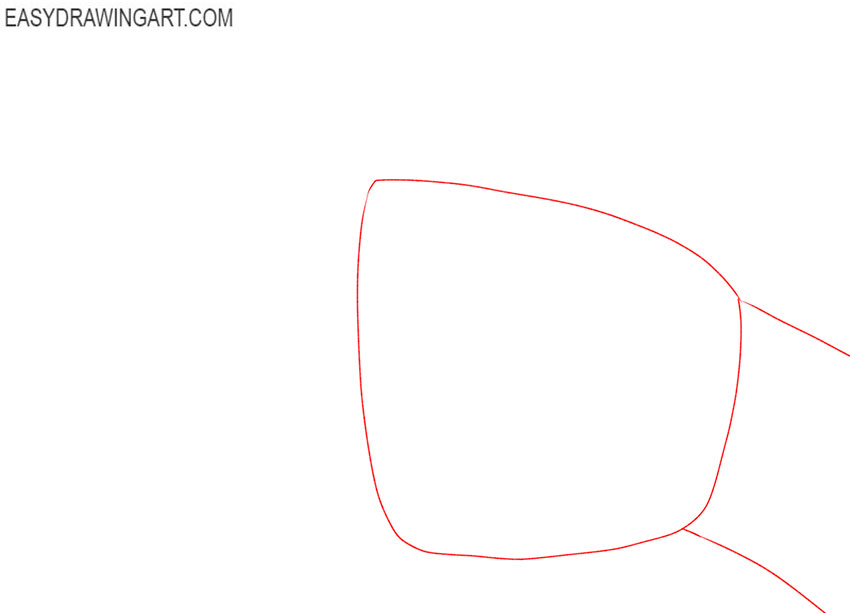
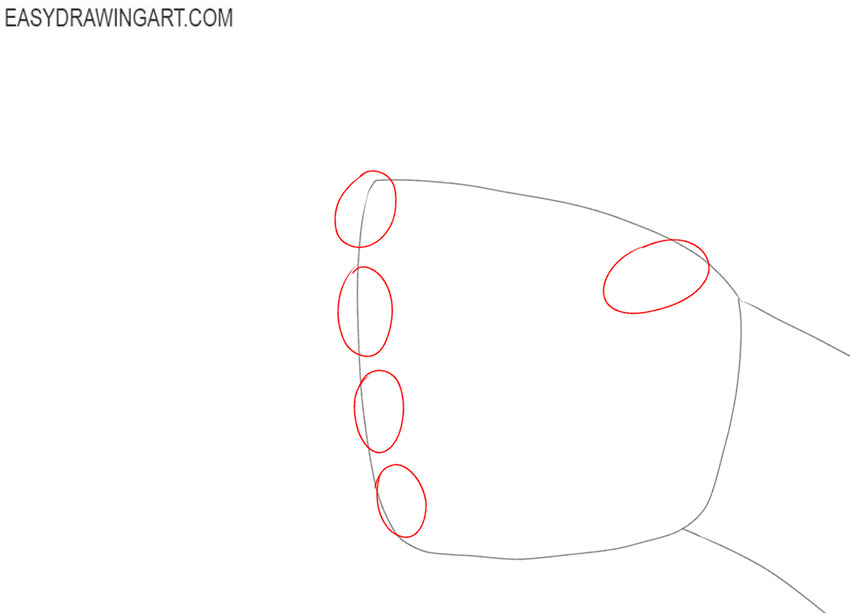
- Prepare the base.
Start drawing by building baselines. With the help of thin smooth lines depict the main part of the hand and draw the wrist on the side.

- Determine the position of the fingers.
Depict the base of each finger, for this, draw even ovals, as shown in our example.
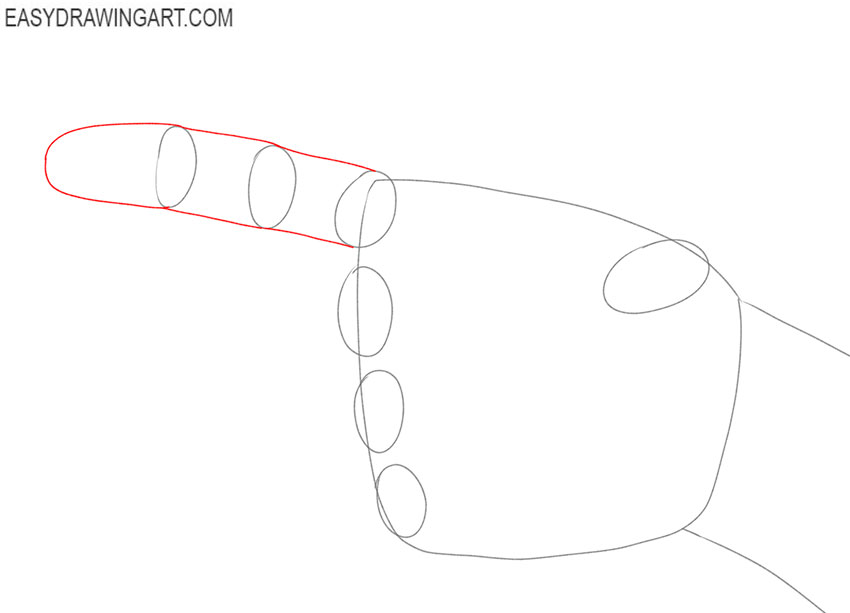
- Add the thickness of the pointing finger.
With the help of smooth lines draw the outline of the pointing finger. Draw the fold points in the form of ovals.
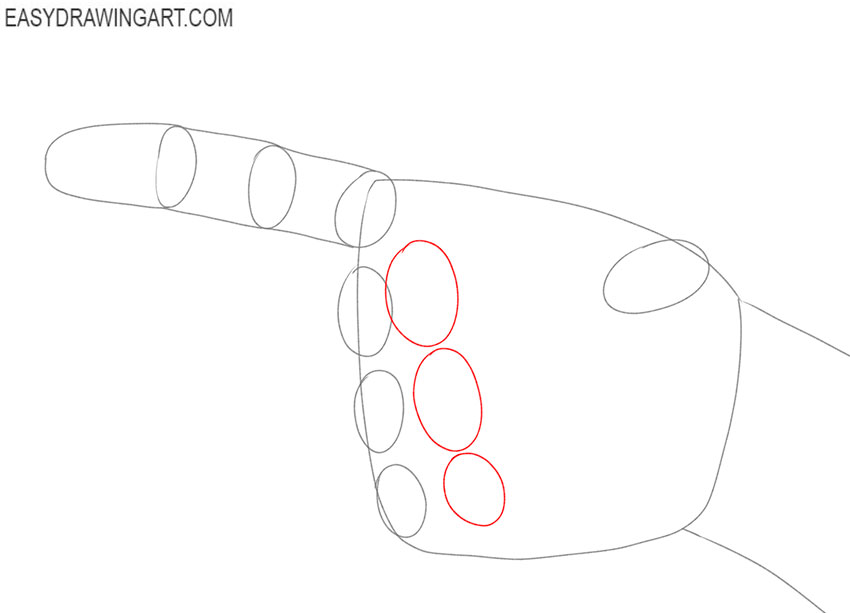
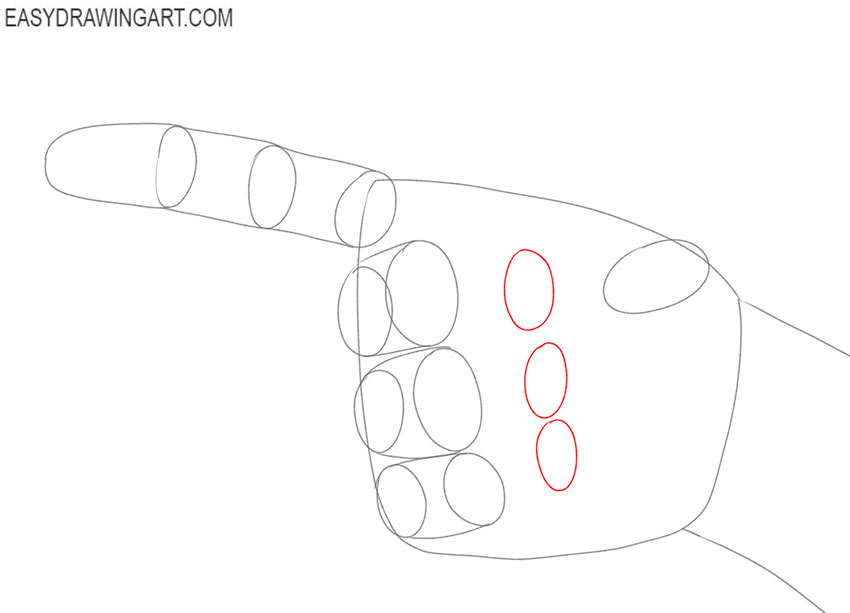
- Draw the phalanges of the fingers.
Consistently draw three ovals, which are located closer to the center of the palm. Be careful and keep all proportions.
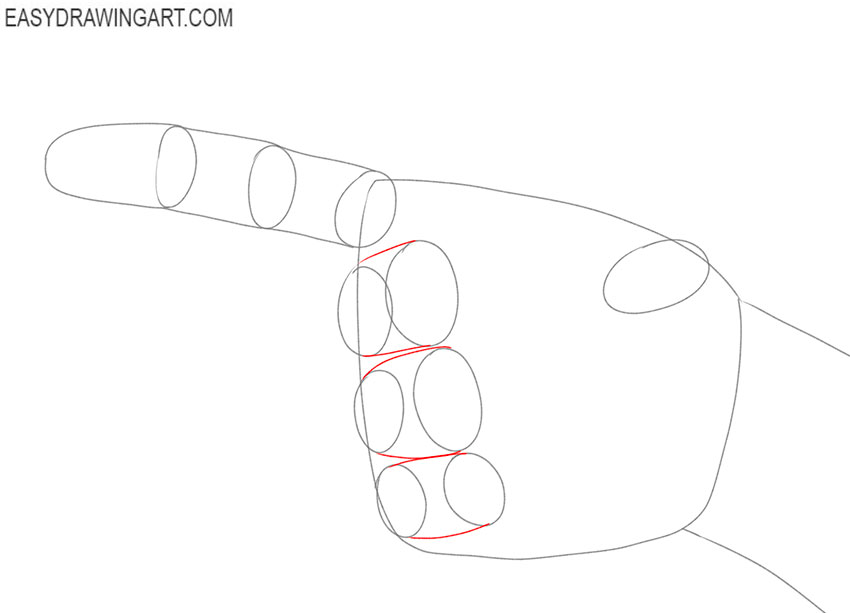
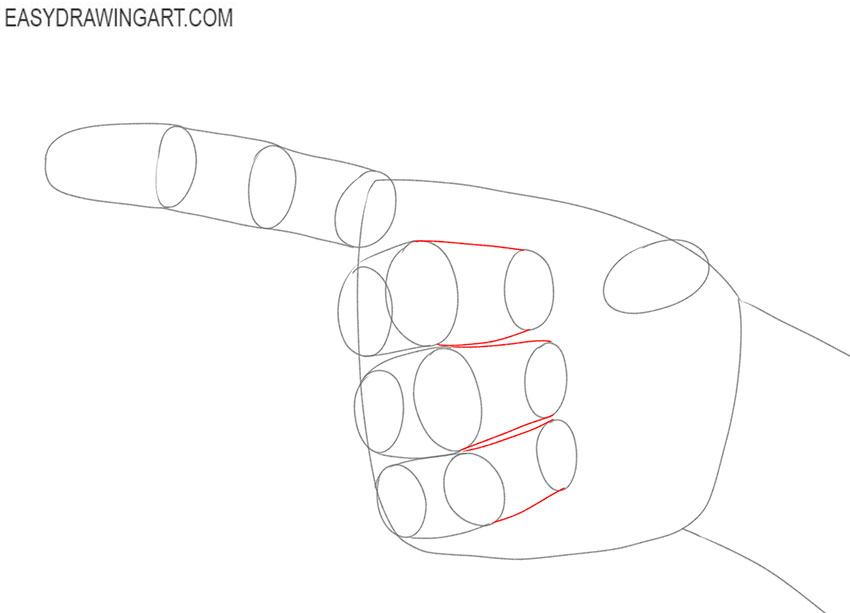
- Sketch out the lateral contours of the fingers.
Draw connecting lines between the ovals to depict the sides of the other three fingers, which are bent.
- Add the phalanges of the fingers.
Consistently draw three ovals that are located on the palm. You did the same action in the previous steps, so there will be no difficulties here.
- Draw the side outlines of the rest of the fingers.
Sketch out smooth connecting lines between the ovals to depict all the contours of the bent fingers.
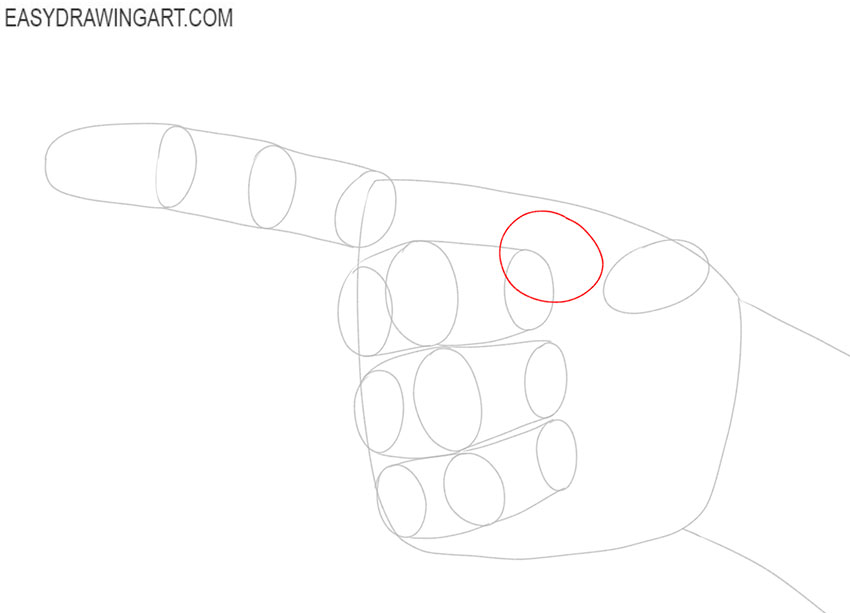
- Start drawing the thumb.
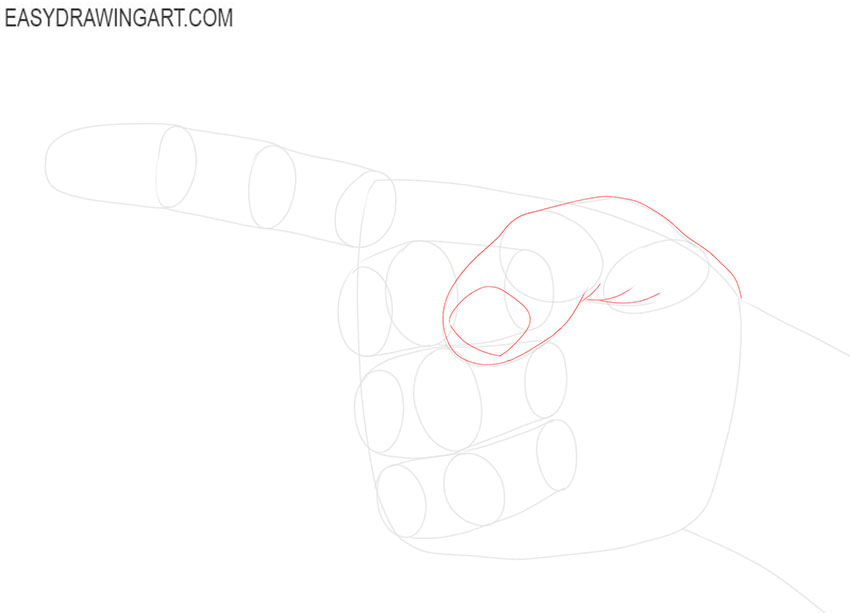
Continue adding the contours of the fingers and in this step draw a round shape that is located closer to the upper edge of the palm.
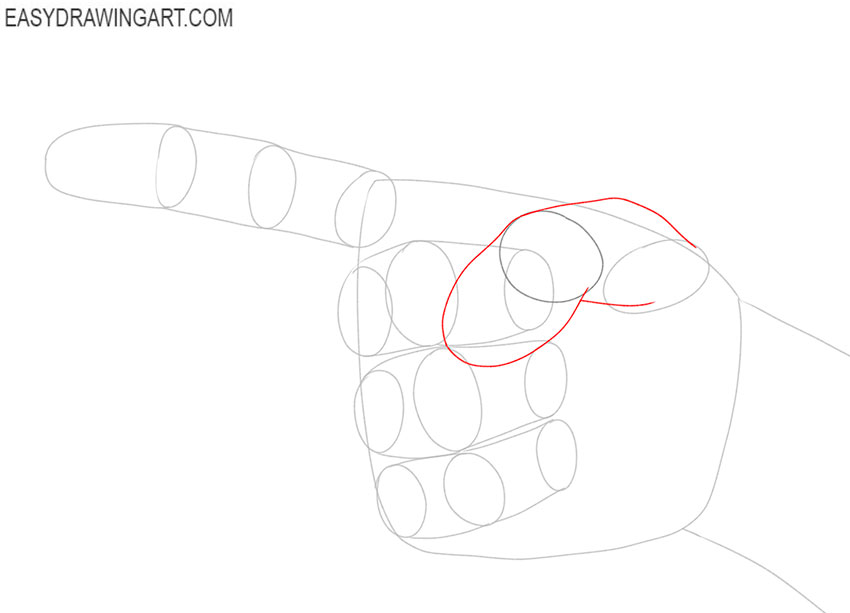
- Draw the outline of the thumb.
Between the ovals, carefully draw smooth connecting lines. So that in the end you get the outline of the thumb.
- Detail the thumb.
At this stage, circle the thumb along the contour, giving clarity and expressiveness to the drawing. Draw the nail and add the skin folds.
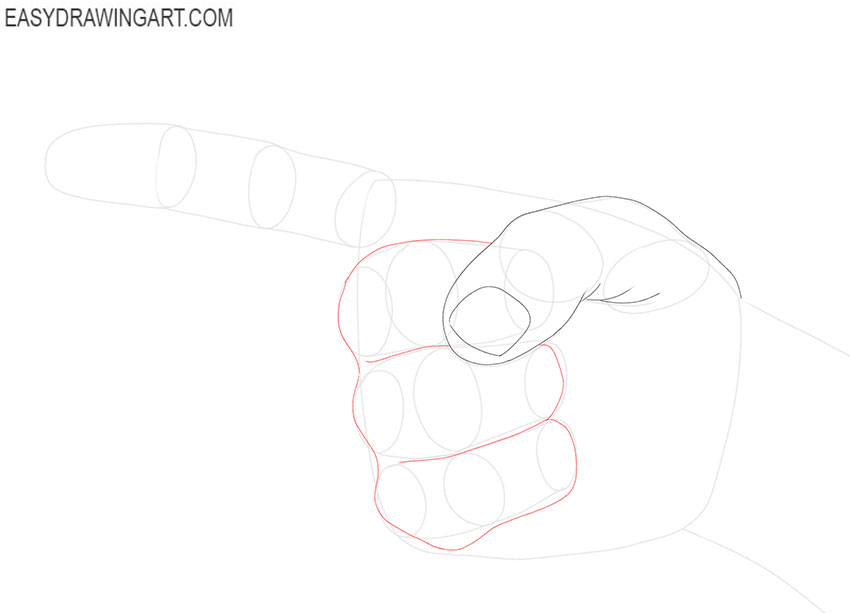
- Depict the outline of the bent fingers.
Use the lines you drew in the previous steps as a guide and make the outline of the bent fingers clearer.
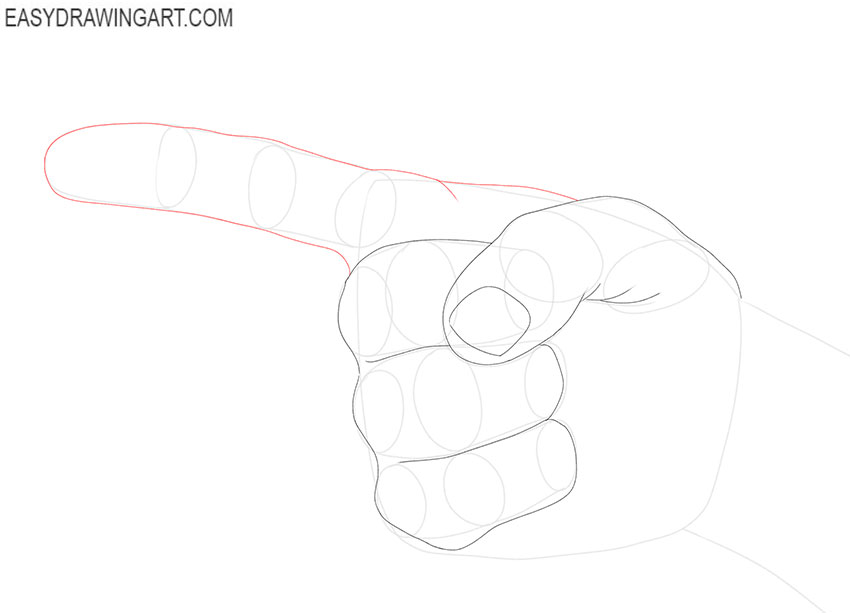
- Make a clear outline of the pointing finger.
Use the guidelines as a guide and carefully trace the finger along the contour, giving it the correct anatomical shape.
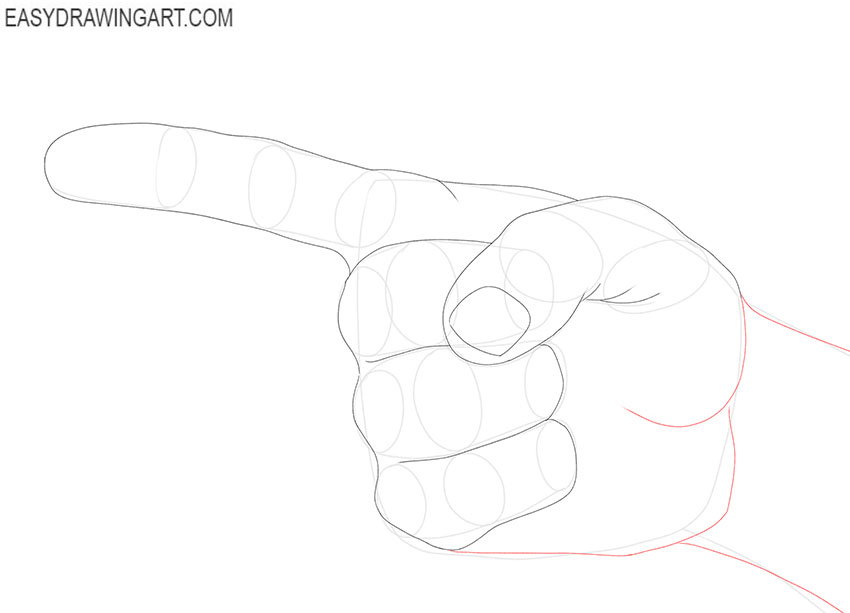
- Add the rest of the outlines of the hand.
With the help of smooth lines depict the side and bottom of the palm, and also draw the side contours of the wrist.
- Sketch out the skin folds.
With the help of short thin lines, depict the folds of the skin at the folds, on the palm and also on the wrist.
- Correct inaccuracies.
Check if you have correctly depicted the shape of the fingers and if you notice inaccuracies, then immediately correct them. Remove all extra lines.
- Color the drawing.
To color the skin, you will need any natural shade. Remember to highlight the dark areas to make the drawing look more realistic.
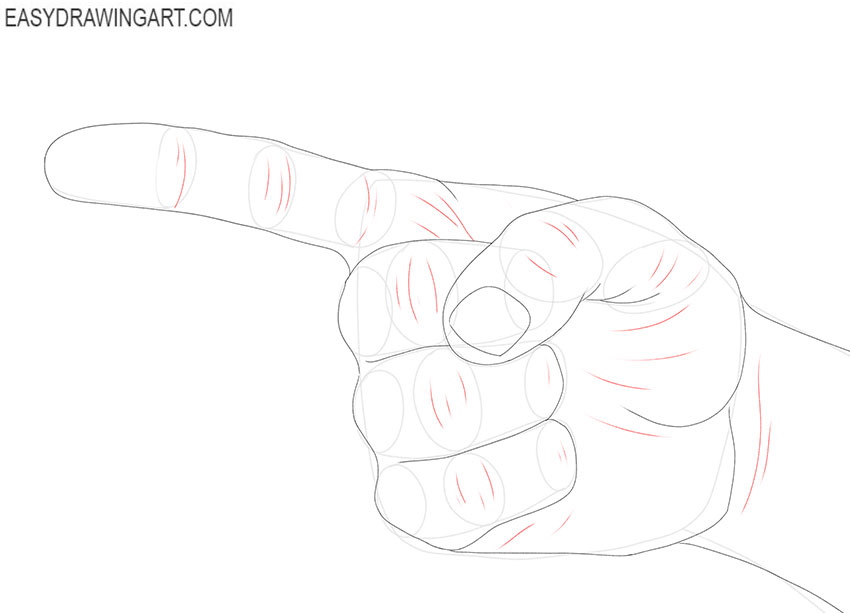
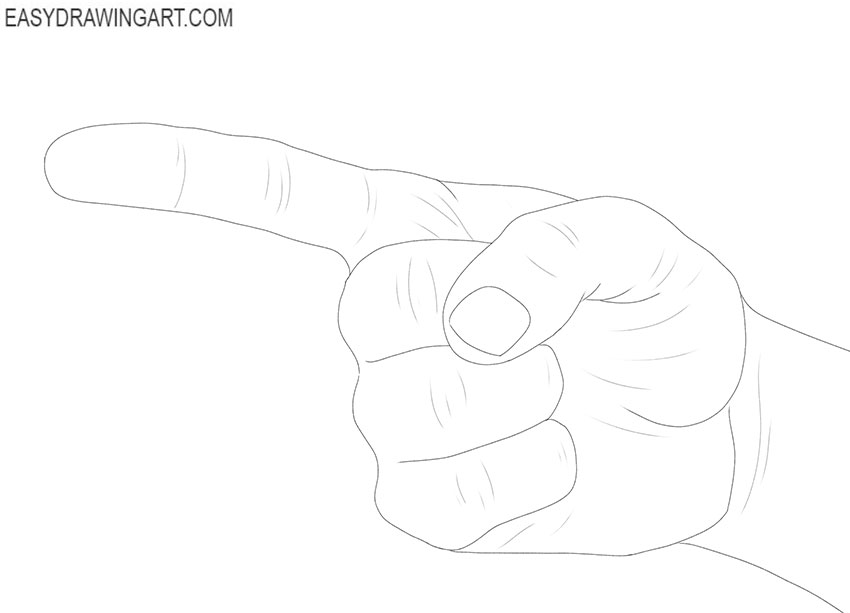
We hope that you correctly followed all the steps in this instruction, and you have a great drawing. Subscribe to us on social networks so as not to miss new interesting drawing lessons.