How to Draw a Kid on a Bike
People in everyday activities make fun and interesting drawing subjects. This tutorial will show you how to draw a kid on a bike step by step.
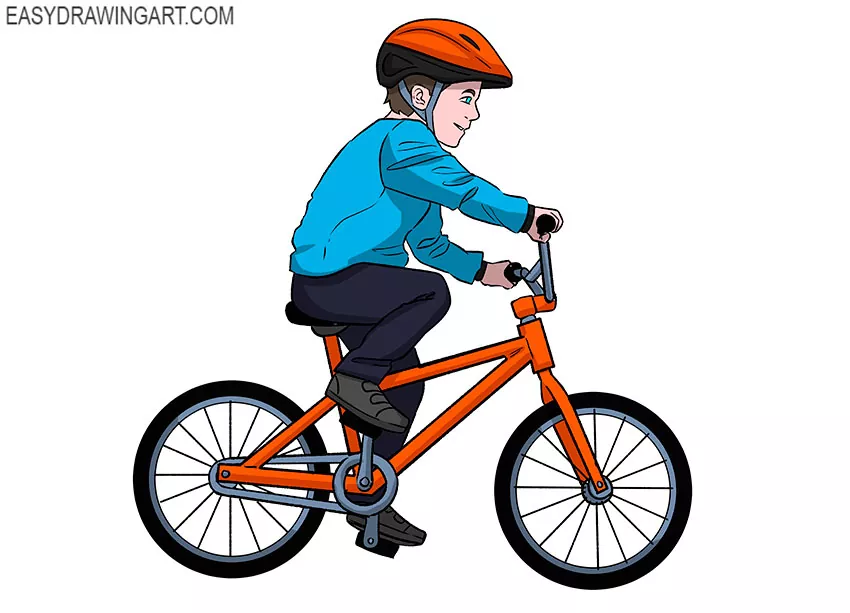
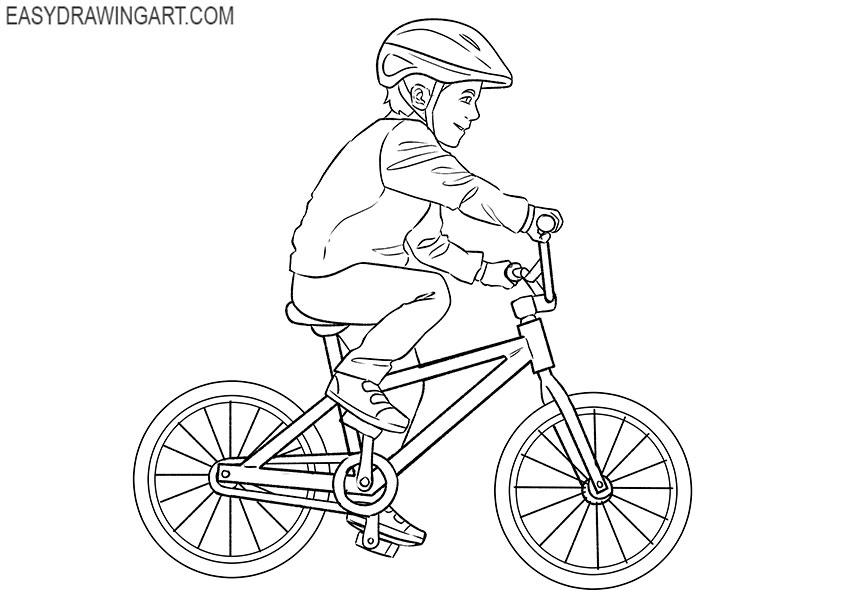
The finished drawing shows a child riding a bicycle in a side view. You’ll create this simple cycling scene by following the step-by-step instructions.
Time needed: 1 hour
How to Draw a Kid on a Bike
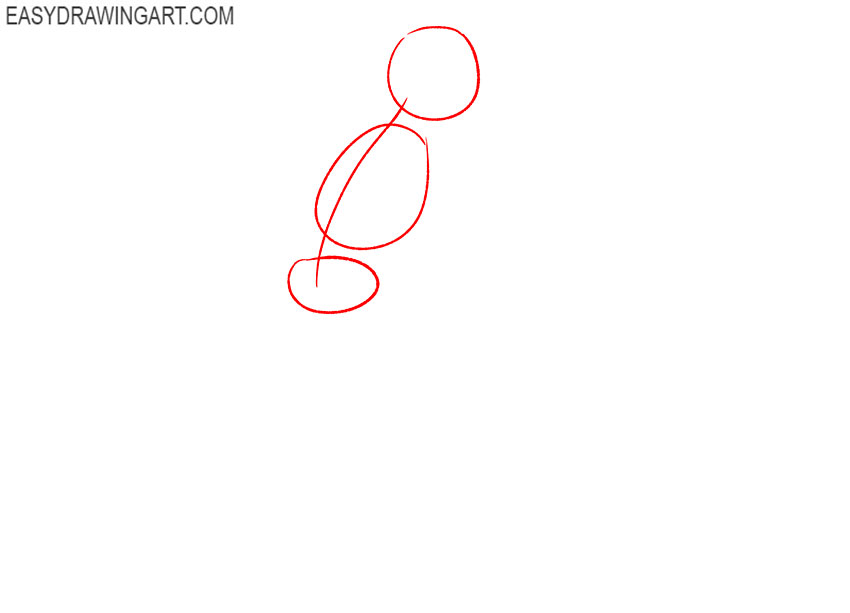
- Apply markings.
Mark the location of the head, upper and lower torso, using a circle and shapes that look like deformed ovals, connect them with a line.

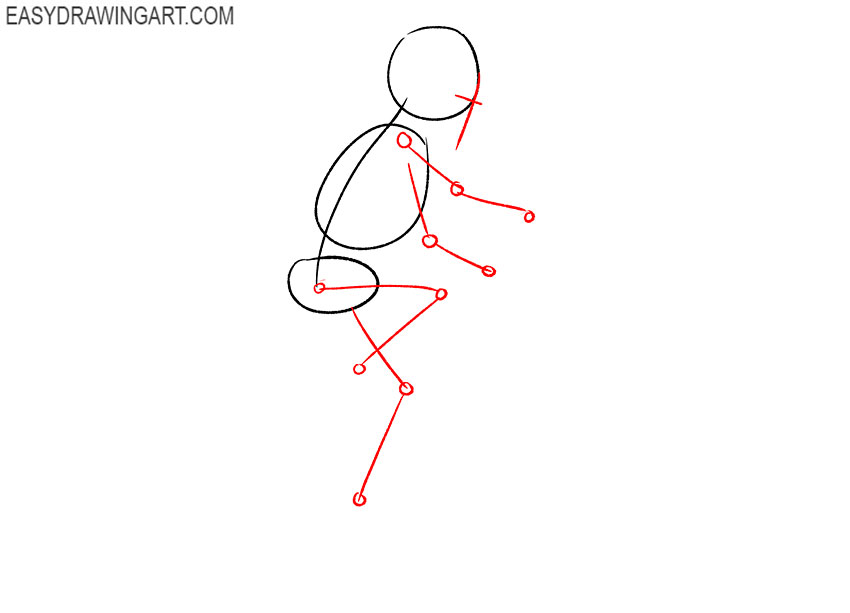
- Add lines of symmetry to the face, mark the limbs.
Draw straight lines of different lengths from the upper and lower parts of the body and connect them using circles, draw two short lines near the head.
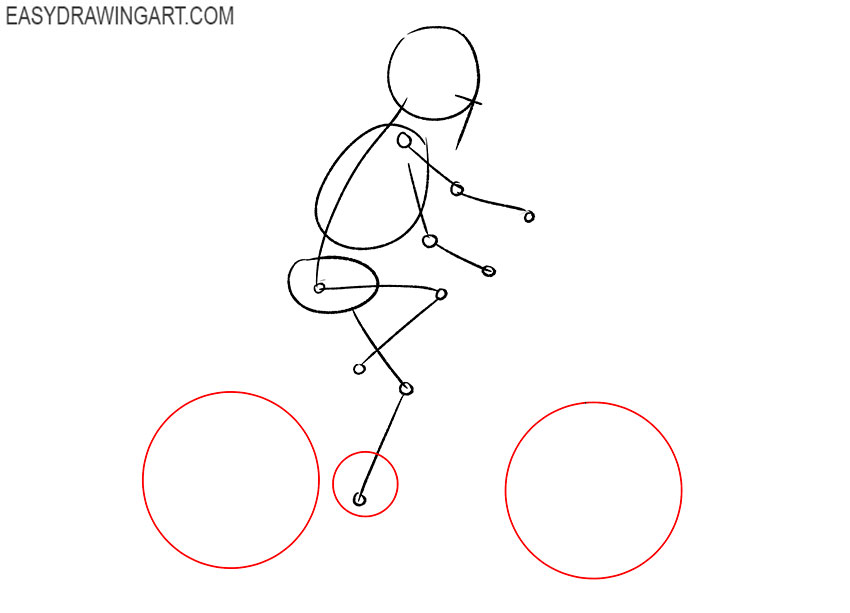
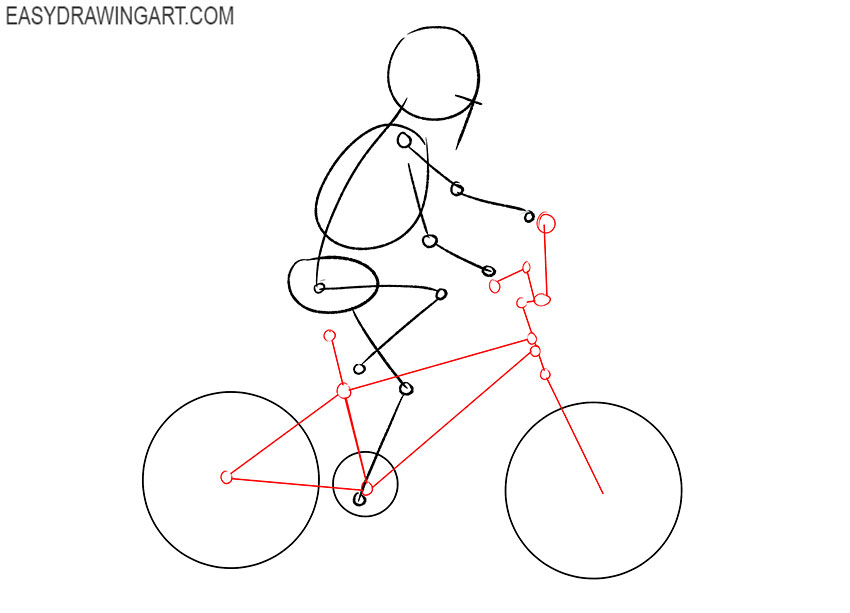
- Start drawing a bike.
Draw two circles of the same size to represent the wheels of the bike, and add an element between them as a smaller circle.
- Continue drawing the bike.
Depict the handlebar, frame and other elements of the bike using many circles and straight lines of different sizes as shown in the picture.
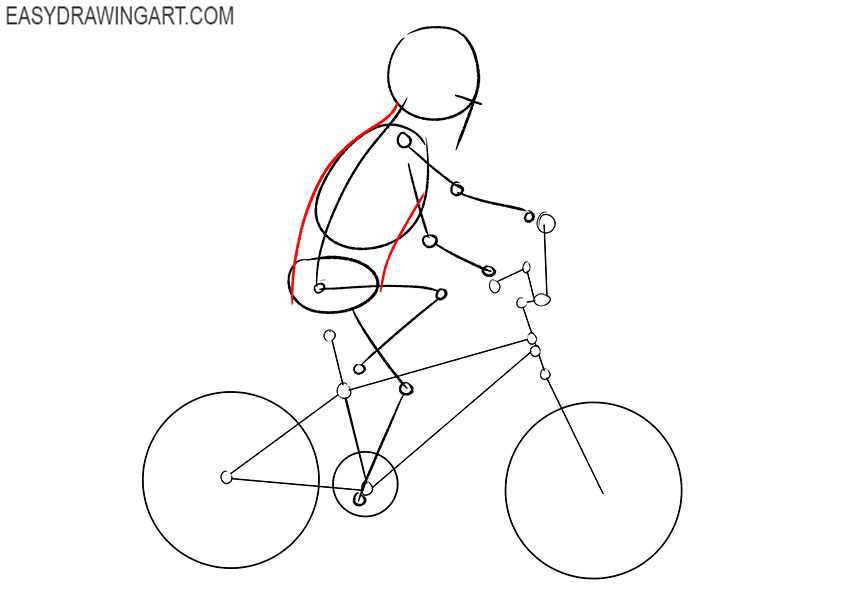
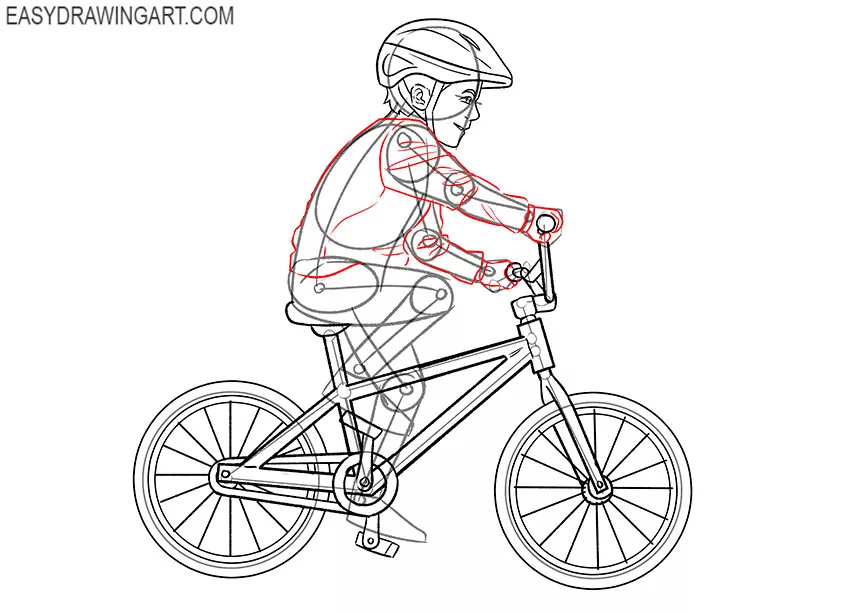
- Add the kid’s belly and back.
Use two slightly curved lines of different sizes to connect the shapes drawn in the first step.
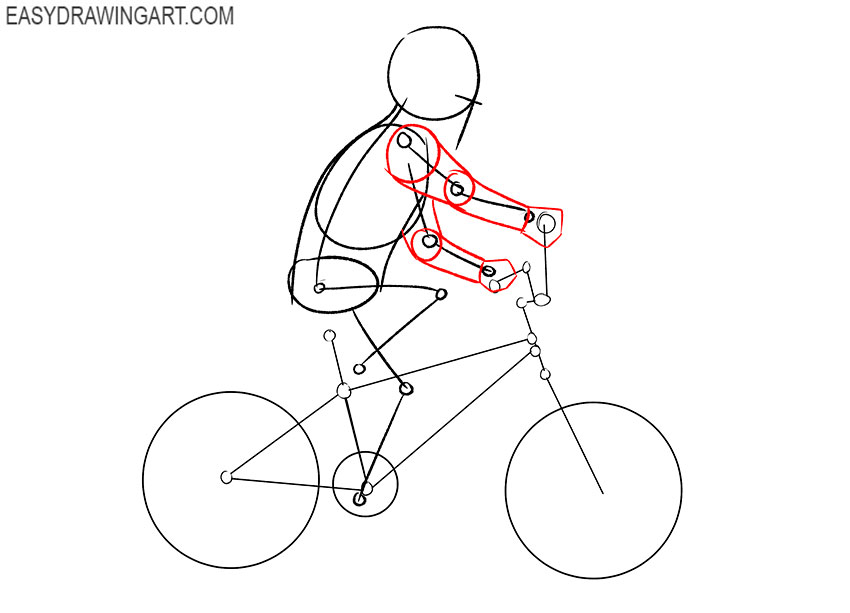
- Designate the size of the arms.
Near the previously drawn lines indicating the location of the arms, draw circles of different sizes, as well as straight and slightly curved lines.
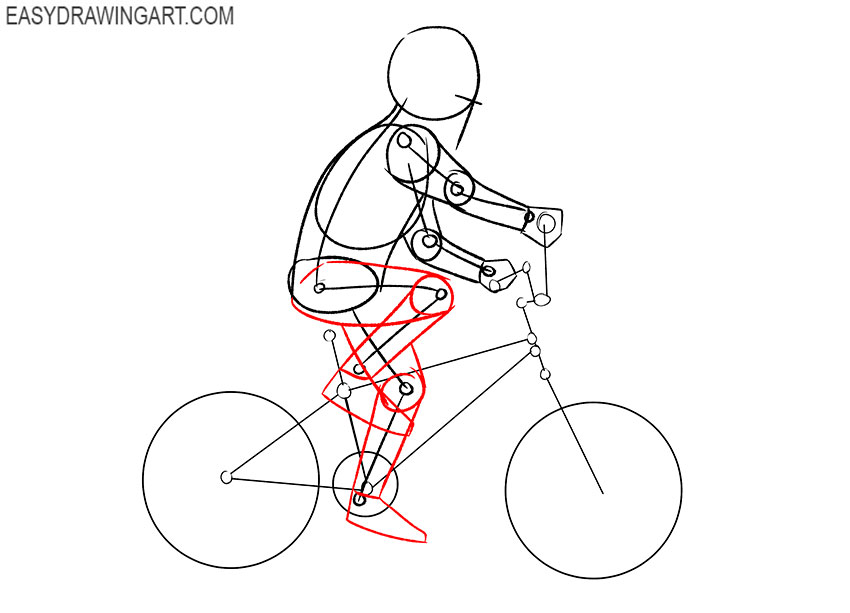
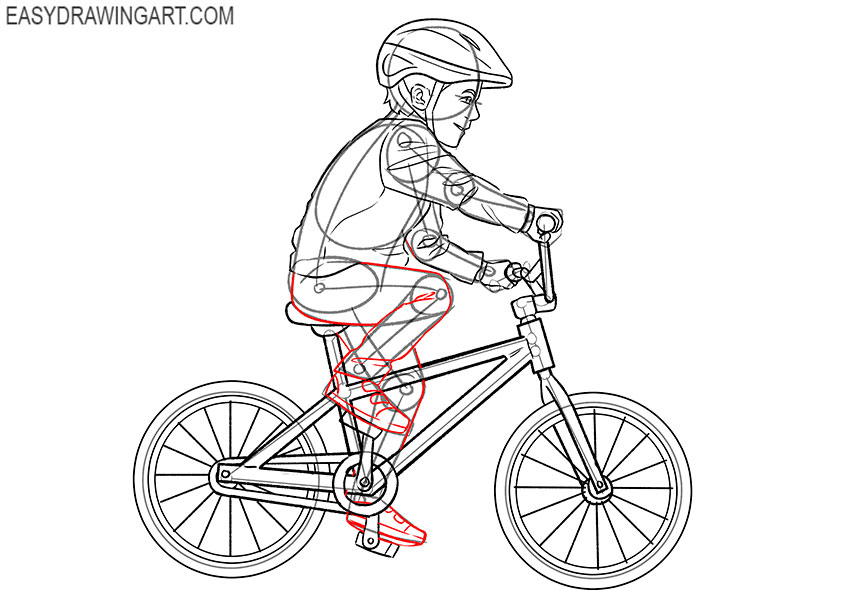
- Depict the legs.
Now you should draw a lot of straight and slightly curved lines, and also add two circles near the previously drawn lines, indicating the location of the legs.
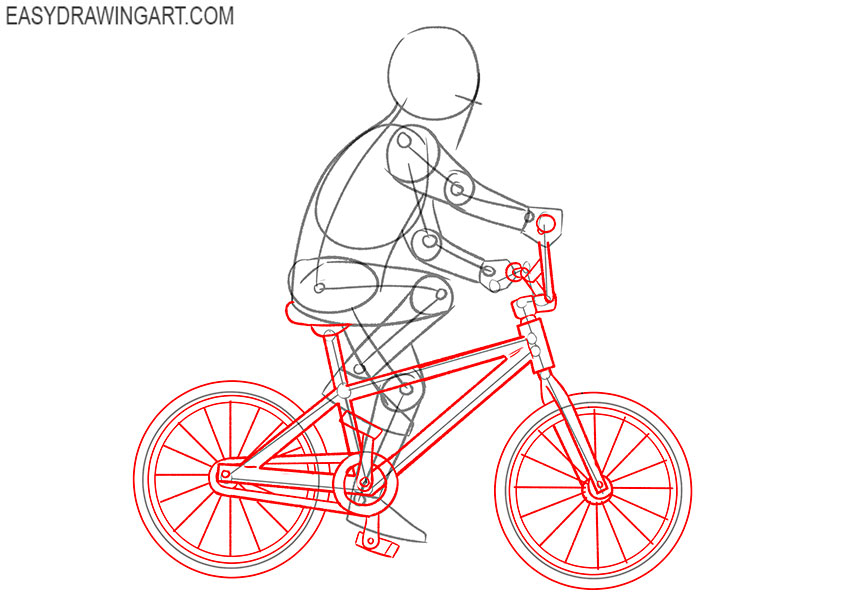
- Finish drawing the bike.
Add circles of different diameters, many straight lines of different lengths, and a few curved lines as shown.
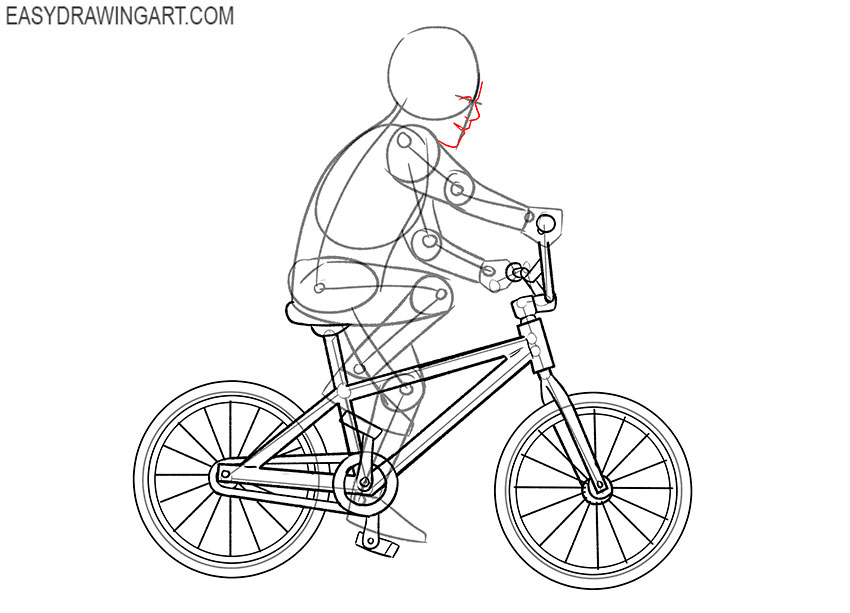
- Sketch out the kid’s face.
The kid’s head is in profile to depict his face, draw the nose, eye, mouth, and chin using curved lines.
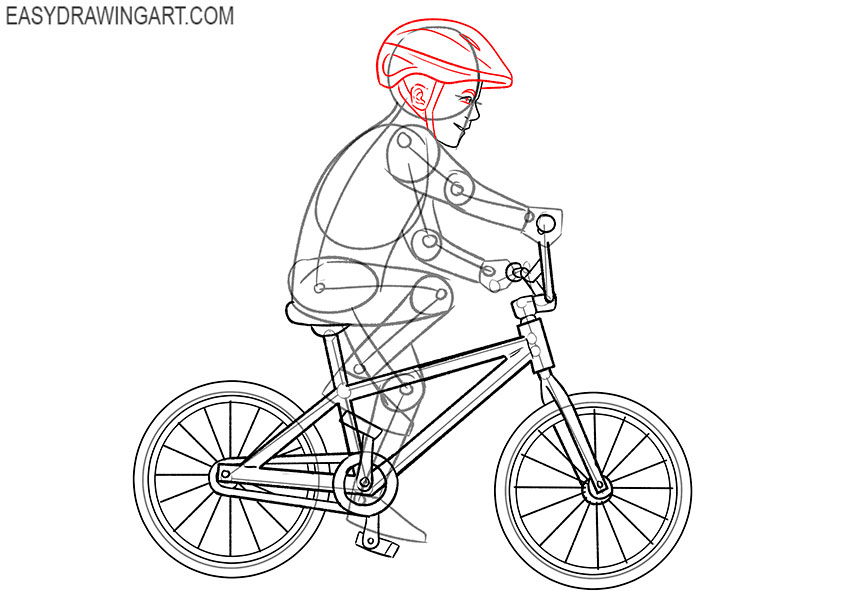
- Finish drawing the facial features, add the ear and helmet.
At the top and side of the head draw curved lines of varying lengths, complete the eye and draw the eyebrow as shown.
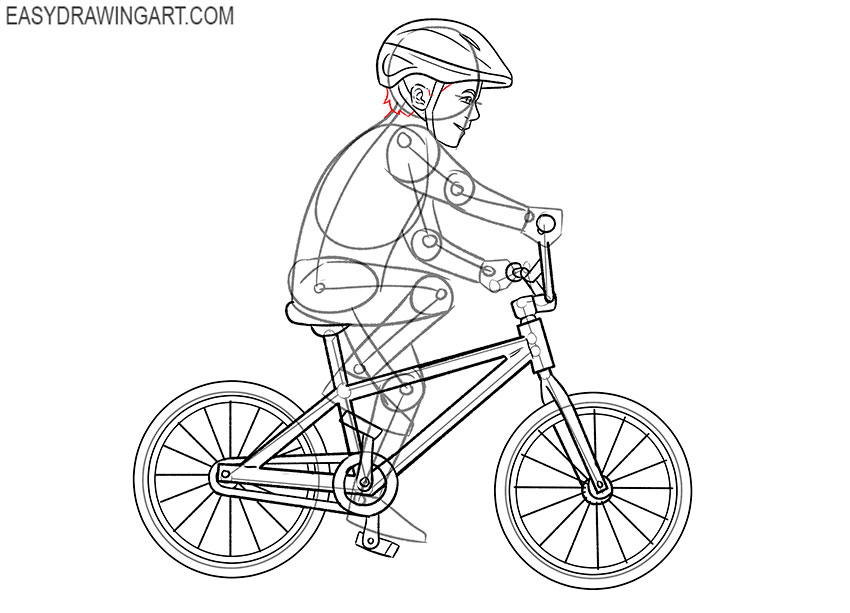
- Depict the kid’s hair.
At the back and side of the head, draw some small, curved lines to indicate the kid’s short hairstyle.
- Finish drawing the hands and draw the costume.
Draw the details of the upper part of the suit, as well as the hands, using many broken, curved lines of various lengths.
- Finish drawing the legs and draw the shoes.
With the help of curved lines of different lengths, draw the pants and folds on them, and also depict the sneakers on the child’s legs.
- Remove extra lines from the drawing.
Now you can erase unnecessary guidelines from the drawing and prepare it for coloring using the eraser.
- Color the drawing.
Use any color to paint the kid’s skin, eyes and hair, and use shades of blue, shades of orange, shades of gray and black.
Now you know how to draw a kid on a bike. We hope that each of you liked this lesson, and now you want to visit other useful drawing lessons on our website.