How to Draw a Standing Dog
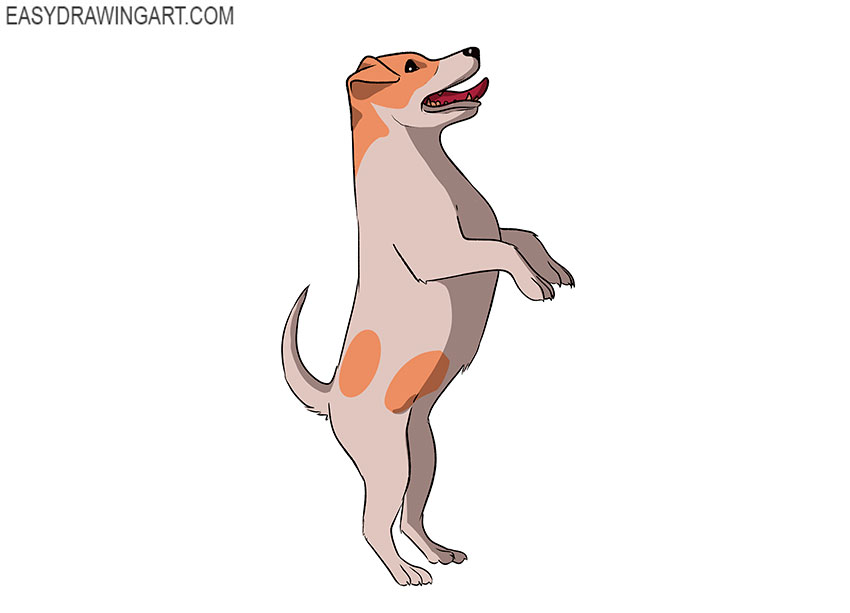
Dogs can be drawn in many different poses. This tutorial will show you how to draw a standing dog step by step.
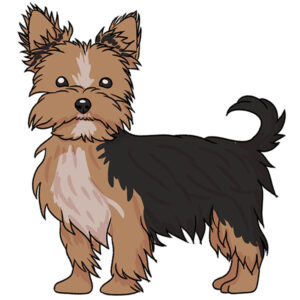
The picture shows a cartoon dog standing upright on its hind legs. By following the steps, you’ll draw the dog in this characteristic pose.
Time needed: 1 hour
How to Draw a Standing Dog
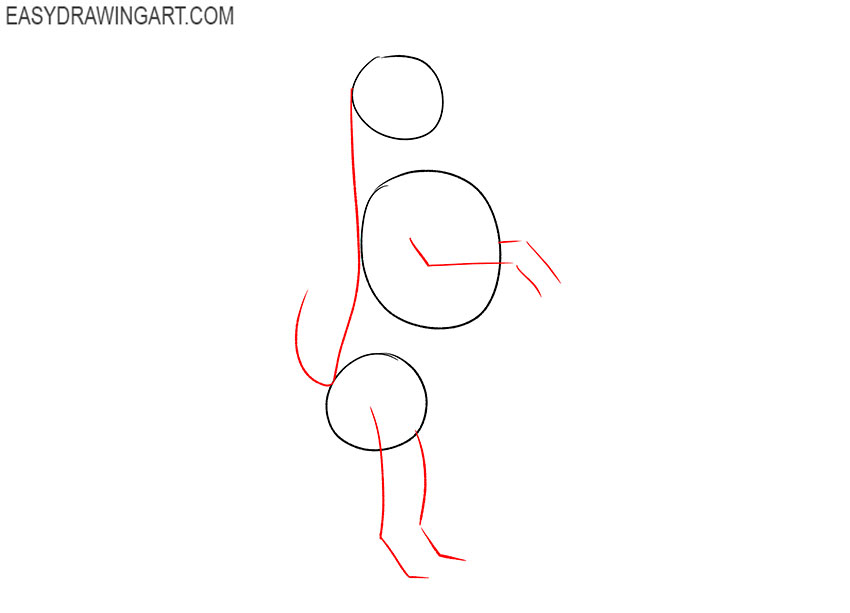
- Sketch out the supporting elements.
To indicate the size and location of the head and body of the standing dog, draw three oval-shaped figures of different sizes.

- Mark the back, limbs, and tail.
Now draw some straight and curved lines to connect the head and torso, as well as add the outlines of the back and front legs and the tail of the dog.
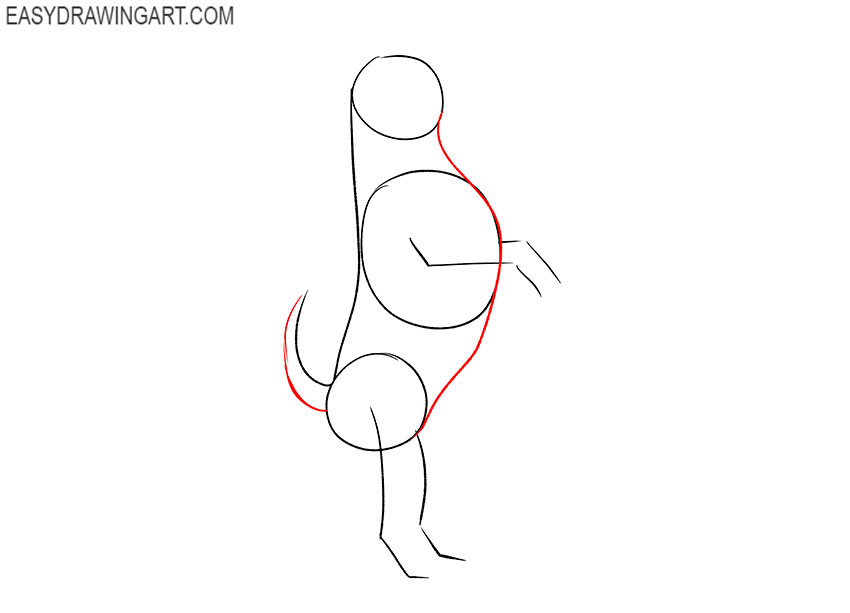
- Draw the line of the chest and abdomen, complete the drawing of the tail.
Draw a long, curved line connecting the markings for the head, middle and lower torso. With the help of an arc, complete the drawing of the tail.
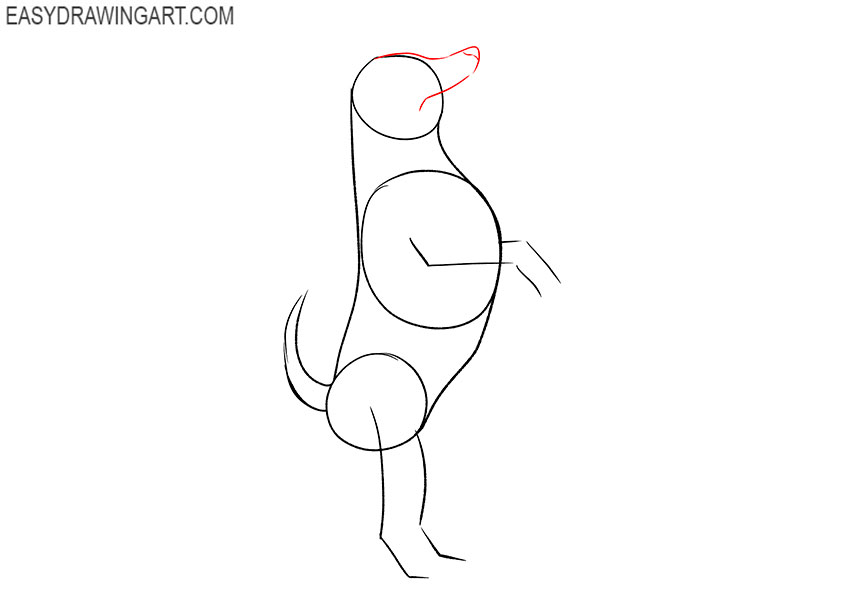
- Depict the front of the head.
To draw the dog’s nose, forehead, and upper jaw, draw a few thin, broken, curved lines.
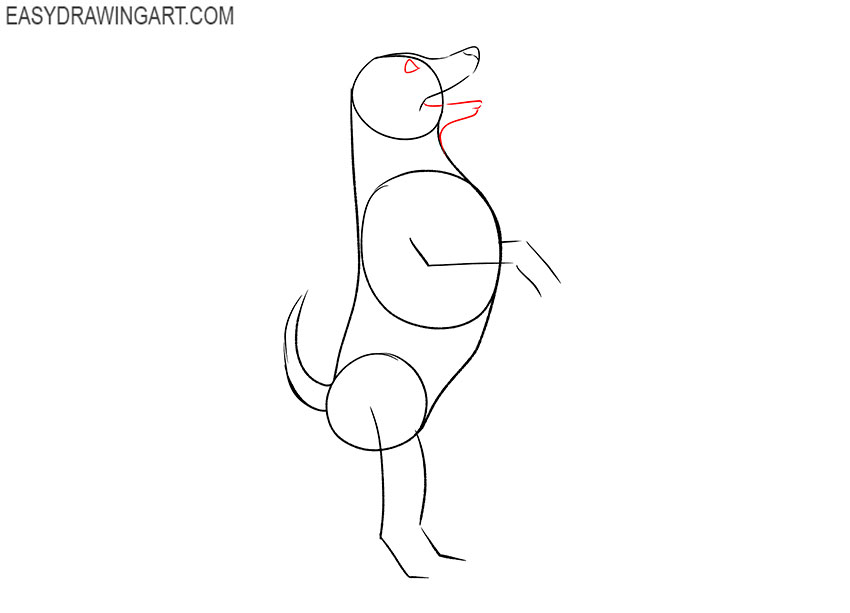
- Finish drawing the front of the head and draw the eye.
At the top of the previously drawn outline of the head, depict the eye using curved lines, draw a line for the chin and lower jaw of the standing dog.
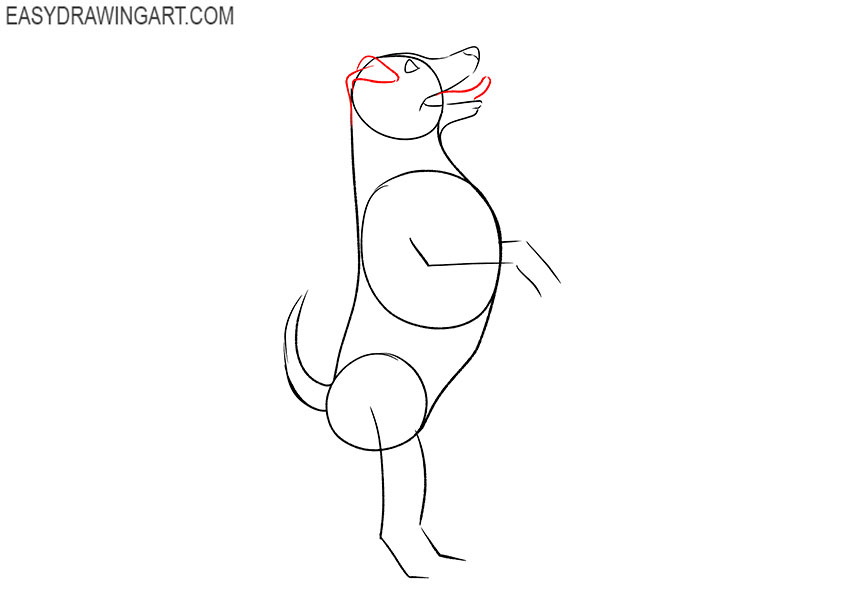
- Depict the ear and tongue.
Between the two jaws of the dog, depict the tongue using curved lines, at the top of the head, draw the ear down.
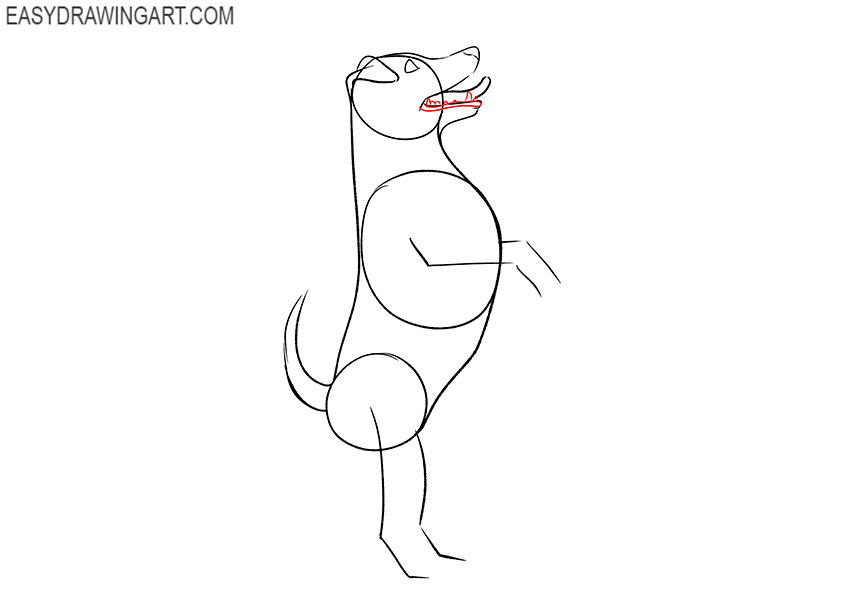
- Add the contour of the lower lip and teeth.
On the previously drawn lower jaw of the standing dog, draw the row of the teeth and the lip line using curved lines of varying lengths.
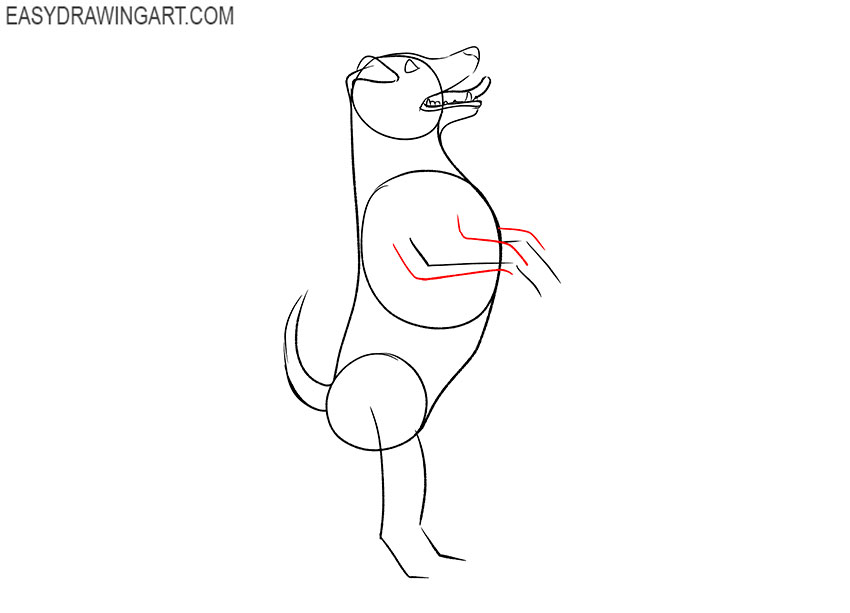
- Start drawing the upper limbs.
On the sides of the previously drawn auxiliary lines indicating the location of the front paws, draw curved lines of different lengths.
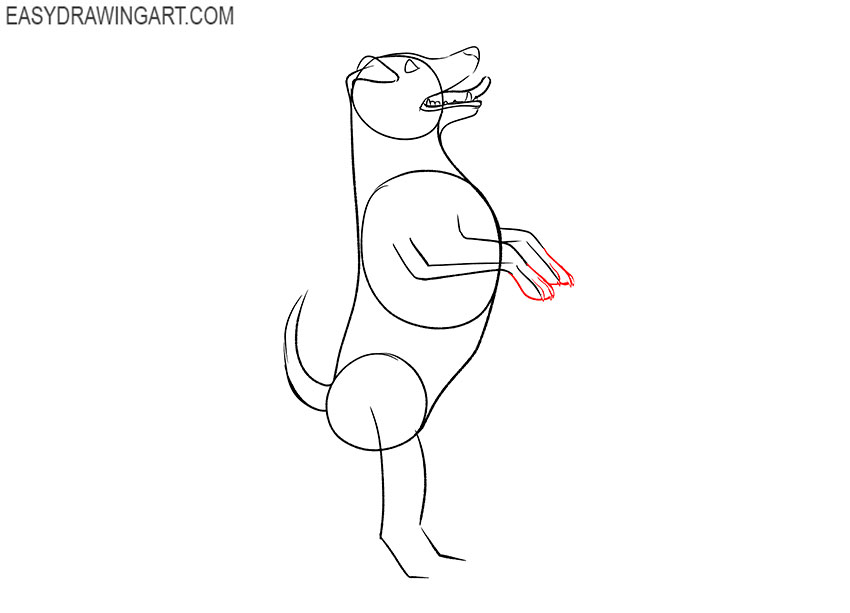
- Finish drawing the contours of the upper limbs.
Depict the lower parts of the front paws of the dog using curved lines of different lengths as shown.
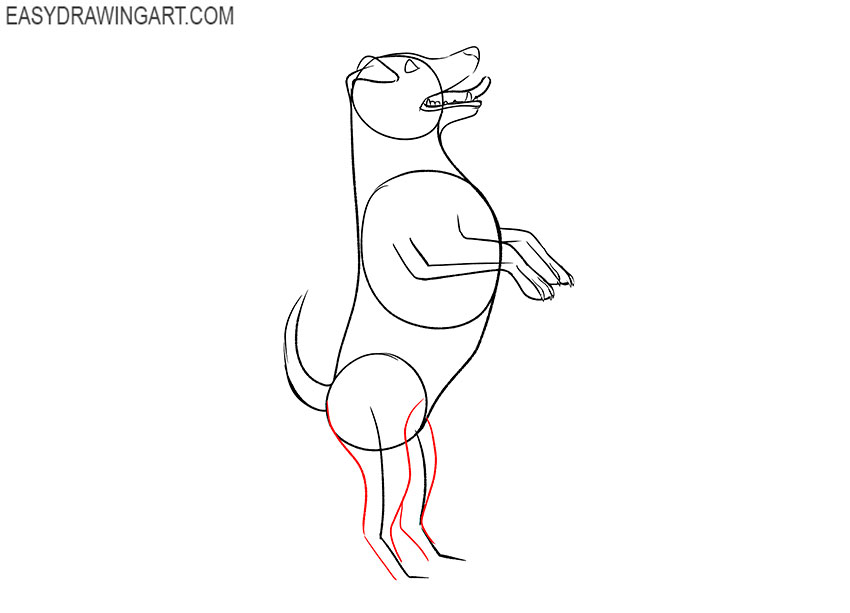
- Add the outlines of the lower limbs.
On the sides of the previously drawn markings indicating the location of the standing dog’s hind legs, draw curved lines of various lengths.
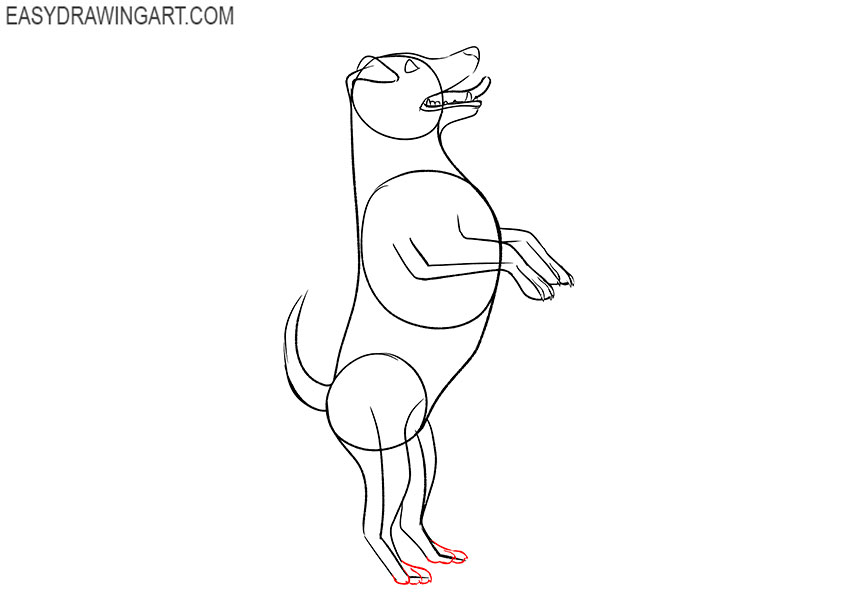
- Sketch out the feet of the hind legs.
To complete the drawing of the hind legs of the standing dog, as well as draw the fingers, draw rounded lines of different lengths, as shown in the figure.
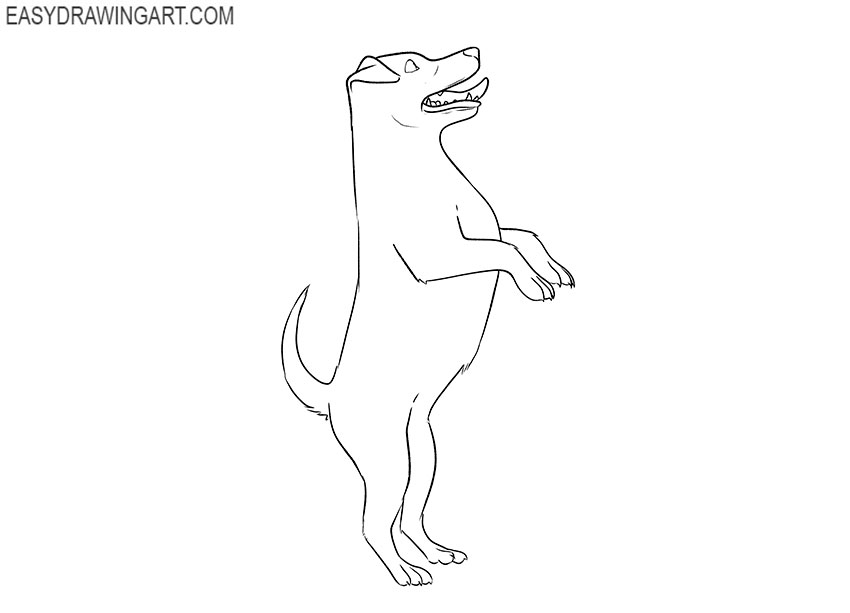
- Correct inaccuracies.
Now you can use the eraser to remove unnecessary auxiliary lines from the drawing and prepare it for coloring.
- Color the drawing.
To color the standing dog, use different shades of brown, beige, red, and black.

Now you know how to draw a standing dog. If this lesson was useful to you, you can visit other drawing lessons on our website.