How to Draw a Moose

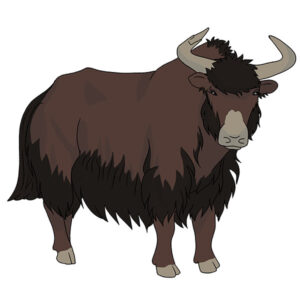
In this tutorial, you will learn how to draw a moose. This is a very large artiodactyl with huge antlers. Moose thrive in the wild and are not suited to life in captivity.
Moose have long legs and pointed hooves, which they use to defend themselves against predators. Every winter, they shed their antlers and grow a new set in the spring.
Moose have poor eyesight but excellent hearing and a keen sense of smell. By following the steps, you’ll draw a standing moose with its distinctive long legs and broad antlers.
Time needed: 1 hour
How to Draw a Moose
- Draw the base.
Prepare auxiliary figures that will help you correctly position all parts of the body. To do this, draw three circles of different sizes.

- Depict the back and limbs.
Sketch out a smooth line along the upper edge that connects the head and torso. With thin lines, draw the limbs.
- Add the front of the head.
The moose has a wide front part of the head and the hump on the leg. Try to depict this in your drawing.
- Draw the rest of the elements of the head.
Add the small eyes that are located on the sides of the head. With the help of a short line depict the nostril and with short strokes draw the beard.
- Sketch out the base of the horns.
On the head, draw small lines on each side, as shown in the example. In this way, you draw the base of the horns.
- Depict one horn.
The moose antlers have a complex shape, and here you have to make every effort. As you can see, the horns have a narrow base and widen considerably at the edges. The outer edge has many processes of different sizes.
- Draw the second horn.
Now you have to draw the horn on the left side. To draw the branches, use the same lines that you used in the previous step.
- Add the lower and back part of the torso.
At the bottom, draw a smooth wavy line to depict the chest and belly. Also add the back of the torso using one smooth line.
- Sketch out the front legs.
In this step, add volume to the front legs. To do this, use the guidelines as a guide. Please note that the upper part of the legs is wide, the lower part is narrow, the middle part has convex parts in the area of the joints.
- Depict the hooves on the front legs.
This is a simple step that you can easily follow. At the bottom of each leg, draw the small raised area and add the pointed hoof.
- Draw the hind legs.
The hind legs have more curves than the front legs. Look carefully at the sample and try to correctly depict the shape of the hind legs.
- Correct the inaccuracies.
The contour of the torso is ready, and it remains only to remove all the extra lines in the drawing. If you notice errors, you can correct them now.
- Color the moose.
Color the fur brown. Use a dark brown for the hooves and choose a lighter shade for the horns.


So, you have completed all the drawing steps, and now you know how to draw a moose. Do not forget to share your impressions and suggest ideas for new drawing lessons. We look forward to your feedback!