How to Draw a Rat
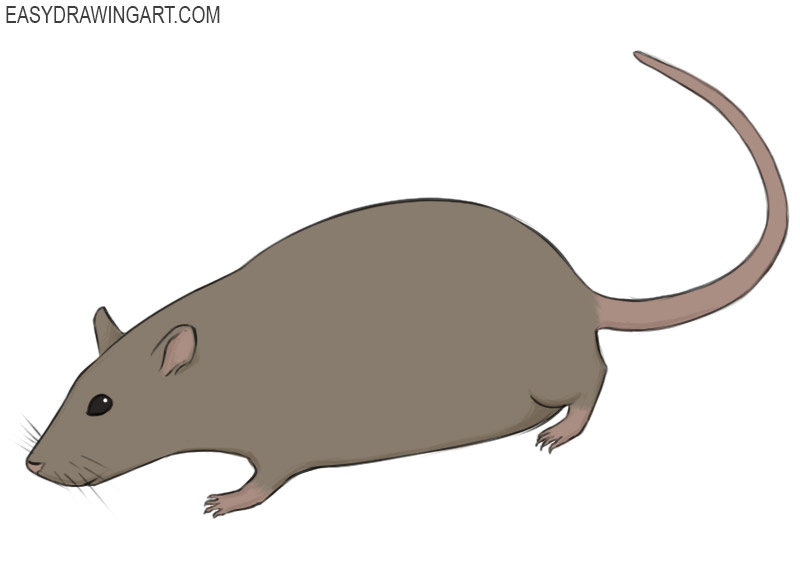
Rats are intelligent rodents that can be found in almost every part of the world. In this tutorial, you’ll learn how to draw a rat step by step.
While some species live in the wild, others have been bred as pets. Rats are generally larger than mice and have a pointed muzzle, small ears, and a long tail covered with fine hair.
Rats come in many different colors, including gray, brown, black, white, and red. By following the steps, you’ll draw a standing rat in a side view.
Time needed: 1 hour
How to Draw a Rat
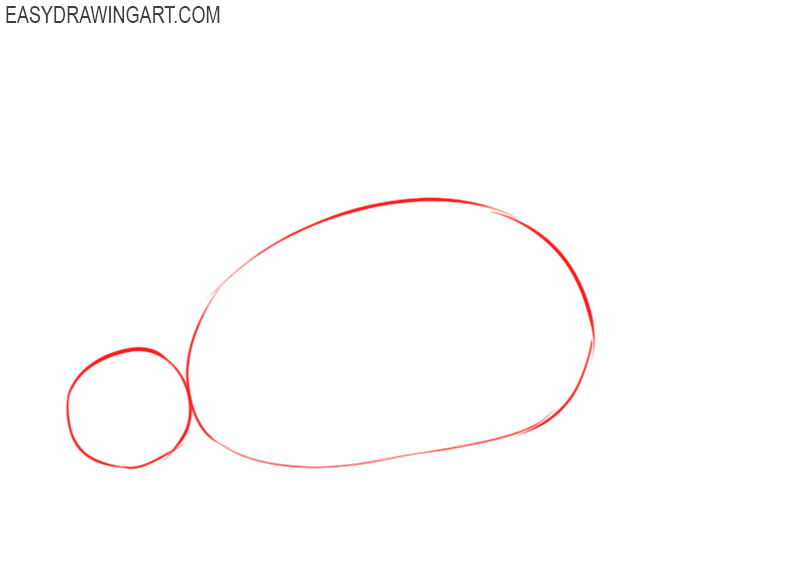
- Designate the markup for drawing the rat.
Draw a circle as well as a large oval shape to indicate the location of the rat’s head and torso.

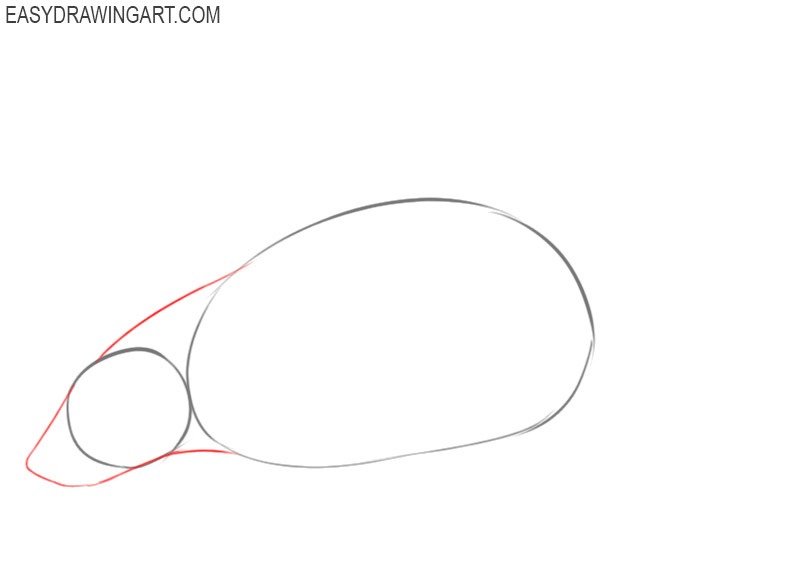
- Draw the neck and front of the head.
Now you need to use curved lines to connect the previously drawn shapes. Add a curved line around the circle.
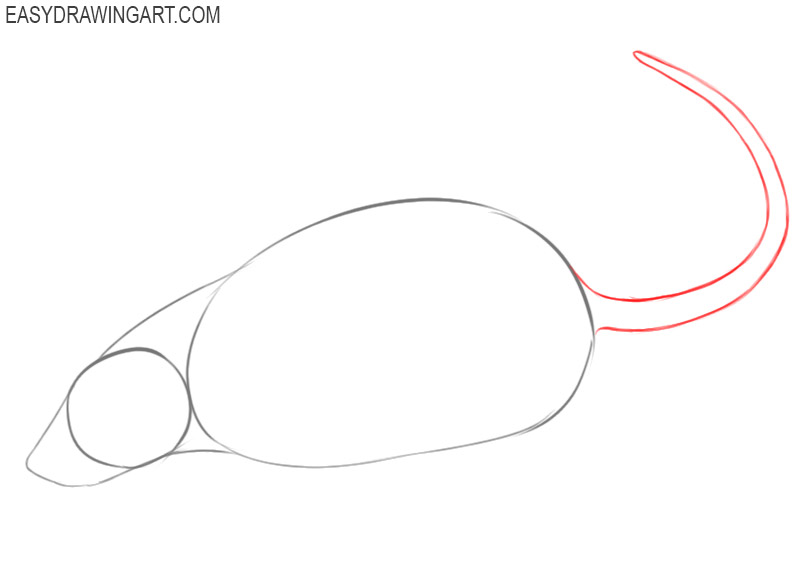
- Sketch out the rat’s tail.
At the back of the previously drawn rat’s torso, draw the long, pointed tail raised up using curved lines.
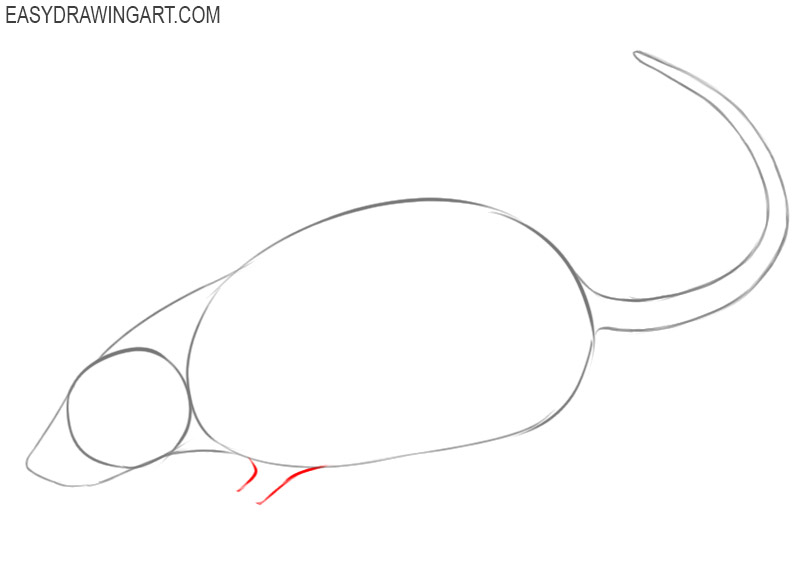
- Add the outlines of the front paw of the rat.
At the bottom of the rat’s torso, draw two curved lines, as shown in the figure. The paw of the rat looks rather short.
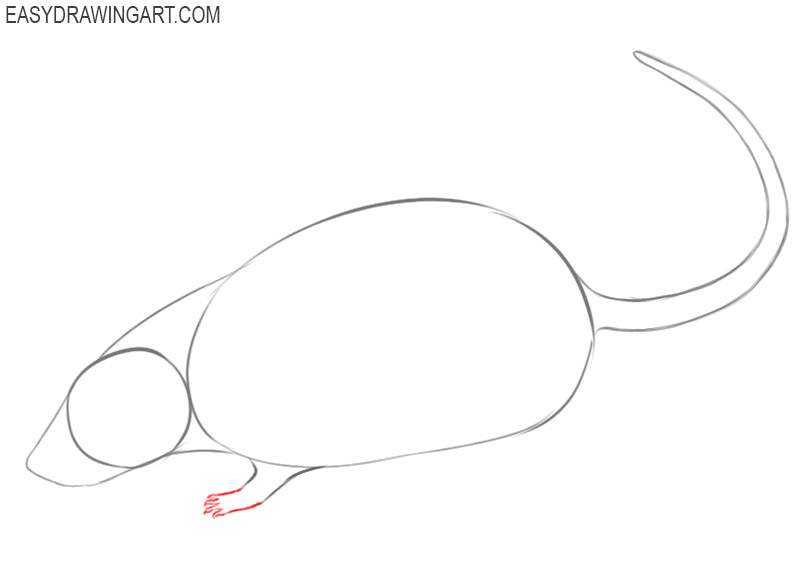
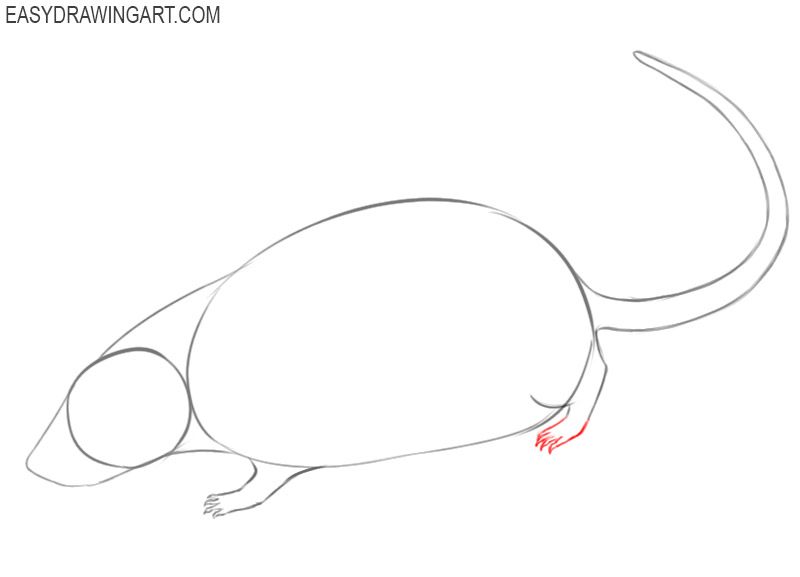
- Finish drawing the front paw of the rat.
Now add the fingers and pointed claws to the bottom of the previously drawn rat’s paw using curved lines.
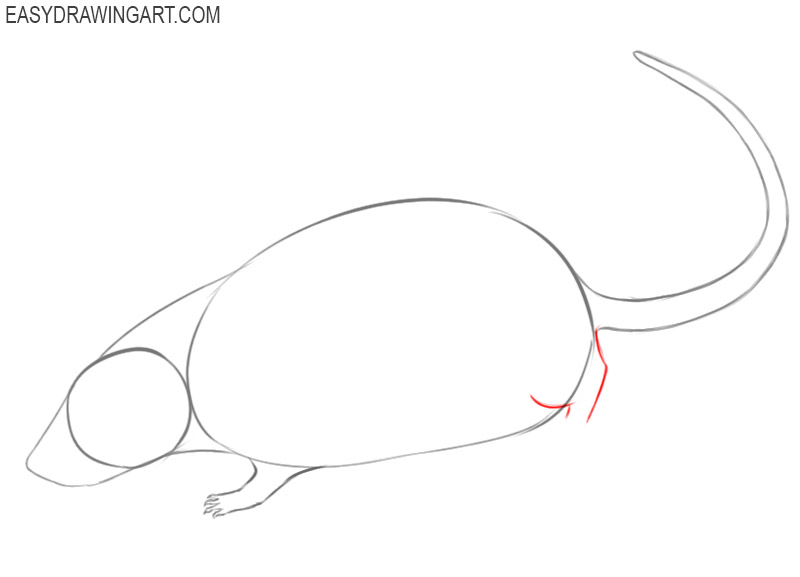
- Add the outlines of the upper part of the rat’s hind leg.
Start drawing the rat’s hind leg by adding some curved lines near the rat’s tail and back torso.
- Finish drawing the hind leg.
Now you need to use curved lines to add the toes and the pointed claws on the back paw of the rat.
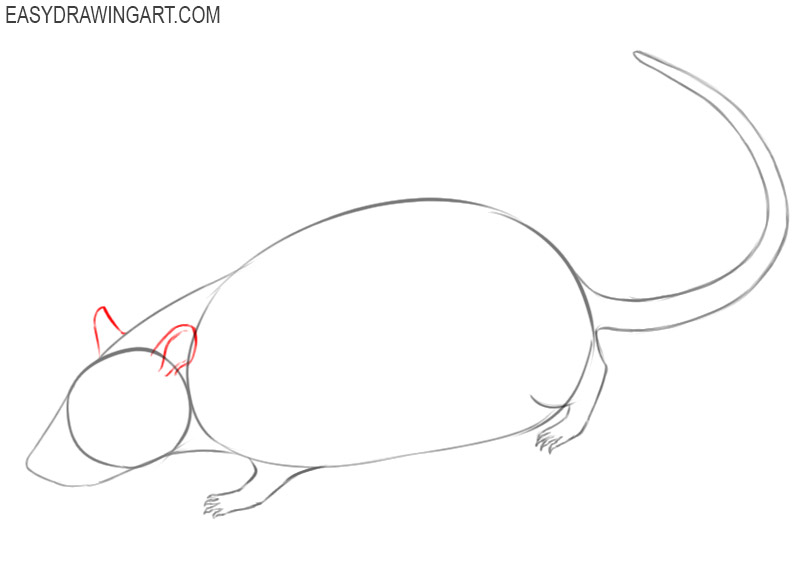
- Sketch out the ears of the animal.
At the top of the previously drawn head, draw two ears pointing in different directions. Use curved lines for this.
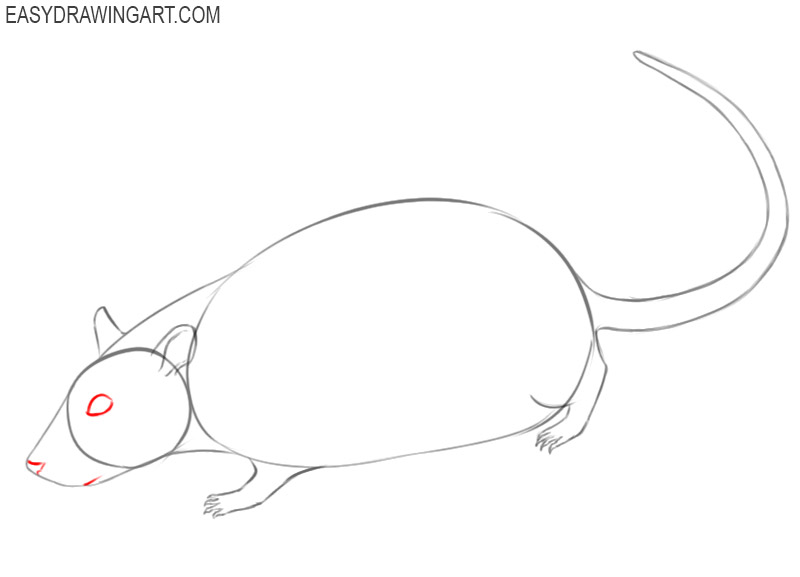
- Add facial features.
Inside the previously drawn outline of the rat’s head, depict the eye, nose, and mouth of the rat using arcs, straight lines, and curved lines.
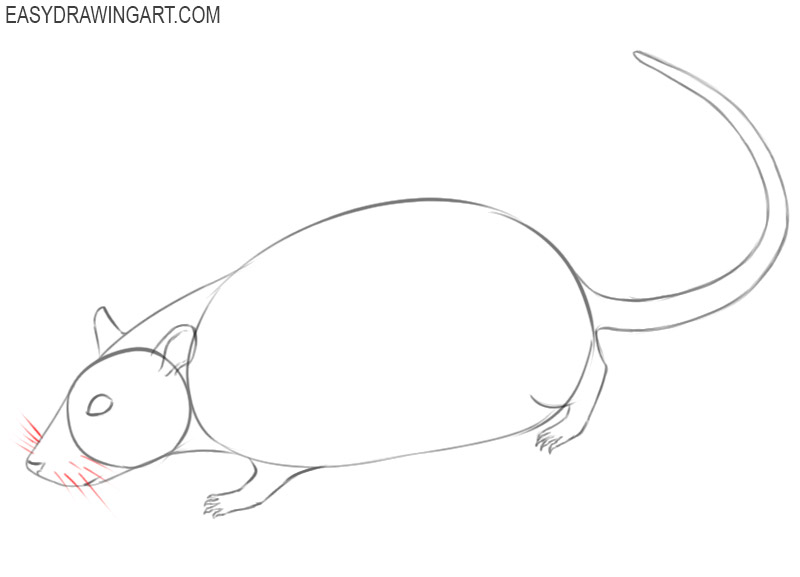
- Depict the rat’s whiskers.
In front of the rat’s head, draw several straight lines of different lengths, directed in different directions.
- Prepare the drawing for coloring.
Use the eraser to remove all unnecessary lines from your drawing and prepare it for coloring.
- Color the drawing.
To color the rat, use gray, brown, and black. Don’t forget to add areas of shadow and highlight on the eye.
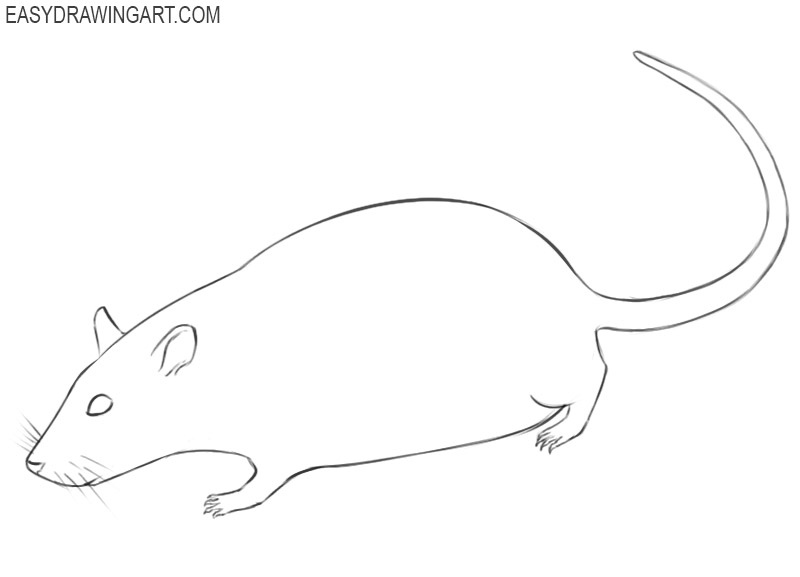
On this, this drawing lesson, in which you learned how to draw a rat step by step, came to an end. We hope that this lesson was very useful to you, and now you can use the skills you have learned to draw many of your beautiful drawings. We also advise you to complete other drawing lessons on our website dedicated to the image of animals.