How to Draw a Tiger
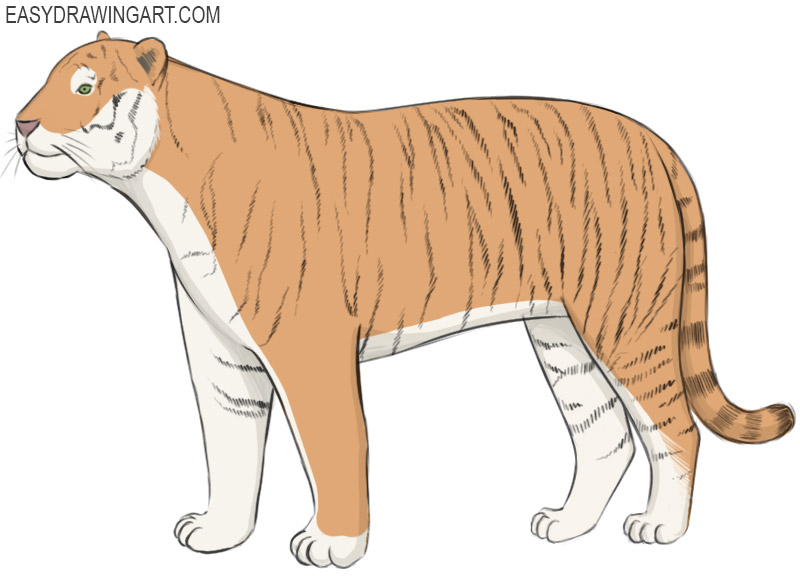
If you have never drawn a tiger and want to improve your drawing skills, this tutorial is a great place to start. Now you will learn how to draw a tiger step by step.
The tiger is the largest wild cat and one of the most recognizable animals in the world. Its distinctive coat features a light underside and dark stripes that are unique to each individual.
In this tutorial, the tiger is shown in a realistic standing pose. Pay close attention to the red lines in each step.
Time needed: 1 hour
How to Draw a Tiger
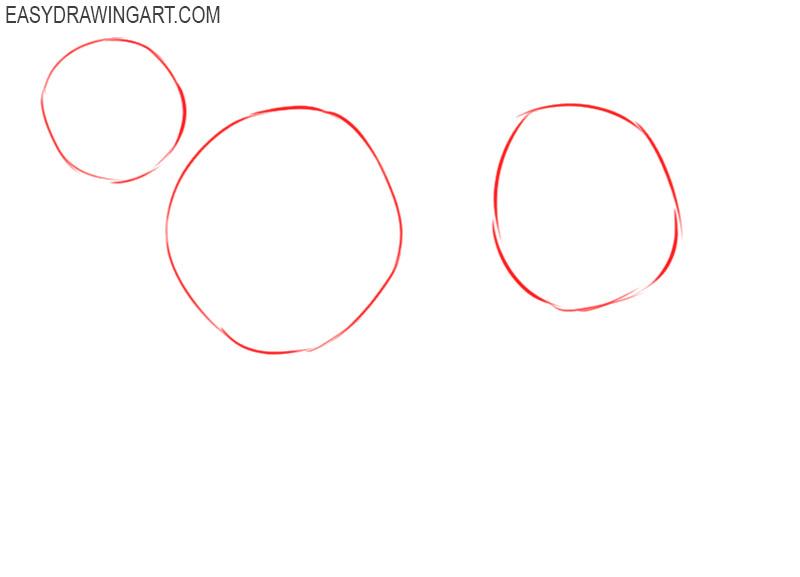
- Draw the base.
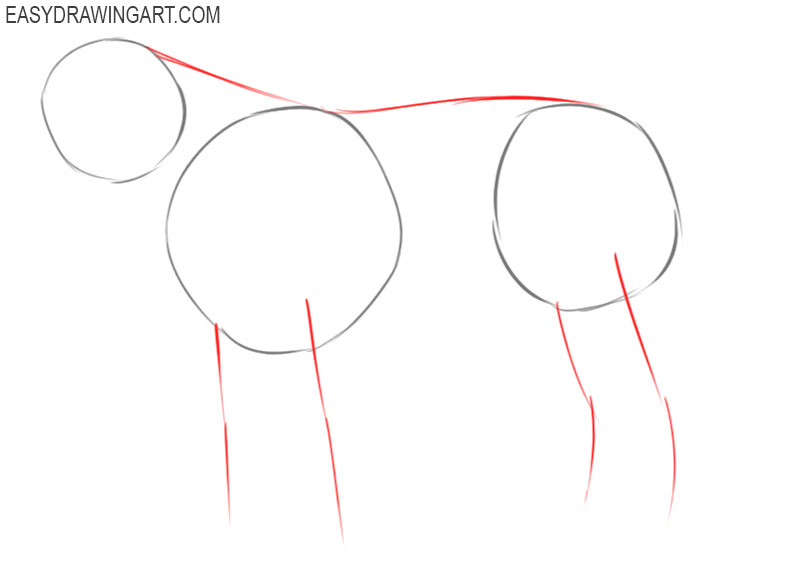
Depict three circles of different sizes at some distance from each other. This way you will determine the location of the head and torso.

- Add back and limbs.
Draw a smooth line that connects all three circles. At the bottom, draw thin, even lines to indicate the position of the front and hind legs.
- Sketch out the lower contour of the torso.
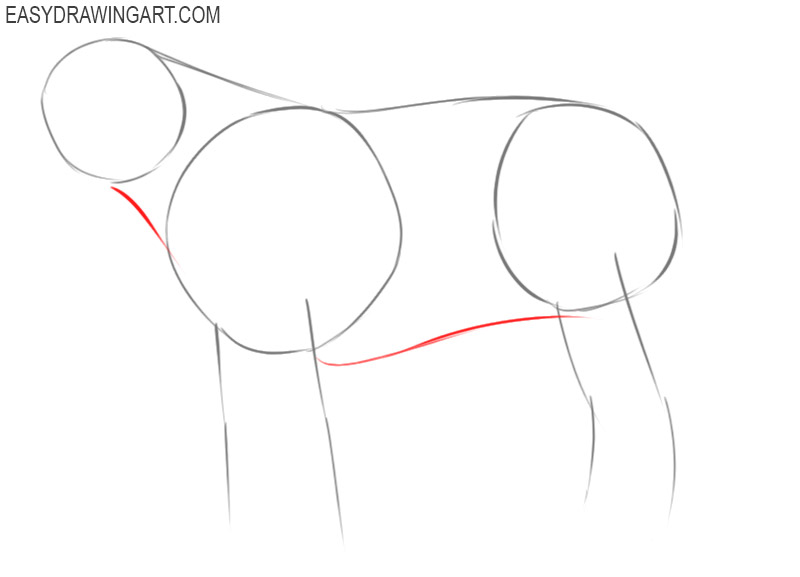
Draw a smooth line between the head and the thoracic region, this will be the neck. Also, draw a smooth connecting line between the thoracic region and the pelvis to depict the belly.
- Add the front of the head.
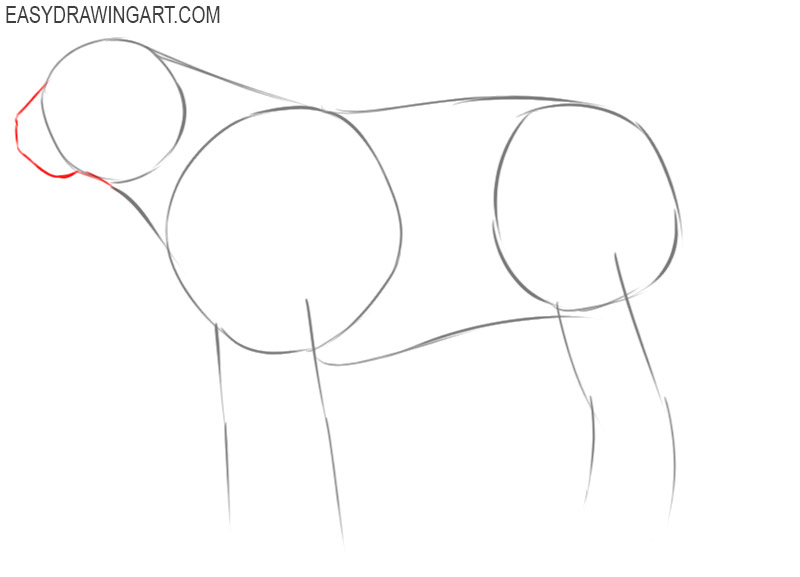
Continue the lines and depict the lower jaw and chin. Be careful at this step and try to draw the same lines as shown in the example.
- Add the rest of the elements of the head.
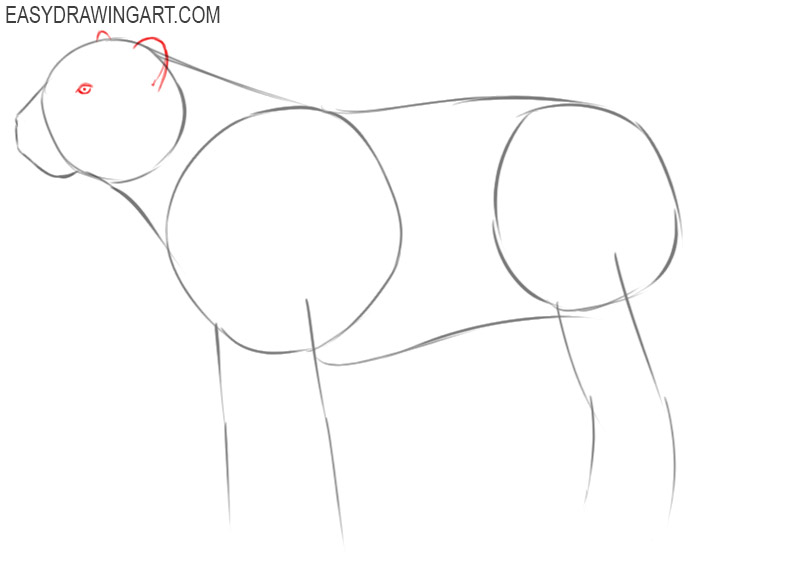
In this step, you need to add the small eye and draw two ears that are rounded.
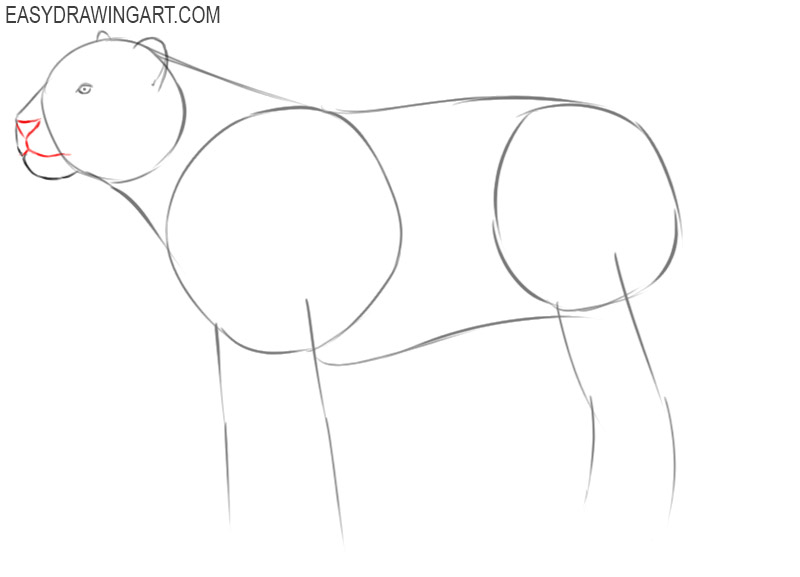
- Sketch out the nose and mouth.
Check your drawing. Depict the nose, and smooth lines mark the outline of the mouth.
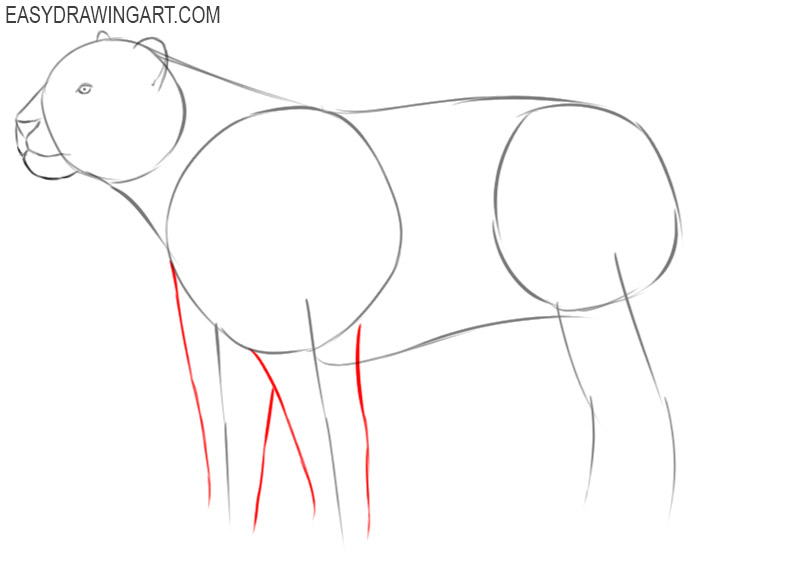
- Draw the front paws.
Depict smooth lines down from the thoracic region. Use the lines you drew in the previous steps as a guide.
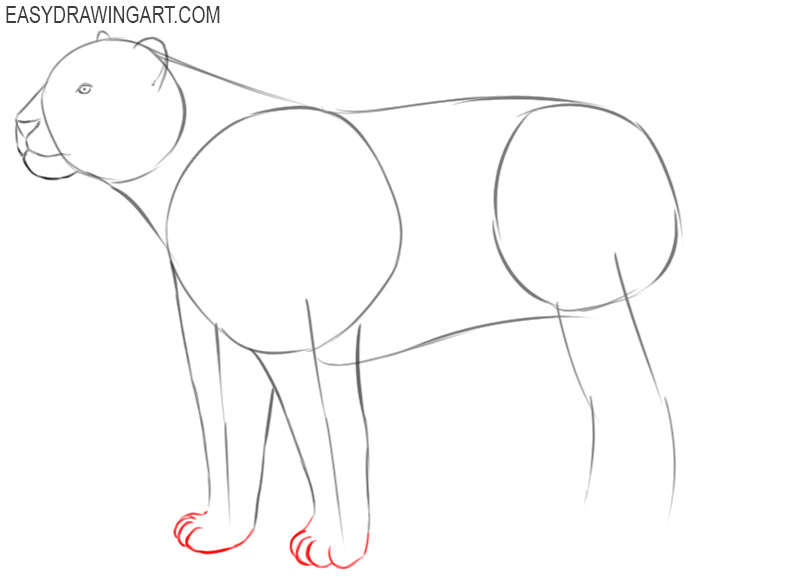
- Depict the lower parts of the paws.
Use smooth, rounded lines to represent the feet. Sequentially add the small toes on each paw.
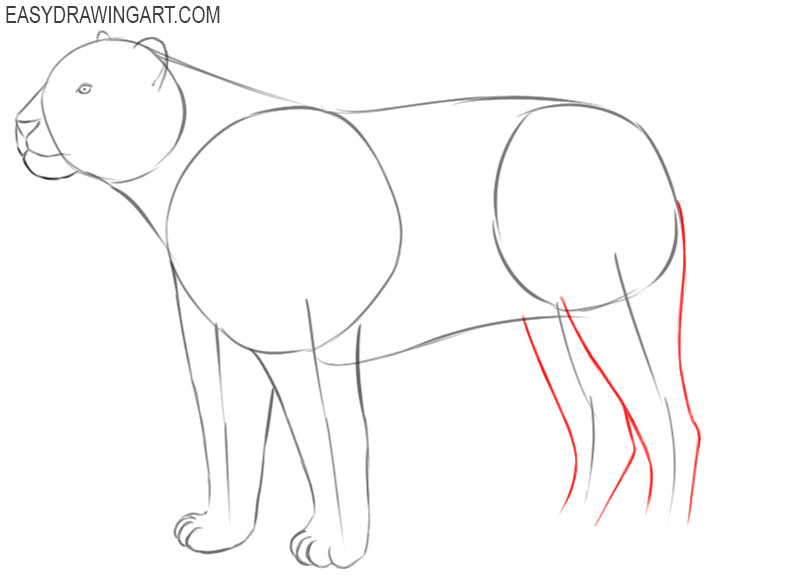
- Draw the hind legs.
Use guidelines and add thickness to the paws. The hind legs have a wide base and taper towards the bottom. Try to correctly depict all the anatomical curves of the hind legs.
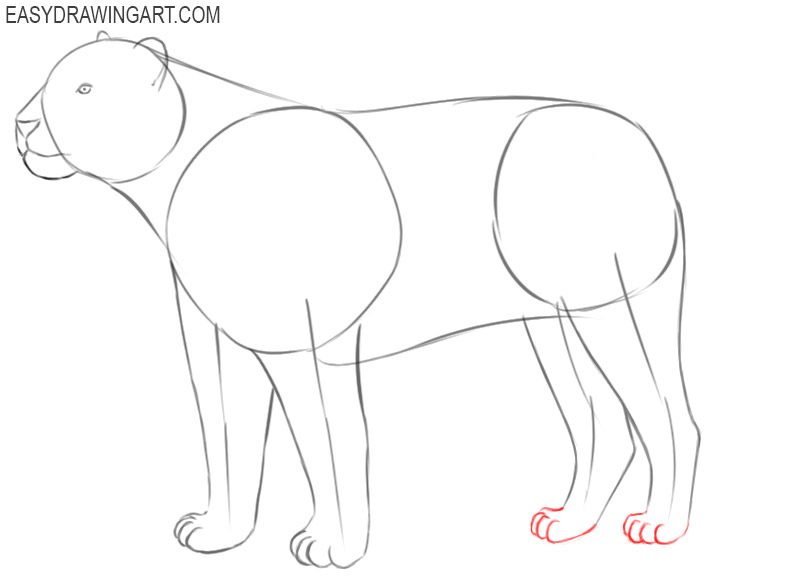
- Add the soles of the hind legs.
Draw the soles of the hind legs in the same way as the soles of the front paws. Draw the bottom part and add the fingers using small rounded lines.
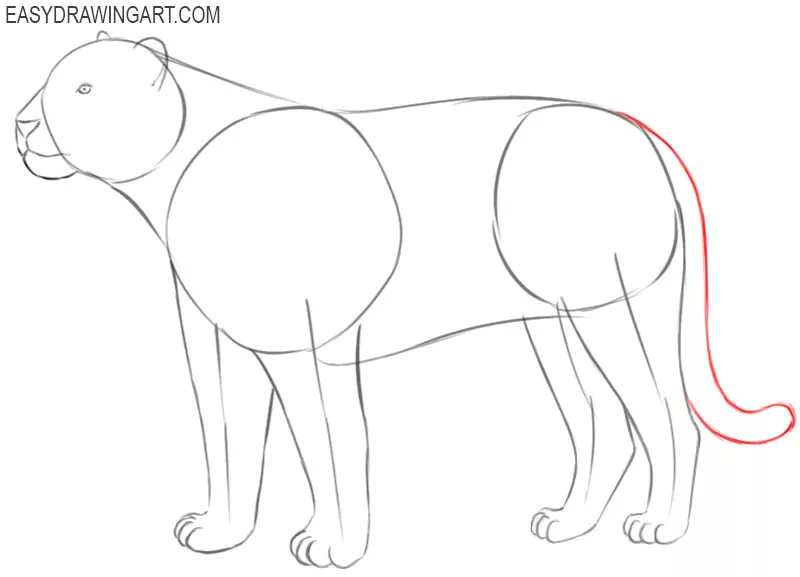
- Sketch out the tail.
From the back, draw down a smooth curved line. Draw the long tail, the end of which is slightly raised up.
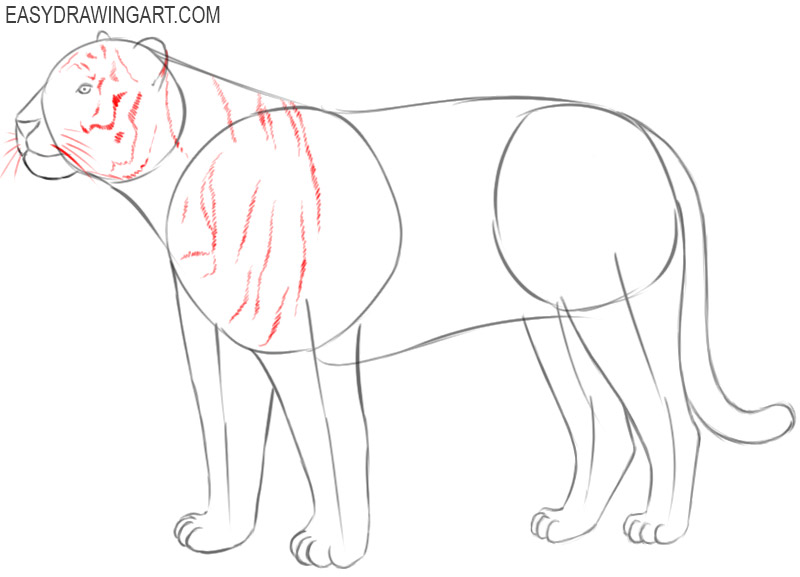
- Start drawing stripes.
First, draw stripes of different sizes and shapes on the head and chest. Arbitrary lines are allowed here, and your drawing may differ slightly from the example.
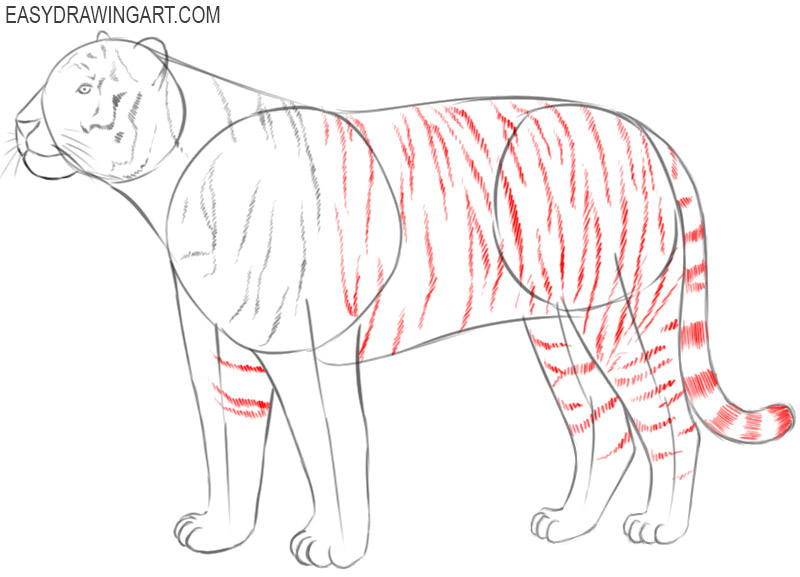
- Draw the rest of the stripes.
Continue to work on detailing the color of the tiger and add stripes on the rest of the torso, on the legs and on the tail.
- Correct inaccuracies.
If you notice inaccuracies, you can correct them at this step.
- Color the tiger.
In light gray, depict the shadows in the lower part of the torso. Color the top of the head and torso orange.
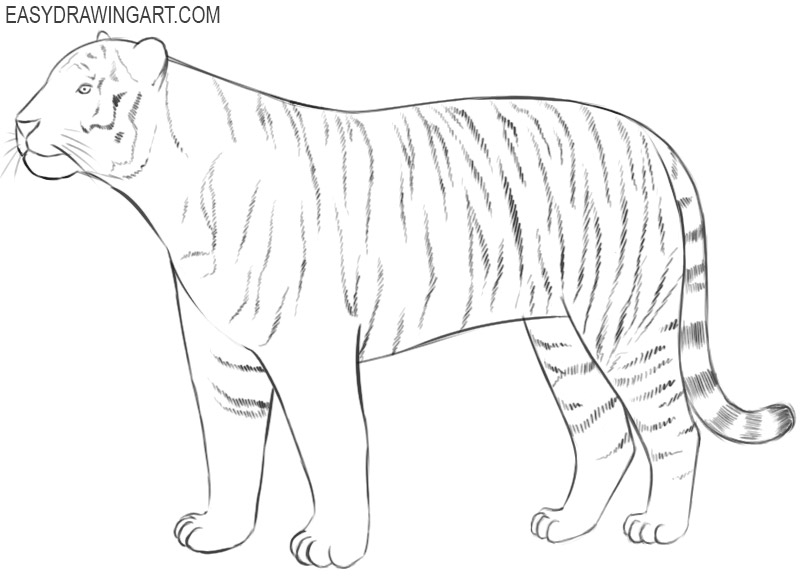
Now you have learned how to draw a formidable feline predator. We hope that you put in your best effort and that you like the result of the work. Be sure to leave a little review, so we know if you enjoyed this walkthrough. If you have any questions, you can ask them in the comments.