

How to Draw a Knight
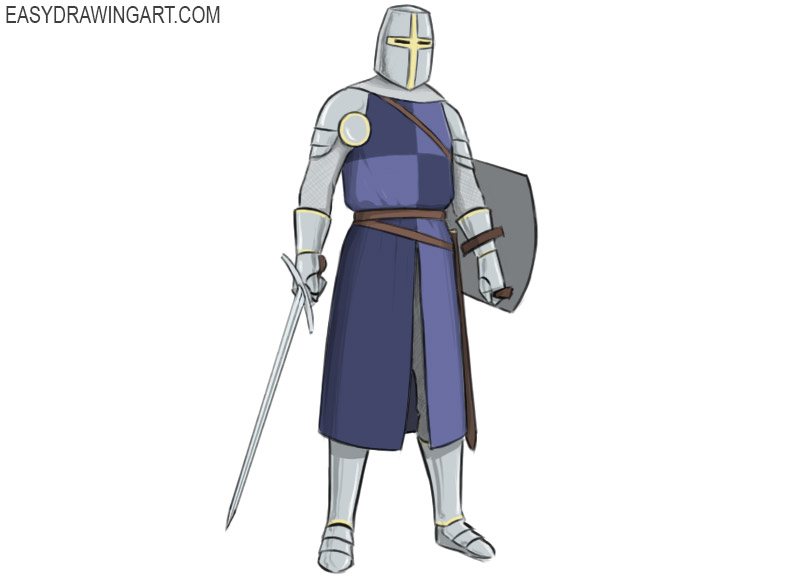
Here, you will learn how to draw a knight in just a few easy steps. Start this tutorial and practice drawing a medieval character.
This step-by-step guide consists of sixteen detailed steps and is designed especially for beginners and kids. Along the way, you’ll also practice drawing the human figure.
The knight in this drawing carries a large sword and shield and wears a traditional helmet and armor.
Time needed: 1 hour
How to Draw a Knight
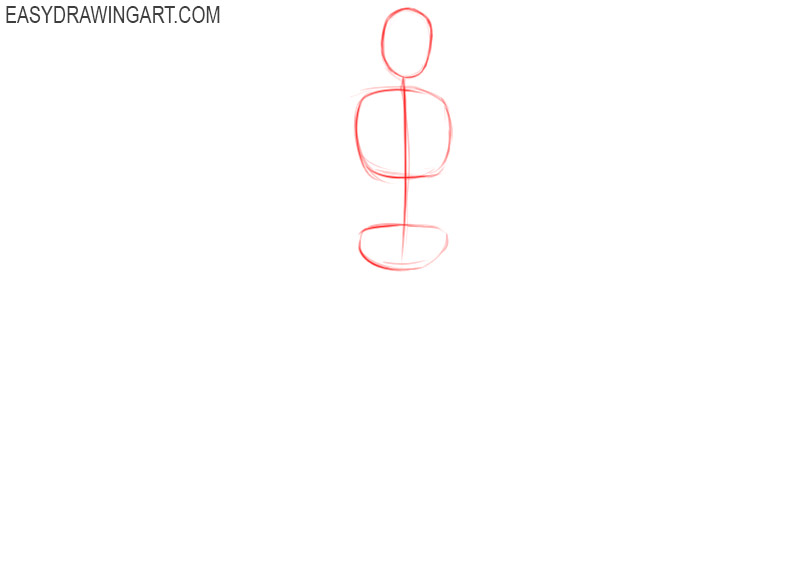
- Draw the outline of the head and add markings.
Depict the knight’s head as an oval, and add two shapes and a curved line to indicate the dimensions of the torso.

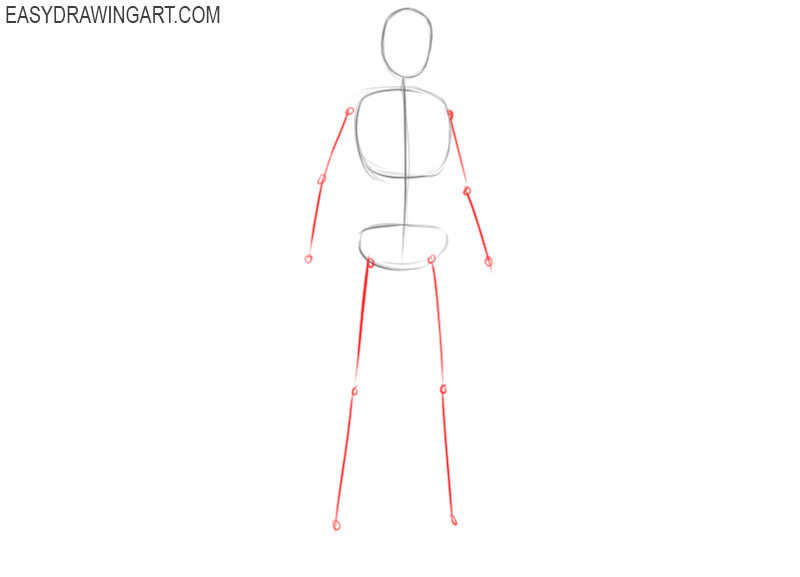
- Add the markings for the knight’s limbs.
On the sides and bottom of the previously drawn torso, draw straight lines and circles to indicate the location of the arms and legs of the knight.
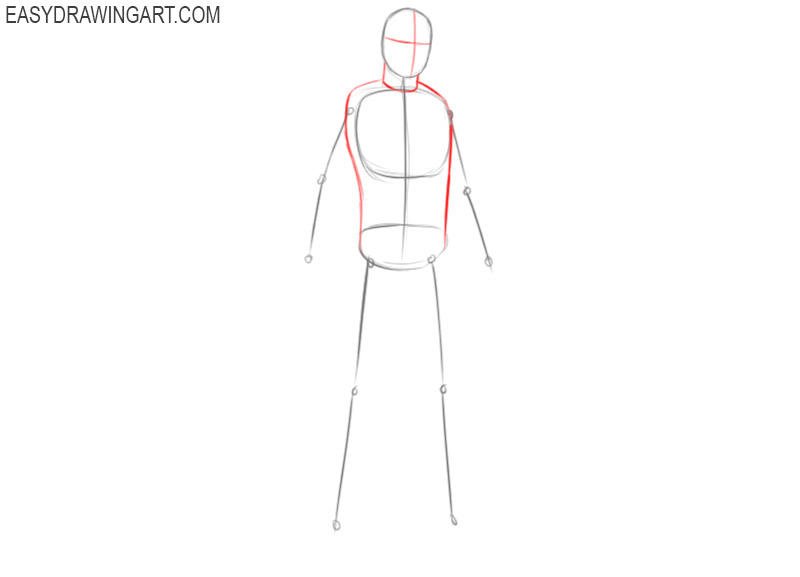
- Depict the markings on the face, neck, and outlines of the torso.
Inside the outline of the head draw two intersecting lines, add the neck as well as the outline of the torso using curved lines.
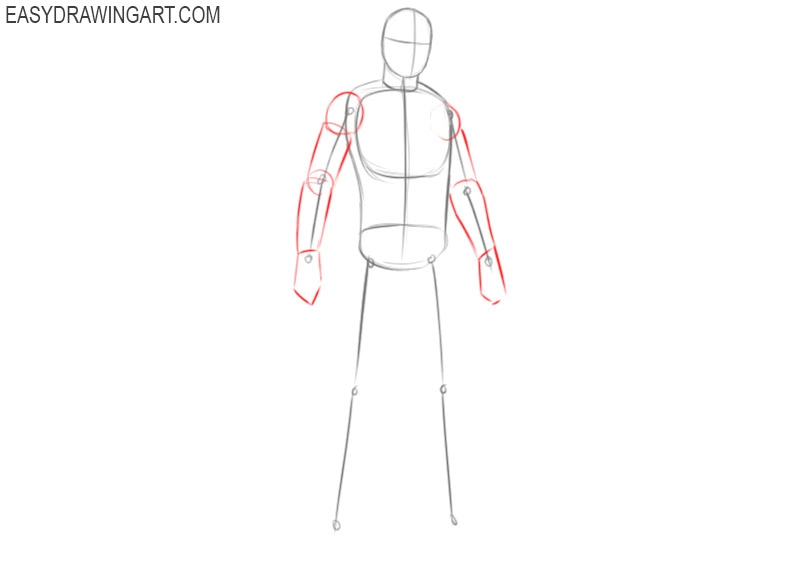
- Sketch out the arms of the knight.
Use guidelines to define the knight’s hands, elbows and shoulders, and draw the outer outline of the arms.
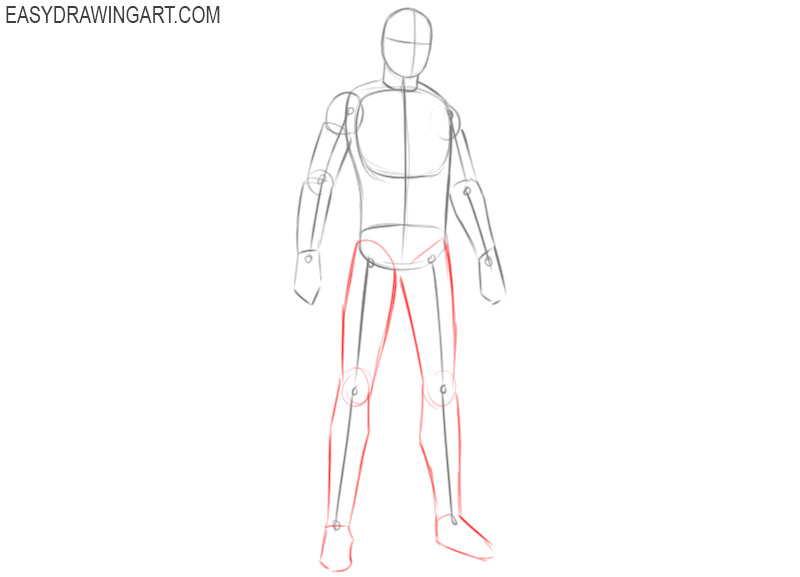
- Draw the legs of the knight.
Next to the previously drawn guidelines, draw straight and curved lines to depict the legs of the knight.
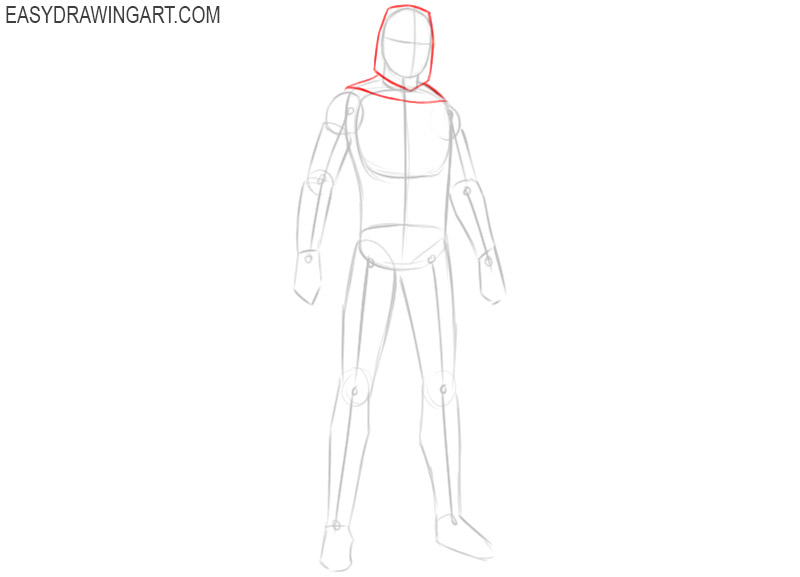
- Start drawing the knight costume.
Near the previously drawn head, neck, and shoulders of the knight, draw a few straight and curved lines, as shown in the figure.
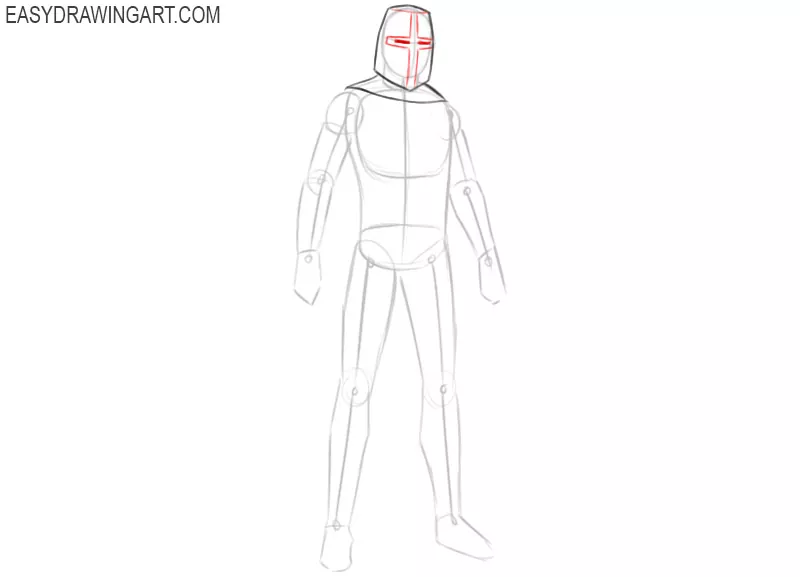
- Add the elements of the helmet.
To draw the slits for the eyes and other elements of the helmet, use straight lines of different lengths.
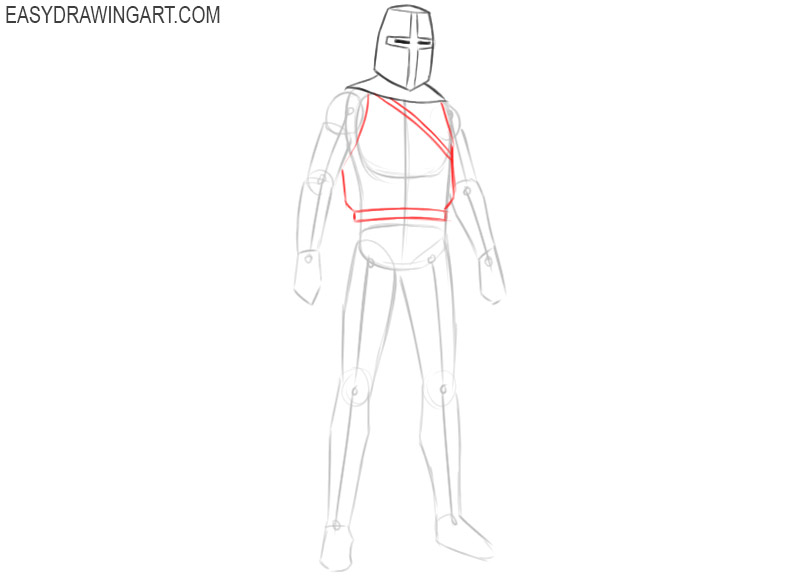
- Depict the top of the suit.
On the upper part of the knight’s torso, draw straight and curved lines, as shown in the figure, to depict the elements of the knight’s costume.
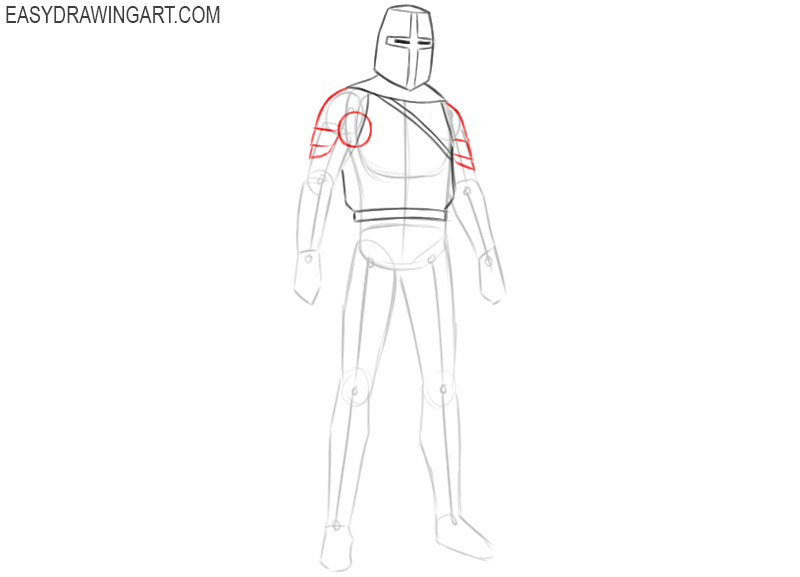
- Sketch out the knight costume on the shoulders.
On the right and left shoulders of the knight, depict straight and curved lines, and add a circle as shown in the picture.
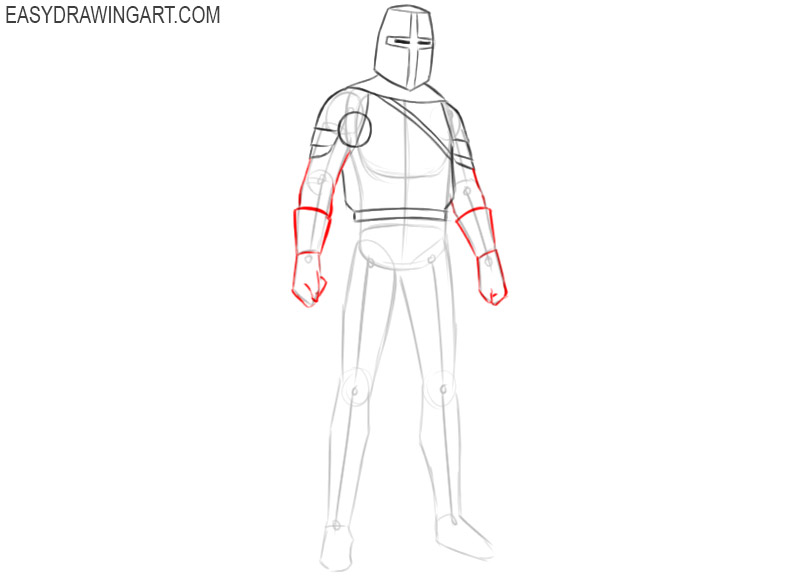
- Finish drawing the costume on the knight’s arms.
Use straight and curved lines to draw the costume on the knight’s arms.
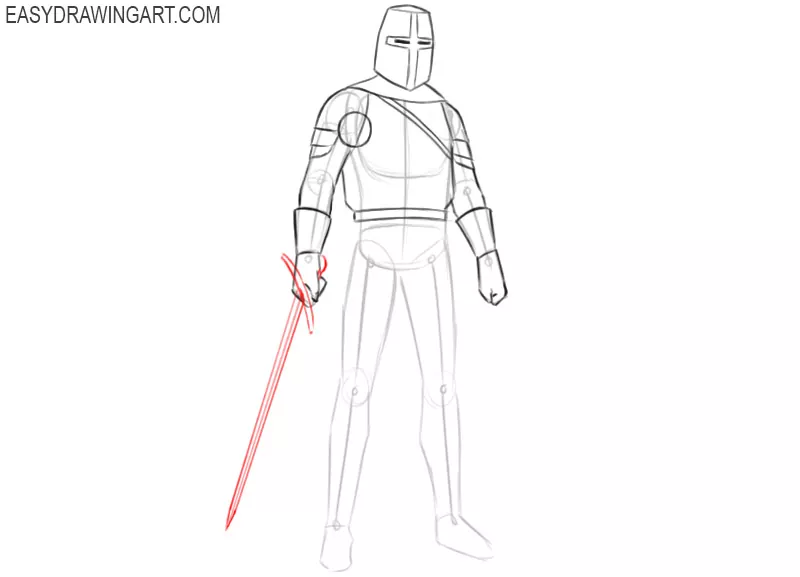
- Draw the knight’s sword.
On the left side, depict the long sharp sword, placing it in the knight’s hand. Use straight and curved lines to depict this.
- Depict the shield.
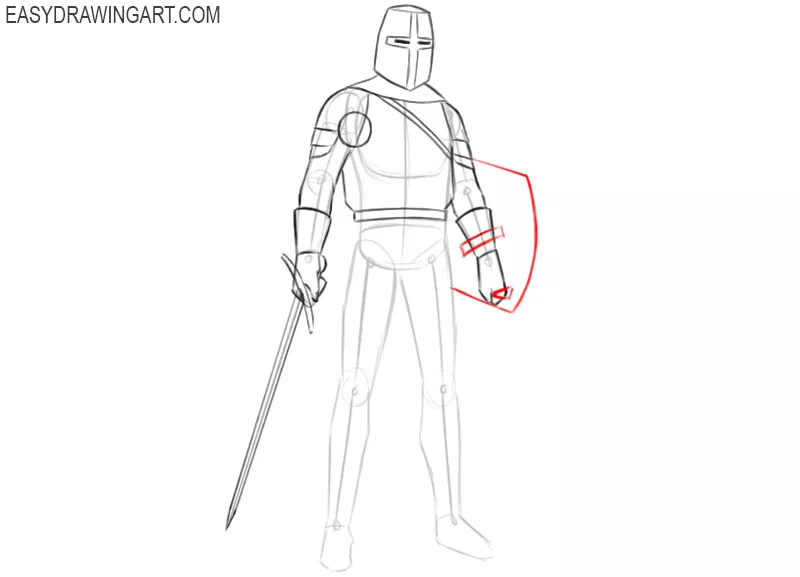
On the right side, you should add the shield by placing it on the knight’s arm and using straight and curved lines.
- Add the bottom of the suit.
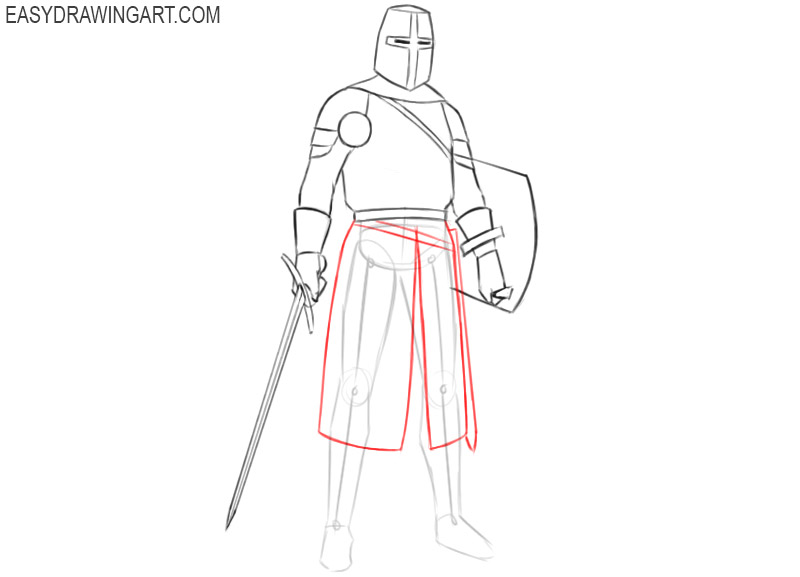
Use straight and curved lines to draw the bottom of the knight’s suit as shown.
- Finish drawing the costume on the knight’s legs.
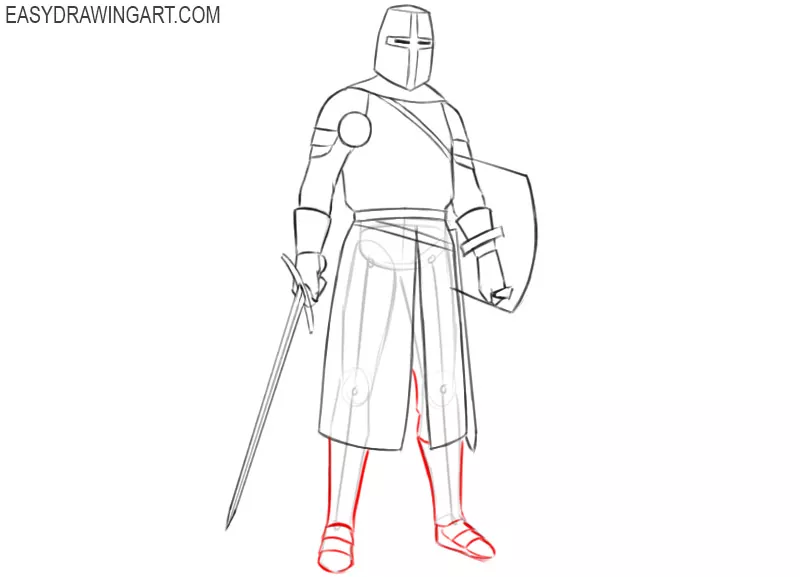
Now you should depict the knight’s shoes using curved lines of different lengths. Try to correctly depict the shape of the shoes.
- Erase extra lines.
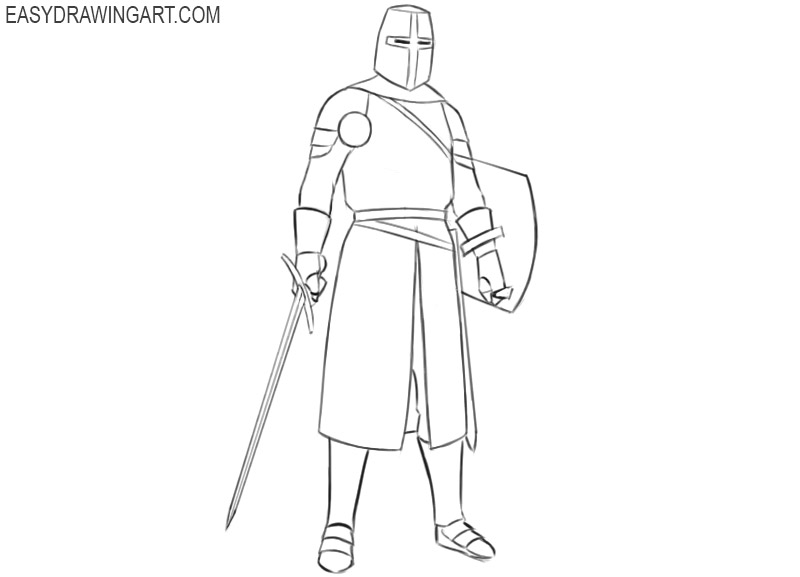
Use the eraser to erase any unnecessary guidelines from the drawing and prepare your drawing for coloring.
- Color the drawing.
To color the knight, use purple, blue, brown, yellow, shades of gray and black.
This useful and unusual drawing lesson has come to an end, with the help of which you have learned how to draw a knight step by step. If you liked this tutorial, you can share it with your friends and also leave your comment. Follow us on social media if you haven’t already and stay tuned for our updates.

erm what the sigma