How to Draw Zoro
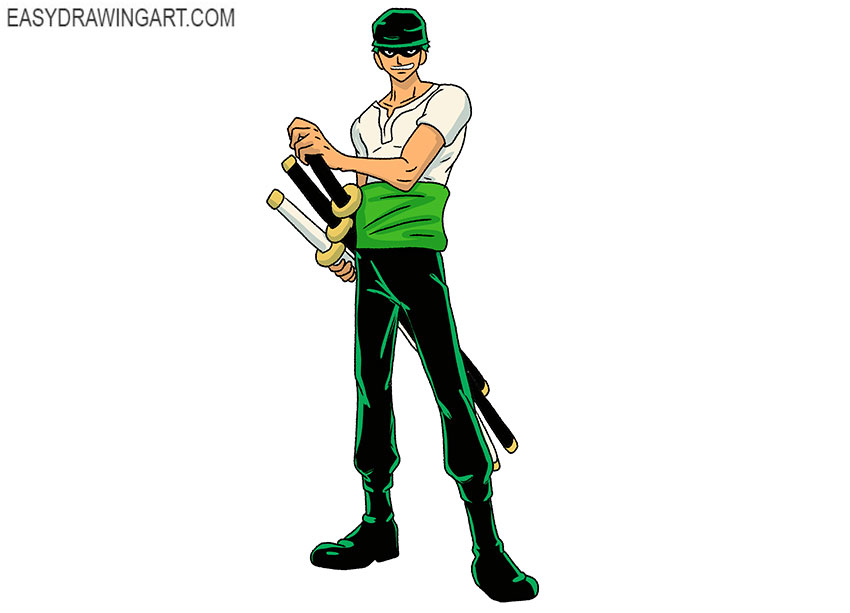
So, here is a detailed guide on how to draw Zoro. This is an anime and manga character. Zoro is depicted as a muscular young man with tan skin.
Zoro always carries three swords with him. If you follow all the steps in this guide, you will learn how to draw a popular anime character.
With this tutorial, you will practice drawing the human figure, and you can use the acquired skills in the future.
Time needed: 1 hour
How to Draw Zoro
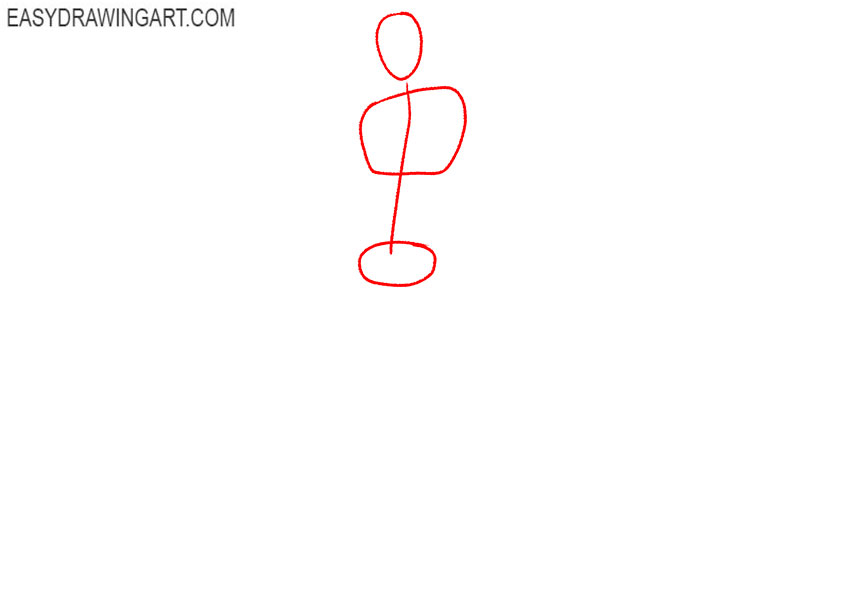
- Prepare the base.
Draw the main parts of the body in the form of figures of various shapes. Use a smooth line to mark the central axis of the body.

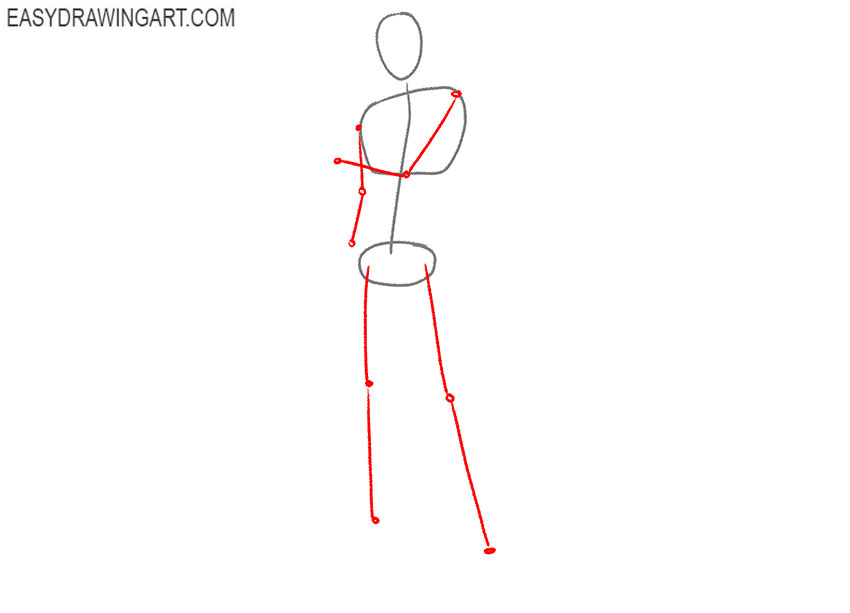
- Sketch out the limbs.
Use thin straight lines to mark the position of the arms and legs. Mark the places of the folds in the form of large dots.
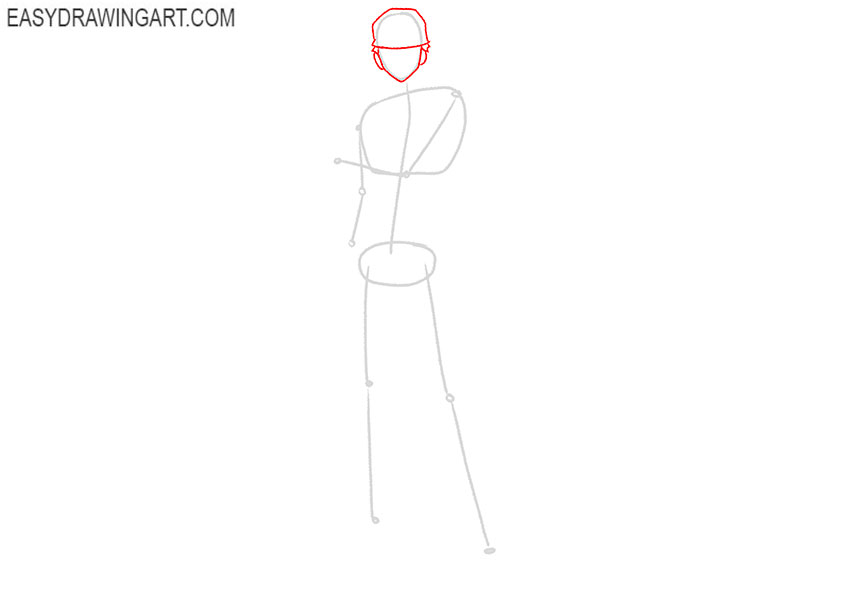
- Detail the head.
Make the oval of the face more clear, draw the ears and draw the helmet on the head, from under which the hair peeks out.
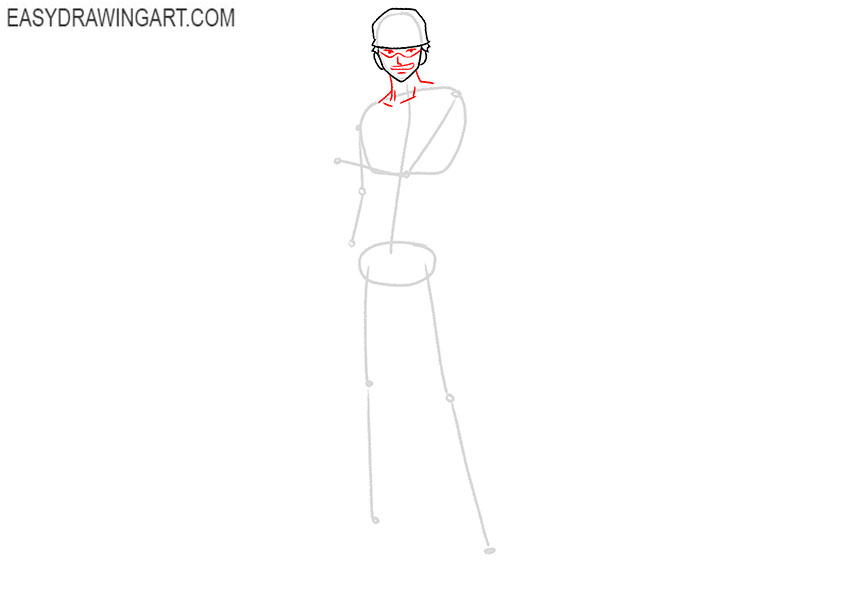
- Draw the elements of the face and neck.
Depict the eyes, nose, and mouth. Using curved lines draw the outline of the mask on the face. From the head, draw down lines on each side to represent the neck.
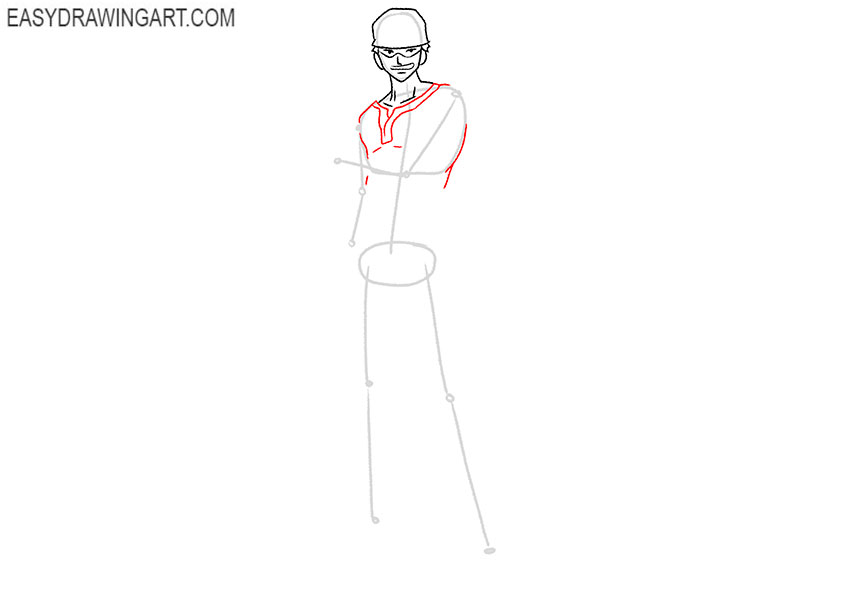
- Start drawing the clothes.
Depict the shoulders and with the help of smooth curved lines draw the wide neck. Draw the sides of the clothes.
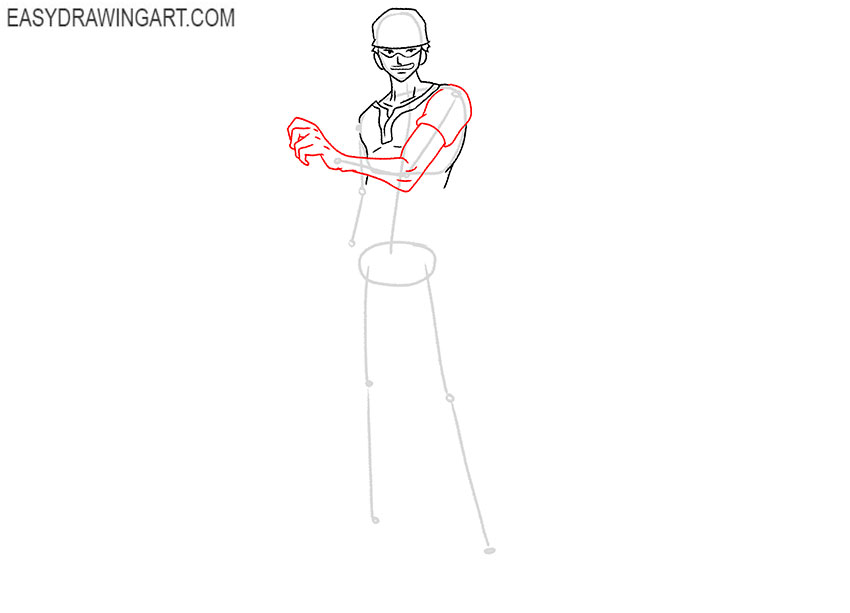
- Depict one hand.
Use the guidelines as a guide and give the arm the desired thickness and shape. Draw the short sleeve and draw the hand in the same position as in the example.
- Add the second hand and hilts of the swords.
From the shoulder, draw a smooth line down to depict the outline of the arm. At the bottom, draw the hand and depict three swords in sequence.
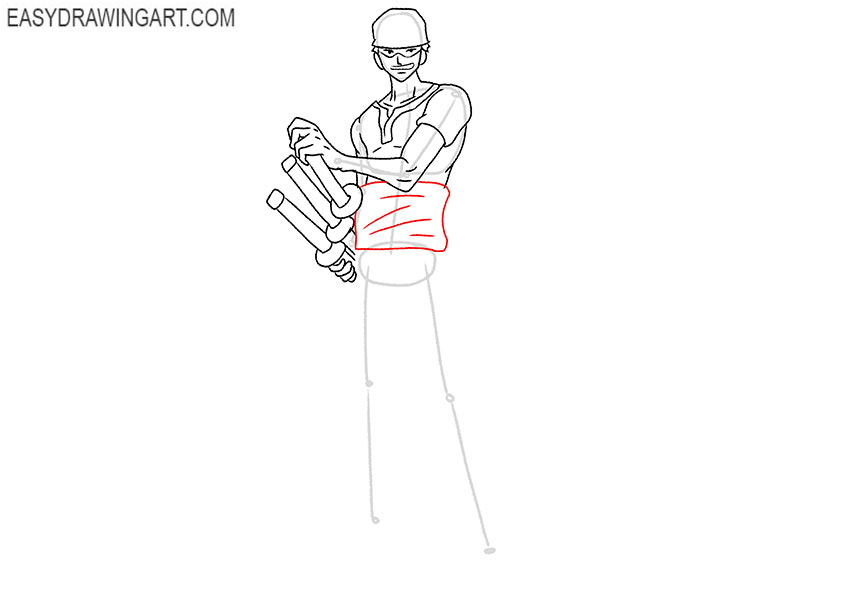
- Draw the belt.
With the help of smooth lines, draw the wide belt, then add few transverse folds to the fabric.
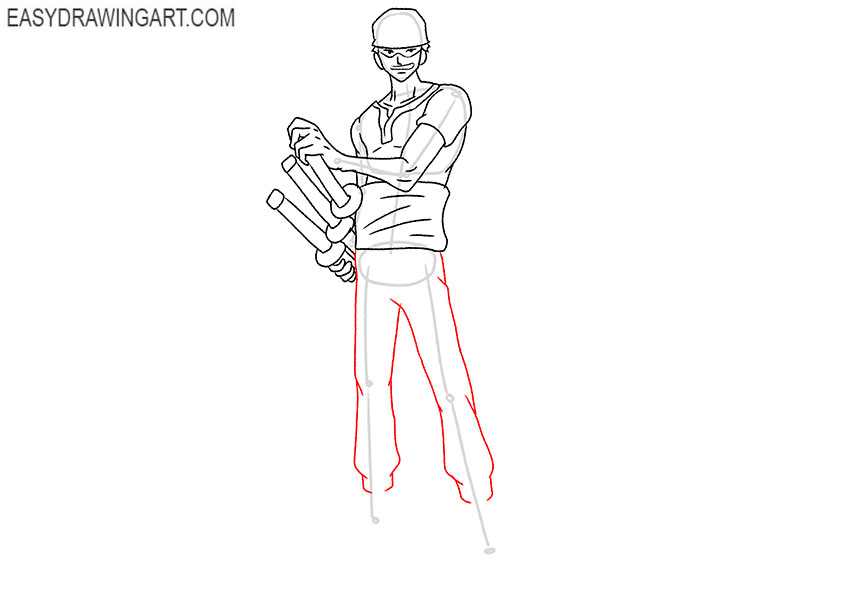
- Sketch out the pants.
Focus on the auxiliary lines and draw the outline of the trousers. The bottoms of the trousers are wider and then taper sharply. Add the pleats to the trousers.
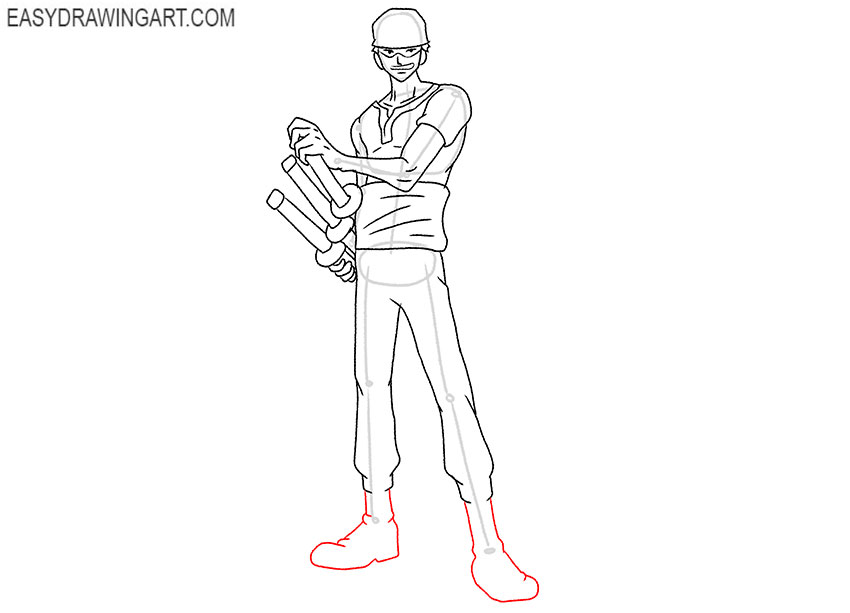
- Add the shoes.
Continue detailing the legs and in this step draw the high boots in which the feet are turned in different directions.
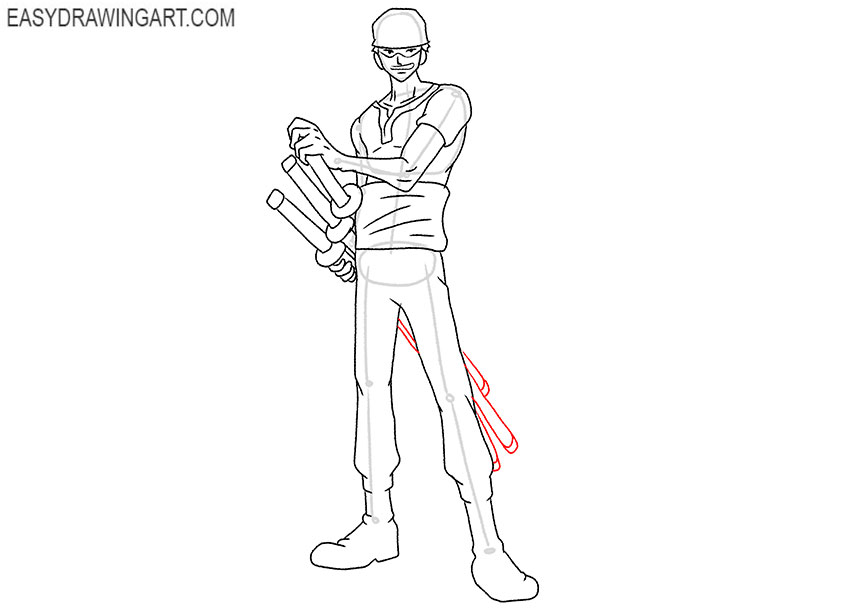
- Draw the rest of the outlines of the swords.
With the help of several straight lines depict the visible parts of the three swords that are hidden behind the back.
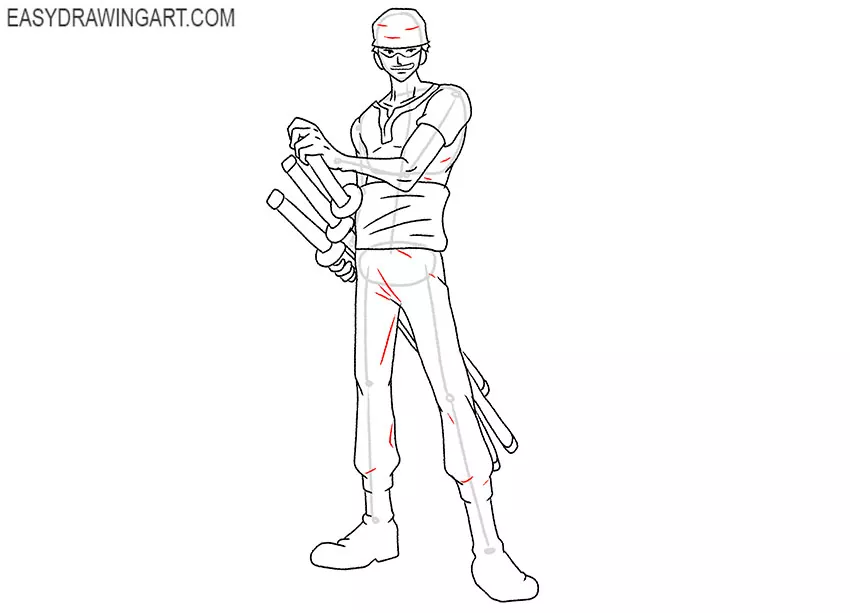
- Add details.
With the help of thin lines of different lengths, add the folds to the clothes and draw some stripes on the helmet.
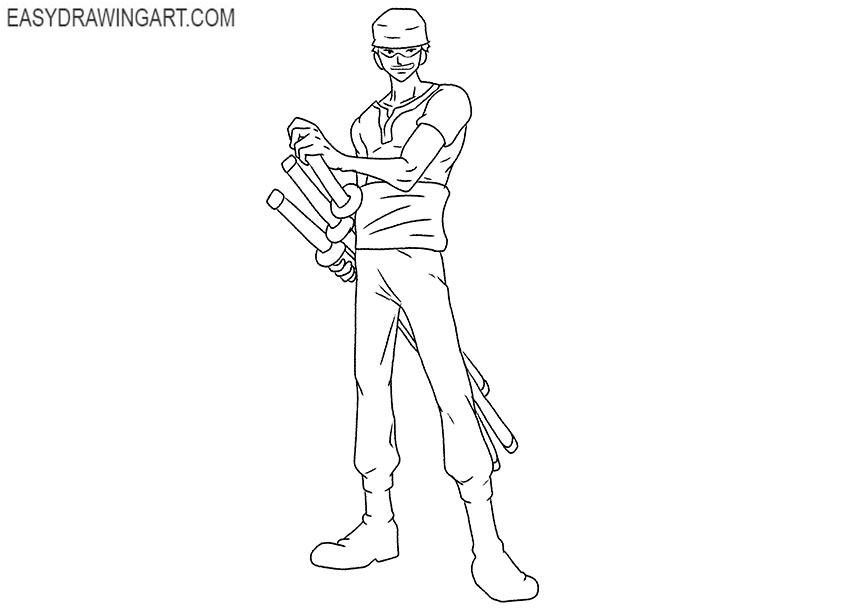
- Correct inaccuracies.
Now all the contours are ready, it remains only to remove the extra lines in the drawing and correct the inaccuracies.
- Color the drawing.
Color the skin beige. For coloring clothes, use black and green. Color the swords yellow and black.

We believe you are making progress. We recommend that you subscribe to us on social networks to keep abreast of updates on the site.