How to Draw Cowboy Boots
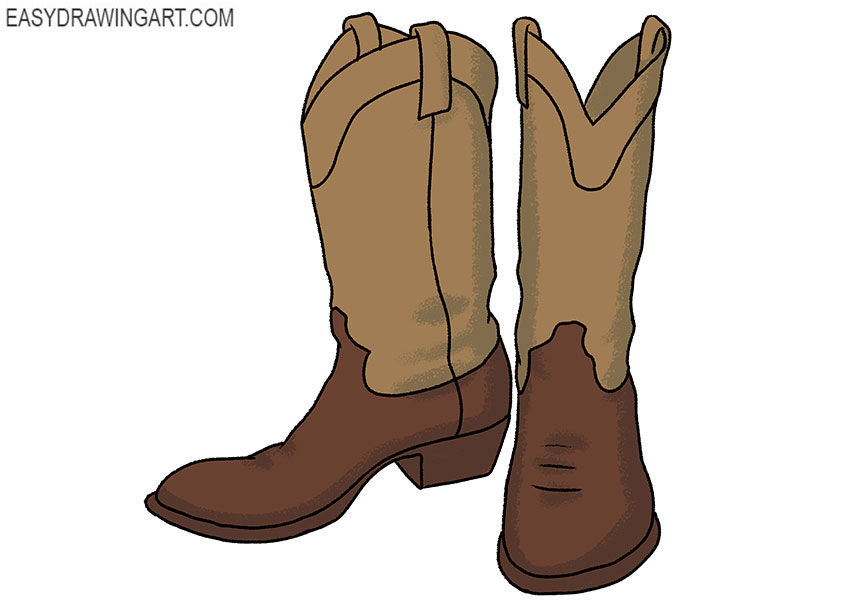
We are glad that you are interested in our step-by-step tutorials, and now you will learn how to draw cowboy boots step by step. These are the shoes worn by North American cowboy shepherds.
Boots have a high beveled heel, a wide top and a figured upper contour. In the process of drawing, try to correctly depict the outer contour of the boot, and you can draw the rest of the details without difficulty.
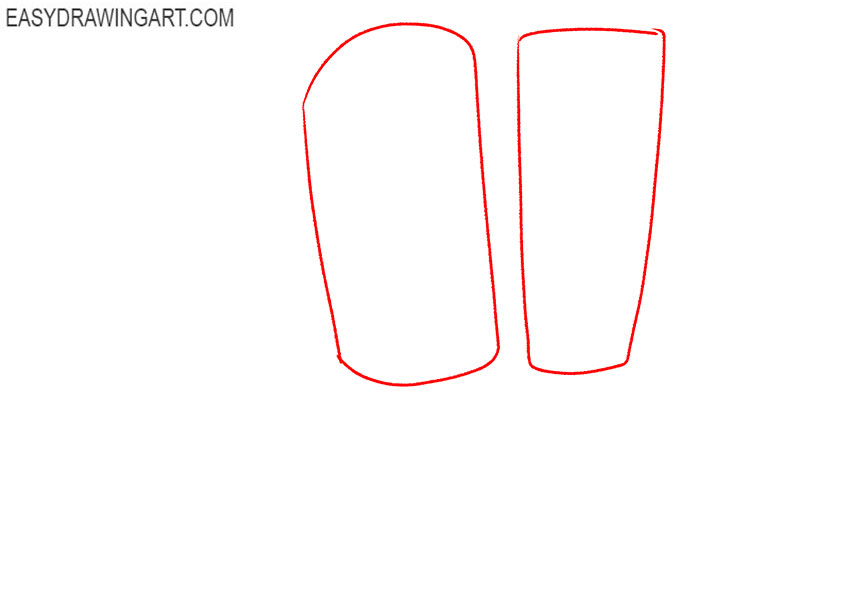
Step 1: Draw the cowboy boot shafts
Determine the size and placement of the footwear, then use thin lines to draw both shafts of the cowboy boots. Leave some space between them and make each shaft slightly narrower toward the ankle.
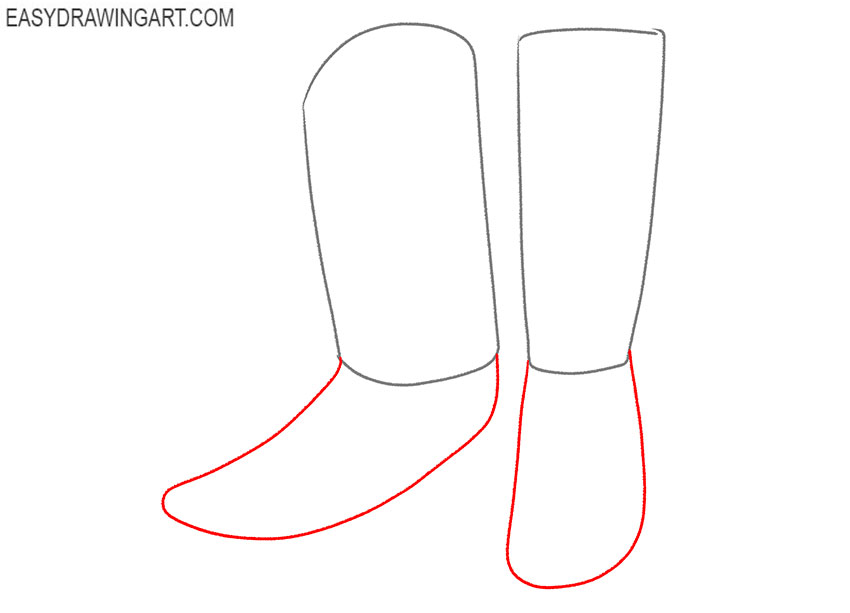
Step 2: Add the lower parts of the boots
Use smooth, curved lines to draw the lower parts of both cowboy boots. Position the feet at different angles and connect each foot shape naturally to the shaft above it.
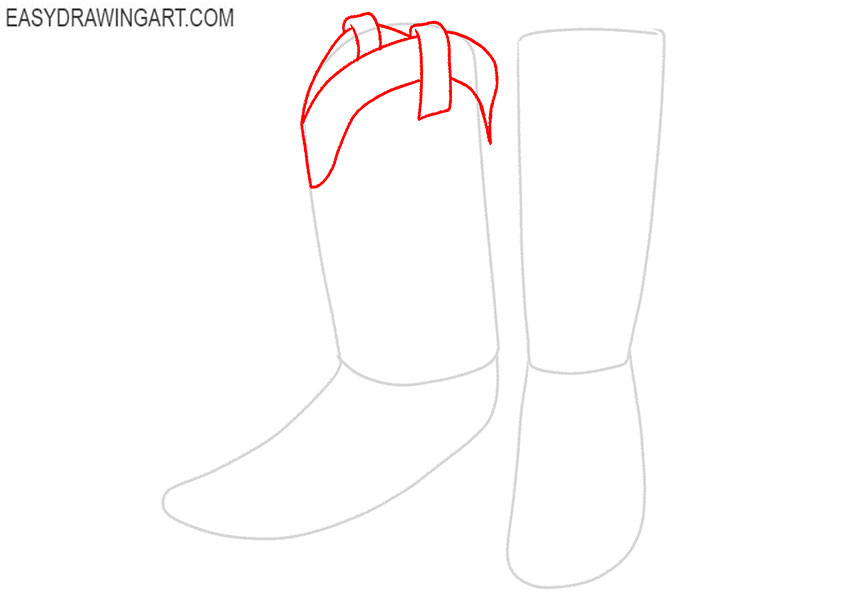
Step 3: Detail the top of the first boot
Use the construction lines to refine the top of the first boot. Shape the curved opening and upper corners, then add the decorative lines across the front of the shaft.
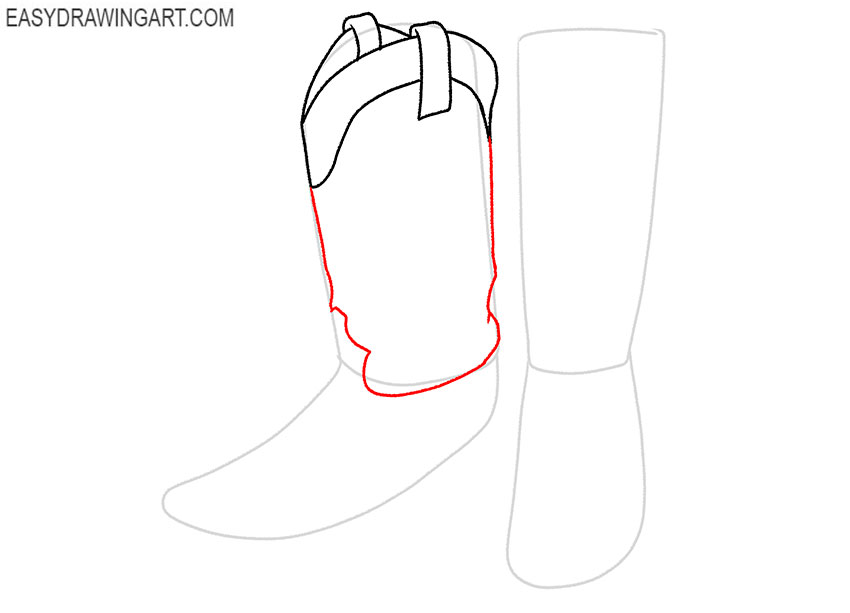
Step 4: Outline shape of the first shaft
Trace the sides of the first shaft with clear, slightly curved lines. Define its final shape and draw several short leather folds near the ankle at the bottom of the shaft.
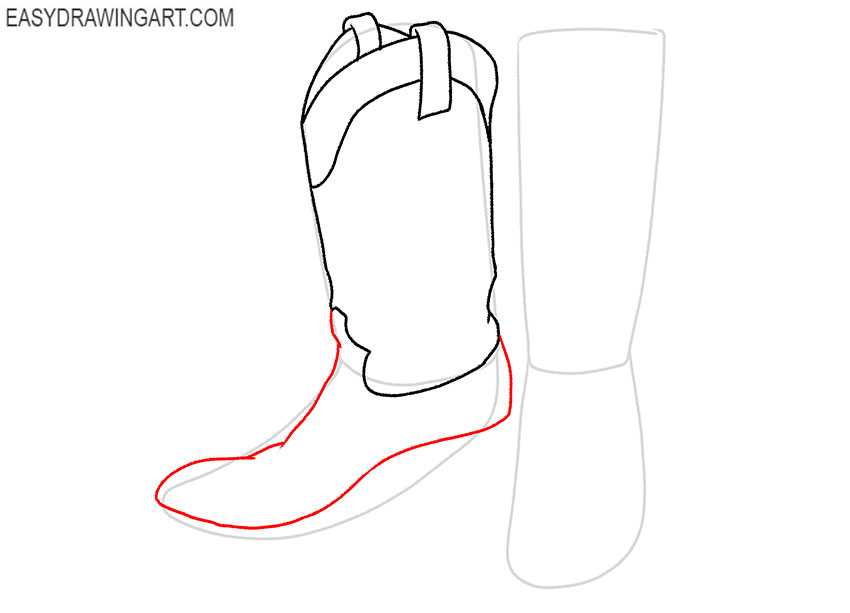
Step 5: Sketch the foot of the first boot
Continue the outline of the first cowboy boot with clear, curved lines. Shape the pointed toe, instep, and back of the foot while preserving the angle established earlier.
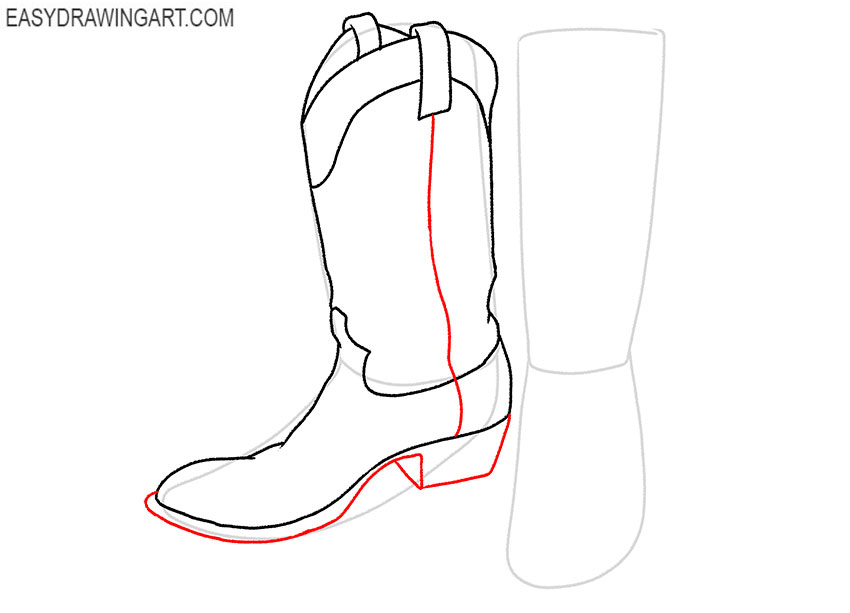
Step 6: Add the sole, heel, and seam
Draw the cowboy boot sole beneath the foot, then add the beveled cowboy heel at the back. Finish this section with a smooth vertical seam along the front.
Step 7: Draw the top of the second cowboy boot
Refine the top of the second boot with smooth, curved lines. Form the shaped opening and upper corners, then repeat the decorative pattern used on the first shaft.
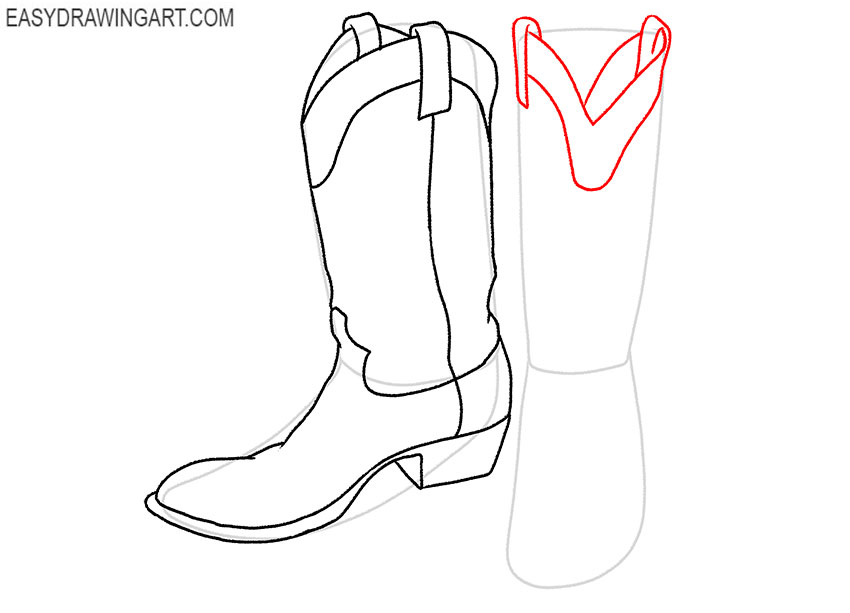
Step 8: Outline the second shaft shape
Use the guidelines to define the sides of the second shaft with clear, curved lines. Give it the intended shape and add several short folds around the ankle area.
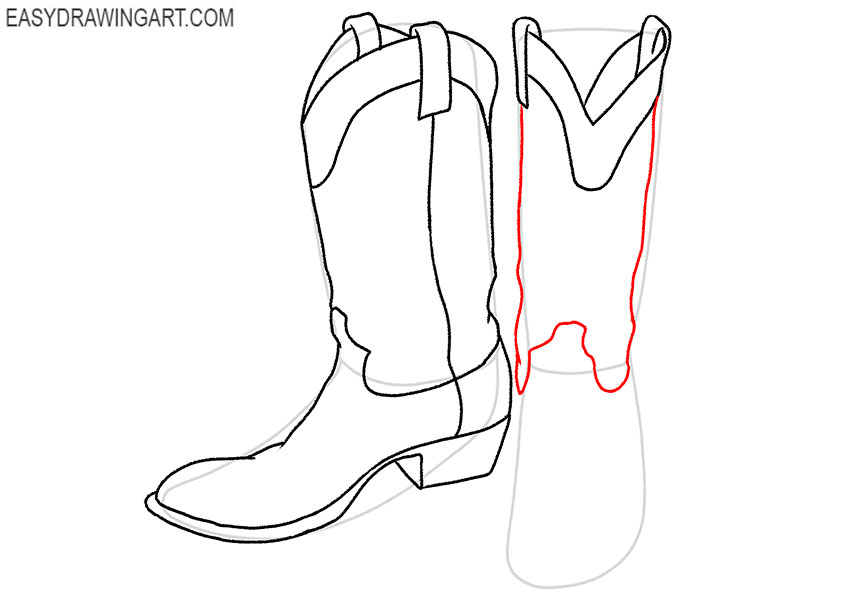
Step 9: Outline the foot of the second boot
Trace the lower part of the second cowboy boot with a smooth line. Define the pointed toe, instep, and back of the foot, then add several short folds across the ankle.
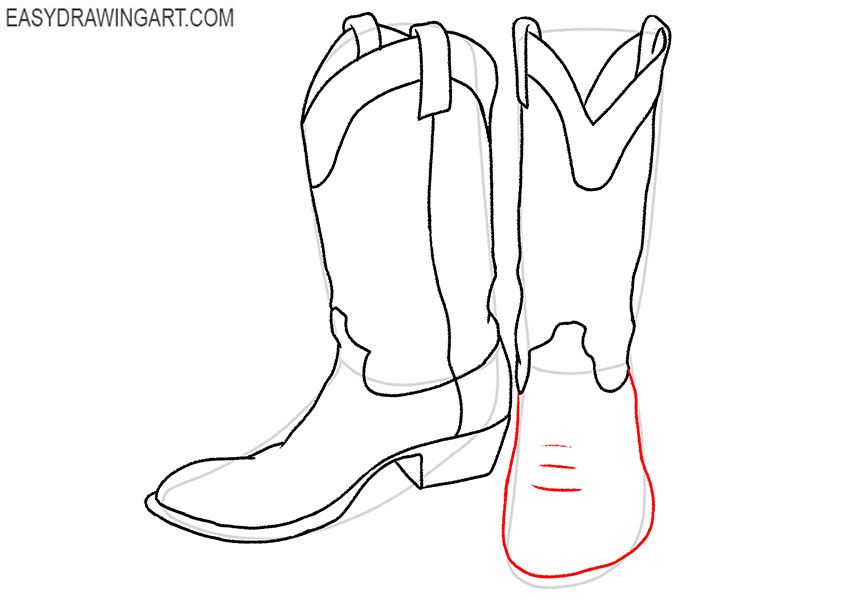
Step 10: Draw the second sole and heel
Draw a smooth line beneath the second cowboy boot to form the thick sole. Add the angled cowboy heel at the back and connect both parts cleanly to the foot outline.
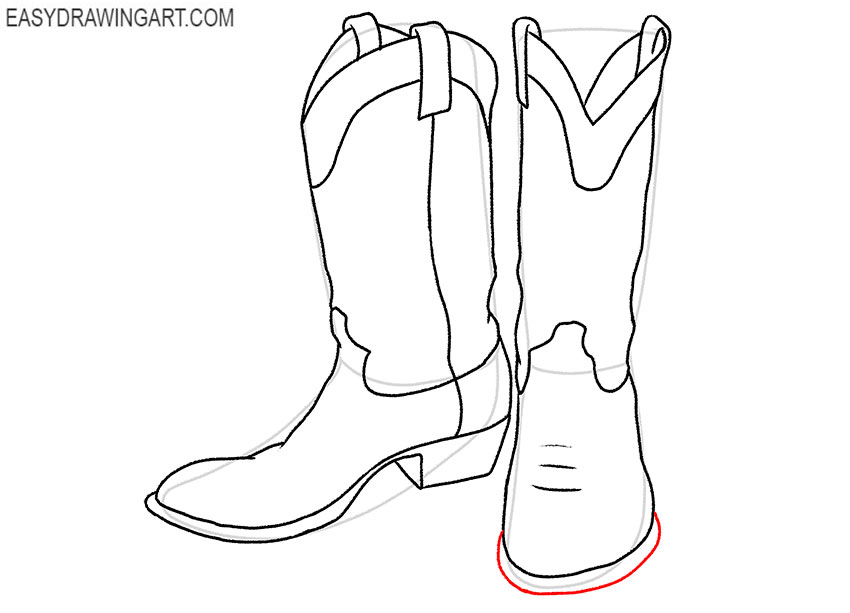
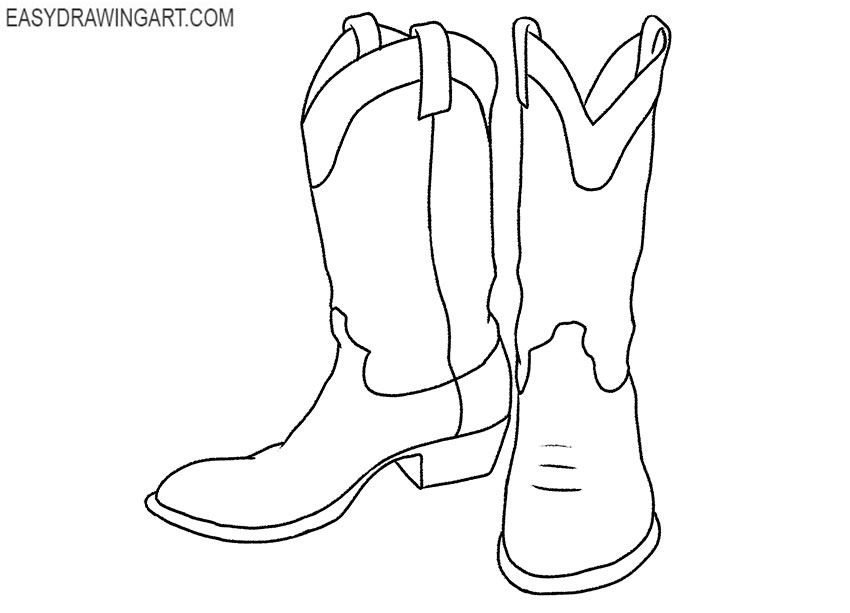
Step 11: Clean up the cowboy boots drawing
Erase the remaining construction lines from both boots. Refine the shafts, toes, soles, heels, seams, decorative elements, and folds to create a clean line drawing.
Step 12: Color the cowboy boots
Color the leather boots with different shades of brown. Use darker tones for the soles, heels, openings, seams, and shaded areas, and add lighter highlights to the shafts.
The cowboy boots are complete, with shaped leather shafts, decorative seams, pointed toes, and angled heels.
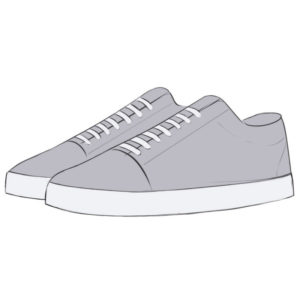
Continue the western theme by drawing a cowboy or sketching a horse. You can also practice other footwear by drawing a pair of boots or sketching sneakers.
We hope you enjoyed your time. Don’t forget to follow us on social media if you haven’t already and stay tuned for updates.