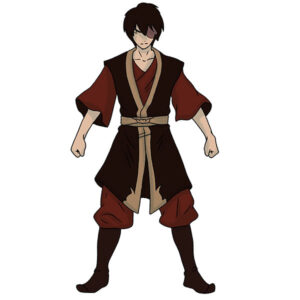
How to draw Charmander

In this simple tutorial, we’ll show you how to draw Charmander. This Pokémon is a cute lizard-like creature.
The character’s creator did a great job, and as a result, Charmander has a large following. The salamander was used as a basis.
Charmander is also known as a fire Pokémon, with a small flame at the tip of its tail. The flame on its tail never goes out and reflects the Pokémon’s mood and health.
In this tutorial, we’ll show you how to draw all these features and give the Pokémon an authentic look.
How to Draw Charmander Step by Step
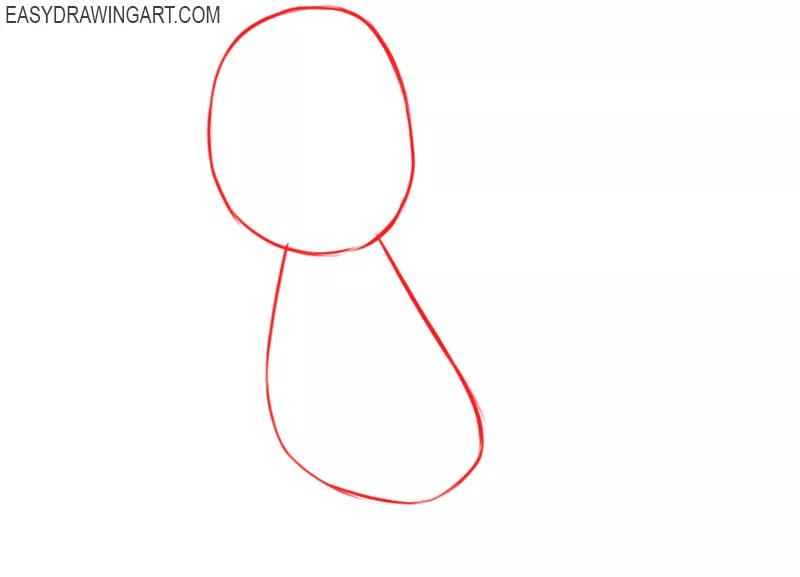
Step 1: Sketch Charmander’s head and torso
Begin the Charmander drawing with a large oval for the head. Below it, sketch a smaller elongated oval for the torso, connecting it with the head.
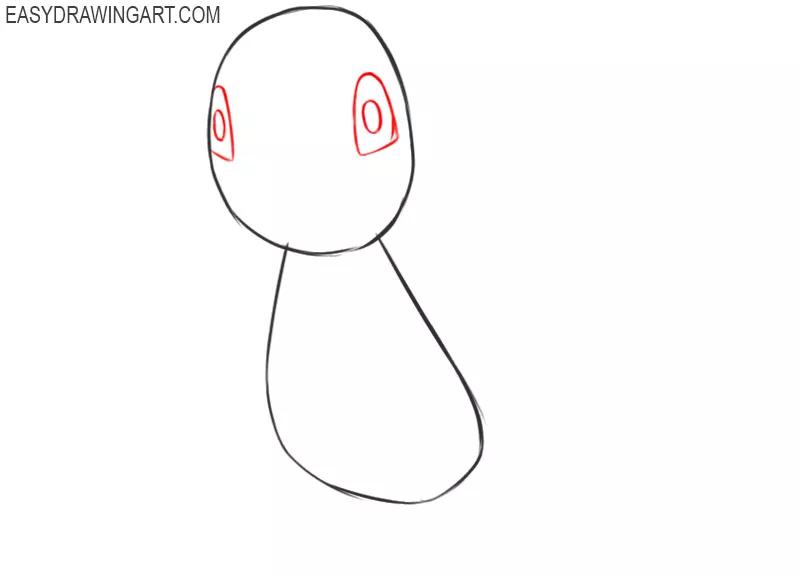
Step 2: Draw Charmander’s large eyes
Inside the head, draw the eyes as two tall, rounded shapes placed well apart. Add the curved inner outlines and small pupils.
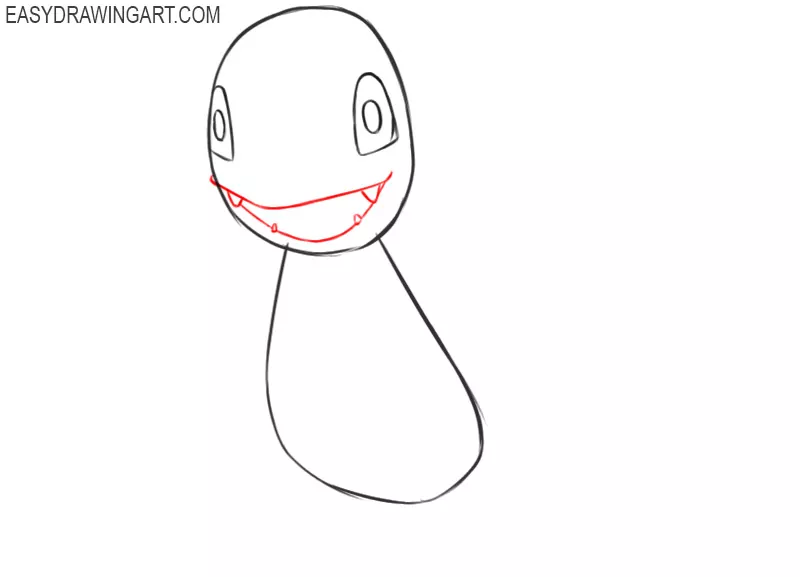
Step 3: Outline Charmander’s wide mouth
Across the lower part of the head, draw the wide mouth with a long curved line. Add the lower edge beneath it. Give the mouth a broad, smooth shape.
Step 4: Add Charmander’s facial details
Draw a curved tongue inside the mouth of Charmander and add two short nostril marks above it. Place small curved strokes beside the eyes to complete the main features of the Pokémon’s face.
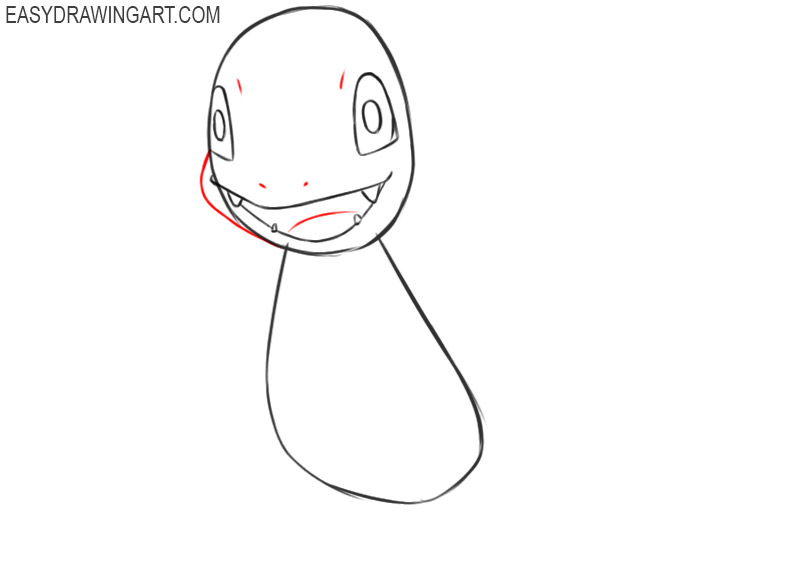
Step 5: Outline the Pokémon character’s arms
Extend smooth lines outward from the sides of the torso to draw the arms. Make them short and curved, then connect the head and body with two small neck lines.
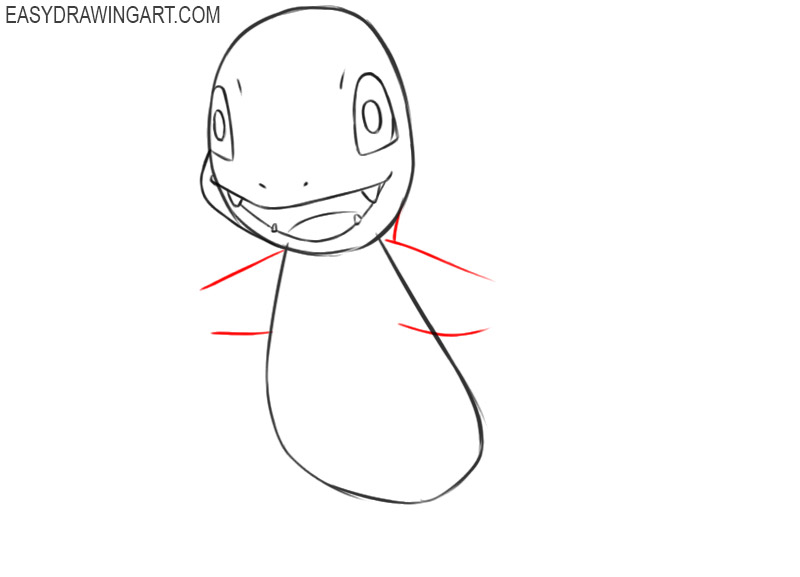
Step 6: Draw Charmander’s fingers and claws
At the end of each arm, add four short pointed fingers. Form every finger with small triangular lines and direct the claws on each raised hand.
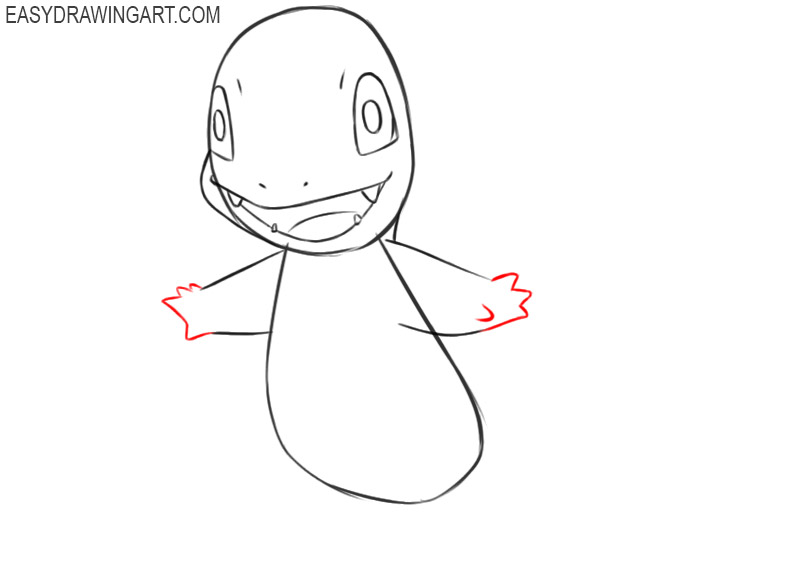
Step 7: Sketch Charmander’s bent legs
From the lower torso, draw the legs with broad, smooth lines. Give the legs a slightly different curve to make the Pokemon look more lifelike.
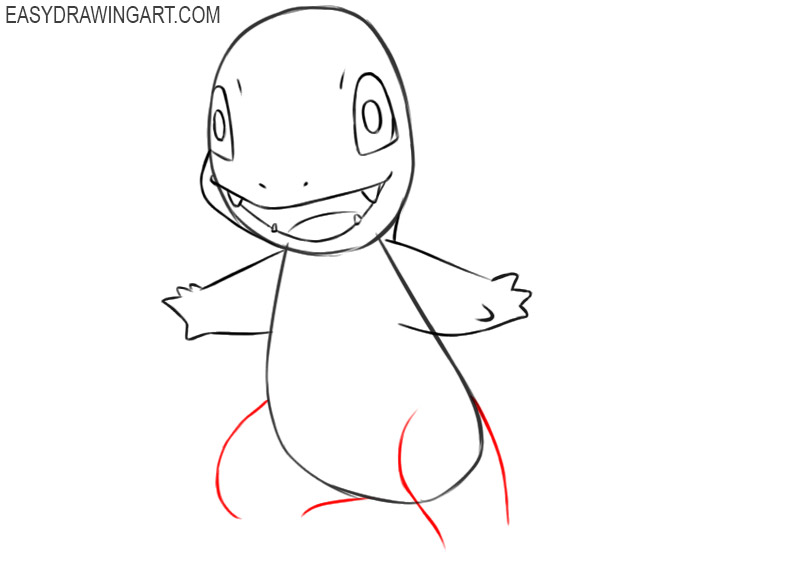
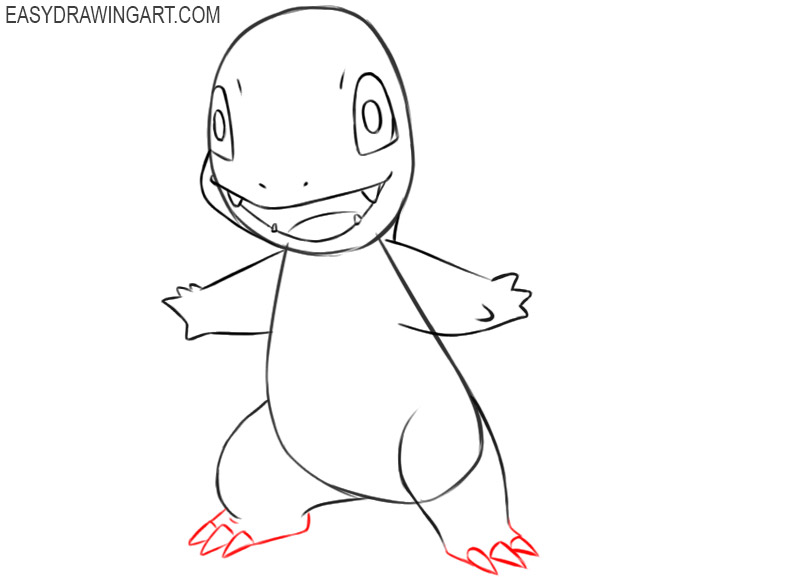
Step 8: Add Charmander’s feet and claws
Outline two feet pointing in opposite directions. Add three large triangular claws to each foot, spacing the pointed shapes along the outer edge of the Pokémon’s lower paws.
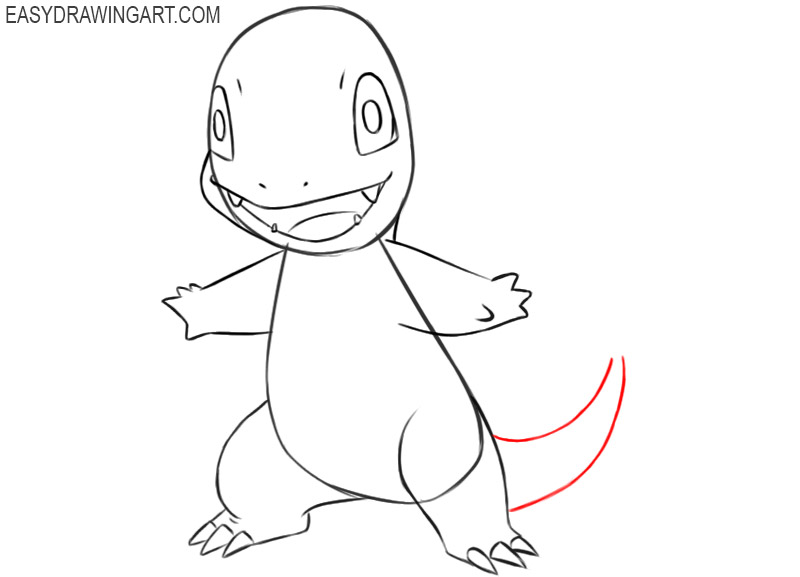
Step 9: Draw Charmander’s curved tail
From the side of the torso, draw the tail of the Pokemon, using two long curved lines. Make its base thick near the body and gradually narrow the shape toward the raised tip.
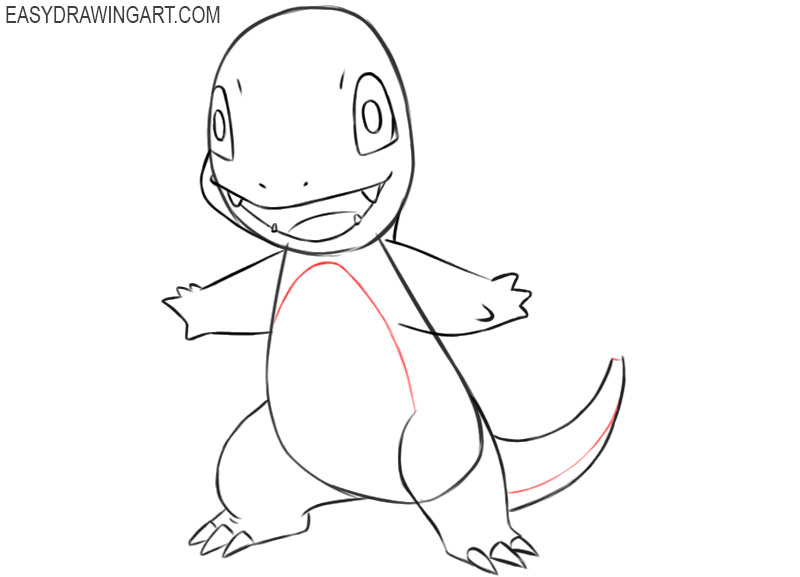
Step 10: Define the belly and tail markings
Draw a curved line across the front of Charmander’s torso to outline the lighter belly area. Add another curved boundary on the tail tip to separate the top and bottom sections.
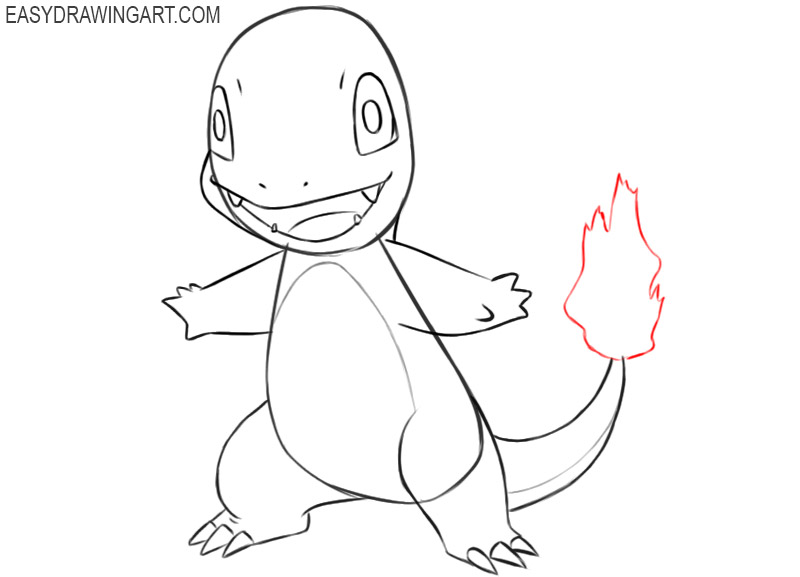
Step 11: Sketch the flame on Charmander’s tail
At the end of the tail, outline the flame with several uneven, pointed curves. Add a smaller flame shape inside it to divide the yellow center from the orange-red outer area.
Step 12: Refine the Charmander line drawing
Erase the remaining guide lines and correct any uneven contours. Darken the final contours around the face, body, limbs, claws, tail, and flame to prepare the Pokémon drawing for coloring.
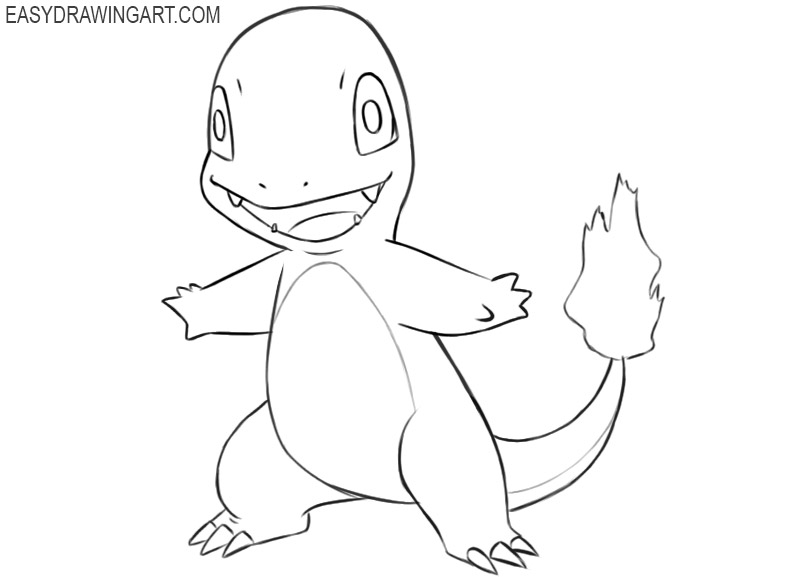
Step 13: Color the Charmander drawing
Color Charmander’s body orange and fill the belly with a light beige tone. Use blue and black for the eyes, red for the mouth, and yellow, orange, and red for the tail flame.
More About Drawing Charmander
Charmander looks detailed at first glance, but the character is built from a surprisingly small number of simple shapes.
Once those larger forms are in place, the eyes, claws, belly, and tail flame become much easier to position without constantly correcting the outline.
This same approach works well whenever you’re drawing stylized characters. Start with the biggest forms, establish how they connect, and leave the smaller details until the overall figure already feels complete.
If you’d like to continue with another Pokémon, try drawing Pikachu. You can also practice the same construction methods by drawing a dinosaur, where rounded body shapes are developed in much the same way.