

How to Draw an Arrow
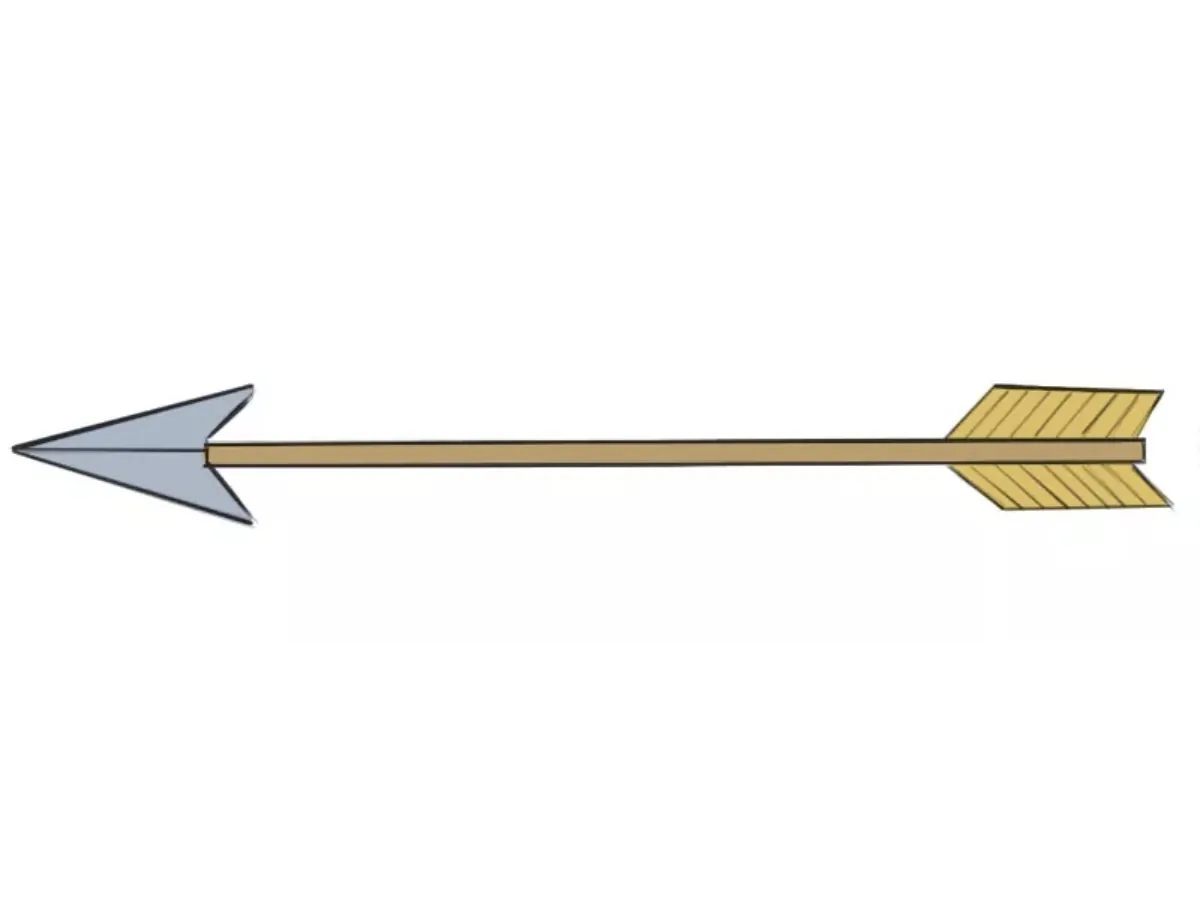
In this very simple tutorial the team of the EasyDrawingArt will show you how to draw an arrow step by step easily.
In fact, an arrow is a very simple object that can be drawn using just a few straight lines. It consists of three main parts: the shaft, the head (or tip), and the tail.
You can draw all of these parts using straight lines. Although a ruler or other drawing tools can help, we recommend drawing the lines freehand.
This will help you develop better pencil control and improve your drawing skills over time.
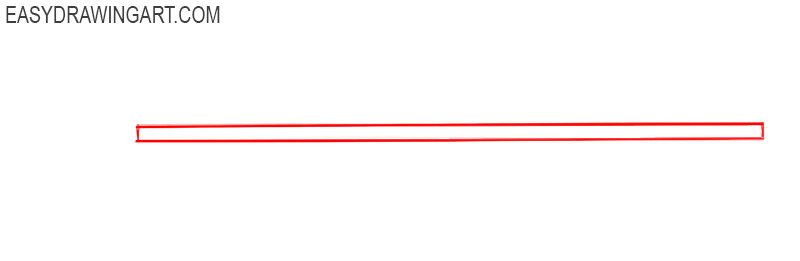
Step 1: Sketch the arrow shaft
Begin the arrow by outlining the shaft. Lightly sketch a long, narrow rectangle, keeping the sides parallel and the width consistent from one end to the other. Set the proportions based on how long you want your arrow to appear. Try to keep your lines clean but still light enough for small adjustments. Maintaining symmetry at this stage helps the entire drawing look correct later.
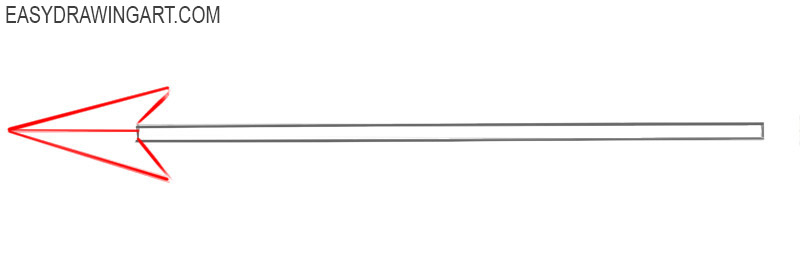
Step 2: Add the arrowhead
Next, illustrate the arrowhead. Draw a pointed triangular shape at the front end of the arrow shaft with firm, deliberate lines, since this part will not require major corrections later. Make the shape centered on the shaft. You can adjust the angle of the sides if you want the arrowhead to look sharper or broader.
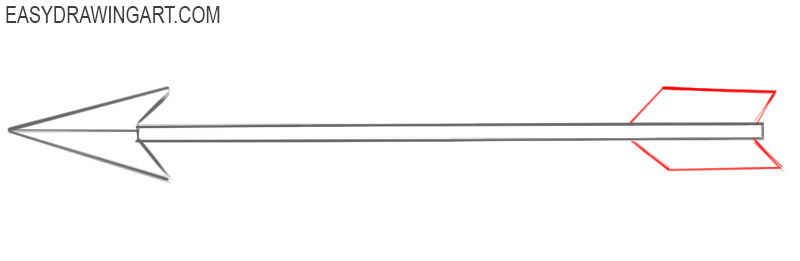
Step 3: Draw the arrow fletching
Now make a light sketch of the fletching. On both sides of the back end of the shaft, draw two identical parallelogram-like shapes. These should mirror each other, keeping the same angle and size. Work lightly so you can correct the angles if needed.
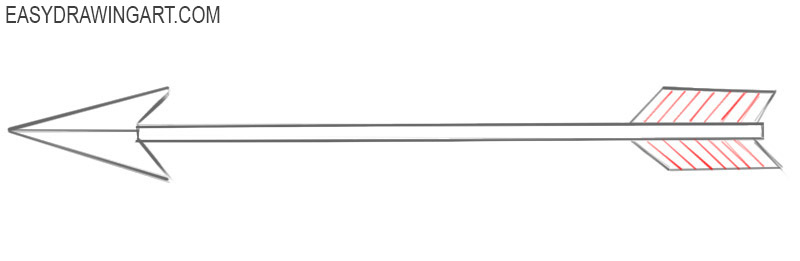
Step 4: Draw feather details on the arrow
Now, draw the feathers inside the shape of the fletching. Draw the same number of slanted, evenly spaced lines on each part of the fletching. The lines should be straight and parallel. This detailing creates the feather texture and makes the back of the arrow look more realistic.
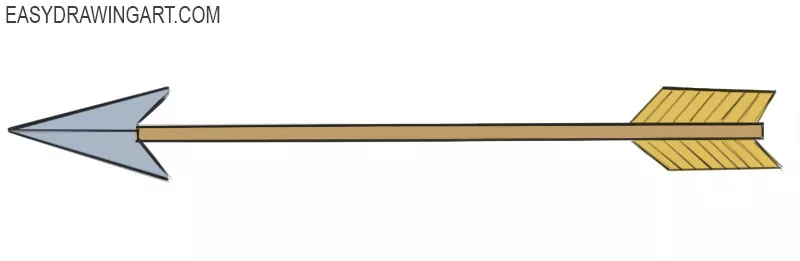
Step 5: Add color to the arrow
It’s time to add color and a bit of realism to your arrow drawing. In this example, the tip is steel gray, the shaft is a wooden brown, and the fletching is a warm yellow. Of course, you can choose any colors you prefer. You may also add simple shadows along one side to give the arrow more volume.
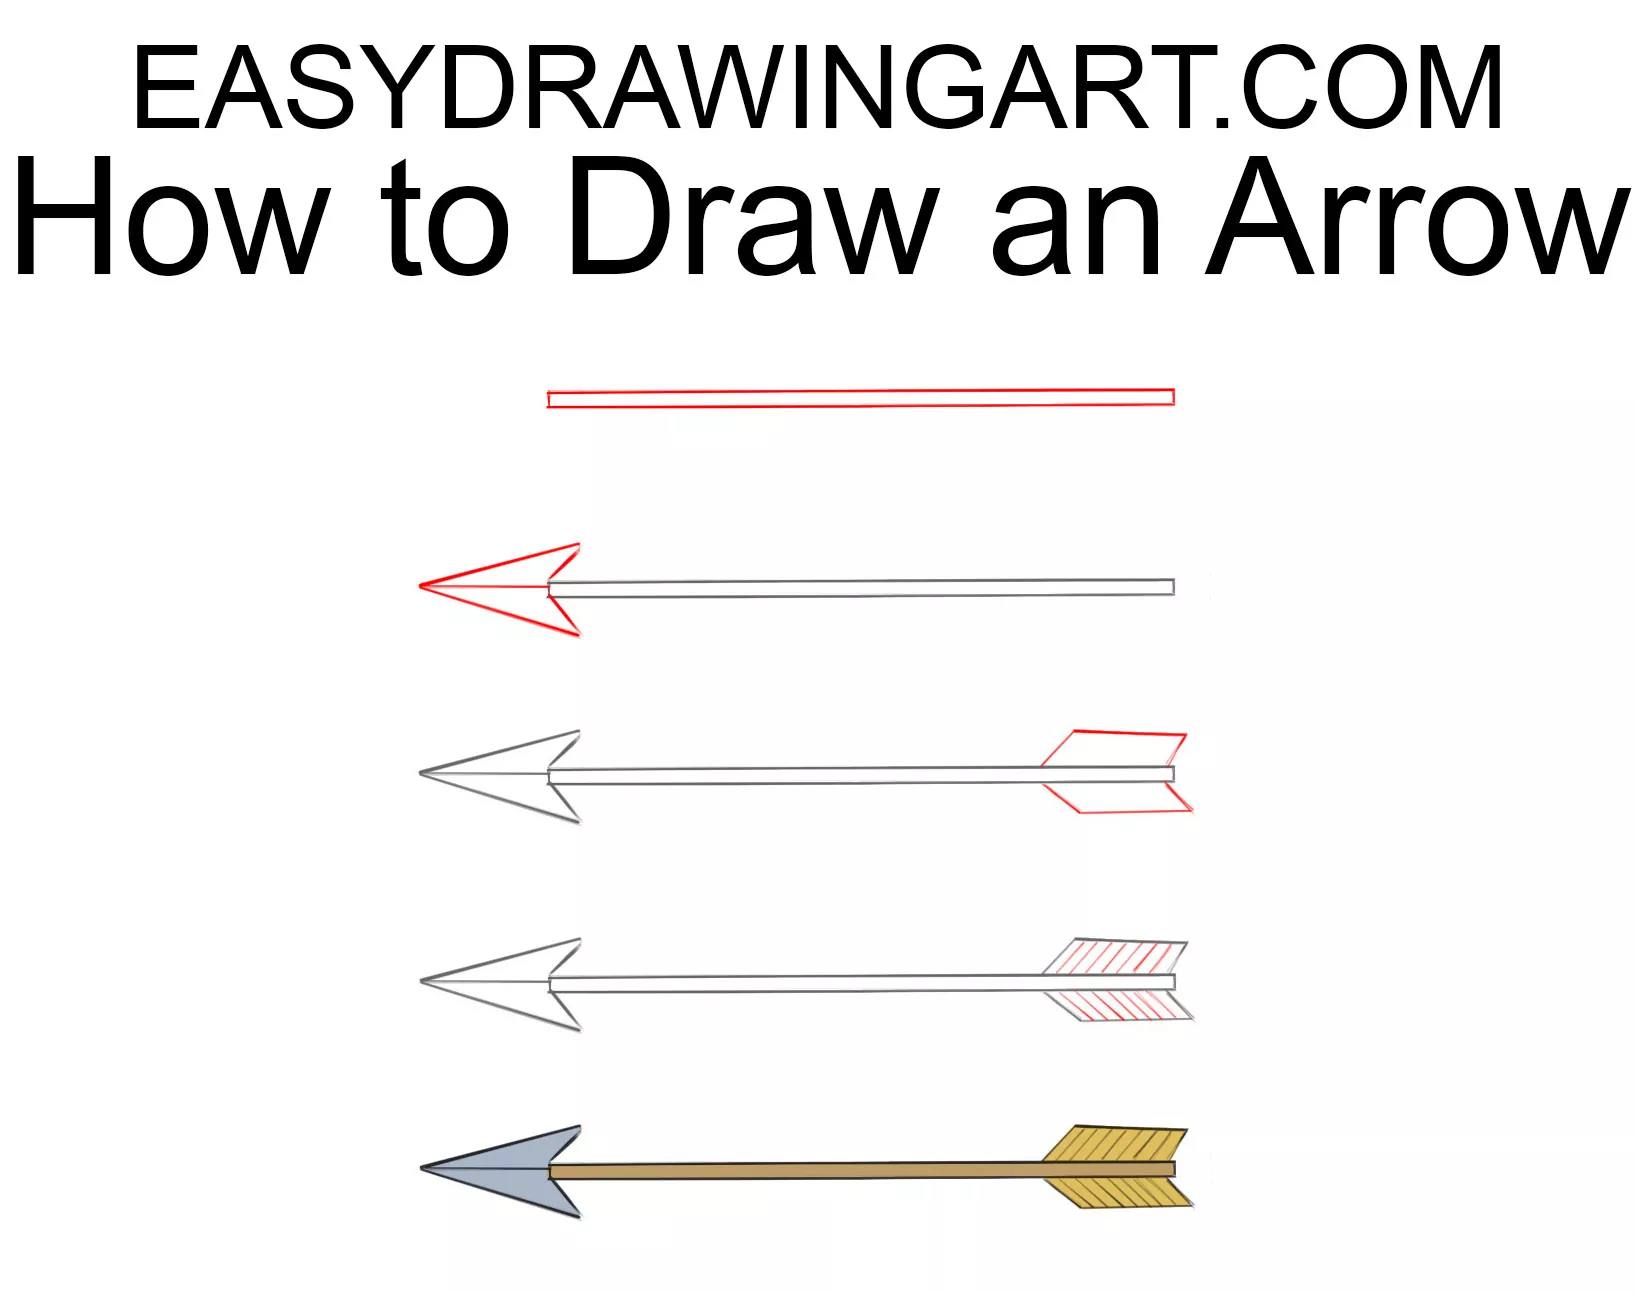
For your convenience, we have created a shortened version of the arrow drawing tutorial. Download it to your device, or save it on your social networks to access it at any time.
We are glad that you visited our easy arrow drawing tutorial. We hope this simple guide helped you understand the basics of sketching arrows and showed how simple shapes can form a realistic and accurate result.
You can depict arrows with different tips and feathers. Experimenting with these variations allows you to adjust the style of your drawing.
Make your arrow artwork a different color or add some patterns to the tip. Small design changes can noticeably change the mood of the drawing, so feel free to choose colors or lines that fit your own idea or project.
By the way, you can visit our lesson on painting an arrow, where we go even further and show you how to recreate a realistic image of this object with paints.
And don’t forget to take a look at other drawing guides, created by the team of EasyDrawingArt. There you will find many similar step-by-step tutorials that continue the same simple approach and help you practice a wide range of subjects.




I love it!
Thank you, we are happy to see you like it!