How to Draw AirPods
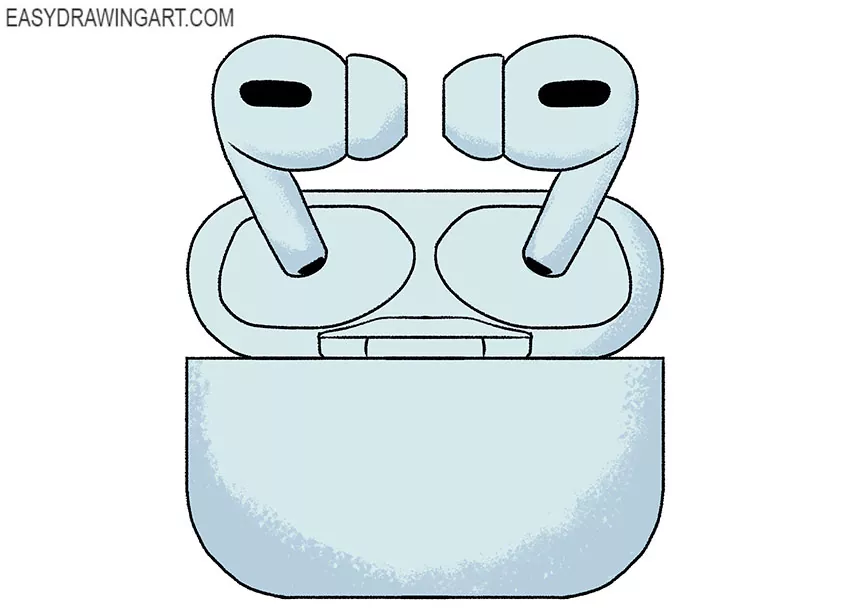
The Easydrawingart.com team invites you to a fun activity where you will learn how to draw AirPods. It is a lightweight, comfortable, and versatile device.
Thanks to our detailed instructions, you will learn how to draw these unique wireless headphones.
This tutorial will require your ability to maintain symmetry, because some elements of AirPods must be exactly the same. Be careful and careful at every stage of drawing to get an excellent result.
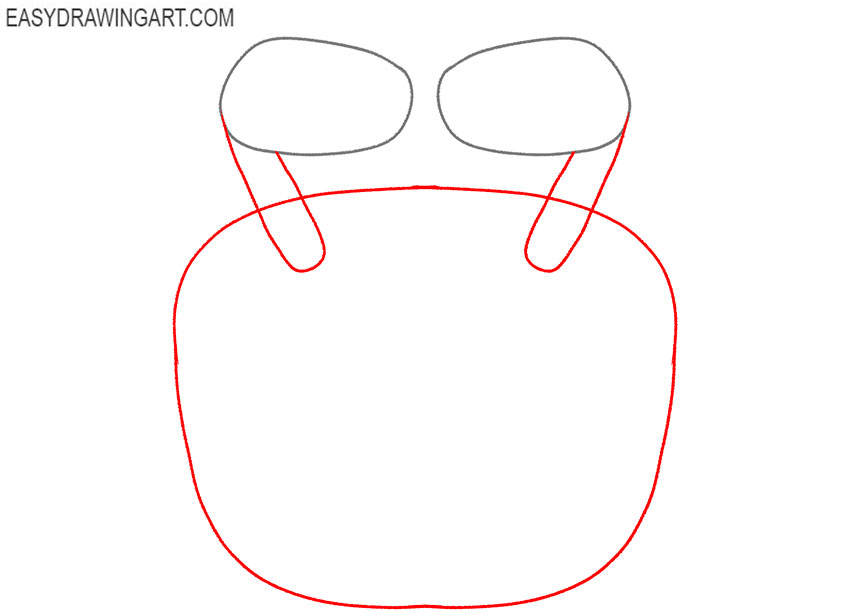
Step 1: Sketch the AirPods earpieces
Choose the placement of the drawing and lightly sketch two rounded earpiece shapes. Make the outer sides broader and keep the inner edges narrower where the silicone tips will connect.

Step 2: Add the stems and charging case
Extend a narrow stem with a rounded end from each earbud. Below them, draw the AirPods charging case as a wide rectangular form with curved corners and a slightly rounded bottom.
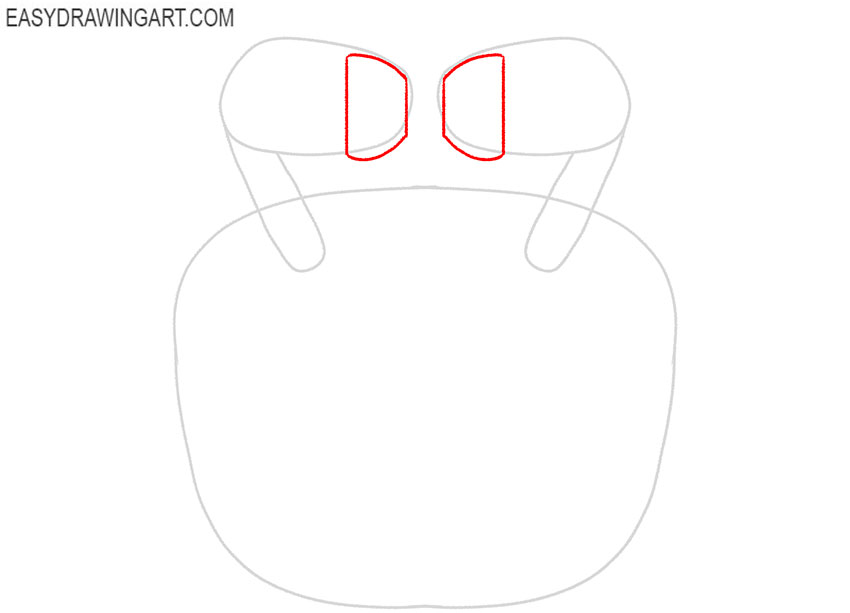
Step 3: Draw the silicone ear tips
Attach a silicone tip to the inner side of each earpiece. Combine short straight segments with curved contours to show the narrow connection and the wider opening of each tip.
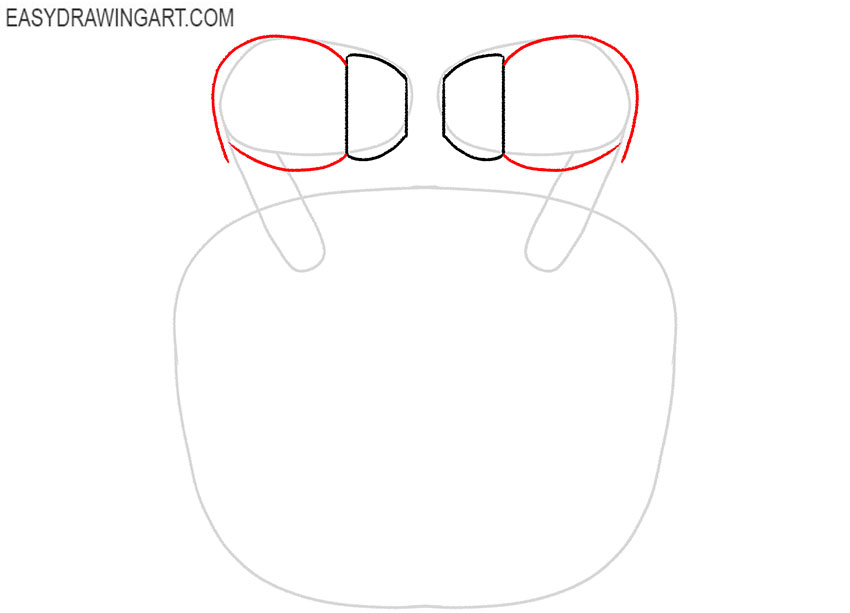
Step 4: Draw the AirPods earpiece contours
Trace around the preliminary ovals to give both earpieces their final asymmetrical shapes. Keep the outer sections full and rounded while narrowing the areas beside the ear tips.
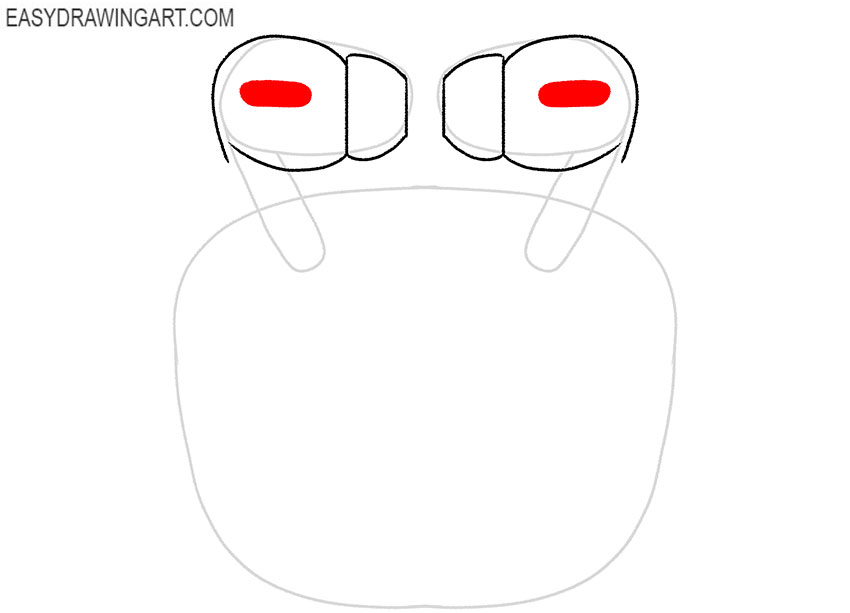
Step 5: Add the earbud speaker grilles
Draw an elongated oval grille inside each earpiece. Angle these matching details with the earbuds and keep their outlines similar in length, width, and distance from the outer edges.
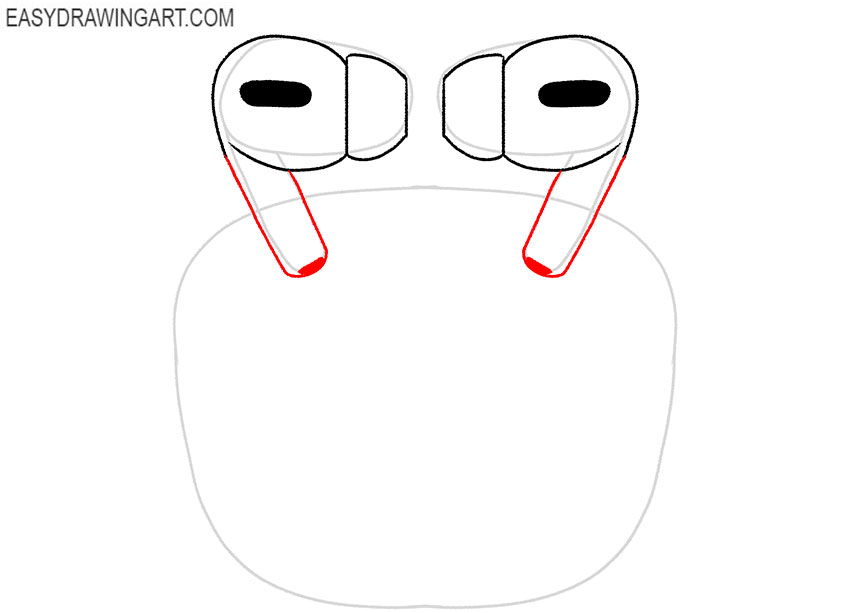
Step 6: Refine the AirPods stems
Refine the sides and rounded ends of both stems using the earlier guides. Add a narrow oval detail near the bottom of each stem to represent the small microphone opening.
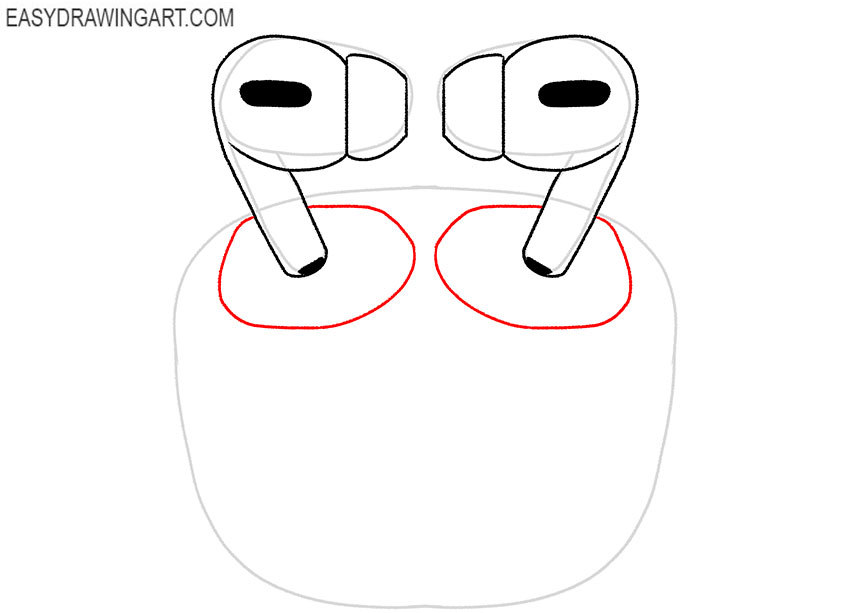
Step 7: Draw the earbud slots in the case
Inside the upper section of the charging case, draw two vertical oval openings. Place one beneath each earbud and leave enough space around them for the inner case structure.
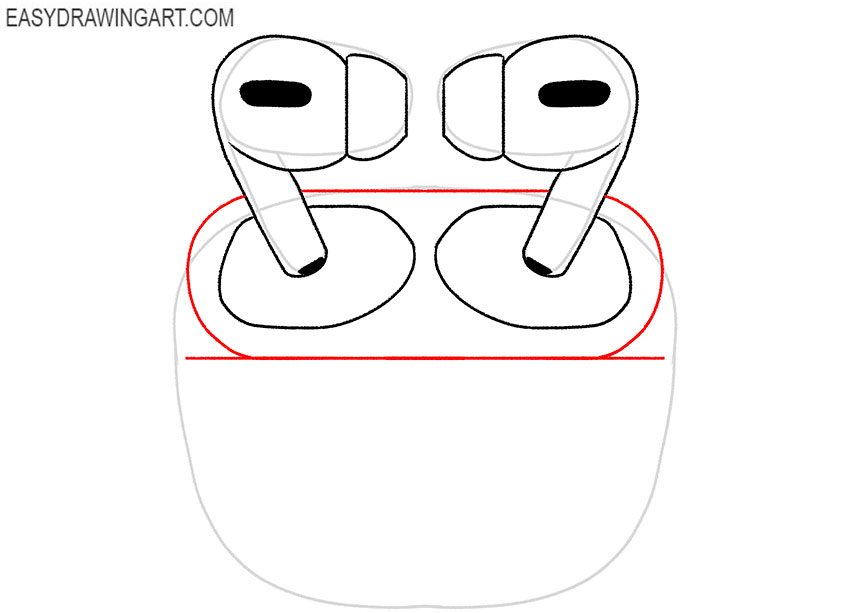
Step 8: Outline the charging case lid
Draw one horizontal line near the top of the case and another across its upper middle. Connect their ends with rounded side contours to form the open lid and inner rim.
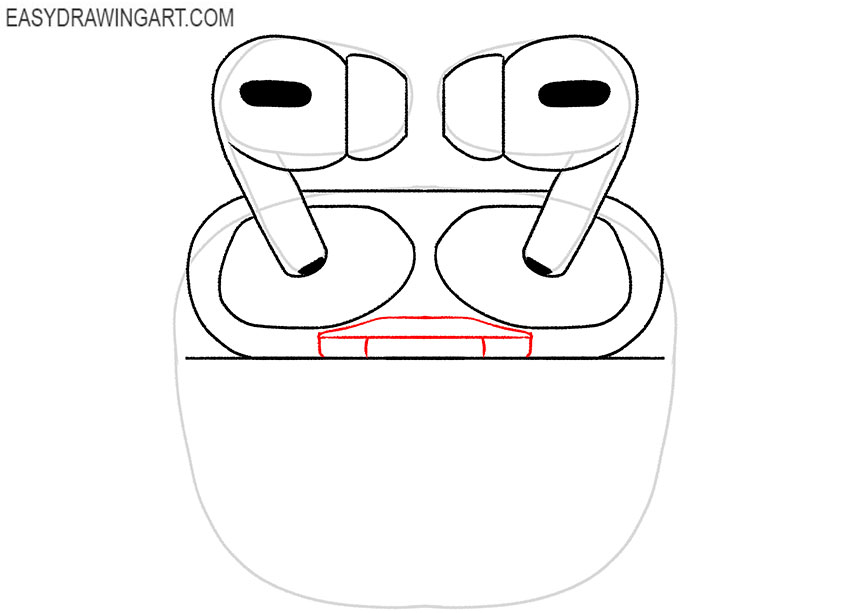
Step 9: Add the case hinge detail
Place a narrow trapezoidal hinge on the back of the charging case below the lid. Add several short vertical strokes along its lower edge to show the small segmented detail.
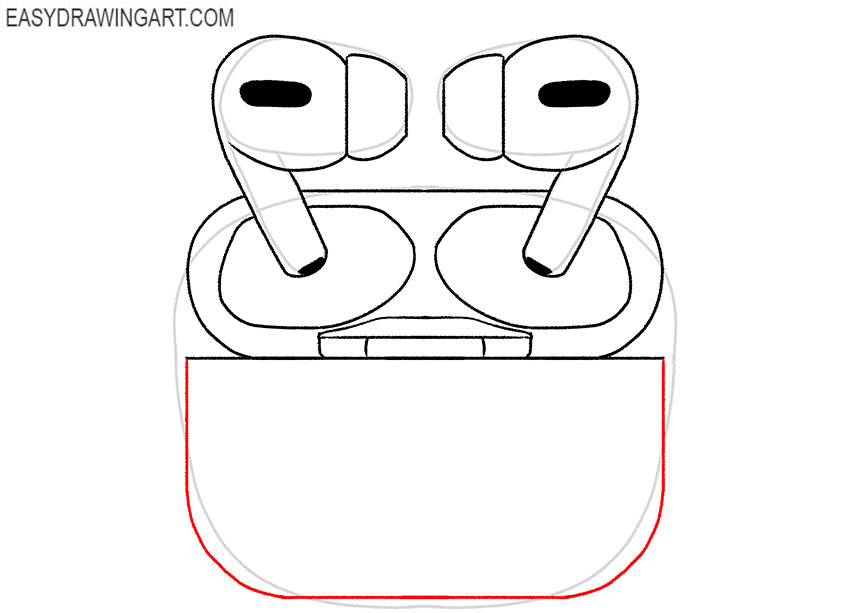
Step 10: Refine the AirPods charging case
Follow the initial construction to redraw the lower case with smooth, definite contours. Round both corners and curve the bottom edge slightly so the case retains its compact shape.
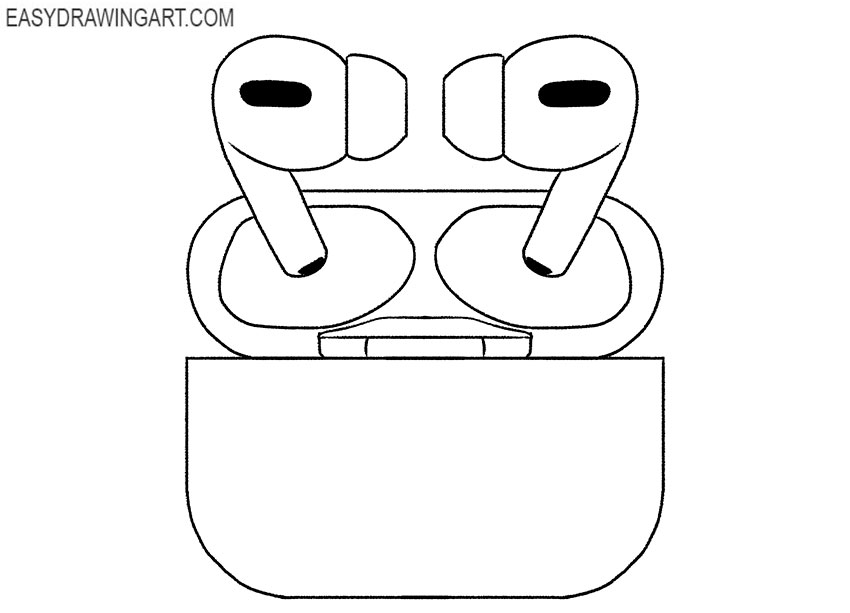
Step 11: Clean up the AirPods line drawing
Erase the remaining construction marks around the earbuds, stems, and charging case. Adjust any uneven curves, then strengthen the ear tips, grilles, slots, lid, and hinge lines.
Step 12: Color the AirPods drawing
Apply a very light blue-gray tone to the earbuds and charging case. Use darker blue-gray for the speaker grilles, inner openings, hinge, and shaded edges of the white surfaces.
It was a fascinating tutorial on how to draw AirPods step by step. The headphones and open charging case are now complete. Continue drawing personal electronics by drawing headphones or sketching a phone.
We look forward to your feedback and comments. Do not forget to subscribe to us on social networks so as not to miss new exciting drawing lessons.