How to Draw a Sledding Kid
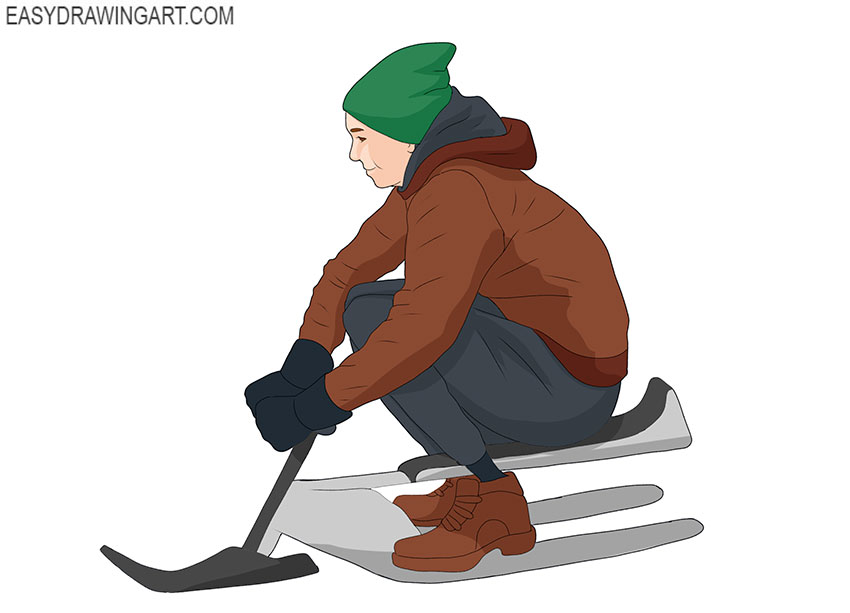
In this drawing lesson, we want to show you how to draw a sledding kid. This step-by-step guide will be very interesting and useful for each of you.
Drawing a human figure from different angles is a very useful activity, and now you will learn how to draw a sledding. Sleigh rides are loved by adults and children. It is both entertainment and a winter sport.
Doing this lesson will be an excellent exercise for your spatial imagination. Try to correctly depict the position of the human body and the design of the sled.
Time needed: 1 hour
How to Draw a Sledding
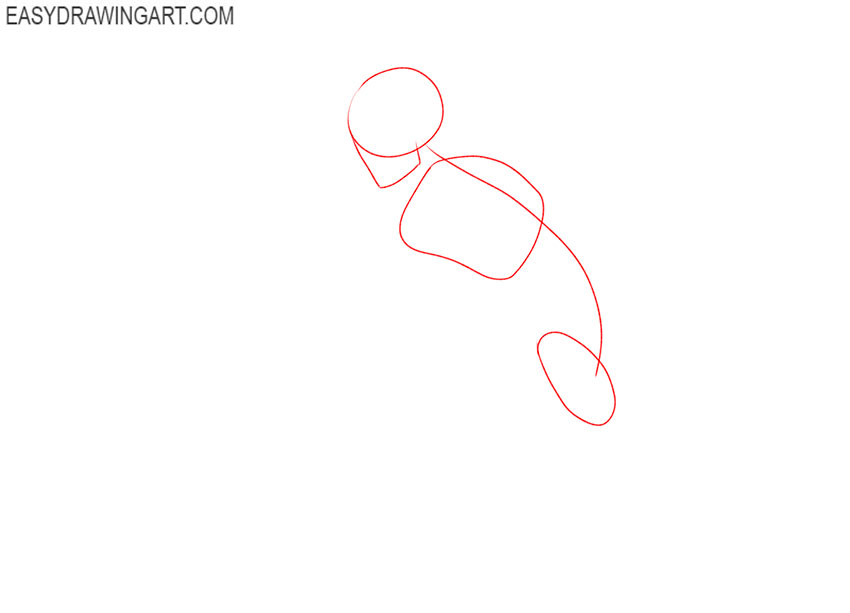
- Prepare baselines.
Use a smooth line to mark the central axis of the body. Draw the thoracic region and the pelvic region in the form of rounded figures.

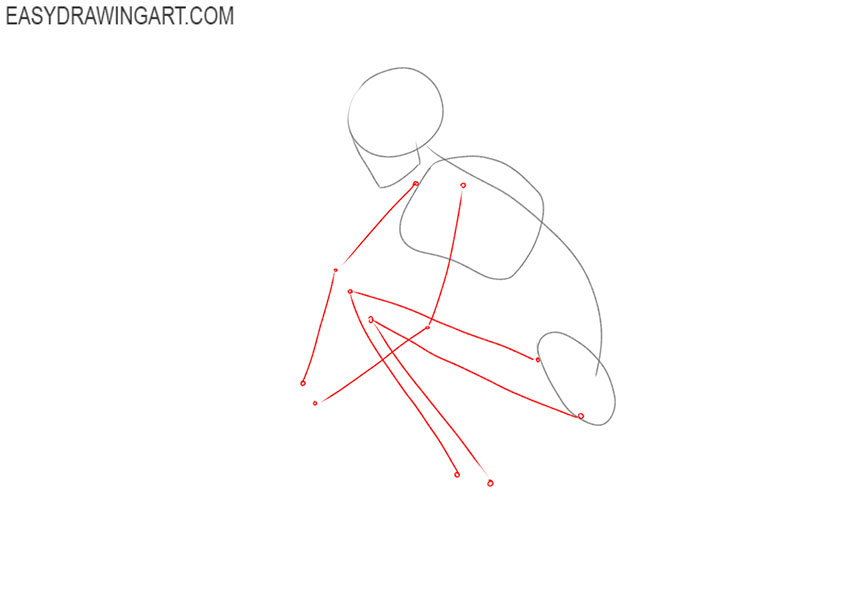
- Determine the position of the limbs.
Use thin, straight lines to depict the position of the arms and legs. Draw the folds as large dots.
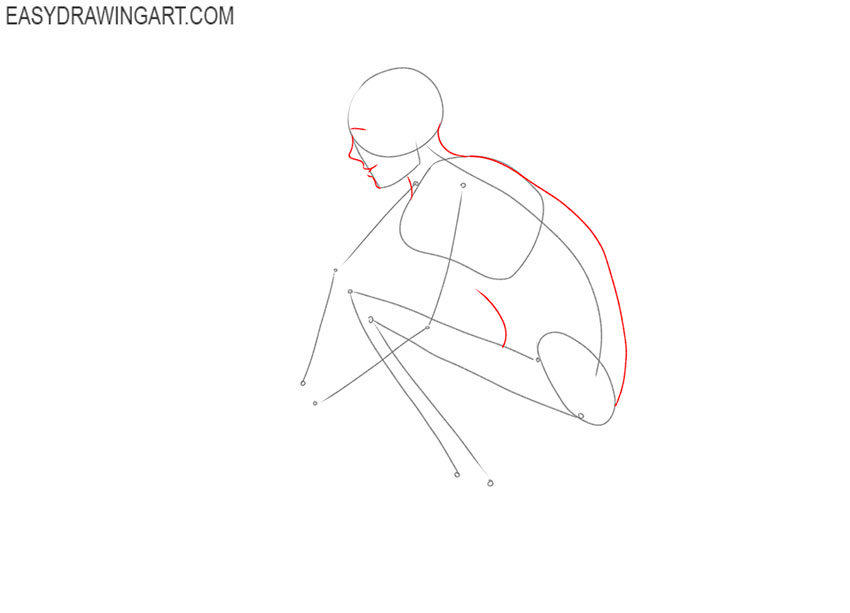
- Add the contour of the face, back, and belly.
With the help of smooth curved lines depict the relief of the front of the face. Depict the neck, back outline and belly outline.
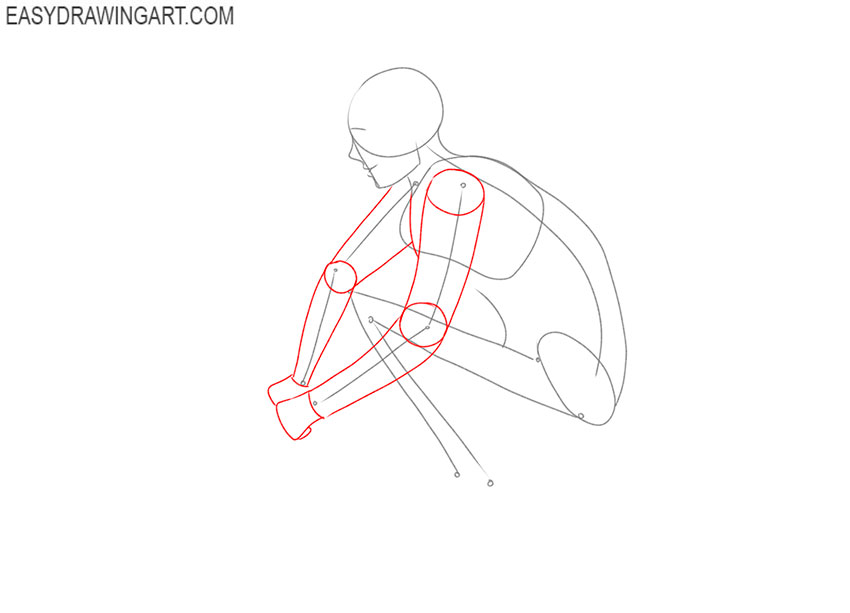
- Draw the arms.
Focus on the auxiliary lines and add the thickness to the arms. Draw several cylindrical figures and draw the folds in the form of ovals. At the bottom, add the hands.
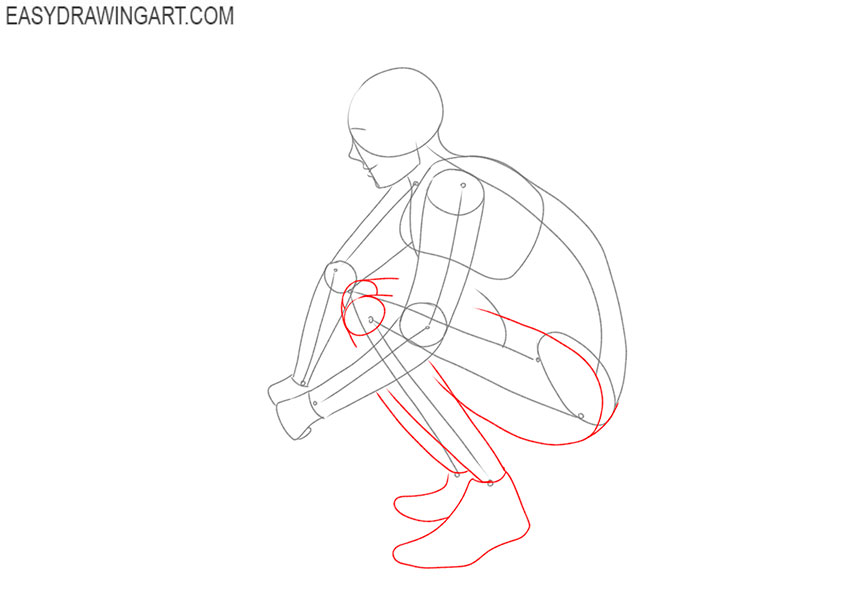
- Draw the legs.
Focus on the guidelines and draw the upper and lower parts of the leg. Depict the knee joints and draw the feet below.
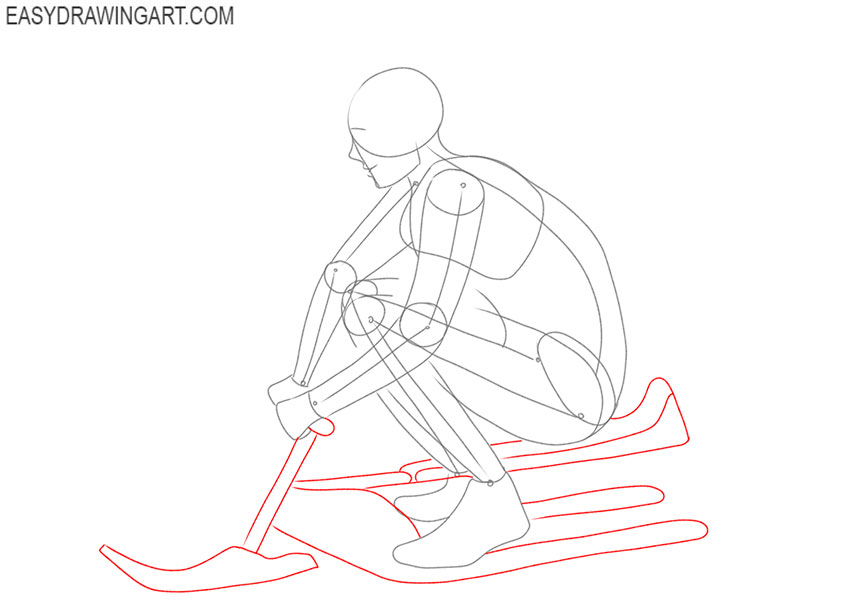
- Sketch out the sled.
Be extra careful in this step to get the shape of the sleigh right. Draw the bottom of the sled where you want to put the feet. Depict the seat. Add the steering wheel in front.
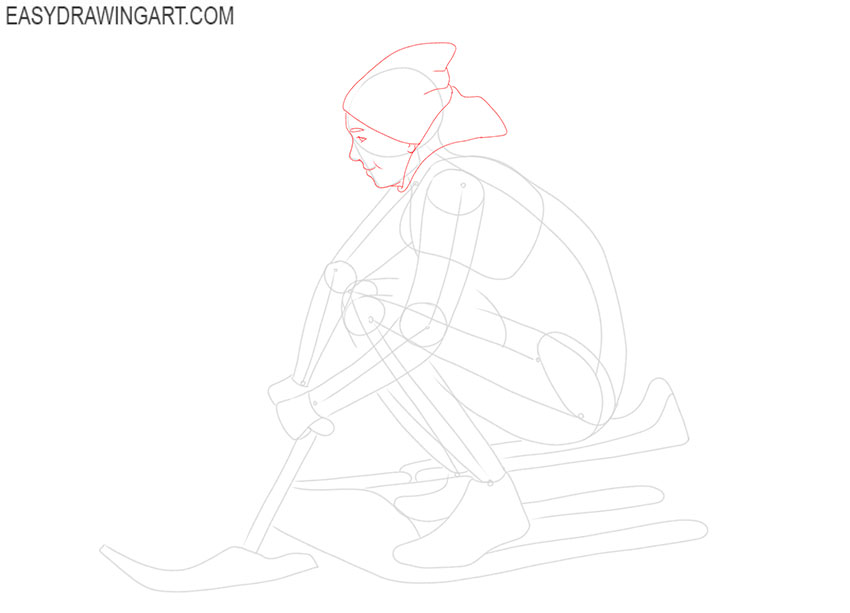
- Detail the head.
Sketch out the eye, eyebrow, and mouth. Depict the visible part of the ear, draw the hat at the top and add the collar.
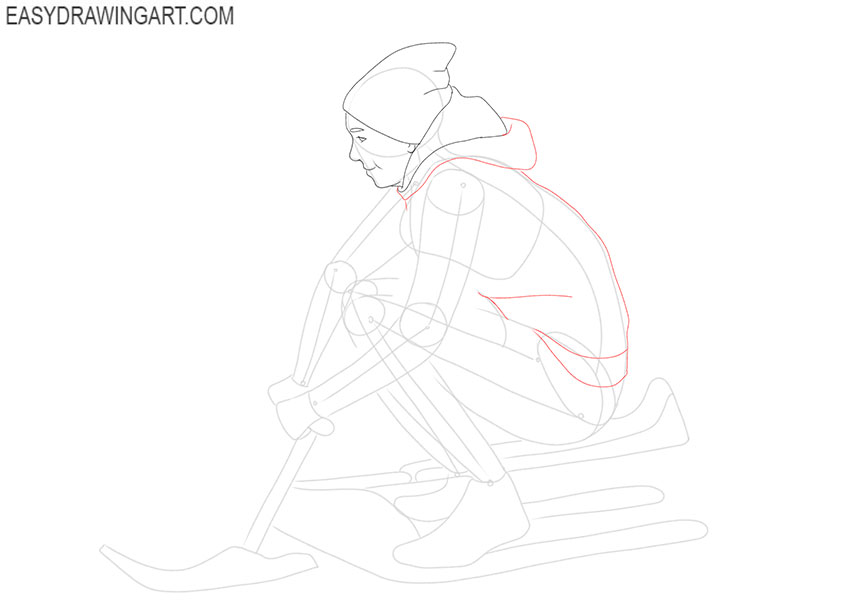
- Add the back of the jacket.
With the help of smooth lines depict the hood. Draw the outline of the jacket on the back and depict the bottom of the jacket.
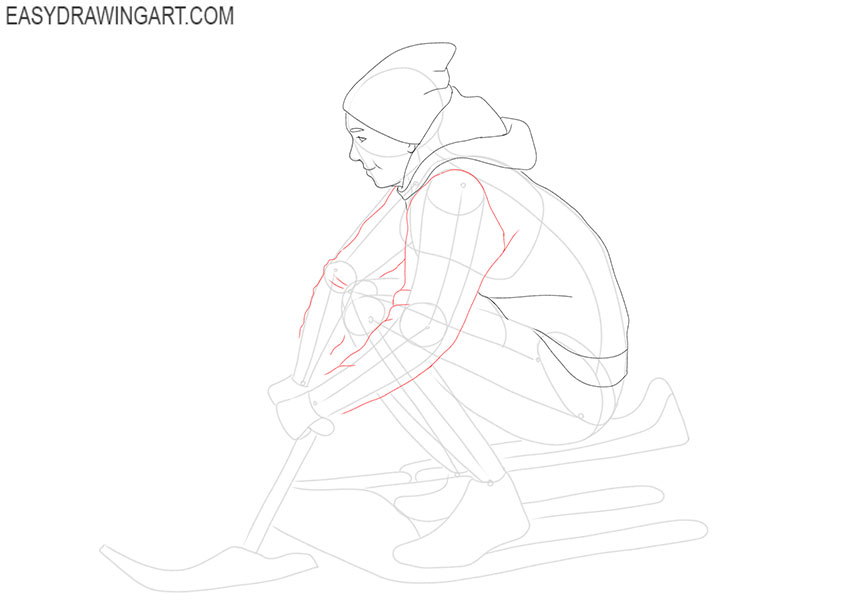
- Sketch out the sleeves.
As a guide, use the lines you drew in the previous steps and draw the sleeves on the jacket. Add the small folds to the fabric to make the jacket look more realistic.
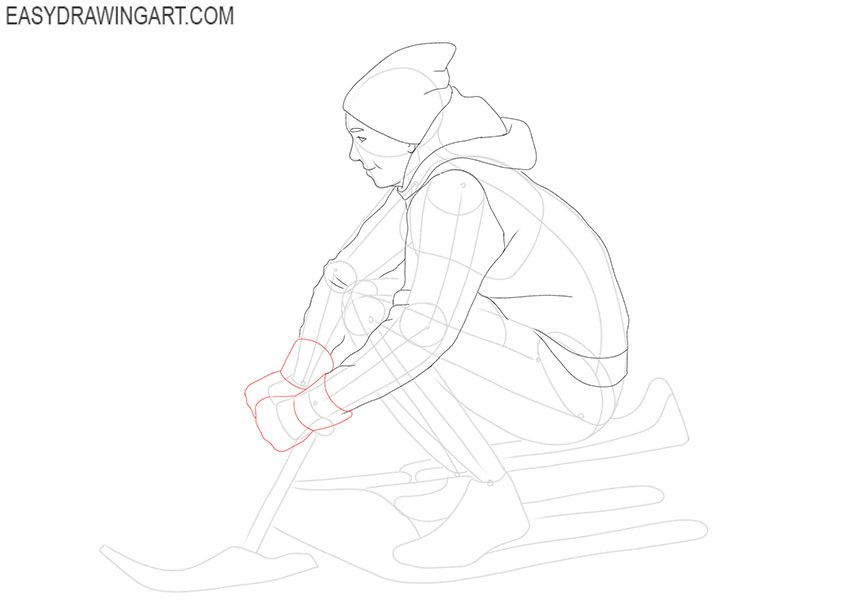
- Depict the gloves.
Draw the position in which the hands are joined together, and the young man is holding on to the steering wheel of the sleigh. With the help of smooth curved lines depict the large gloves.
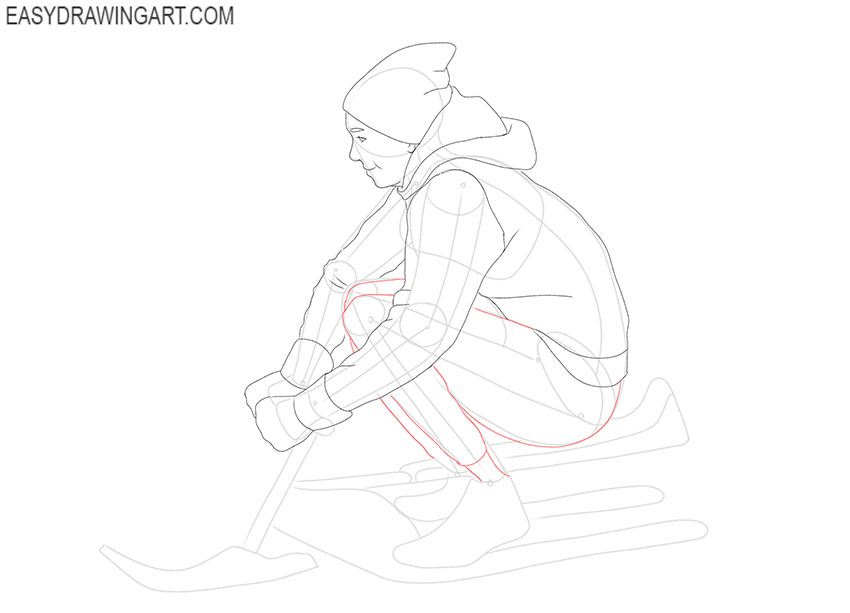
- Draw the pants.
Continue drawing the elements of clothing and in this step depict the pants, while focusing on the lines that you drew earlier.
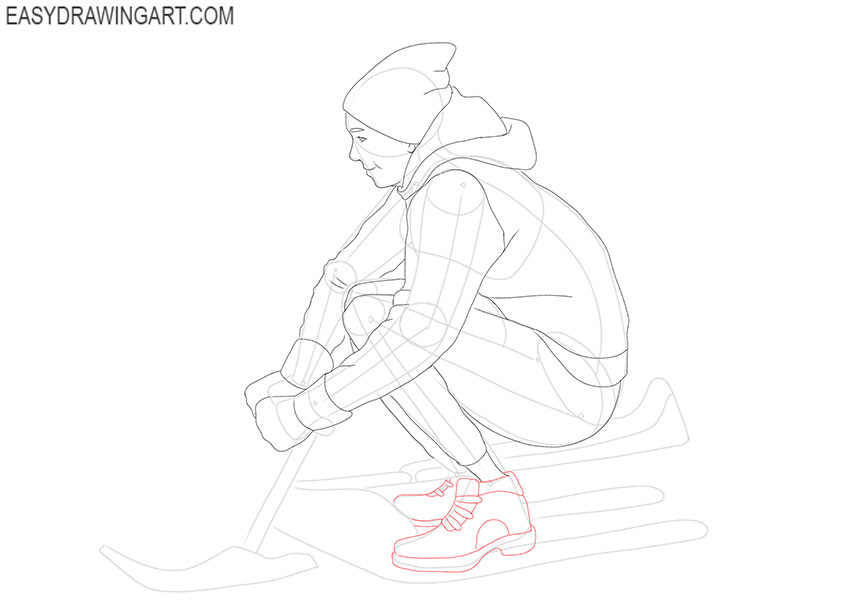
- Add the boots.
Now it’s time to draw the shoes. Draw the winter boots that have the high sole and lacing in front.
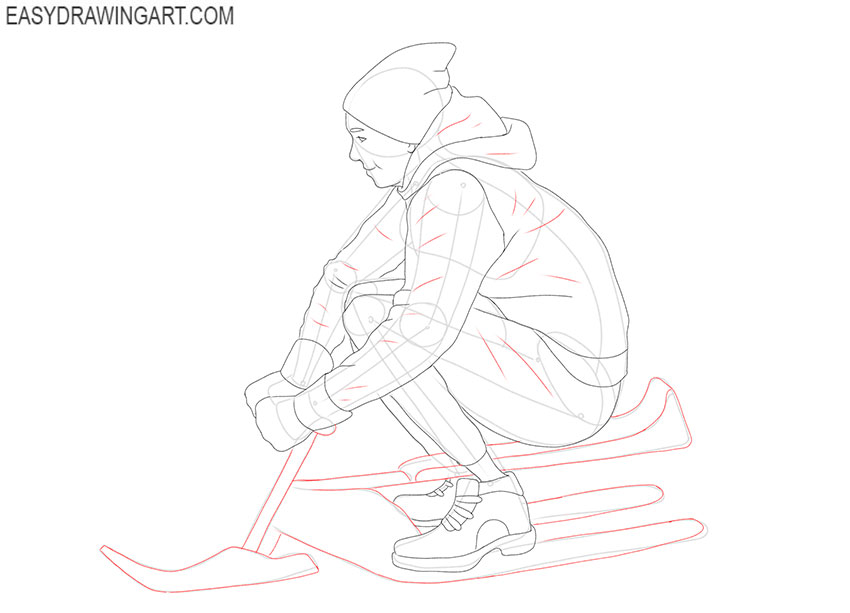
- Outline the sled and add folds to the clothes.
Carefully trace the sled, giving the drawing clarity and expressiveness. With the help of short thin strokes, depict the folds on the clothes.
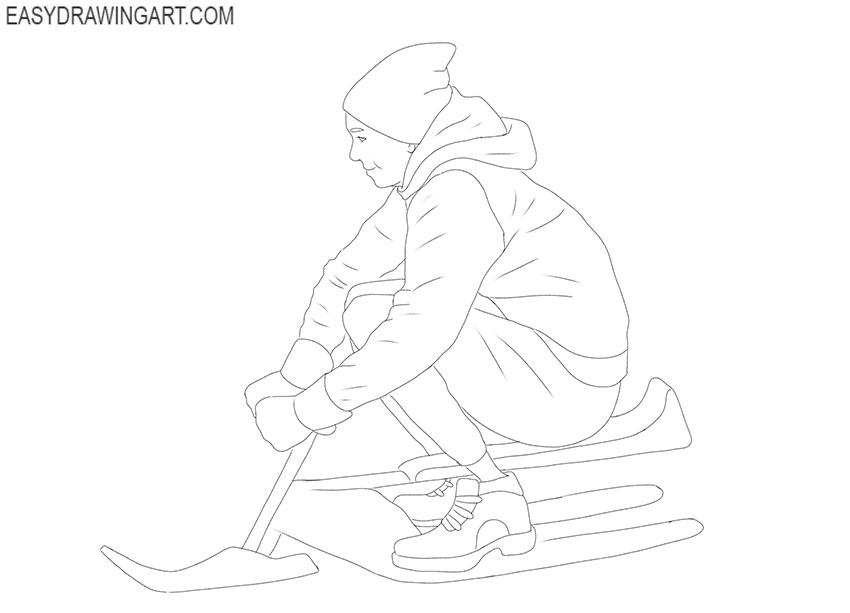
- Correct inaccuracies.
Compare the drawing with our example and if you notice any mistakes, correct them right away. Remove all extra lines in the drawing.
- Color the drawing.
To color the skin, use any natural shade. Clothes can be painted in any shades of brown and blue. Use gray to color the sleigh.
Now you can improve your drawing and come up with an environment. We recommend that you subscribe to us on social networks to be aware of all the new products.