

How to Draw a Polar Bear
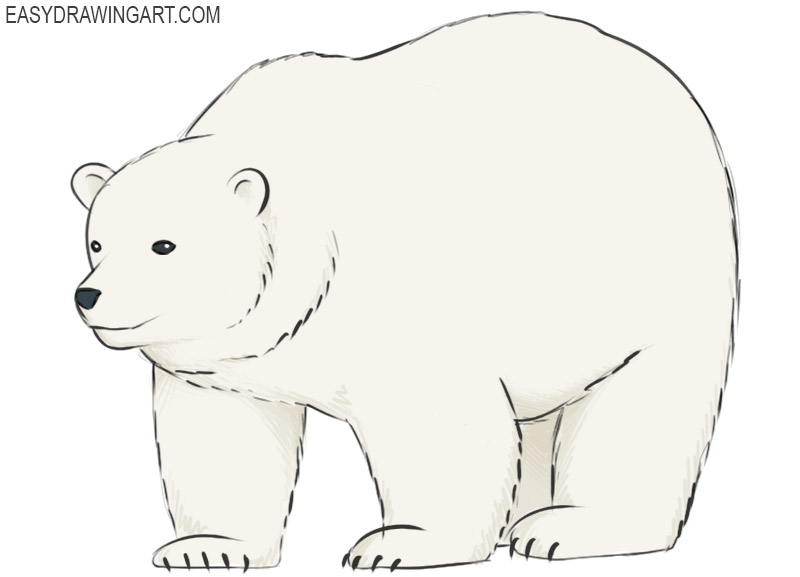
With this step-by-step tutorial, you’ll learn how to draw a polar bear. This guide consists of thirteen easy steps with detailed instructions and is designed especially for beginners.
You’ve probably seen a polar bear in movies, cartoons, or books. Polar bears are the largest land predators on Earth and live throughout the Arctic. Their white-looking fur helps them blend into the snowy landscape while hunting, although their skin underneath is actually black.
Unlike brown bears, polar bears rarely hibernate. By following the steps, you’ll draw a cute standing polar bear.
Time needed: 1 hour
How to Draw a Polar Bear
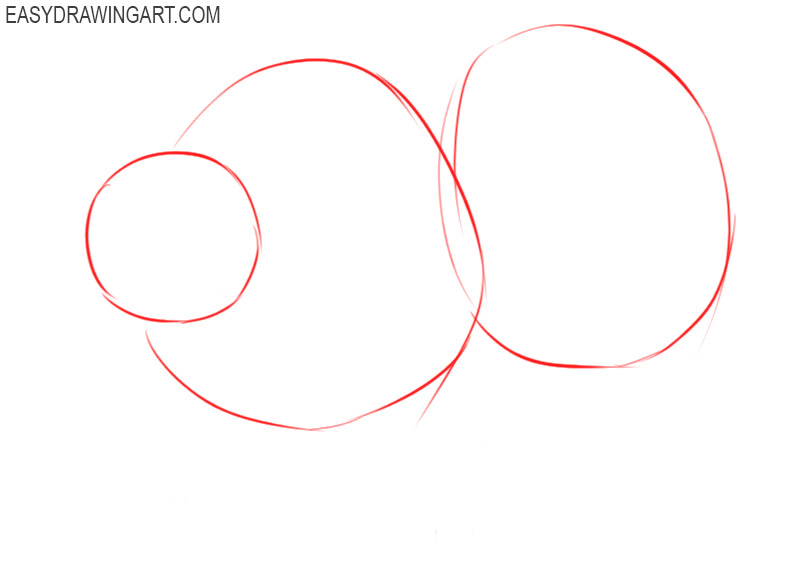
- Mark up your drawing.
In order to indicate the location of the head and torso, you should draw a circle and oval shapes.

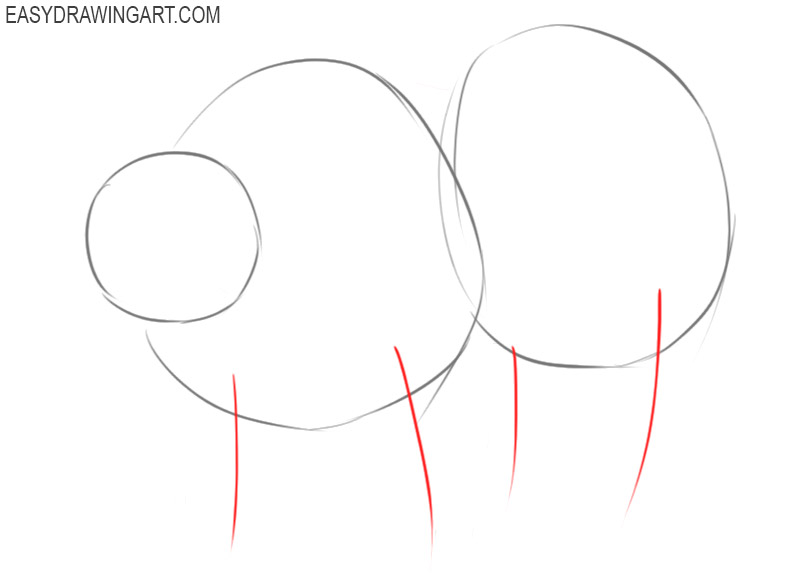
- Draw the markings of the bear’s limbs.
Now you need to mark the location of the bear’s paws, to do this, draw four slightly curved lines in the lower part of the torso.
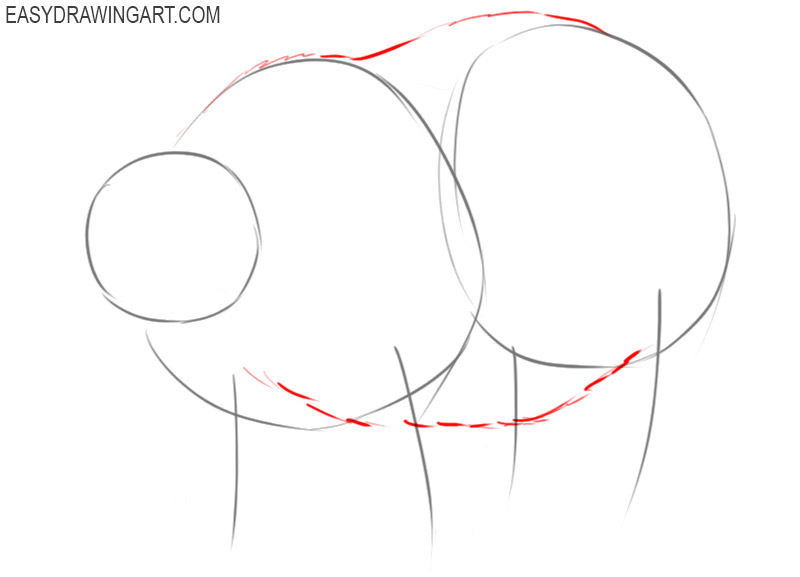
- Depict the belly and back of the animal.
In the upper and lower parts of the polar bear’s torso, draw lines using hatching and short zigzags.
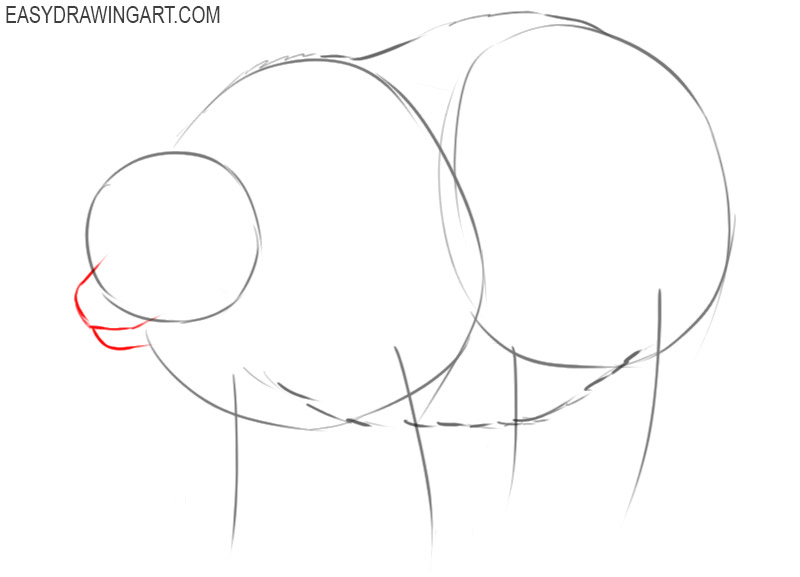
- Add the outlines of the bear’s head.
Below the previously drawn circle, indicating the location of the head, draw a few curved lines, as shown in the figure.
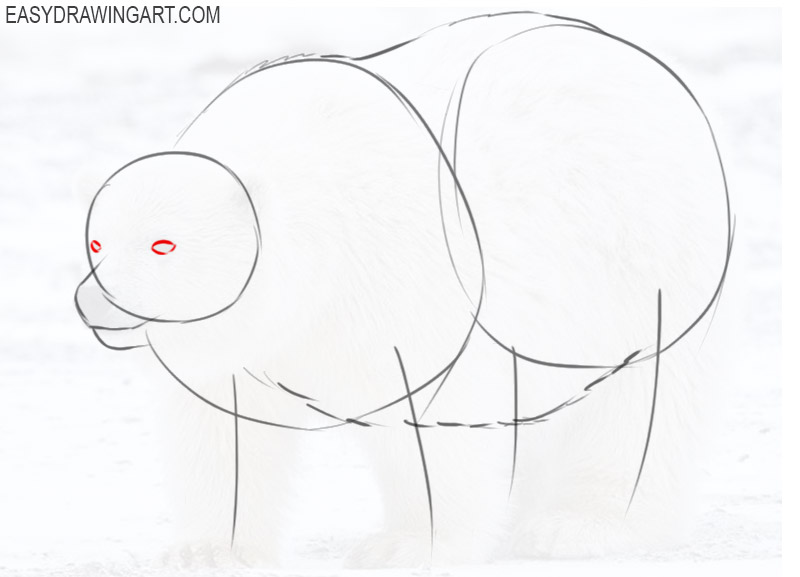
- Sketch out the eyes of the bear.
Draw two eyes inside the outline of the head using arcs and a circle. Note that the gaze is directed to the side.
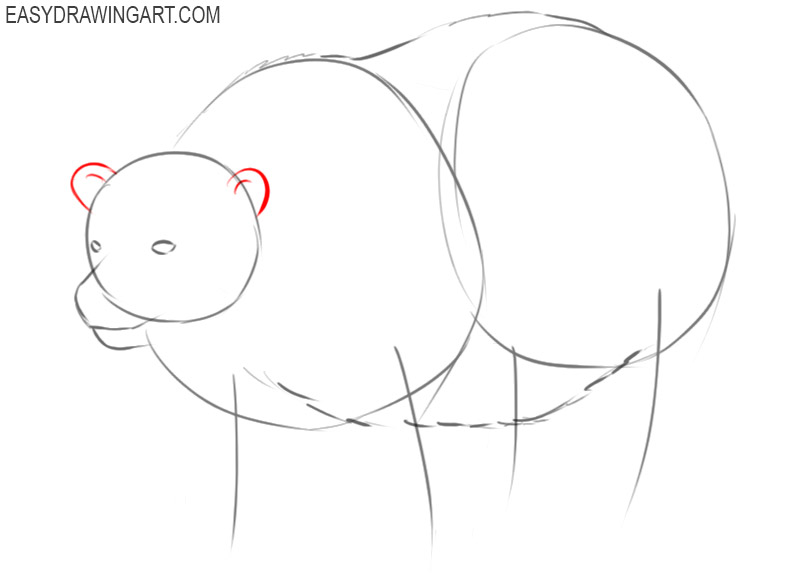
- Depict the bear ears.
You should now draw the two ears at the top of the polar bear’s head using arcs and short, curved lines.
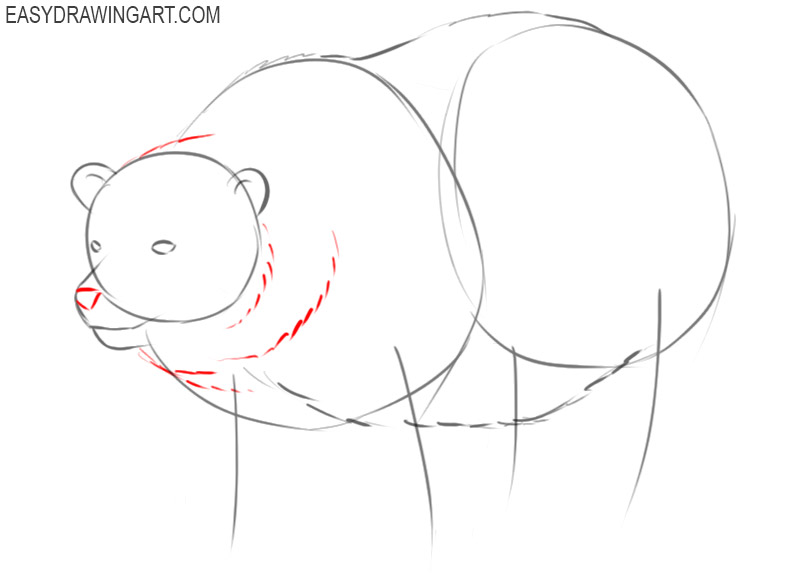
- Draw the nose and fur lines.
In front of the polar bear’s head, draw the nose using three short lines, and also draw the fur in the form of broken lines.
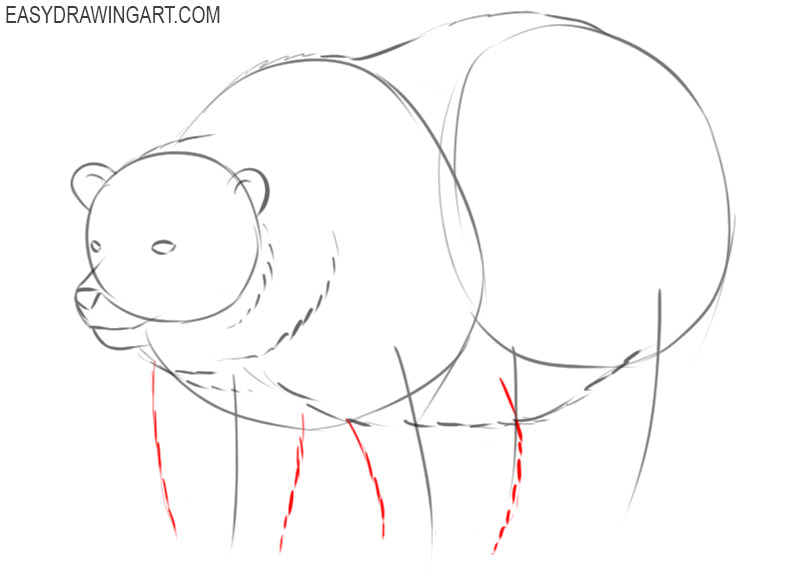
- Add the outlines of the forelimbs of the bear.
On the sides of the previously drawn guidelines for the front legs, add dashed lines.
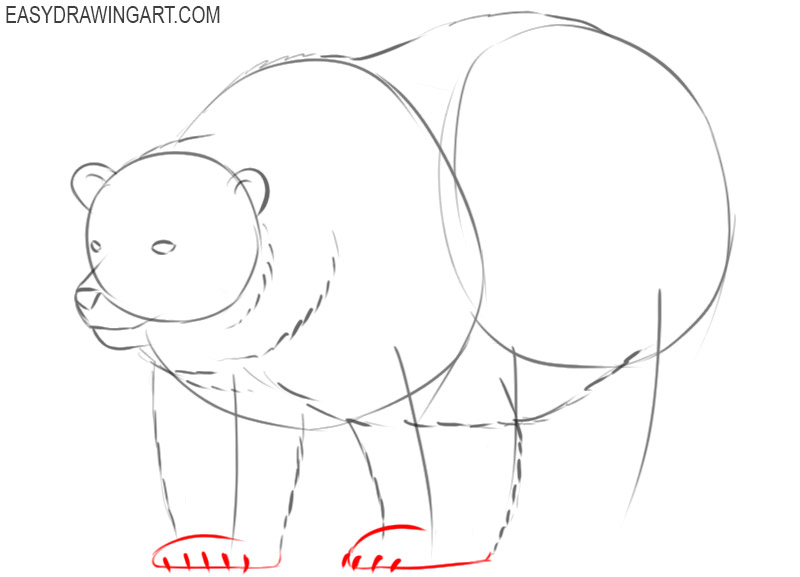
- Draw the feet and claws of the front paws.
Continue drawing the front paws by adding arcs, straight lines, and short thick rounded lines.
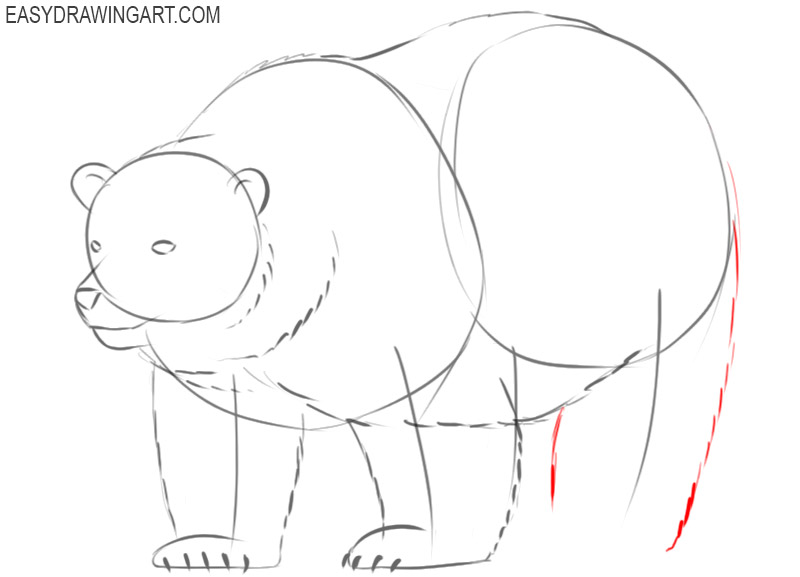
- Depict the outlines of the bear’s hind legs.
Now you should draw broken lines on the sides of the marking line indicating the location of the bear’s hind leg.
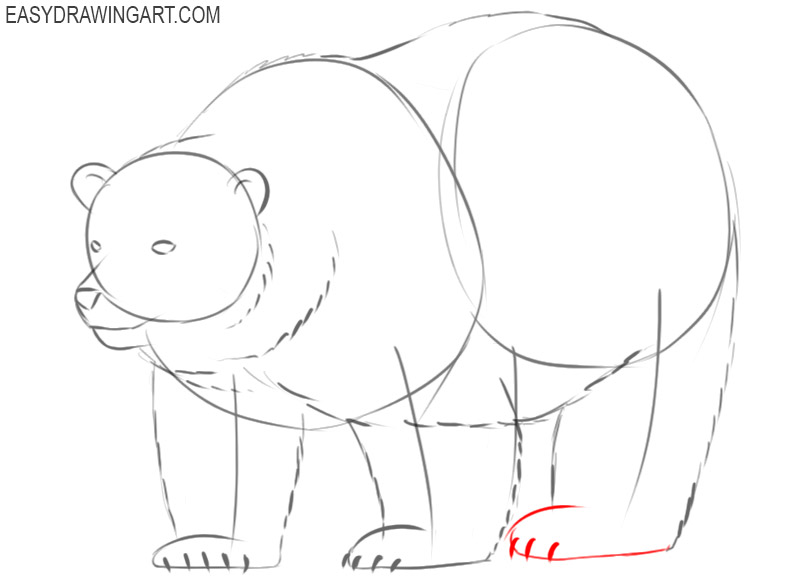
- Sketch out the foot of the hind paw.
Continue drawing the hind leg by adding curved lines of varying thickness as shown.
- Prepare the drawing for coloring.
Your drawing is almost ready. Now you should use the eraser to remove all unnecessary auxiliary lines from the picture.
- Color the drawing.
To color the polar bear, use different shades of gray and black. Add the areas of shadow.
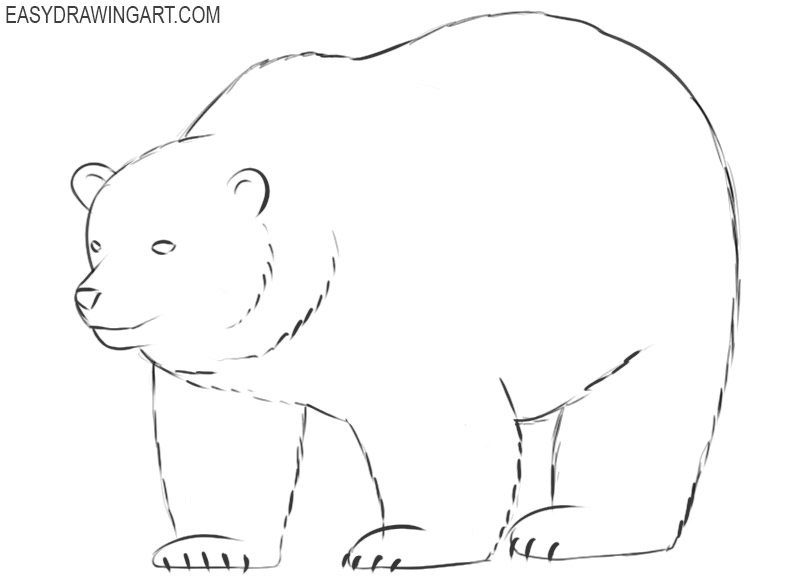
So now you know how to draw a polar bear step by step. Surely you did great work, and now you have another useful artistic skill. See our other drawing lessons, in which you can also learn how to draw various animals.



sick bro