How to Draw a Graduation Cap

Today we will tell you how to draw a graduation cap. It is a true symbol of success and knowledge all over the world.
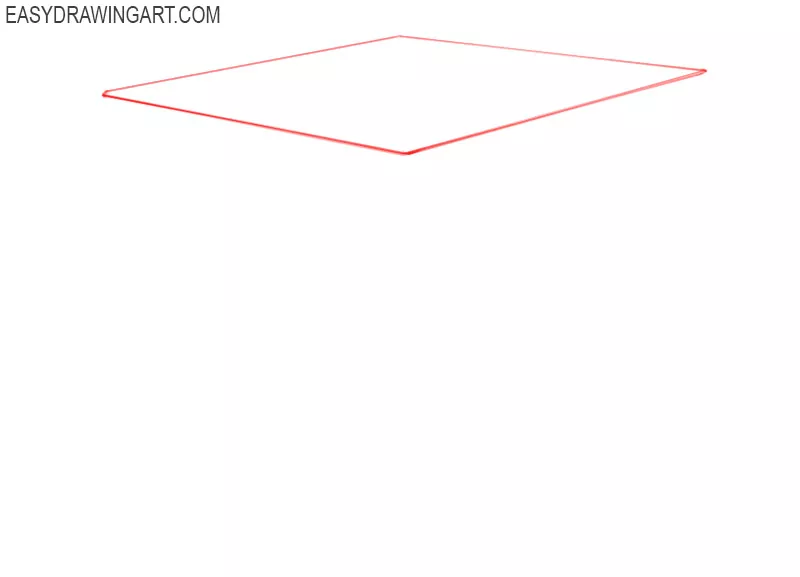
Step 1
First we draw an elongated rhombus. This rhombus should be located in the center of the sheet or over the head of the character whom you are drawing. In fact, this lesson is a bit like a lesson on how to draw stairs. There we also worked with a lot of straight lines.
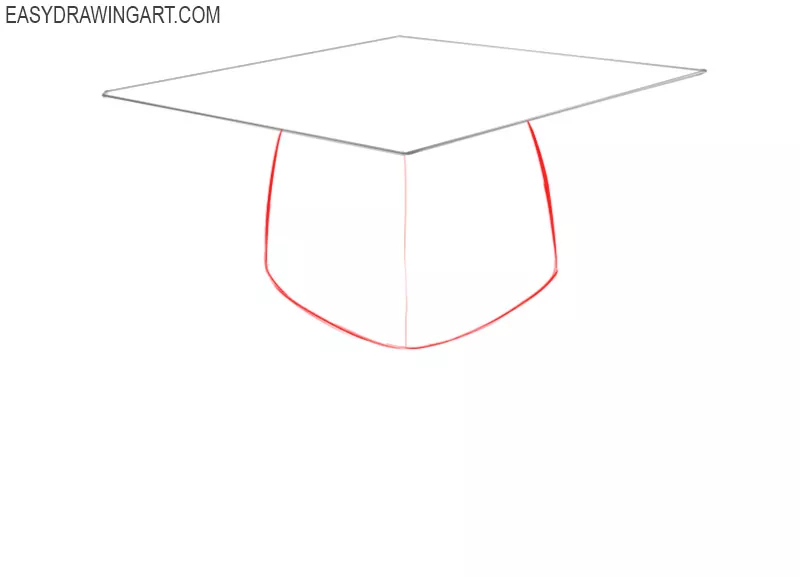
Step 2
In this step, we will draw a symmetrical shape with rounded sides. Note that the line of symmetry of the bottom figure coincides with the conditional line of symmetry of the rhombus.
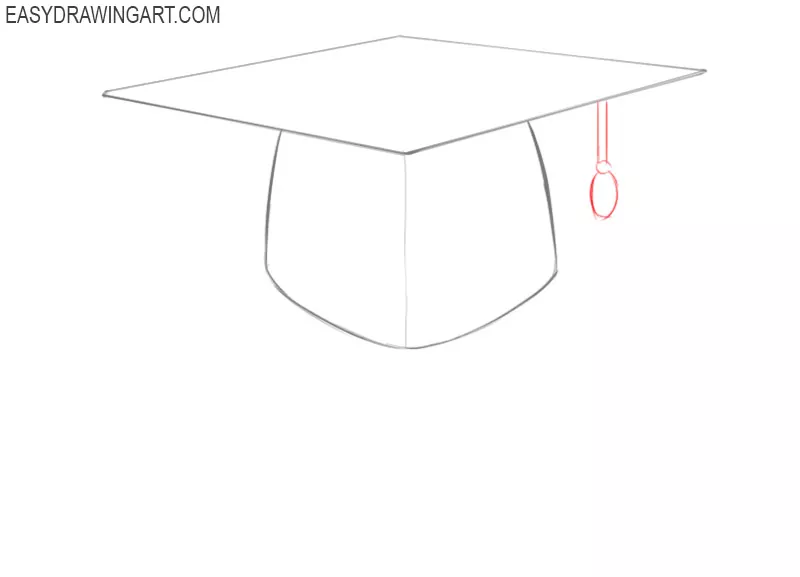
Step 3
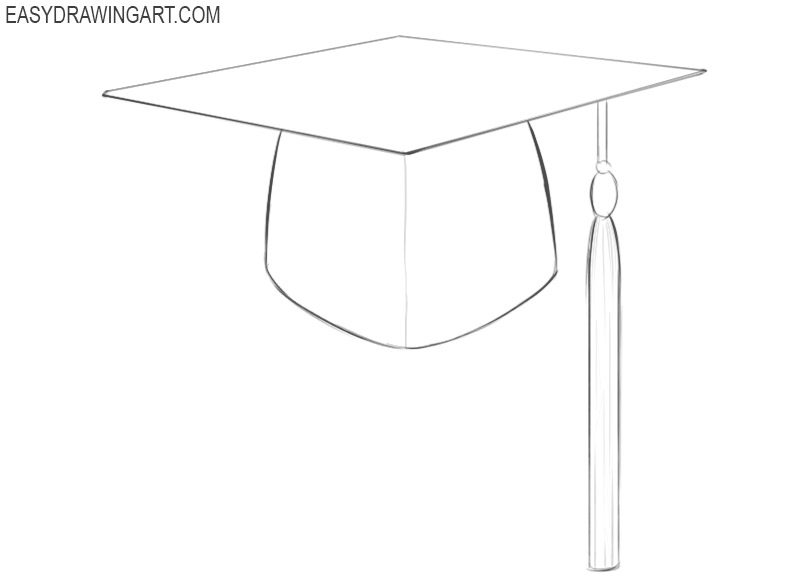
In this step we draw the contours of the brush, which traditionally hangs from one corner of the cap. To be more precise, we should draw the base of this brush, which consists of a thin vertical rectangle and two rounded shapes.
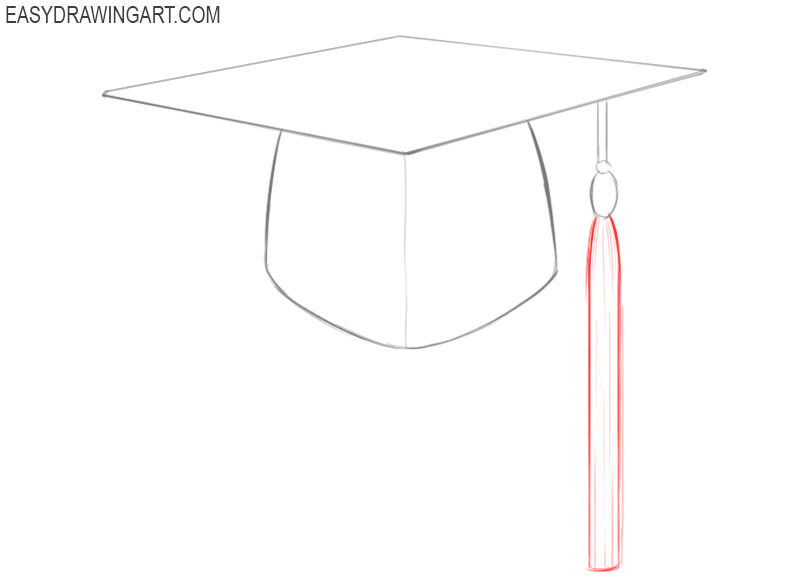
Step 4
So we continue the lesson on how to draw a graduation cap. Draw our brush with another long elongated figure. The length of the entire brush should exceed the length of the cap.
Step 5
Consider the result we got. We always highlight a separate step especially so that you can relax and look at the result that you got before working with colors.
Step 6
We use a dark gray color to work with the final step. On the right half of the cap, there should be a lighter area than the rest of the fabric.
How do you like this drawing instruction? We tried to make this article as clear and accessible as possible. We really need your help. You can always help us if you simply write your opinion about the site in the comments.