How to Draw a Crusader
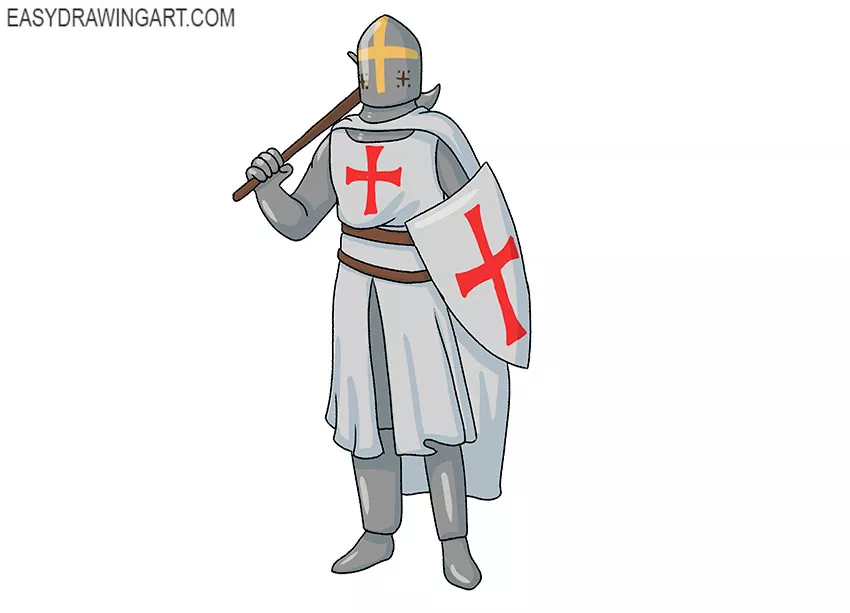
Easydrawingart.com team is glad to offer you a new lesson on how to draw a crusader. We tried to make this manual as clear and accessible as possible so that you do not have any difficulties during the work.
So, if you want to acquire useful skills and have a good time, then right now follow the lesson on how to draw a crusader. This is a knight who participated in the crusades.
The crusaders had armor and weapons, which had the symbolism of the cross. Now you have to draw a crusader who holds a weapon in one hand and holds a shield in the other hand. On the crusader’s head there is a protective helmet.
Time needed: 1 hour
How to Draw a Crusader
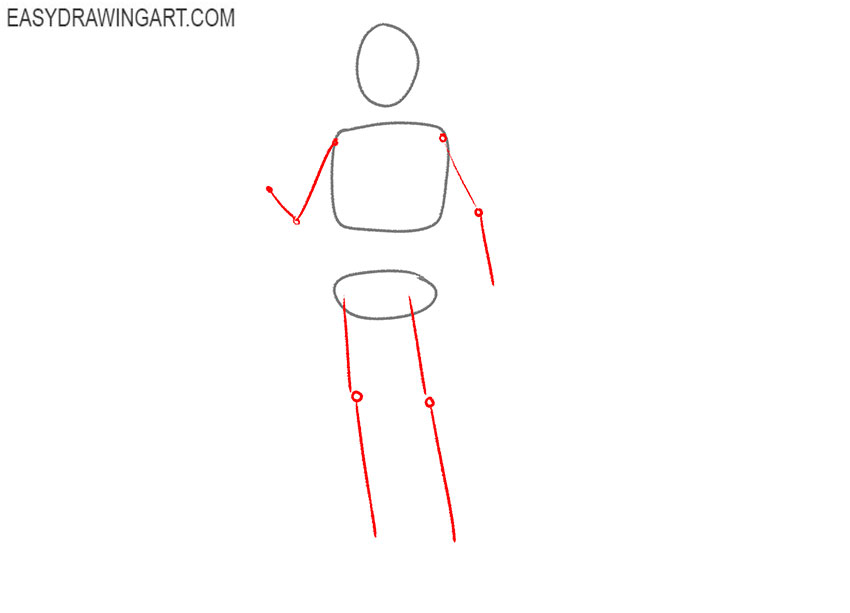
- Prepare the base.
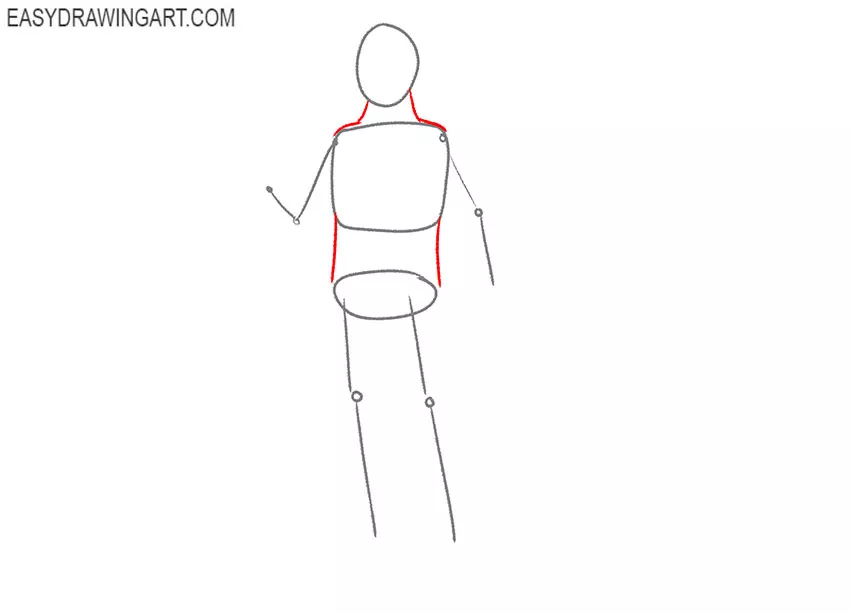
Depict the main parts of the body using figures of various shapes. At the beginning of work, try to use thin lines, and then give your drawing clarity and expressiveness.

- Sketch out the limbs.
Using thin, straight lines, mark the position of the arms and legs. Draw the folds as large dots.
- Add the contours of the body.
Draw connecting lines between the head and chest to represent the neck and shoulders. Also depict the sides of the body.

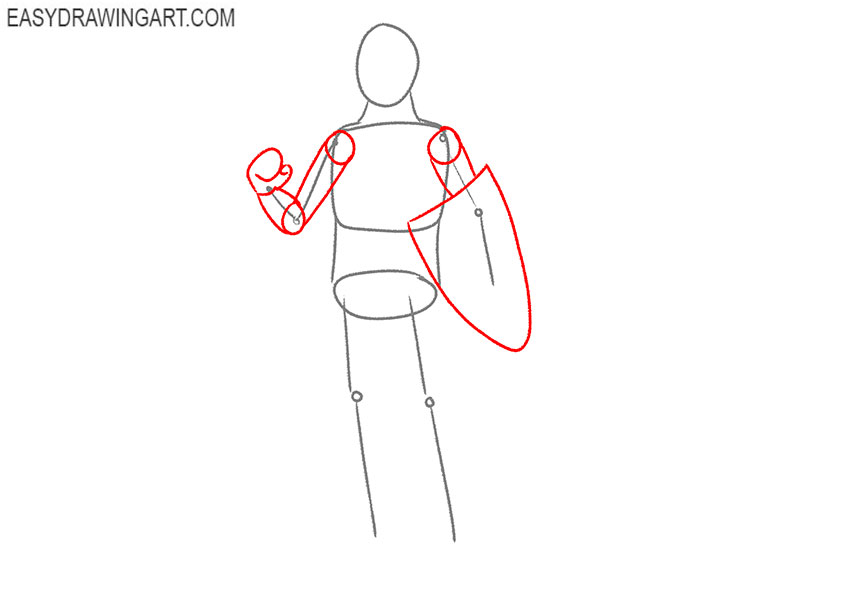
- Draw the arms.
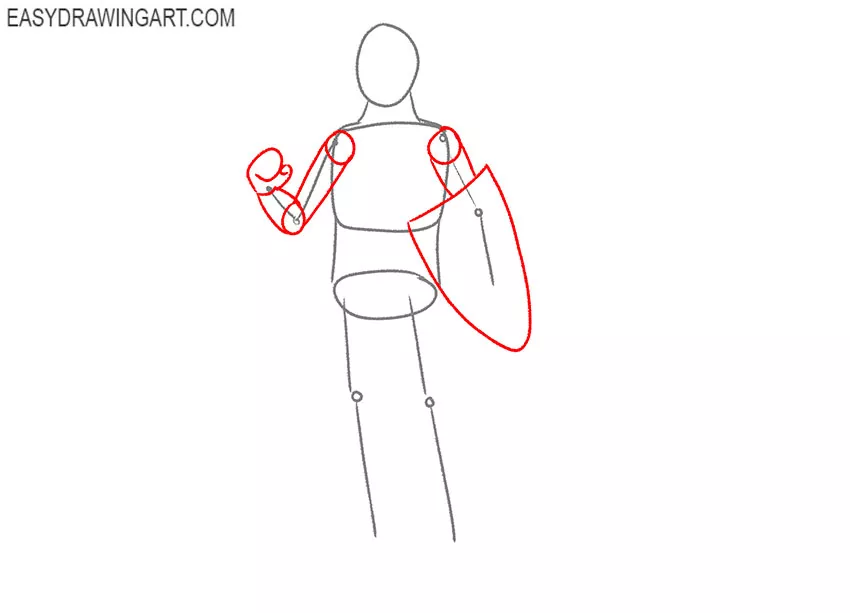
Depict the thickness of the arms using several cylindrical shapes. Draw the shield of the same shape as in our example.
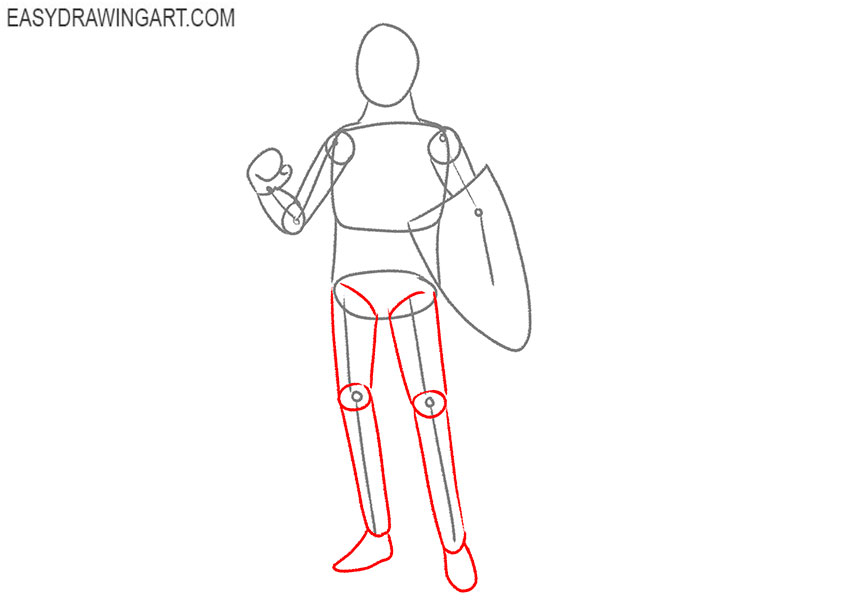
- Depict the legs.
Give the legs the desired thickness and shape. Draw the places of the folds in the form of circles and draw the feet below.
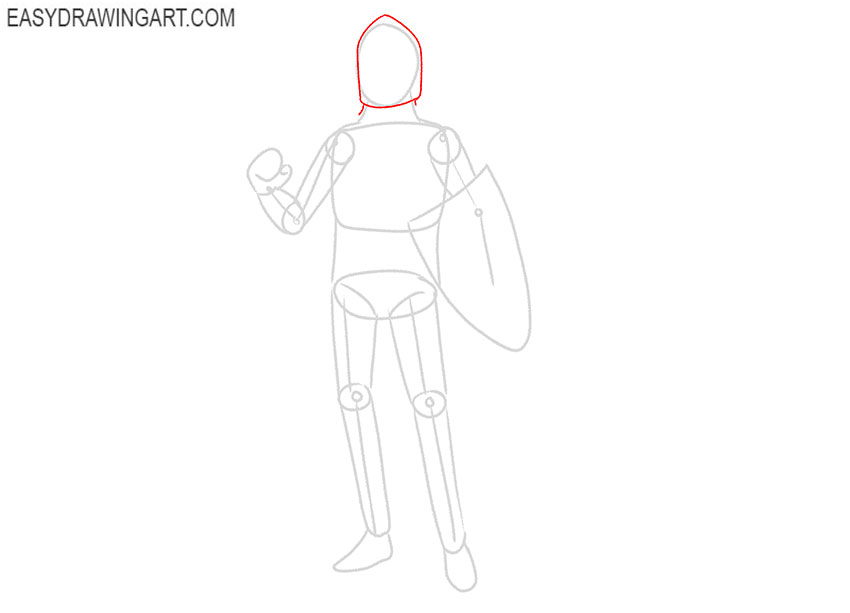
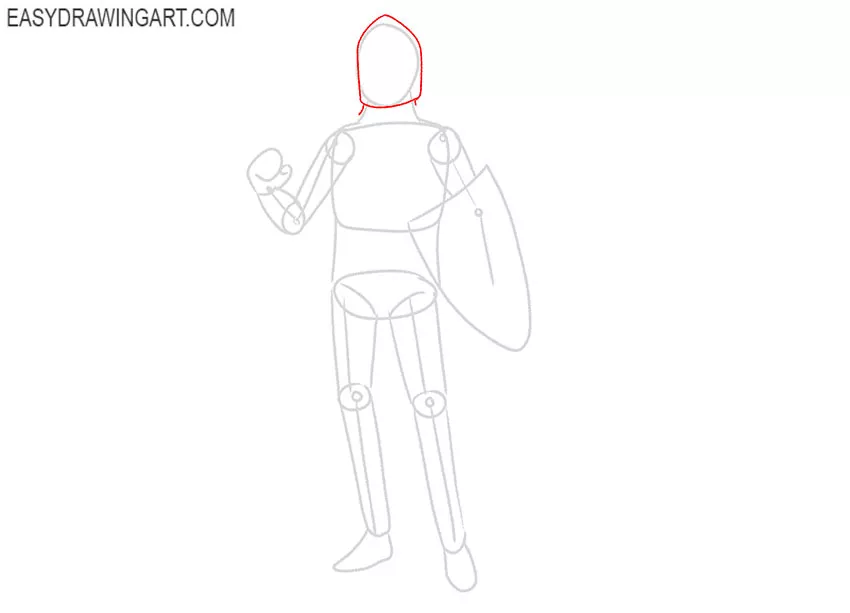
- Detail the head.
This step will be easy, and you will quickly complete it, because here you only have to draw the outer outline of the helmet.
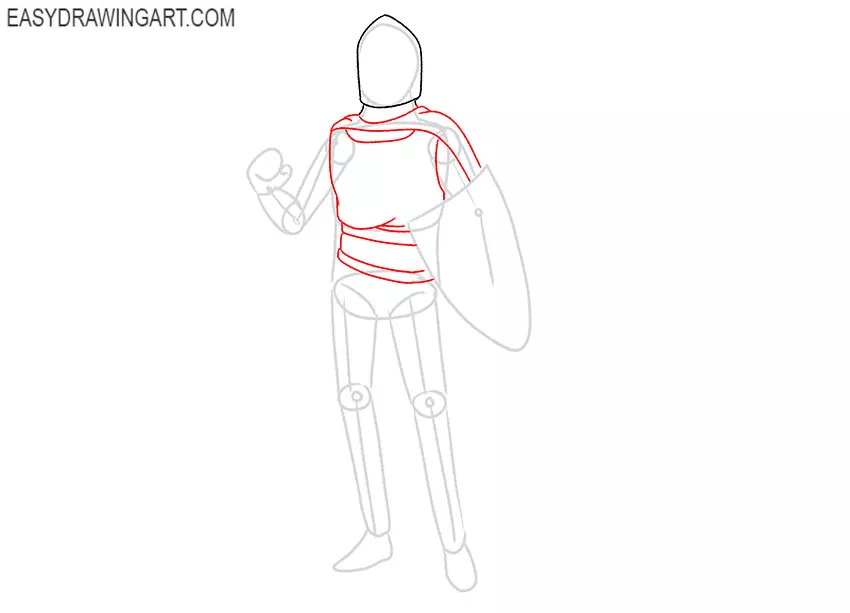
- Start drawing the clothes.
With smooth lines, mark the cape on the shoulders and draw some elements of the clothing on the belt.

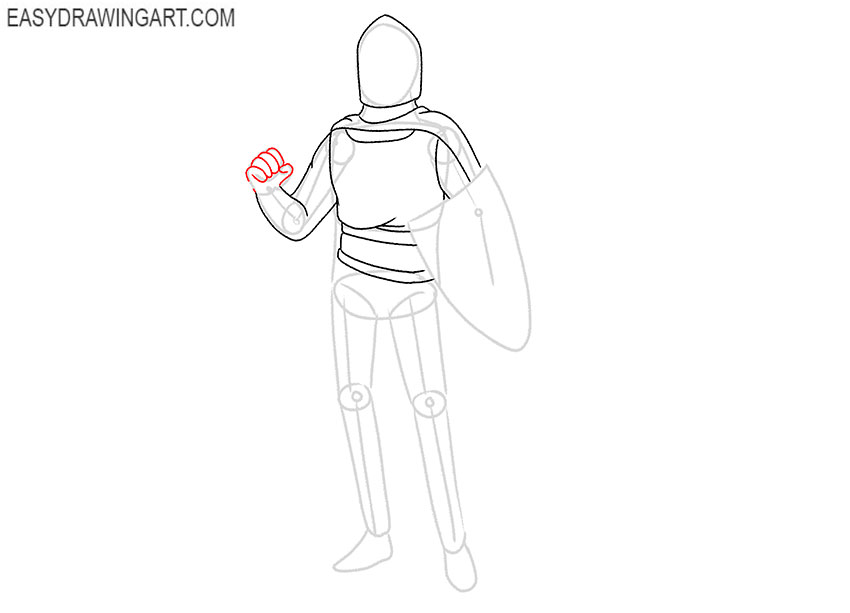
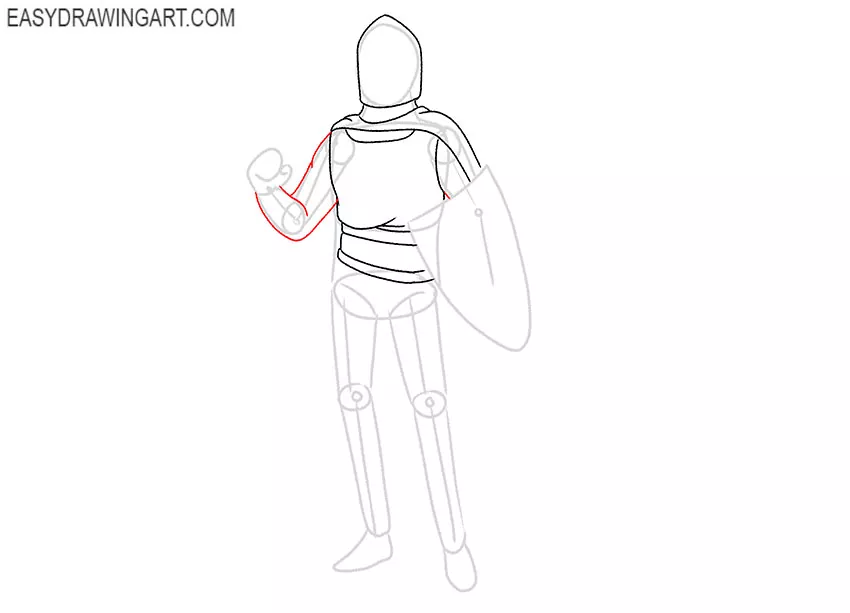
- Detail one hand.
Focus on the lines that you drew earlier and carefully circle one hand along the contour, giving it the correct anatomical shape.

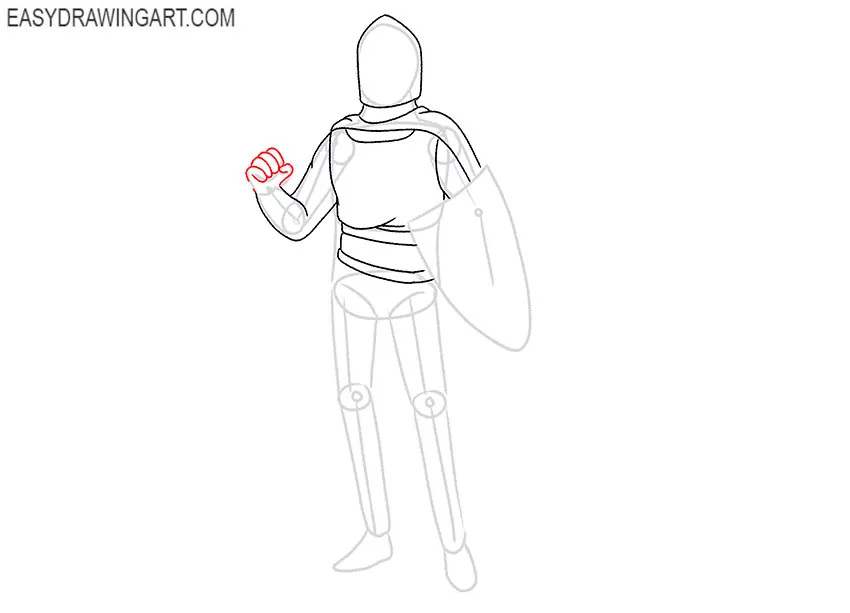
- Draw the hand.
This will be a very simple step, but it will require you to be careful and accurate, because here you must correctly depict the position of the fingers.
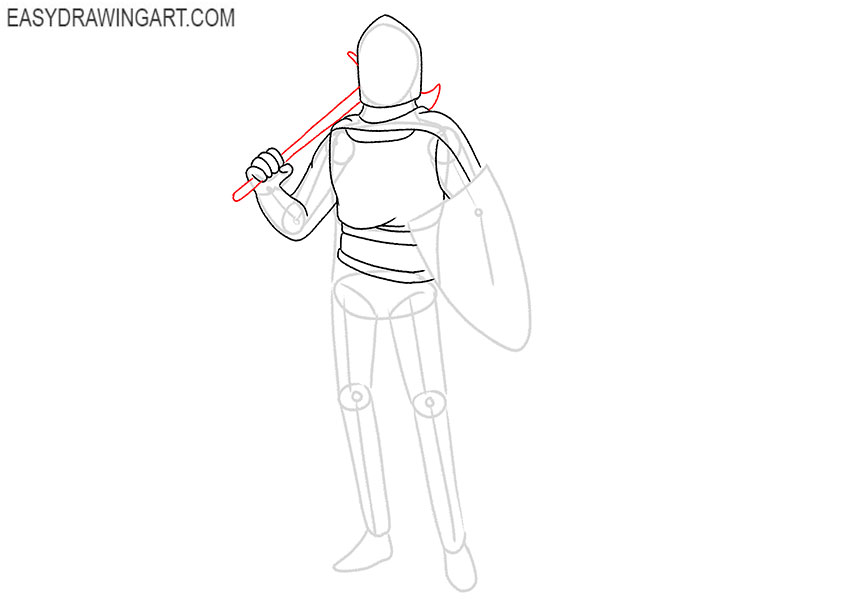
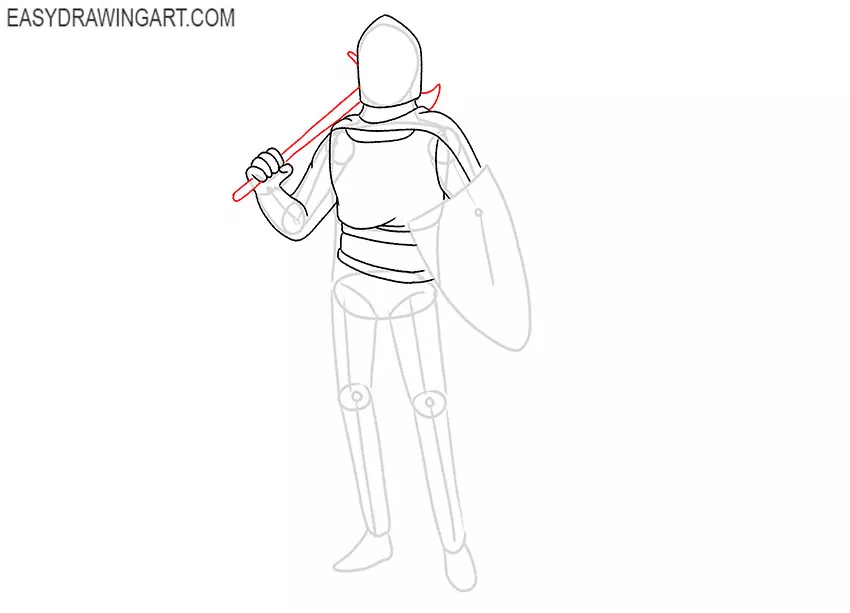
- Sketch out the tool.
Using straight lines, depict the long handle of the gun and the visible part of the gun, which is located behind the back of the crusader.
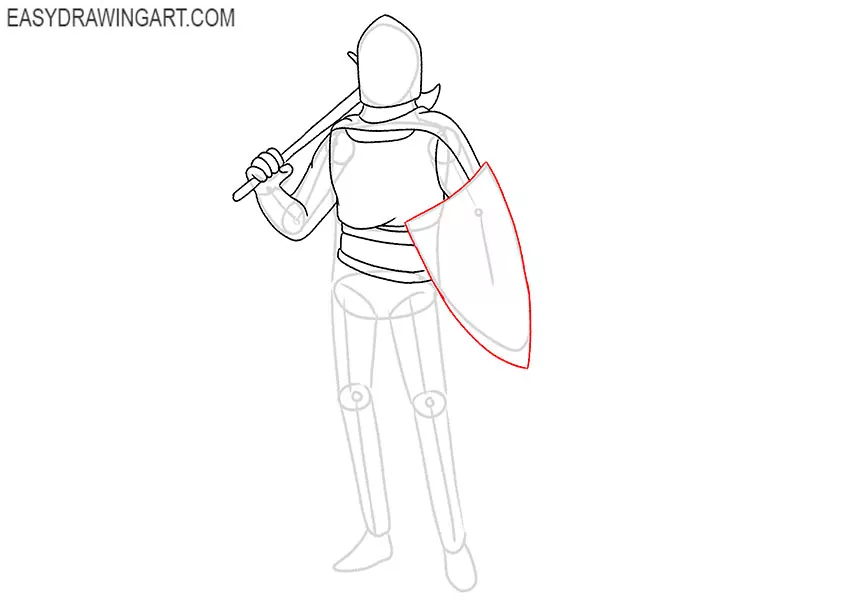
- Make the outline of the shield clearer.
Use these lines you drew earlier as a guide and carefully trace the outline of the shield, giving it the desired shape.

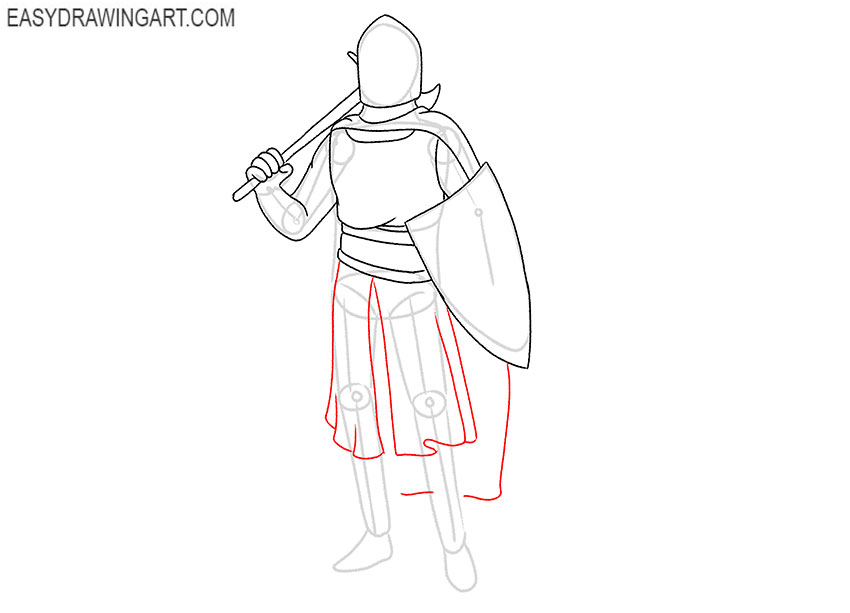
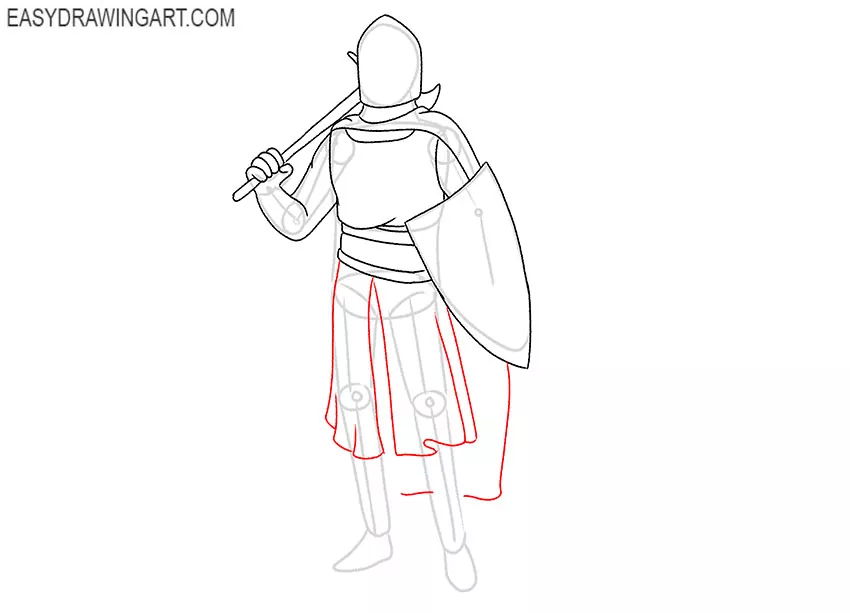
- Depict the bottom of the clothes.
Draw smooth lines down from the belt and draw the rest of the clothing. Add the folds to make the clothes look more realistic.
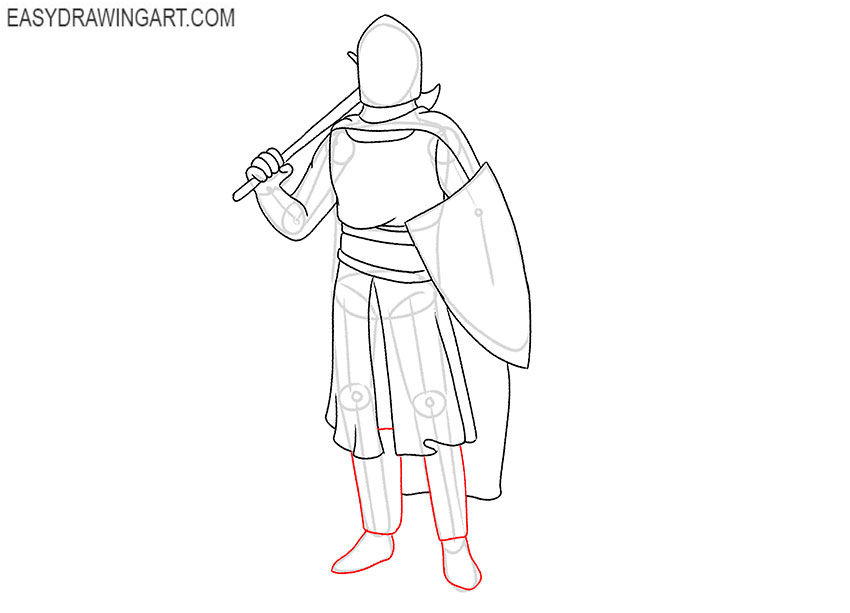
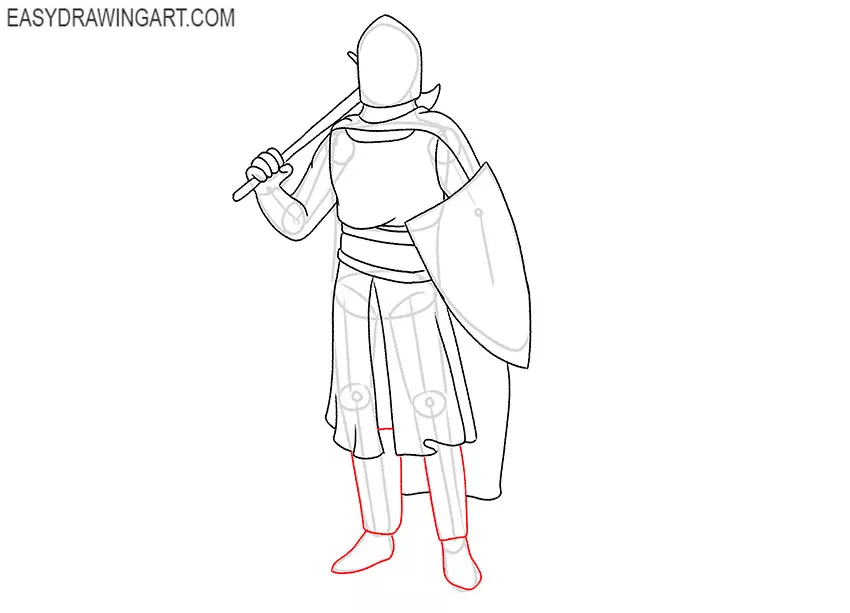
- Draw the legs.
With the help of a few smooth lines depict the lower parts of the legs and add the feet that are turned in different directions.
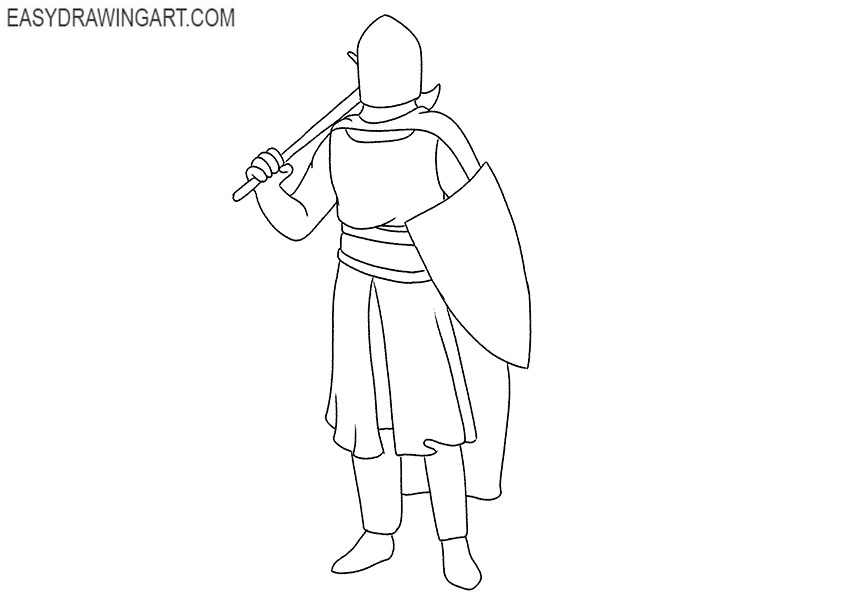
- Correct inaccuracies.
Now all the main outlines are ready, and you can carefully remove all unnecessary lines in your drawing.
- Color the drawing.
For coloring, you will need different shades of gray, as well as brown and yellow. Color the crosses on the clothes and on the shield in red.


So another drawing lesson came to an end. We would be interested to know your opinion about this lesson, and we will wait for your feedback. Follow us on social media if you haven’t already.