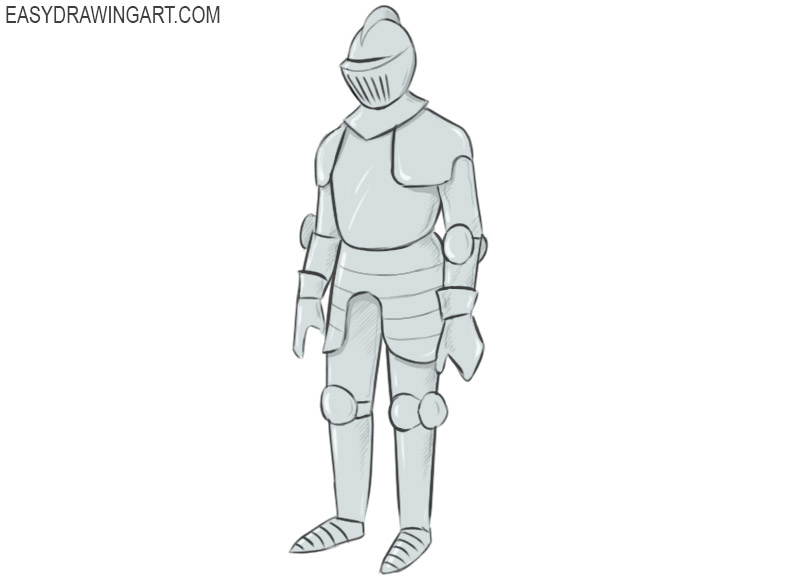
How to Draw Armor
In this lesson, you will learn how to draw armor. The lesson will be interesting and useful for any novice artist.
We are pleased to present to your attention another fascinating lesson in which we will show you how to draw armor. This is military equipment that was used in the Middle Ages and served to protect different parts of the warrior’s body.
Combat armor covered various parts of the body of warriors, from cold and throwing weapons. In ancient times, armor was used everywhere and the need for them disappeared when handguns appeared.
The technology for making armor was quite complex and required a large amount of material to create one set. The protective combat equipment included several elements, each of which had its own name. Now you have to draw all these elements.
Time needed: 1 hour
How to Draw Armor
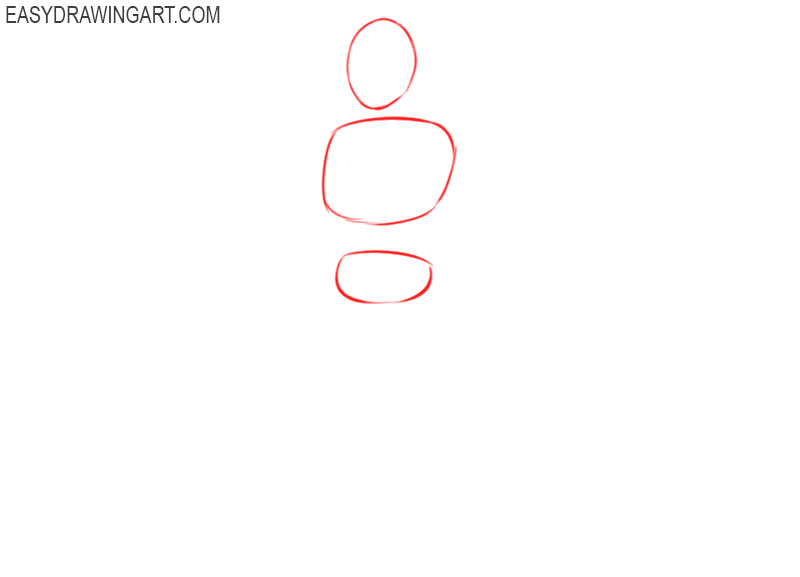
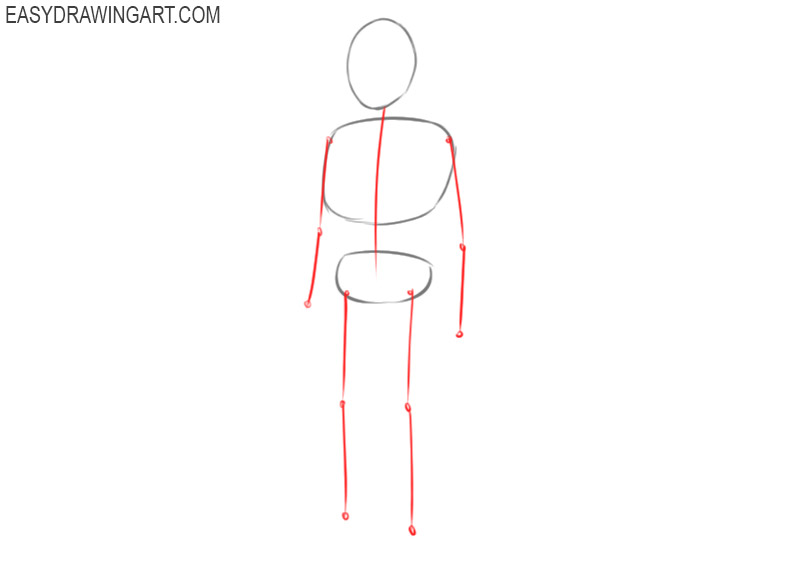
- Draw the base.
Depict the head in the shape of an oval, a little lower draw the thoracic region and the pelvic region. In this step, use thin lines that can be easily removed if necessary.

- Add the limbs.
With thin simple thin lines depict the main parts of the arms and legs. Draw the joints as large dots. Draw a vertical line in the center that connects the main elements.
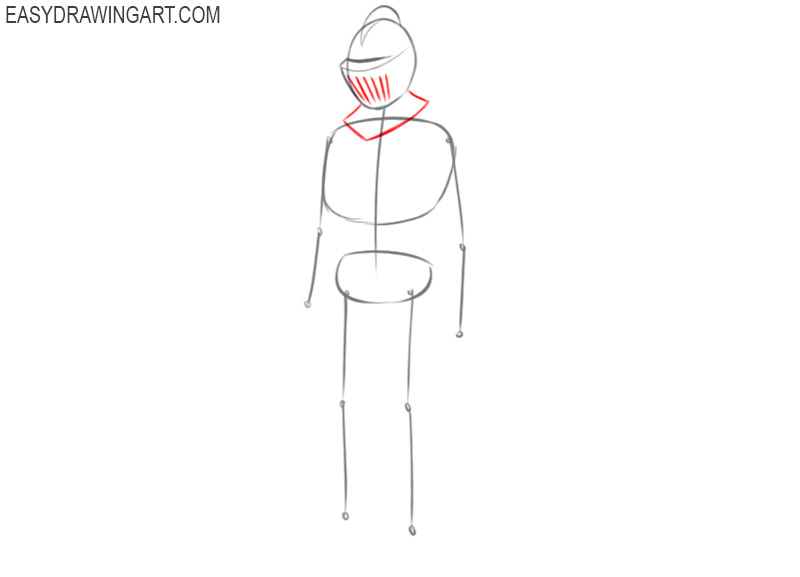
- Start drawing the helmet.
At the very top, add the bulging part using the main curved line, then go down and draw the part of the helmet that covers the eyes.
- Depict the bottom of the helmet.
Sequentially draw several strips that are located at the level of the face and with the help of several lines depict the lower wide part of the helmet.
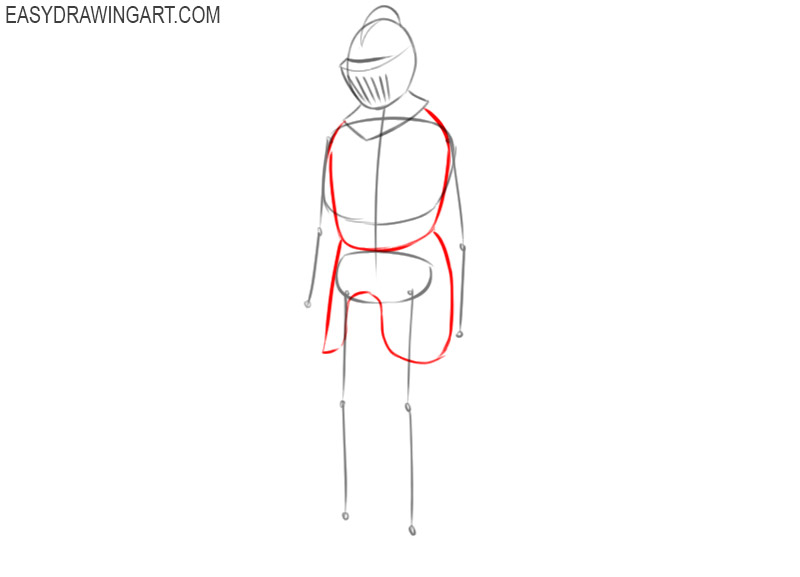
- Sketch out the main body.
Add two pieces of armor that cover the torso. Using smooth lines, outline the outline of the top and bottom of the equipment.
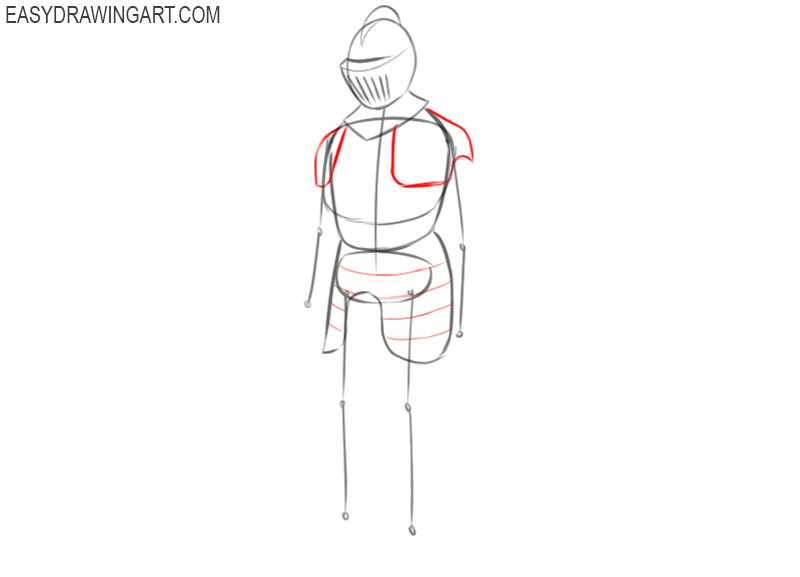
- Draw the shoulders.
Add two elements that cover the warrior’s shoulders. To do this, use smooth curved lines.
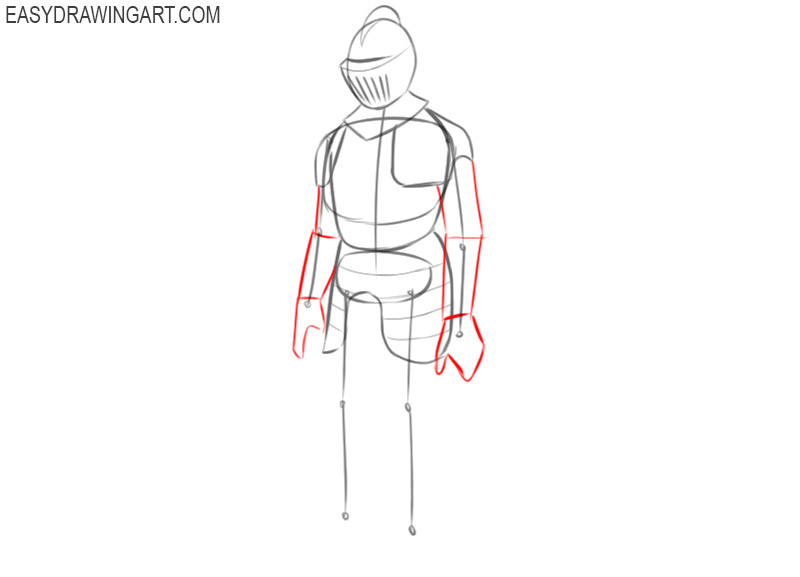
- Depict the arms.
Use the guidelines as a guide and add thickness to the arms. Each hand consists of three elements of different shapes.
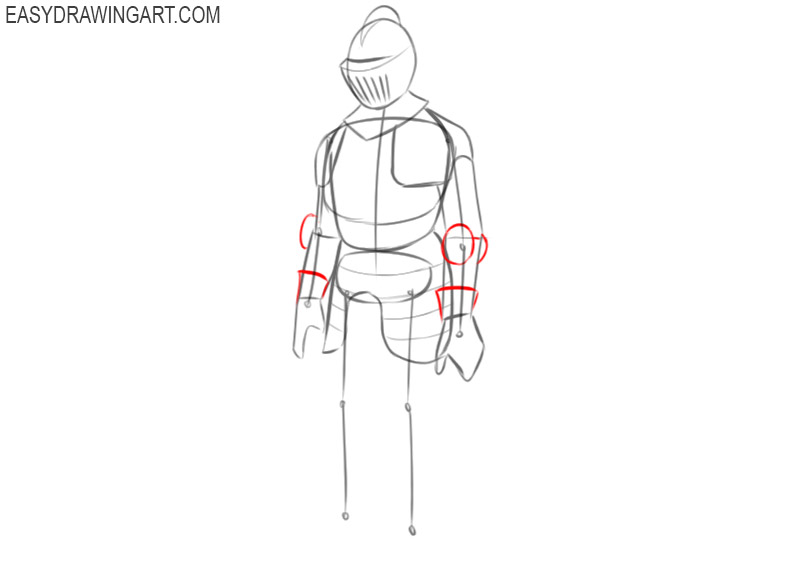
- Add elements on the arms.
Now you can move on to drawing smaller details located on the hands. Draw circles on the elbow joint, and draw the upper parts of the gloves in the shape of a trapezoid.
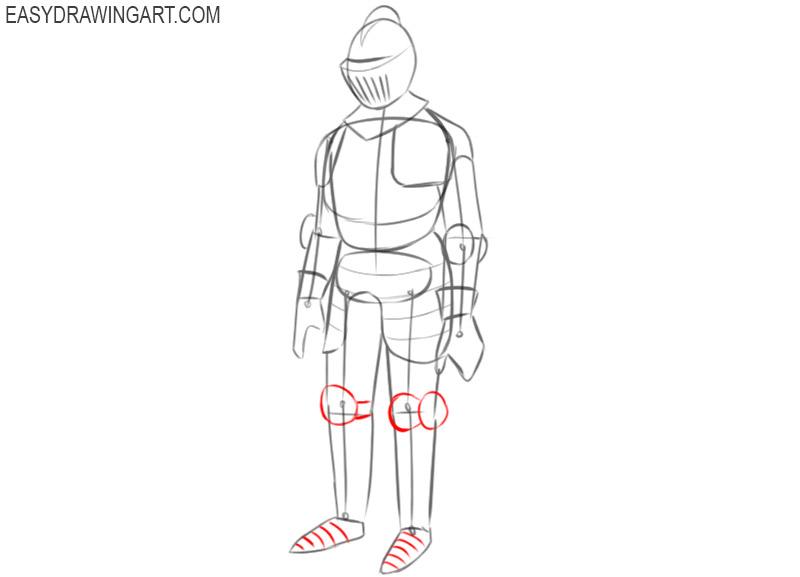
- Sketch out the bottom of the armor.
Depict the armor that covers the legs. To do this, draw some straight lines using the guides you drew earlier.
- Detail the armor on the legs.
Draw circles in the area of the knee joints. Draw cross strips at the bottom of the legs.
- Color the drawing.
The armor was made of metal, so use shades that mimic the metal surface. Several shades of gray are ideal.


Now you’ve completed another exciting creative challenge. We hope that you made every effort in every step and were satisfied with the result of your work. We will be pleased if you share your impressions about this lesson and leave a little feedback in the comments.