How to Draw Link
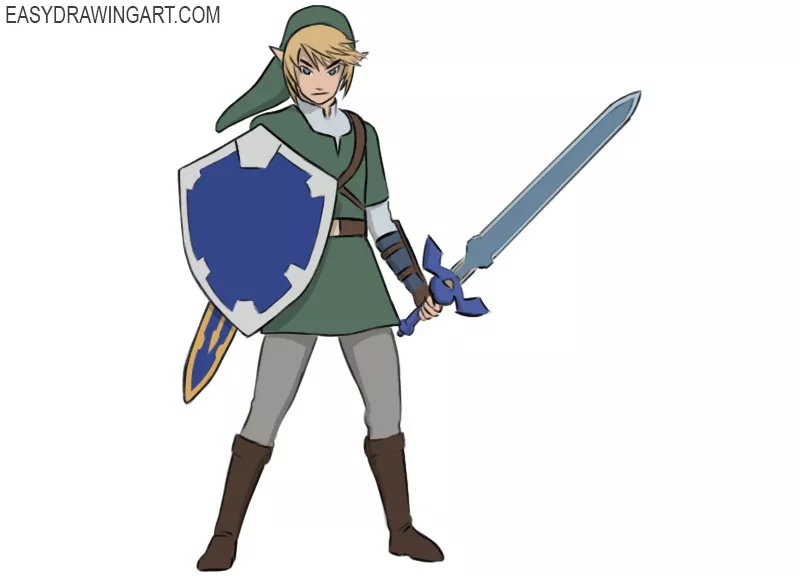
Today we will show you how to draw Link from The Legends of Zelda. You can see many steps and think that this is a hard drawing guide. In fact, it is very easy.
Step 1
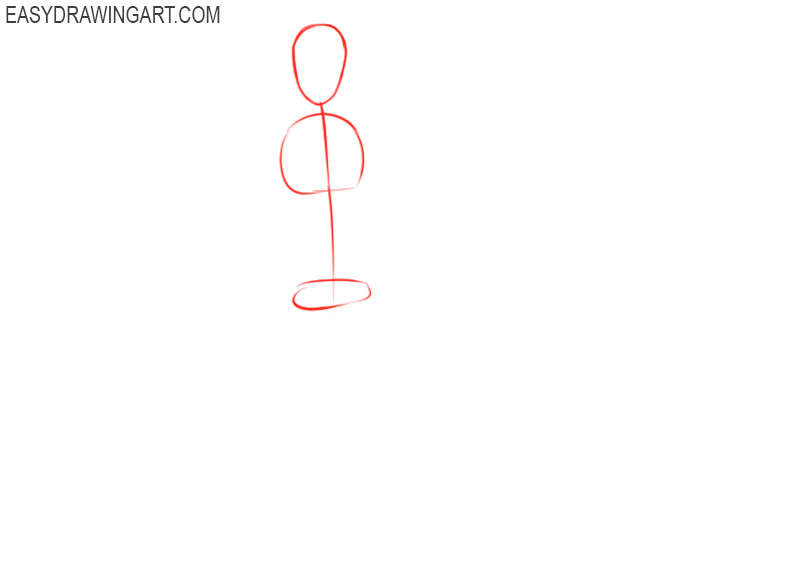
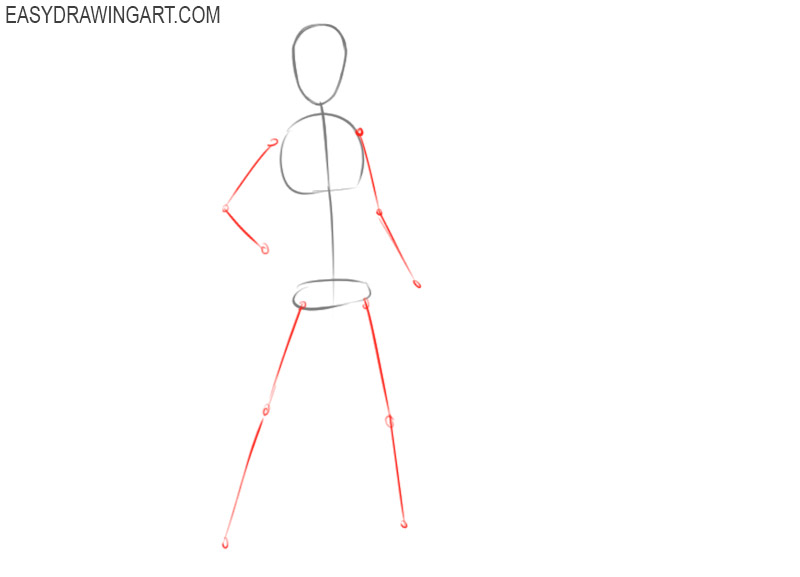
First, we will draw a stickman Link. Denote three rounded shapes and connect them with a straight vertical line. The head is the upper figure, the chest is the middle figure and the pelvis is the lower figure.
Step 2
Add limbs. You can think of any pose for Link however try to observe the correct proportions and the correct length of limbs. We decided to give our character a pose in which the right hand bends at a right angle and legs are widely spaced.
Step 3
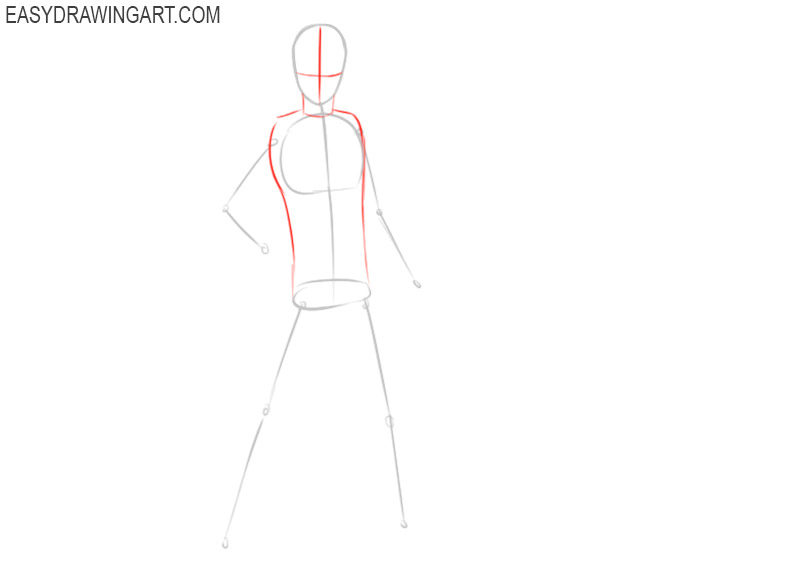
Draw a pair of overlapping lines on the face. The horizontal line denotes the line of the eyes and the vertical line denotes the symmetry of the head. Our regular readers probably noticed the strangeness. In this drawing lesson, the eye line is at the level of the lower third of the face. In other drawing lessons (for example, about Superman), the line of the eyes is much higher.
This is due to posture. In our case, the line of the eyes is shifted downwards so that our character tilts his head down. Try to convey this feature correctly.
Step 4
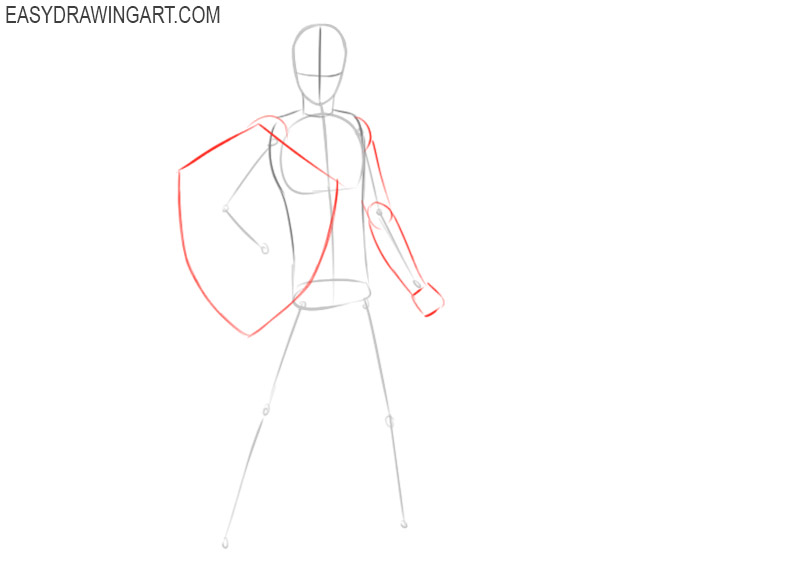
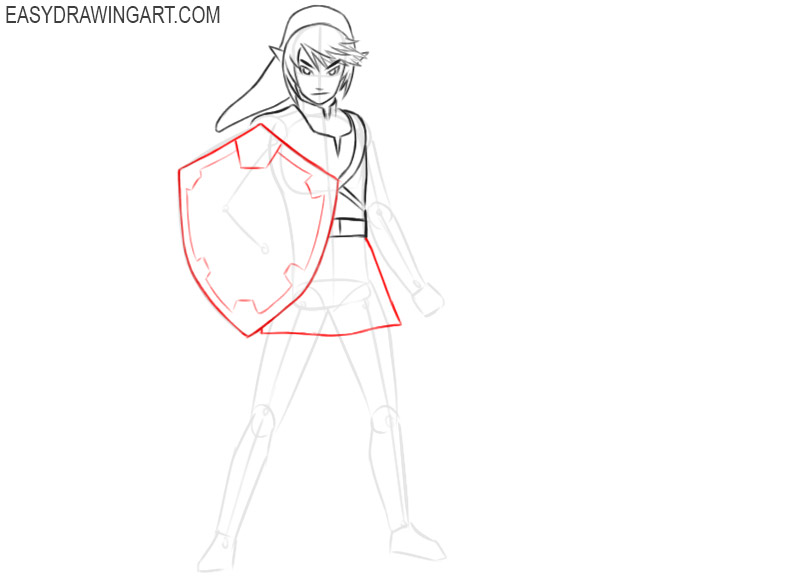
Link is a warrior. Therefore, we need to outline the contours of his shield. In the same step, we will draw the outlines of Link’s left arm.
Step 5
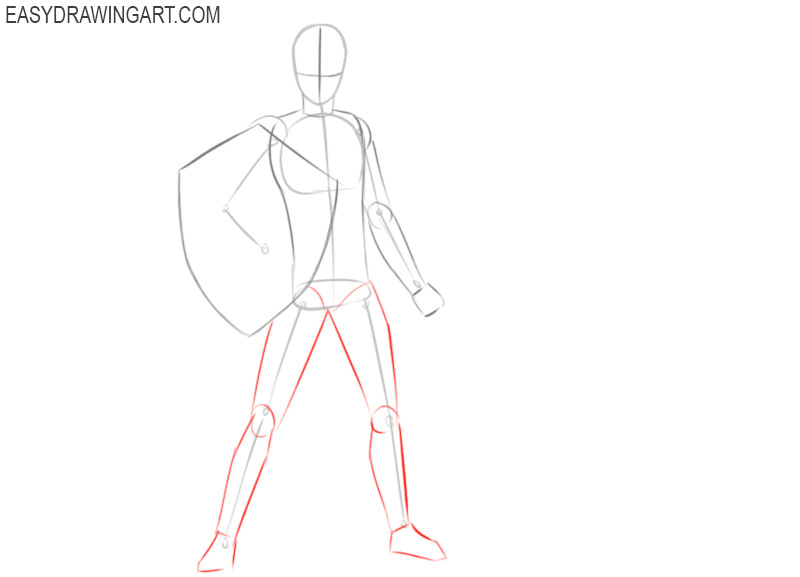
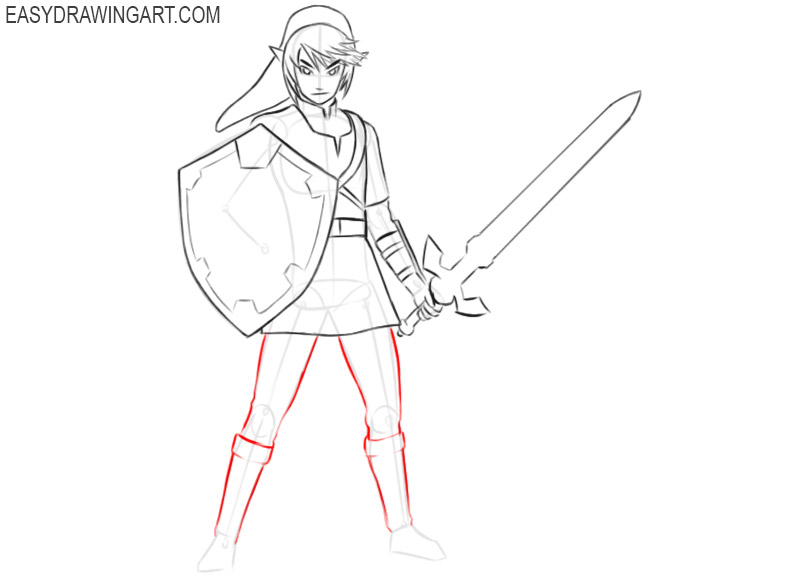
So we carefully look at the reference point from the second stage and draw the contours of the legs. Link has the physique of a teenager so you should not draw too powerful legs.
Step 6
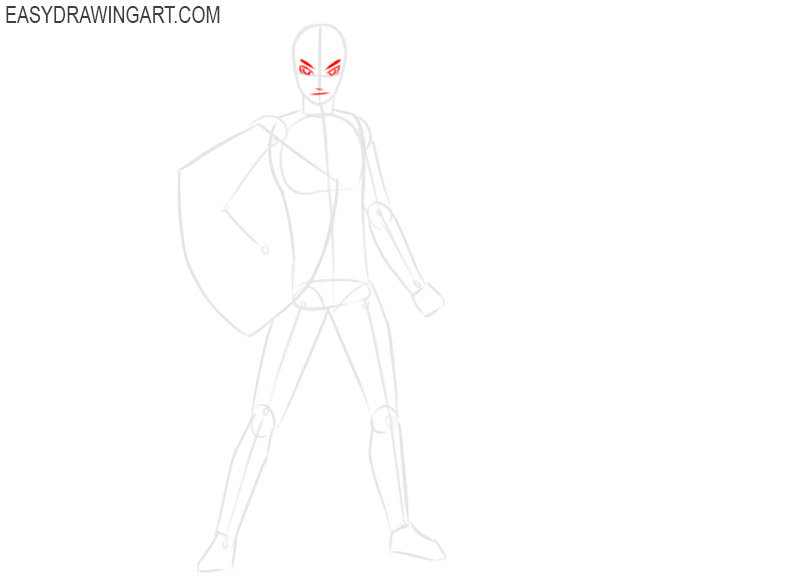
What style is our character drawn in? Of course, this is an anime. Therefore, we draw detailed large frowned eyes and schematically outline the remaining facial features.
Step 7
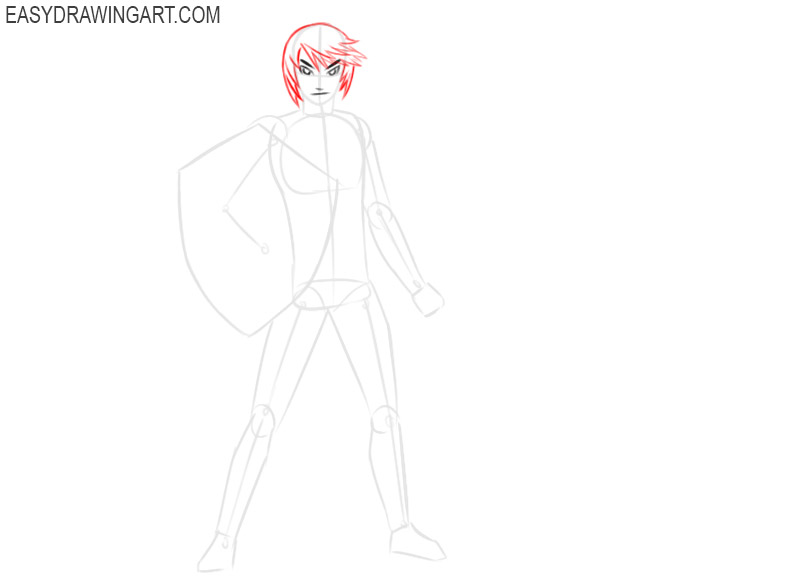
We depict the hairstyle of our character. You see a fringe which consists of sharp corners. The same sharp corners are located on the sides of the head.
Step 8
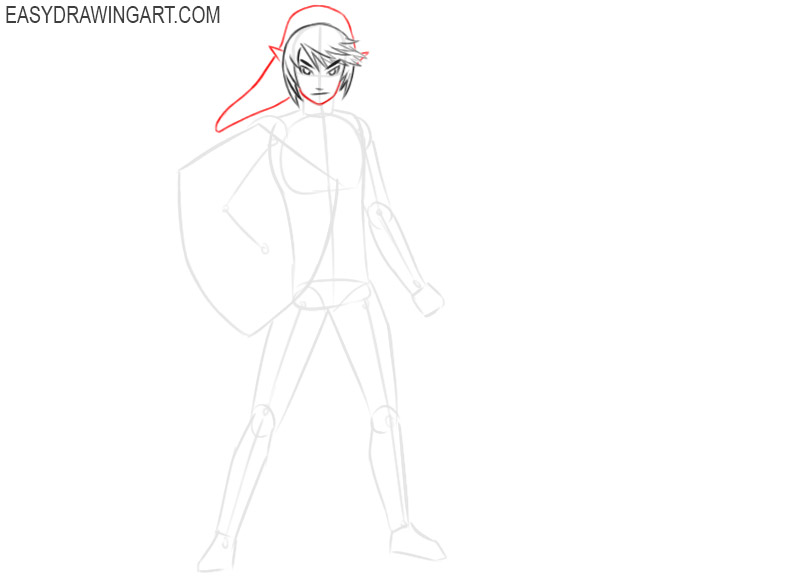
Our character has an almost complete head. To make Link’s head look final, we need to outline the outline of the cap and lower jaw.
Step 9
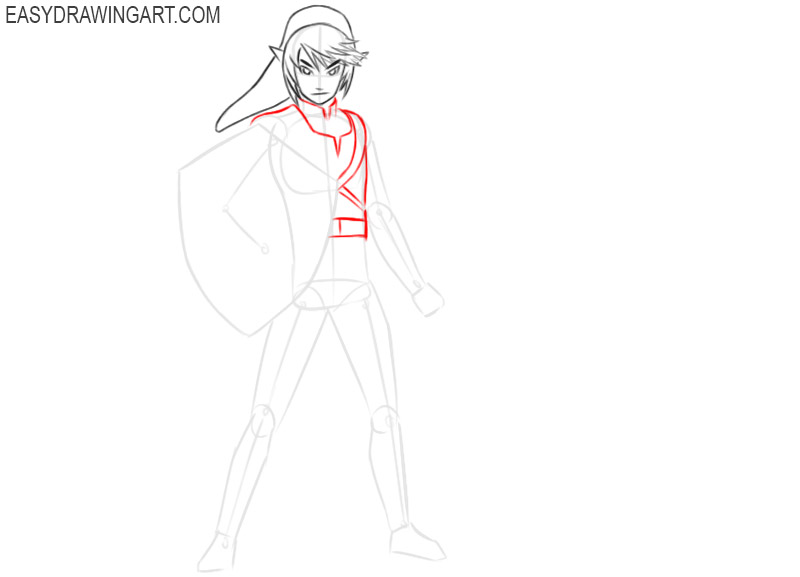
We will depict the parts of our character’s robes that are not covered by a shield. In this step, we will draw a belt on the belt and a pair of crossed belts on the body. Link also has a low neckline collar.
Step 10
We continue to work with Link attire. In this step, we will draw the bottom of the armor that looks like a skirt. We will also depict the inside of the shield.
Step 11
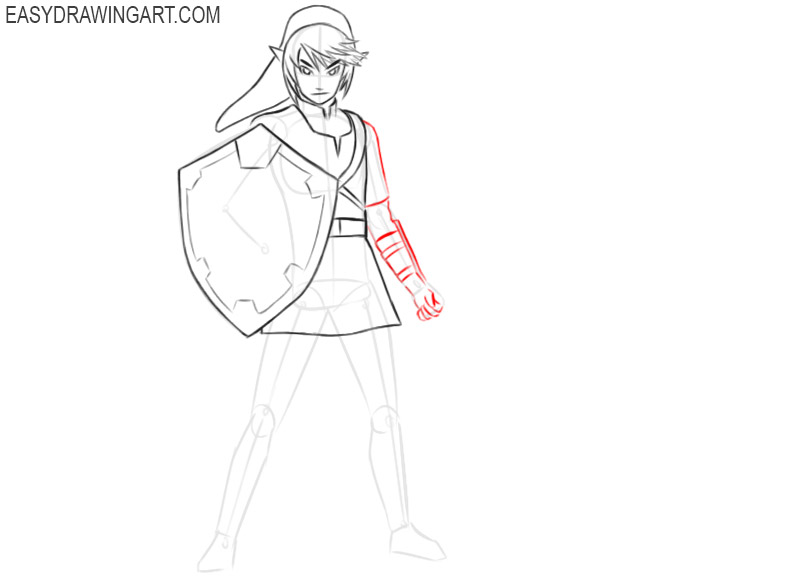
Next, we draw the final contours of the left hand. Here we need to depict fingers that are clenched and several straps that cross the forearm.
Step 12
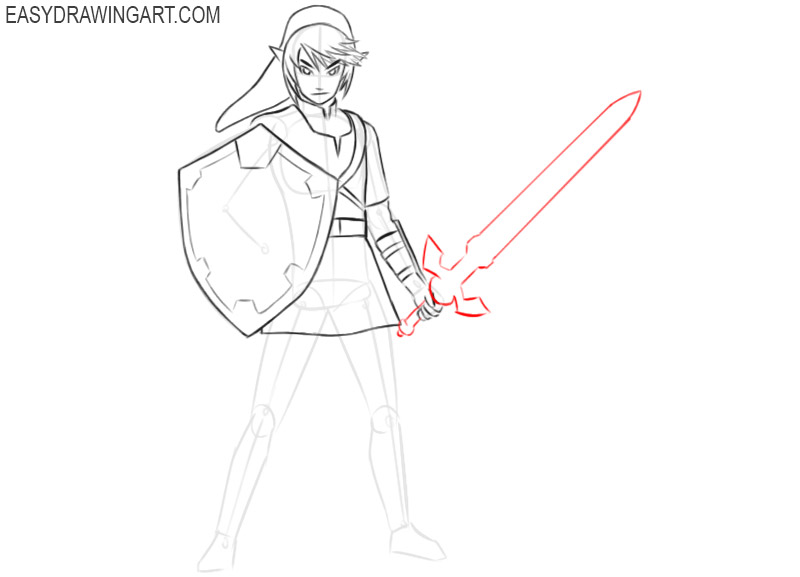
at this stage we will depict the contours of a very large sword. You can draw any other weapon for our hero. It is only important that the weapon that you draw is located in the same plane as the sword in our drawing.
Step 14
We use the landmarks from the previous steps to draw the legs of our character. Link’s legs should have a smooth narrowing down. Avoid too wide and powerful contours.
Step 14
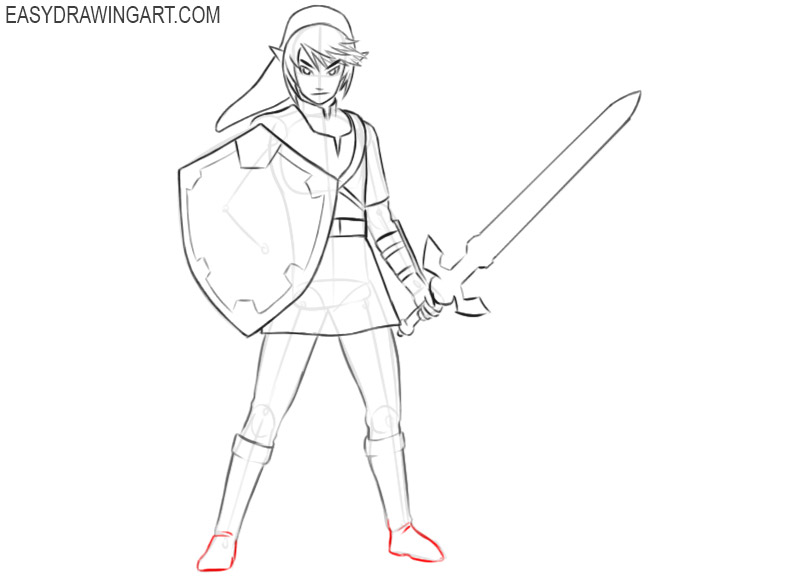
All we need to do in this step is to outline the contours of Link’s feet. Do not forget about the folds of the skin on the roughness of the boots.
Step 15
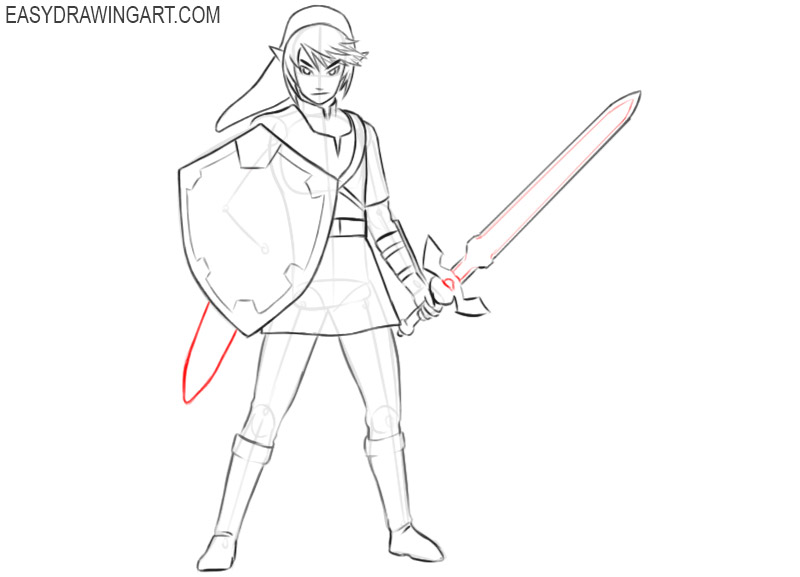
This is literally a couple of small touches for the penultimate step. Let’s outline the sheath that are located under the shield. After that, add the edging on the blade of the sword.
Step 16
We will devote this step to working with colors. Color Link’s clothes in dark green. The boots should be dark brown and the pants should be light gray. At the end of this step, apply light shadows.
We are waiting for your opinions in the comments. We are also waiting for your criticism and your messages about the difficulties that arose during this drawing lesson.