How to Paint a Mountain

In this tutorial, you will learn how to paint a mountain using a really simple five-step process and shows how to draw a beautiful landscape.
Subsequent steps demonstrate adding highlights for sunlight, defining shadows, and applying colors to achieve a realistic appearance.
The tutorial on how to paint a mountain can be followed using various mediums, including acrylic, oil, gouache, or digital painting tools.
Practicing these foundational landscape-painting skills will help artists build confidence and improve their ability to portray realistic natural scenes.
Before you start this mountain painting tutorial, you can visit our mountain drawing tutorial to learn more about creating a basic structure of this object.
How to Paint a Mountain Step-by-Step
Step 1: Paint the background sky
Create a gentle sky that forms the background of your mountain painting. Use a large, soft brush and a pale blue shade to smoothly apply curved horizontal strokes across the canvas. Gradually lighten the blue tone as you move downward to simulate a natural gradient. Try to achieve an even sky that appears distant, calm, and tranquil. At this stage you can also start painting clouds in the sky.

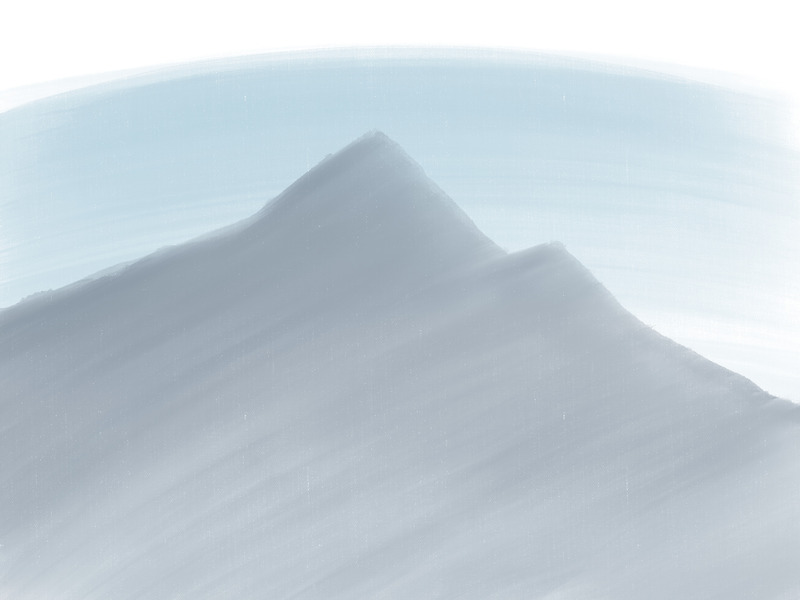
Step 2: Paint the mountain silhouette
Choose a slightly darker and muted shade of gray-blue to contrast against your background sky. Using rough strokes, sketch the peak and slopes of your mountain, making the shapes irregular and natural-looking. Use varied, angular contours to mimic the rugged, rocky edges.
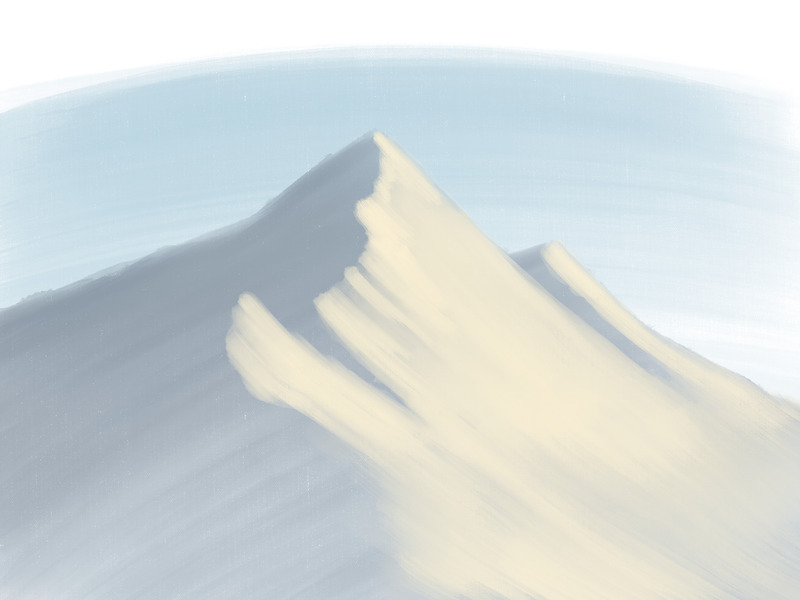
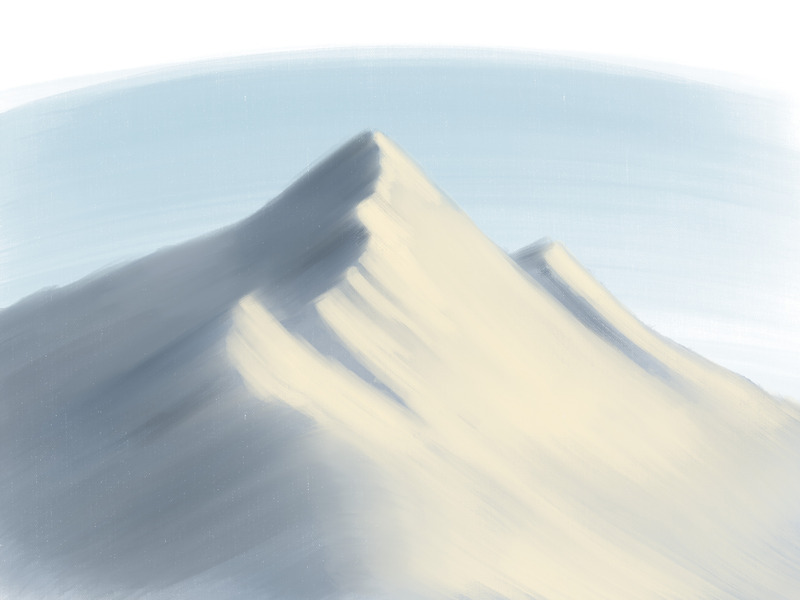
Step 3: Add sunlit areas to the mountain
In this step, you will create light and mid-tones to define the areas of the mountain touched by sunlight. Choose a pale, warm color such as a soft cream or ivory, which naturally contrasts against the cooler tones of your mountain silhouette. Using directional strokes that follow the mountain slopes, gently apply the lighter color onto the peaks and ridges where sunlight naturally falls.
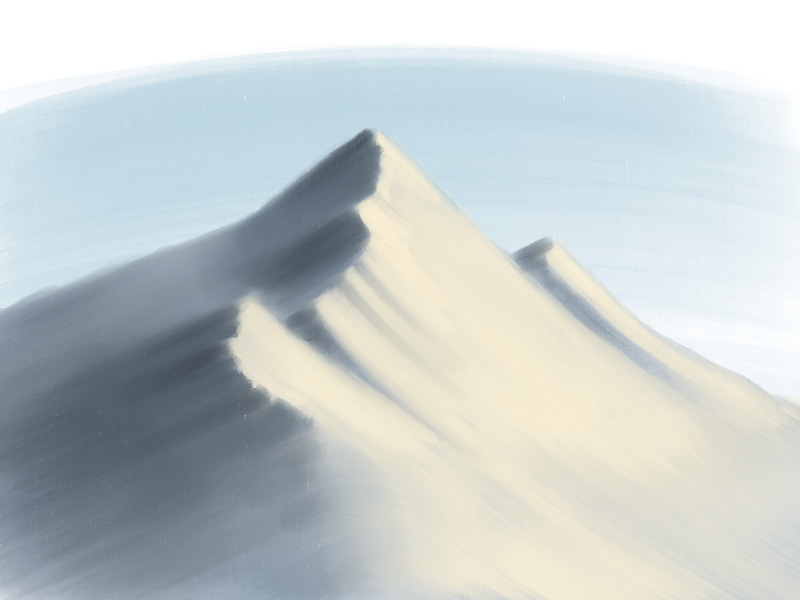
Step 4: Detail the shadows on the painting
Now, add more realism by adding core shadows and detailing the dark areas on your mountain. Using a slightly darker shade than your original mountain silhouette color, apply shadows opposite the highlighted areas you created in the previous step. Follow the mountain’s form with careful brush strokes, deepening shadows on slopes and valleys.
Step 5: Add some final touches to the painting
Using smooth brush strokes, blend the boundary lines between highlights, mid-tones, and shadows to achieve a realistic look. Make the contrast between colors and tones more pronounced. This is also the ideal stage to introduce minor highlights or shadows to create particular features.
As we’ve said, this mountain painting tutorial helps build very important skills in drawing, coloring, shading, and creating realism in landscape painting.
If you found this mountain painting tutorial helpful, consider visiting other tutorials, to learn how to paint a flower or other beautiful objects.
Practicing various scenes will improve your ability to work with light, texture, and atmospheric perspective.
Check out more painting and drawing lessons to continue developing your art skills and boost your understanding of landscape composition.