How to Draw Xerneas
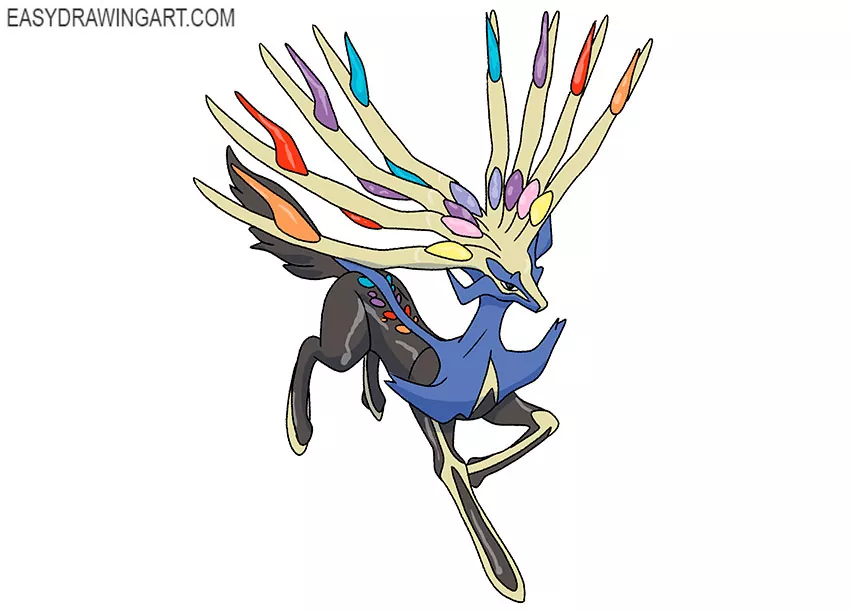
So, here is a detailed guide on how to draw Xerneas. This is a peaceful creature that is very similar to a deer.
This is a legendary, incredibly powerful Fairy-type Pokémon. Xerneas has surprisingly large, branched antlers of an unusual shape.
Each antler has multicolored branches. There are outgrowths on the sides of the head and on the chest, and it does not have hooves.
Time needed: 1 hour
How to Draw Xerneas
- Prepare the base.
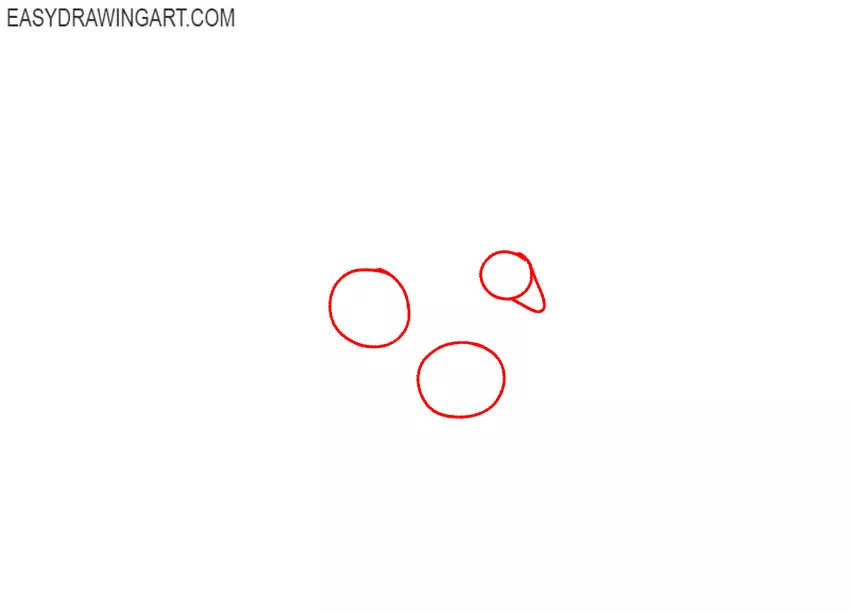
Indicate the position of the head, thoracic region and pelvis using rounded figures of various sizes.

- Depict the outline of the back and tail, add the limbs.
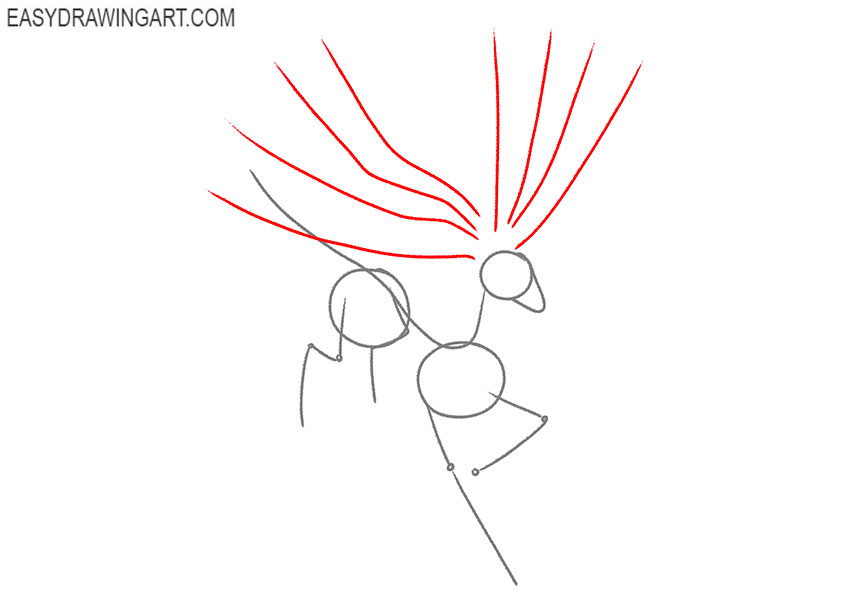
Draw a smooth line down to represent the back and tail. Using a few thin lines, mark the position of the front and hind limbs.
- Sketch out the horns.
On each side of the head, draw four long, smooth lines at some distance from each other. It looks like a fan.
- Add elements of the muzzle.
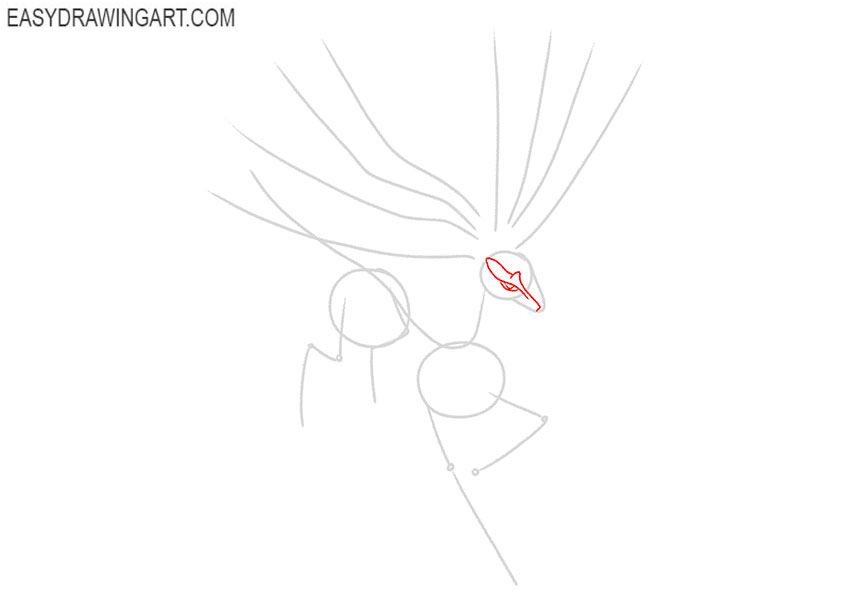
Draw the eye and using smooth curved lines add the elongated outgrowth from the tip of the nose to the top of the head.
- Draw outgrowths on the head.
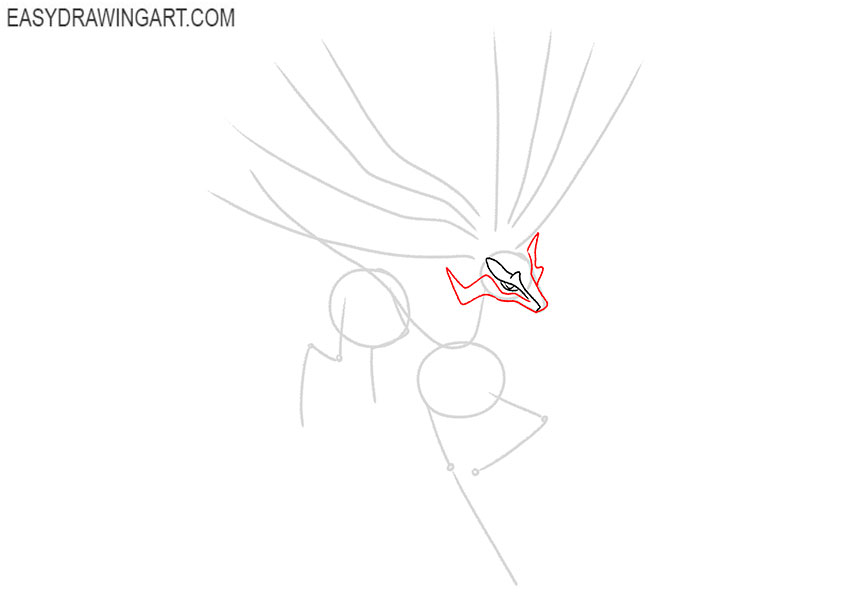
Add the outline of the nose and depict the spiky outgrowths on the sides using curved lines.
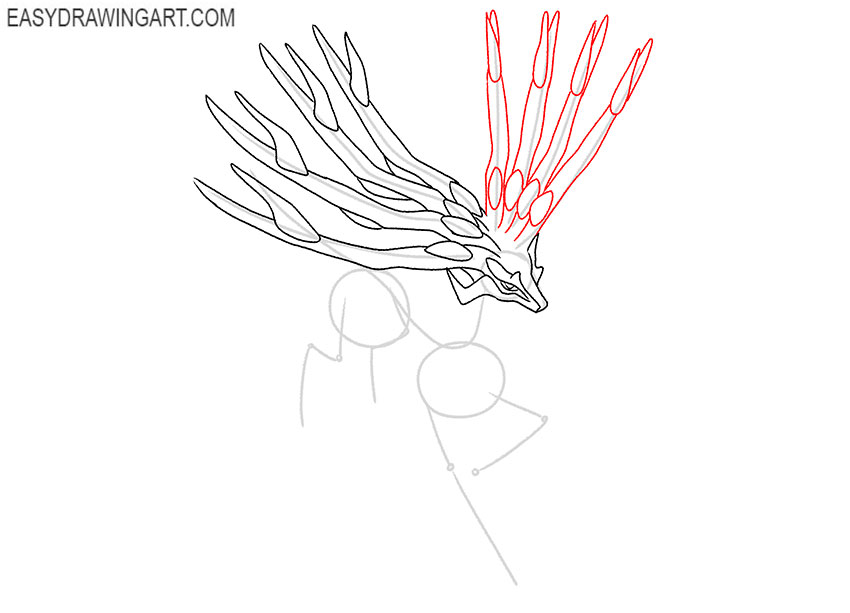
- Depict the horns on one side.
Use the guidelines as a guide and give the horns thickness and shape. Add the bulbous oval outgrowths at the base and spiky outgrowths at the ends.
- Add the horns on the other side.
In this step, you also need to give the horns the desired shape and thickness. Please note that here the horns are shown from a different angle, so the processes are located differently.
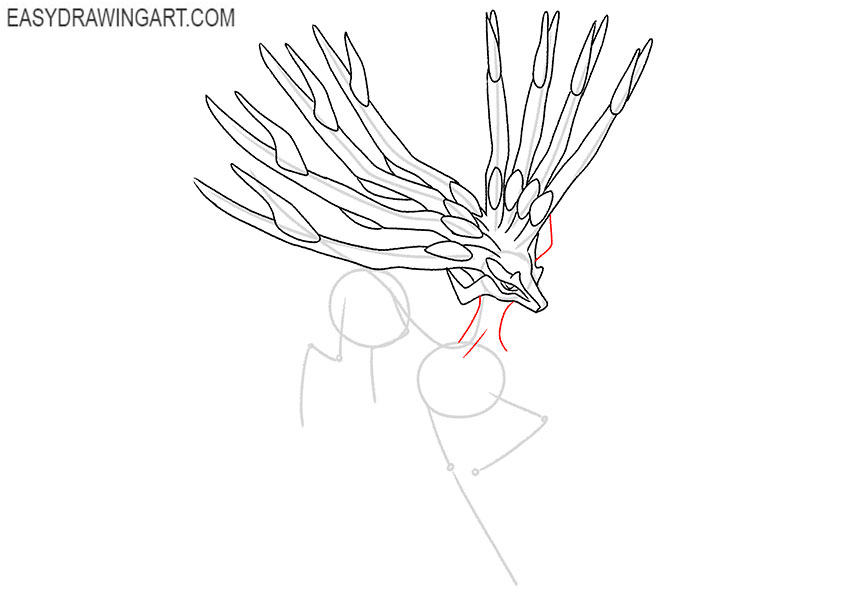
- Draw the neck.
Below the head, draw smooth lines to depict the long, thin neck. On the side of the head, add the visible part of the protrusion using a curved line.
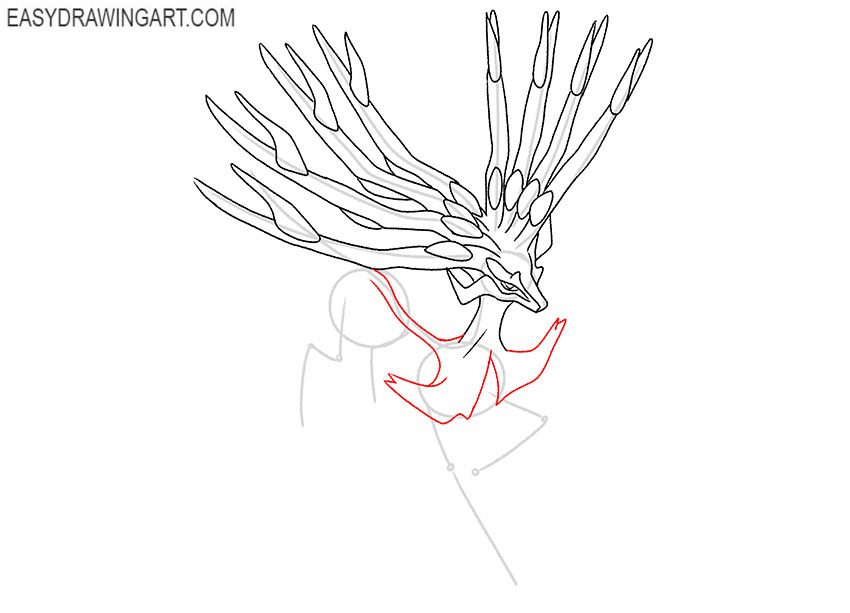
- Detail the chest.
From the neck, draw smooth lines to the sides and depict the outgrowths, the ends of which are turned in opposite directions. Add the stripe on the back.
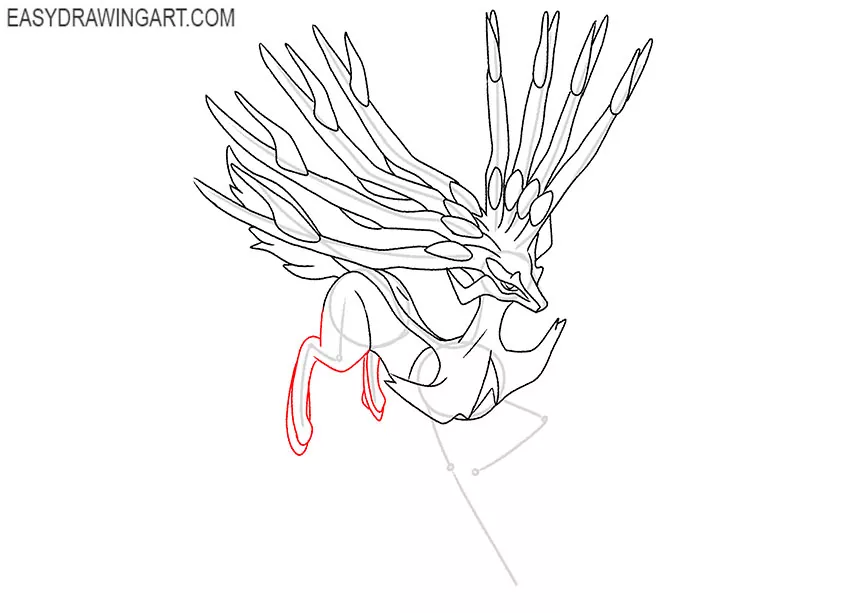
- Sketch out the tail and contours of the torso.
With the help of smooth lines depict the back and lower part of the body. Detail the thoracic region and add the puffy tail.
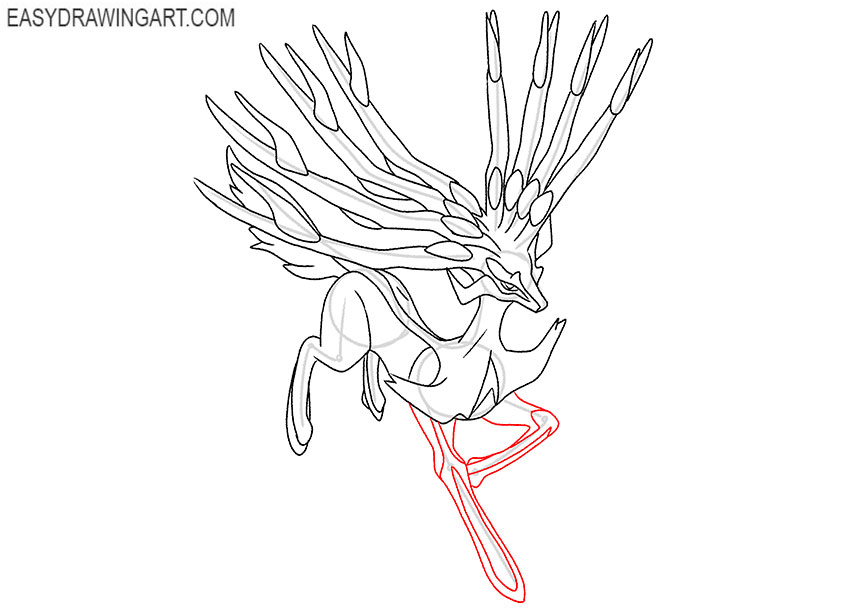
- Draw the hind limbs.
Use curved lines to depict the hind limbs located at some distance from each other.
- Depict the front limbs.
Use the guidelines as a guide and give the forelimbs the desired shape and thickness. Draw the contours where the color will be different.
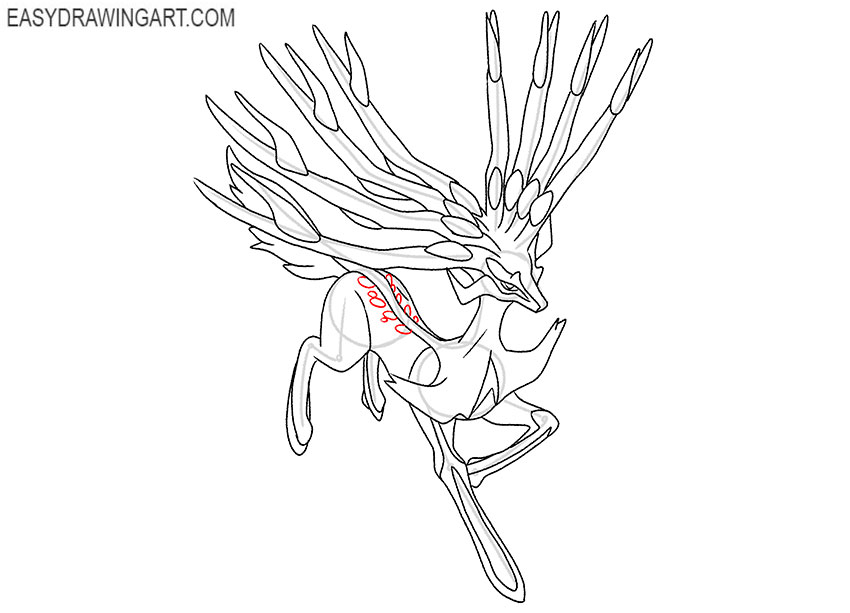
- Detail the back.
On the back, successively draw several small ovals on each side, as shown in the example.
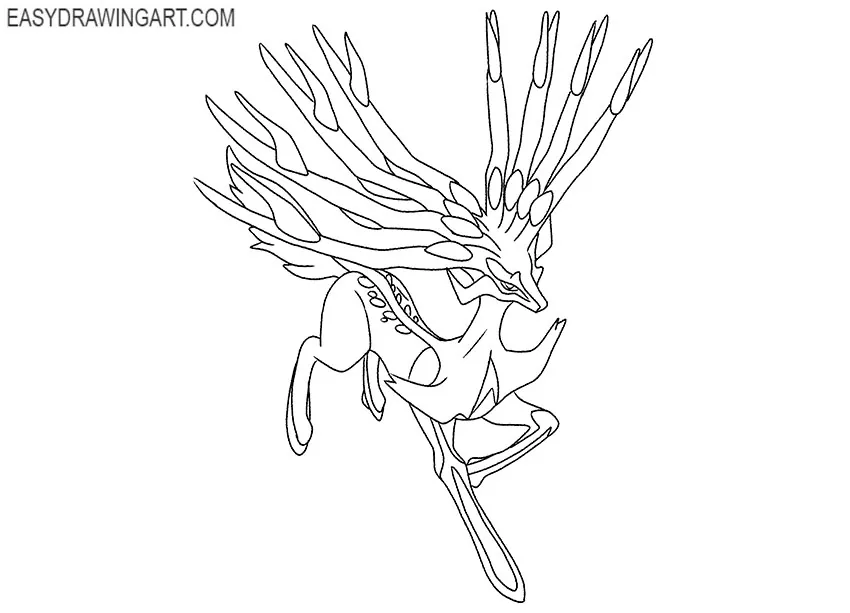
- Correct inaccuracies.
Now the main contours are ready, and you can evaluate the result of the work. If you notice mistakes, then immediately correct them and remove the extra lines.
- Color the drawing.
Color the horns and part of the muzzle in gray. Color the chest in blue and color the rest of the body in shades of gray. Color the processes on the horns with bright colors.


The next lesson has come to an end, and now you have learned how to draw Xerneas. We will be glad to receive feedback from you. Subscribe to us on social networks to follow the updates on the site.