How to Draw Uraraka
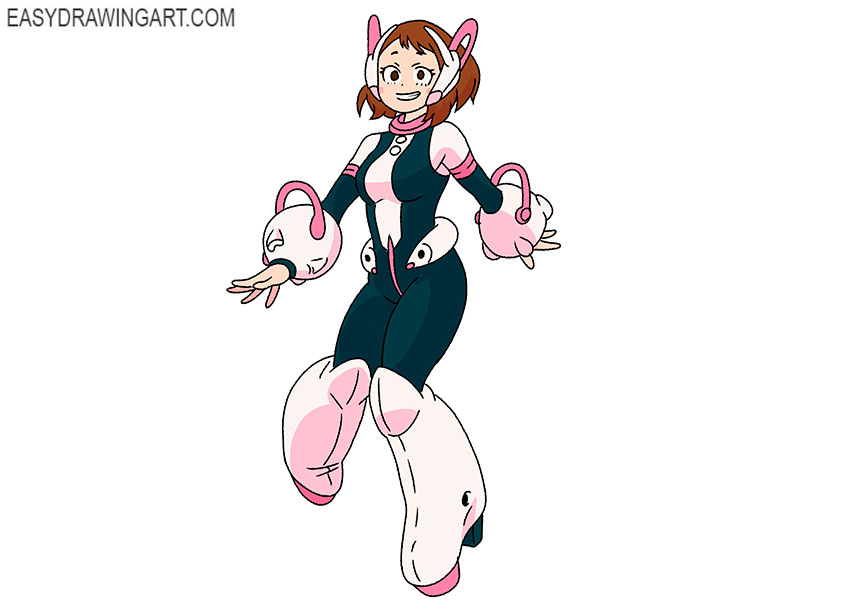
We invite you to complete a tutorial on anime characters, and now you will learn how to draw Uraraka. This is a beautiful brown-haired girl with a good-natured personality.
In this picture, the girl is wearing a stylish combat outfit, and at the same time she looks very cute. Uraraka is dressed in a tight-fitting suit.
She wears thick, round wrist gauntlets, large boots, and a helmet. All of these elements are part of her combat costume.
Time needed: 1 hour
How to Draw Uraraka
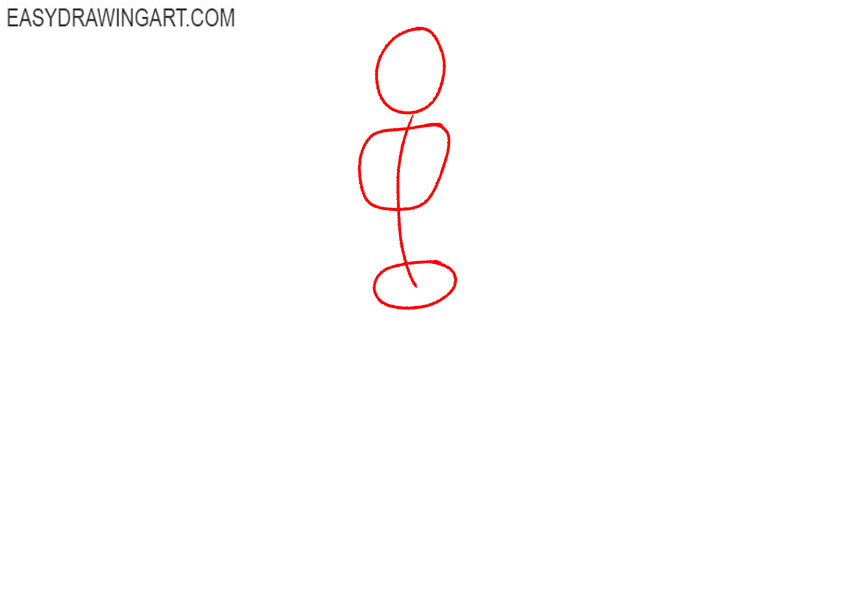
- Prepare the base.
Draw the head, thoracic region and pelvis in the form of figures of various shapes. Using a smooth curved line, depict the central axis of the body.

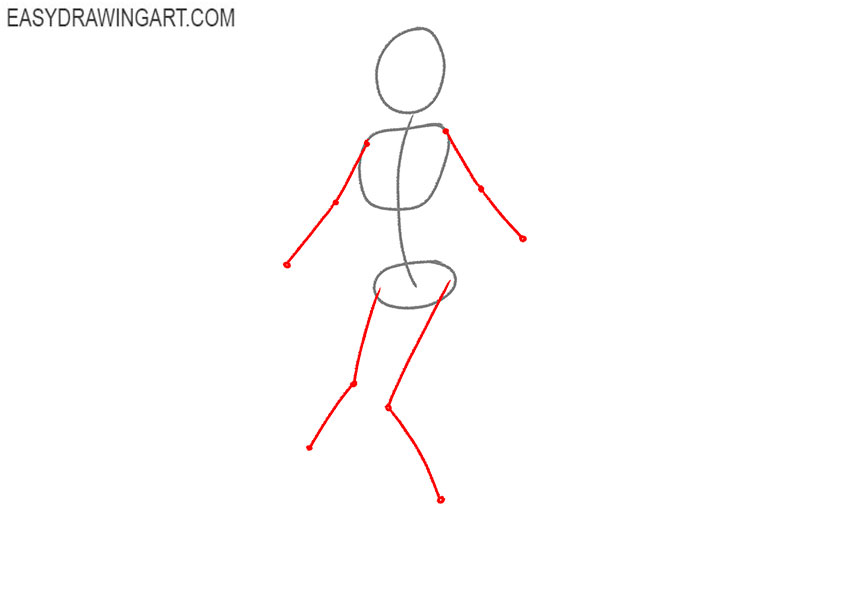
- Sketch out the limbs.
Use thin lines to define the position of the arms and legs. Mark the places of the folds in the form of round large dots.
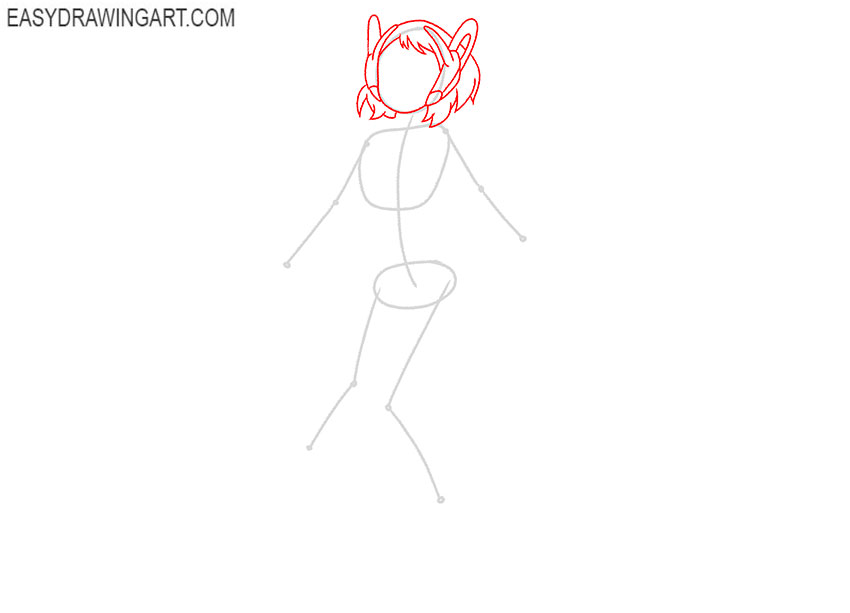
- Detail the head.
Make the oval of the face more clear and highlight individual spiky strands of the hair. Draw the helmet on the head.
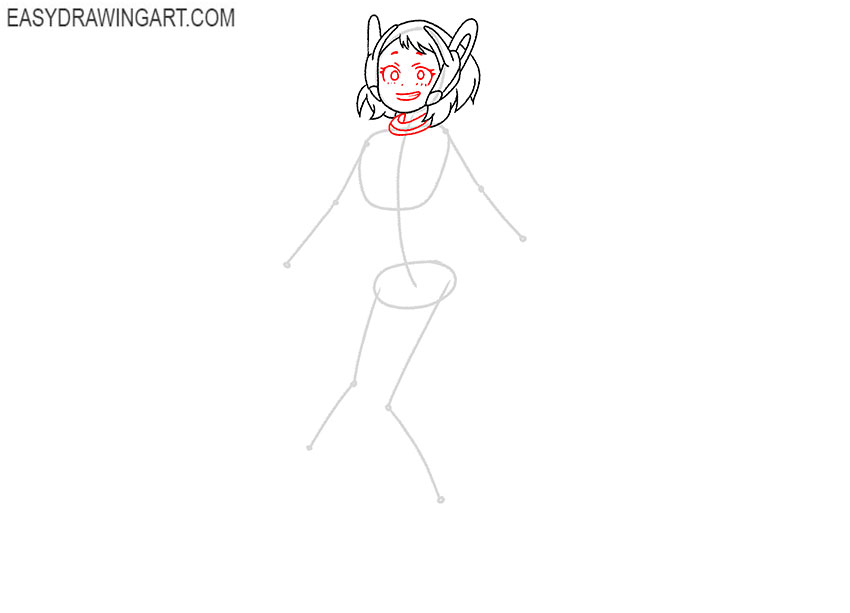
- Add elements of the face and collar.
Draw the large eyes, eyebrows, nose, and mouth. Draw the collar below the head using semicircular lines.
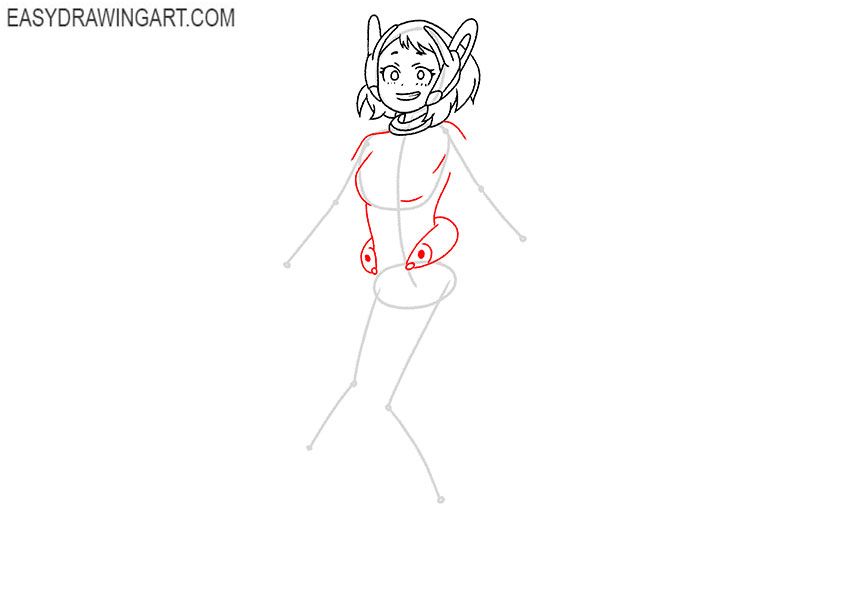
- Draw the contours of the body.
Depict the shoulders with smooth lines, draw the sides of the torso and add the unusually shaped belt at the bottom.
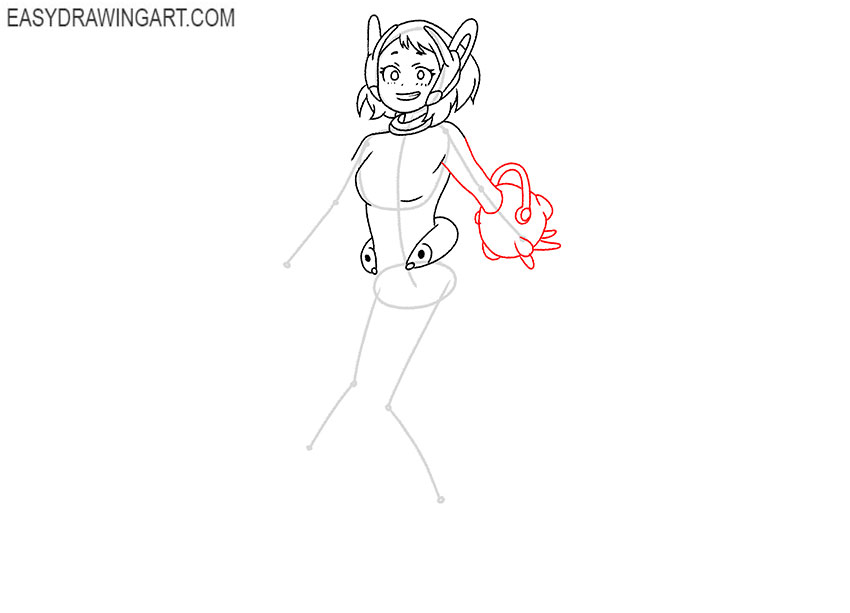
- Depict one hand.
Focus on the auxiliary lines and give one hand the desired shape and thickness. On the wrist draw the large round bracelet and draw the visible parts of the fingers.
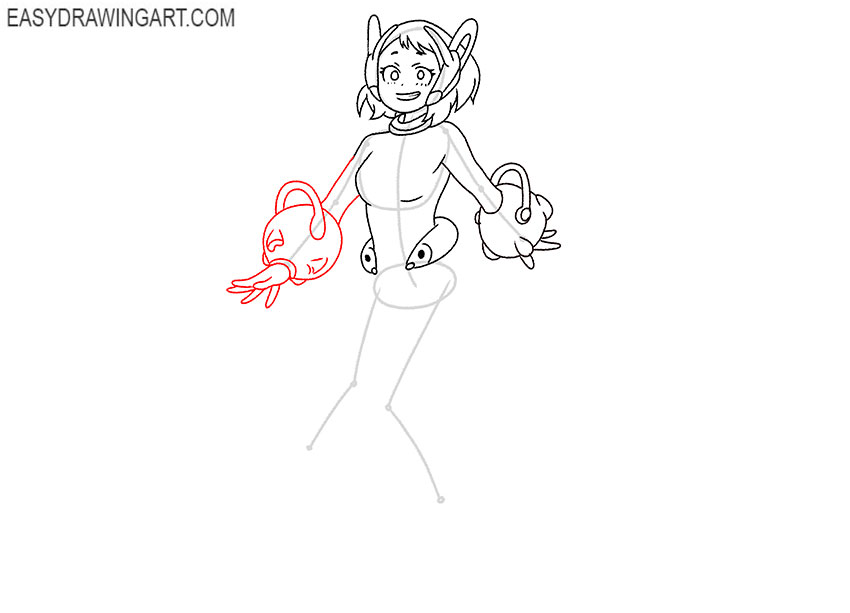
- Sketch out the second hand.
Draw the second hand in the same way as the first. Here you also have to add shape and thickness. Try to correctly depict the position of the fingers.
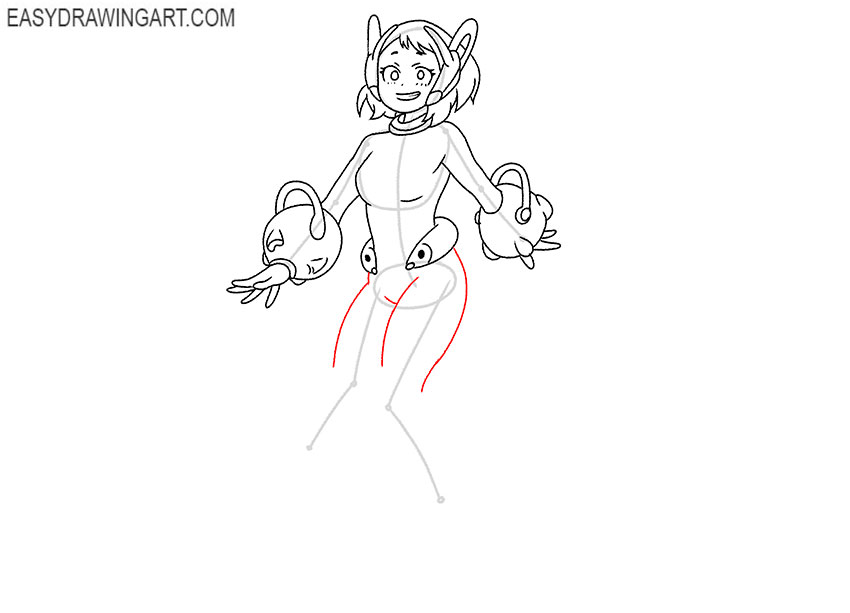
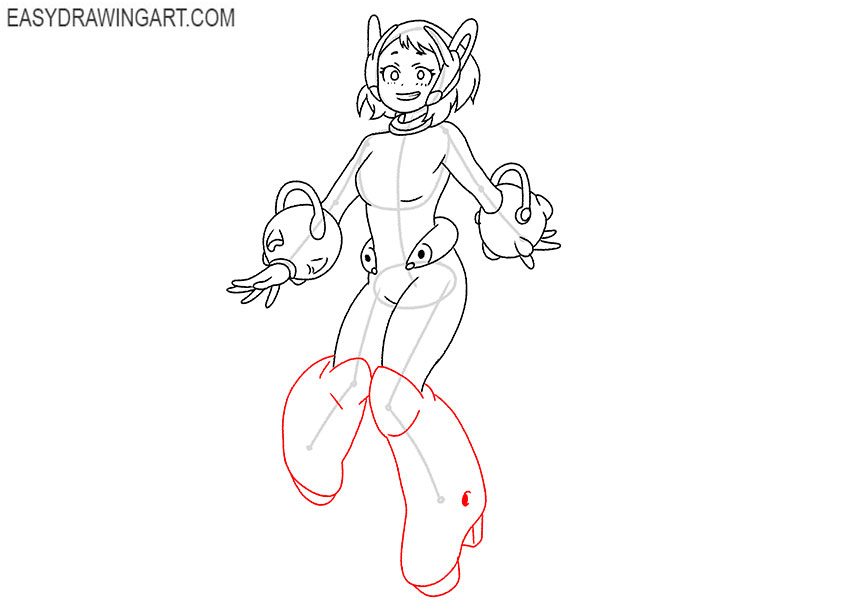
- Draw the upper parts of the legs.
With the help of smooth curved lines depict the hips, and as a guide, use the auxiliary lines that you drew earlier.
- Add the boots.
Surely you have not had to draw boots of this shape, and it will be very unusual for you. Use curved lines and try to correctly depict the shape of the boots.
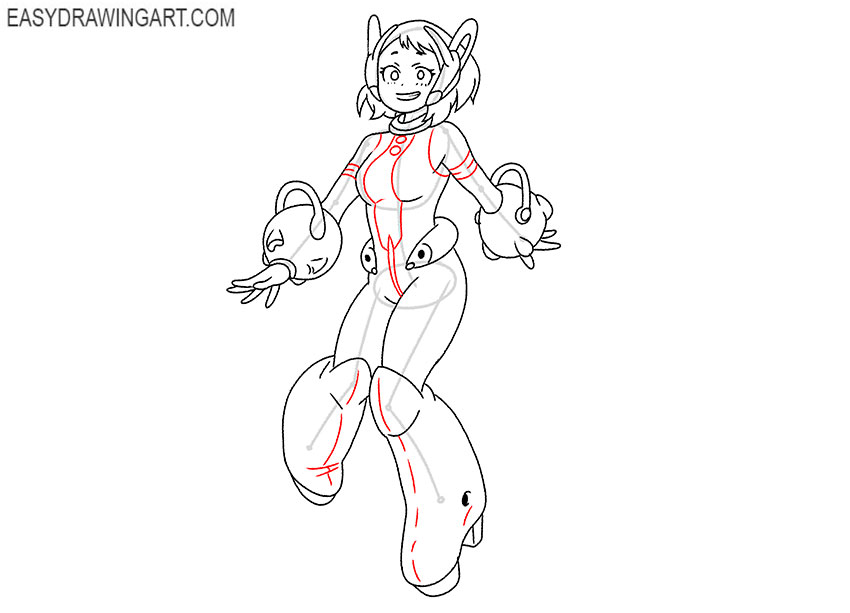
- Add details.
Draw transverse lines on the sleeves, add elements of the clothing on the chest and belly. Detail the boots.
- Correct inaccuracies.
With the eraser, remove all extra lines in the drawing. If you notice inaccuracies, correct them immediately.
- Color the drawing.
Color the skin beige, color the hair brown. For coloring clothes and shoes, you will need different shades of pink and dark blue.

The next lesson has come to an end, and now you can evaluate the result of the work. We hope Uraraka looks exactly the way you wanted. We recommend that you follow the other lessons presented on this site. You can learn about all the new products from our social networks. Subscribe and stay tuned.