How to Draw Thor
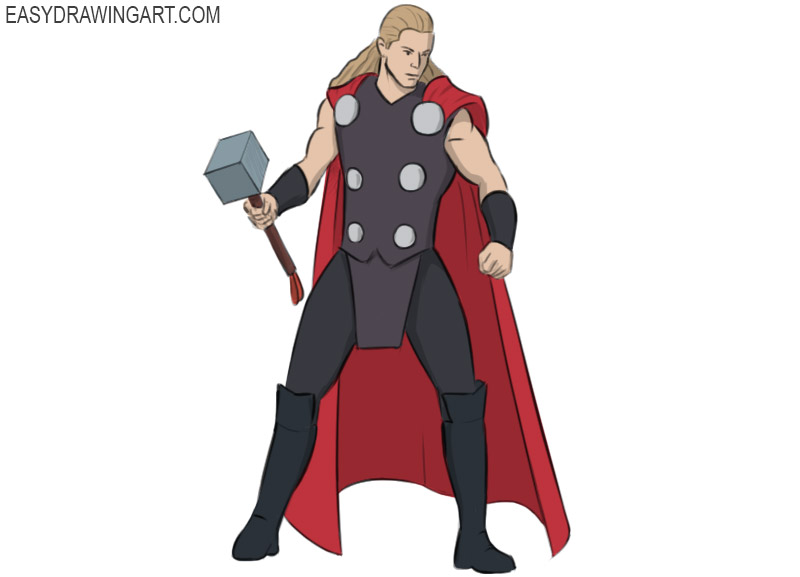
Thor is one of Marvel’s most popular superheroes, and in this tutorial, you will learn how to draw Thor step by step. The character is inspired by the Norse god of thunder.
Thor is a powerful warrior who protects Earth with the help of his legendary hammer, Mjolnir. His strength, courage, and determination have made him one of the most popular heroes in the Marvel Universe.
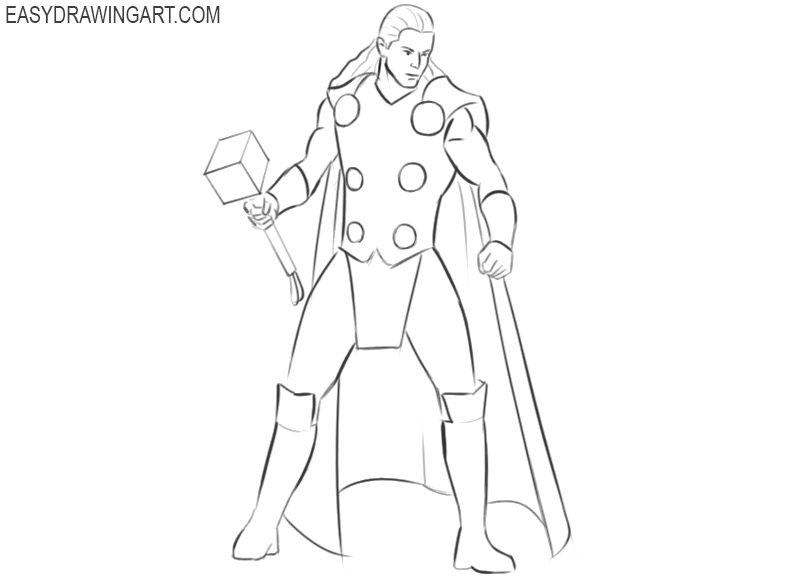
In the end, you’ll draw Thor standing with his hammer, wearing his classic armor, flowing cape, and winged helmet. Feel free to use the classic silver, black, and red colors or create your own color scheme.
Time needed: 1 hour
How to Draw Thor
- Draw the base.
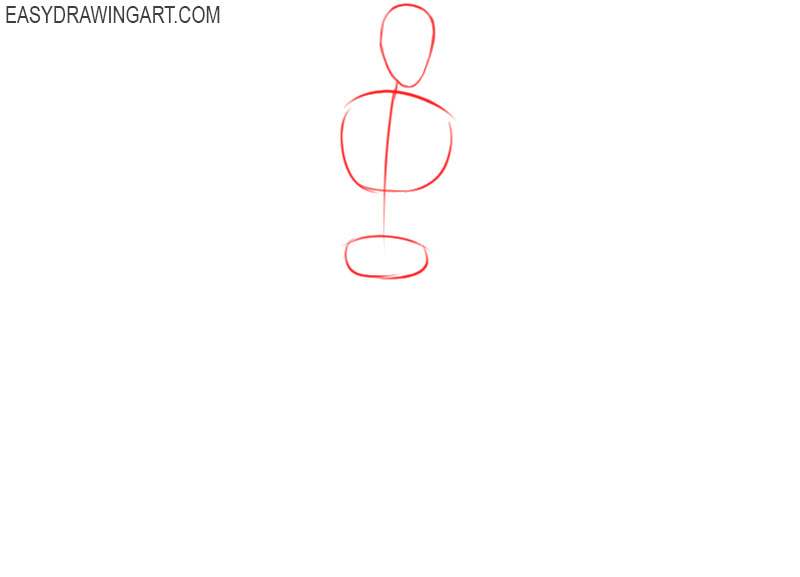
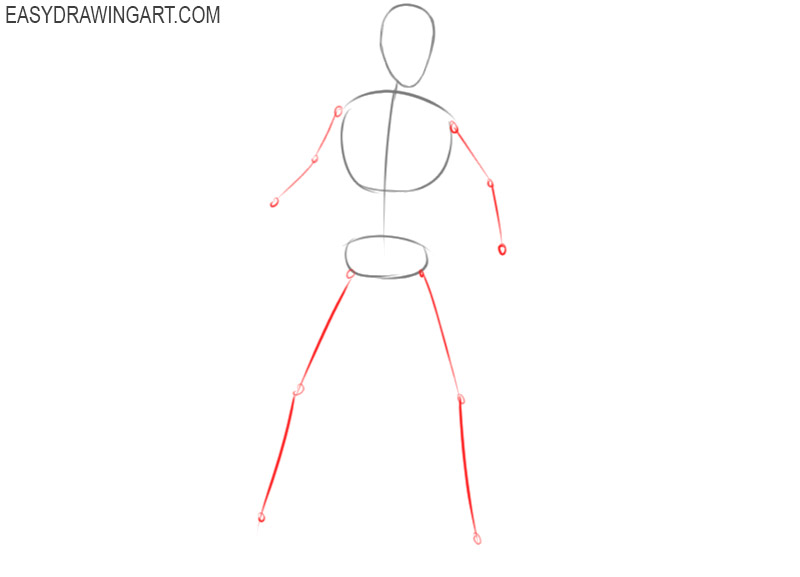
We start the lesson by drawing the main parts of the body. Draw the head, thoracic region and pelvis in the form of rounded figures of different sizes. Draw a vertical line which is the spine.

- Determine the position of the limbs.
Use thin, straight lines to define the position of the arms and legs. Draw the joints as large dots.
- Add the outline of the torso and make markings on the head.
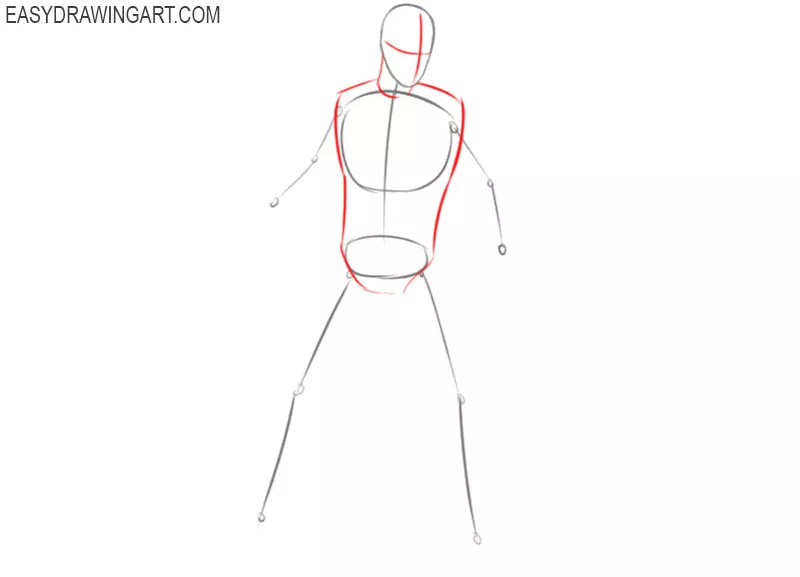
Using smooth lines, connect the thoracic region and the pelvis. This way you will draw the sides of the torso. Add a neck in the form of a cylinder. On the head, draw transverse lines that will serve as markings for the face.
- Thicken the arms.
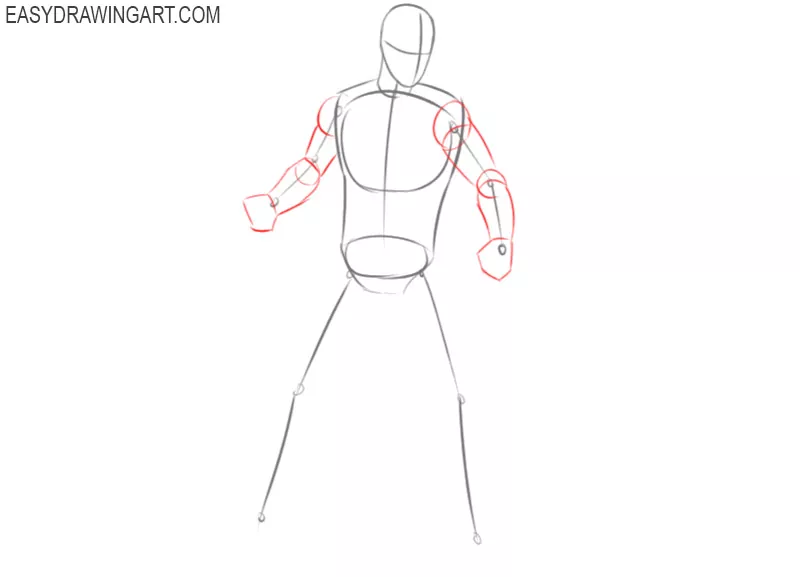
Use the guidelines and draw some different shapes to give thickness to the arms. Draw the place of the folds in the form of circles.
- Depict the legs.
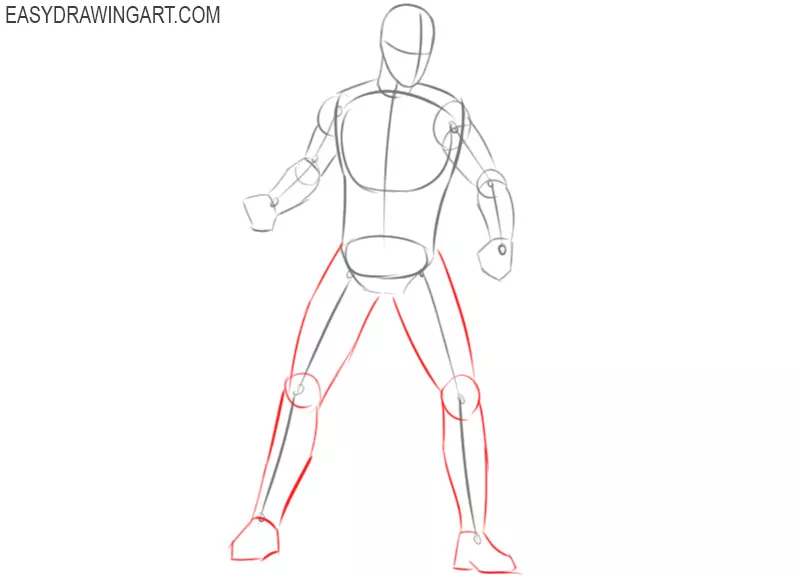
Use guidelines and draw the top and bottom parts of the legs. Draw the knee joints as circles, and draw the feet.
- Add facial features.
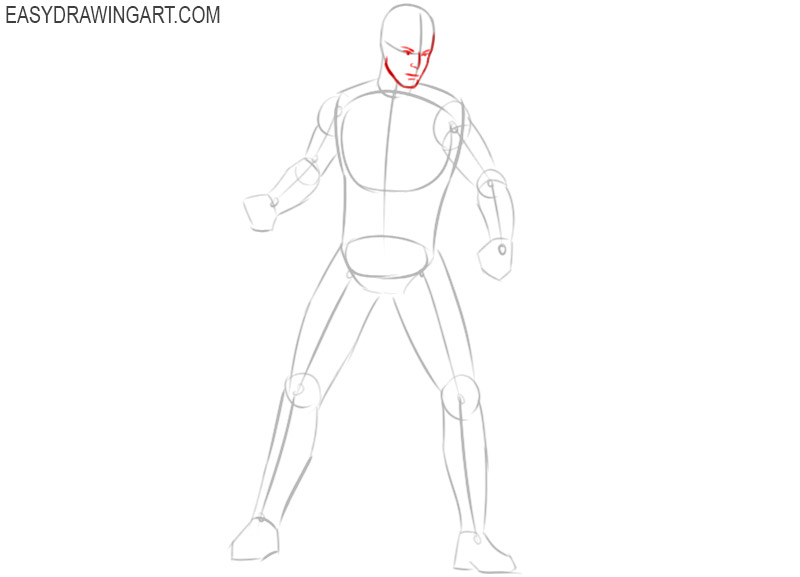
Be careful at this step and try to keep all proportions. Draw a clear line at the bottom of the head to indicate the shape of the face. Depict the eyes, nose, and mouth.
- Sketch out the hair and ear.
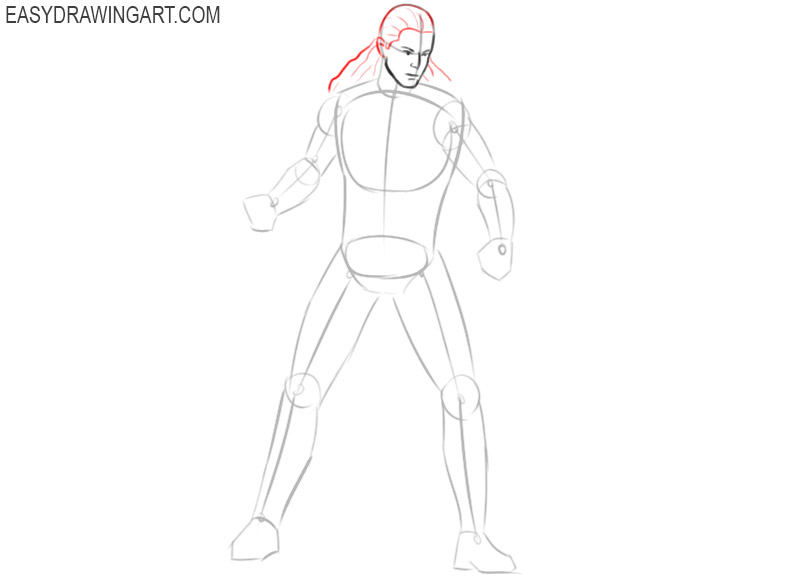
On the forehead, mark the hairline. With the help of smooth lines, depict lush hair that goes from the back of the head to the shoulders. Draw the small ear.
- Detail the clothes.
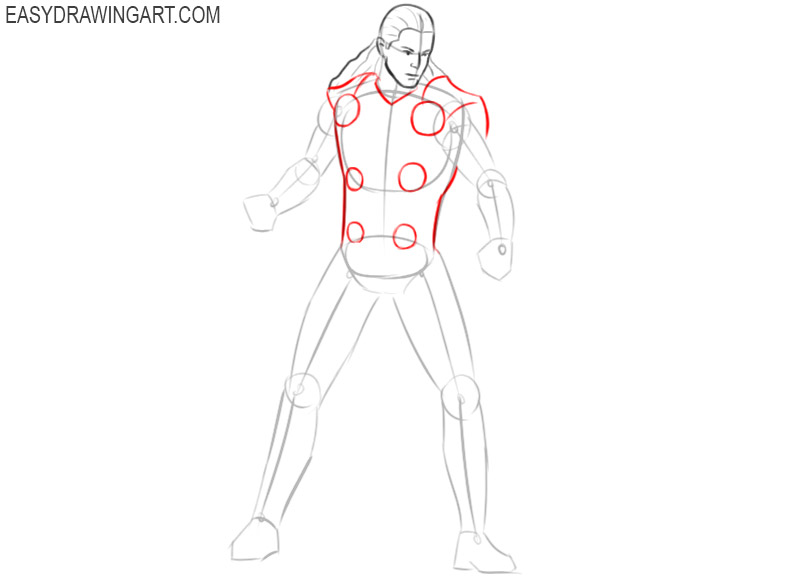
With clear lines, mark the sides of the suit. Draw large shoulders and curly elements on the front of the suit in the form of circles of different diameters.
- Detail the hands.
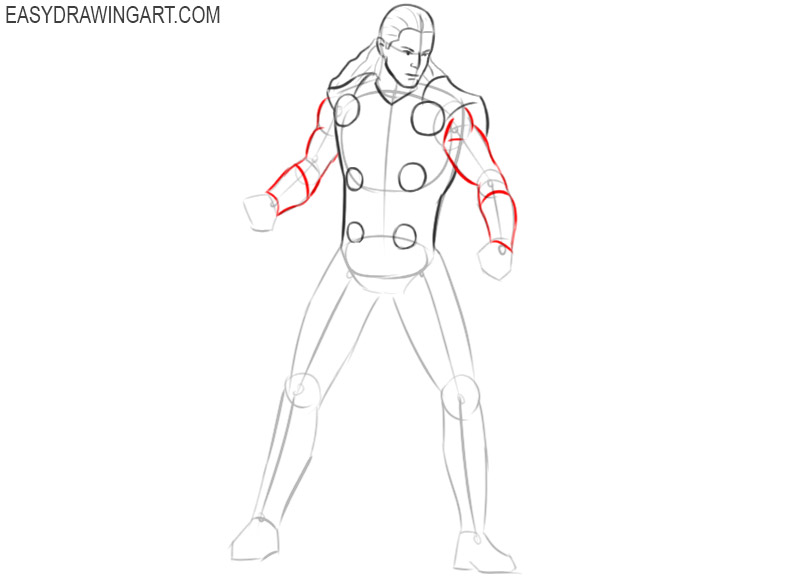
With smooth lines, mark the relief of the muscles on both hands and with the help of transverse lines depict the bandages on the lower parts of the hands.
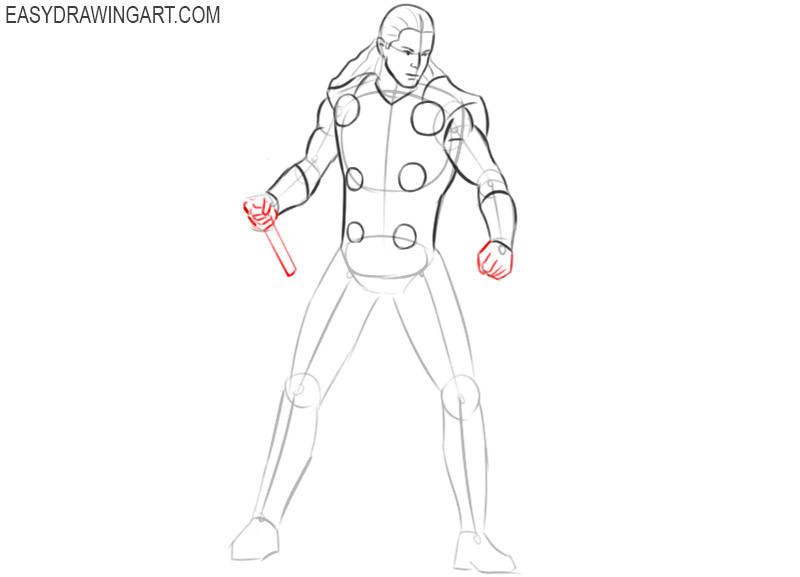
- Draw the hands and hammer handle.
One hand is clenched into a fist, in the other hand Thor holds the hammer. Try to correctly depict the position of the fingers. With the help of straight lines, draw the long handle of the hammer.
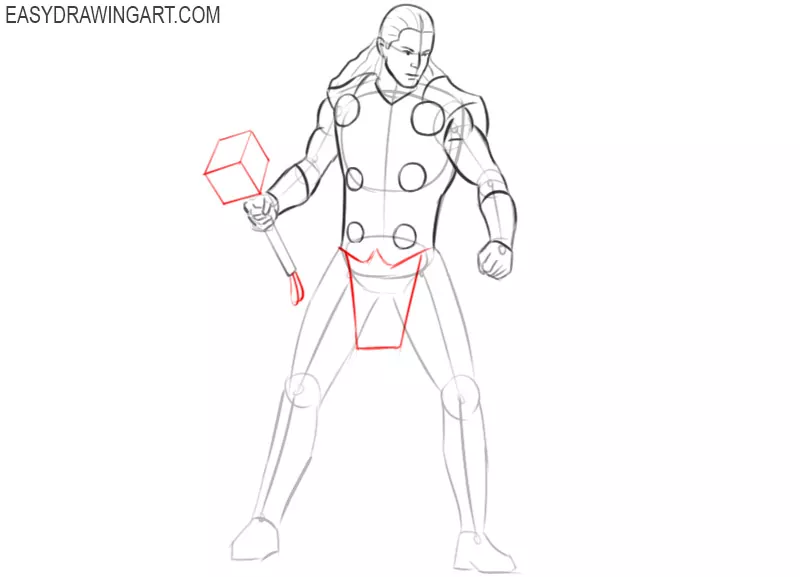
- Add the bottom of the clothes and the elements of the hammer.
Draw a figured bottom edge on the clothes and add a bandage in the center, which has the shape of a trapezoid. Draw the impact part of the hammer in the shape of a cube, and add the lower part of the handle.
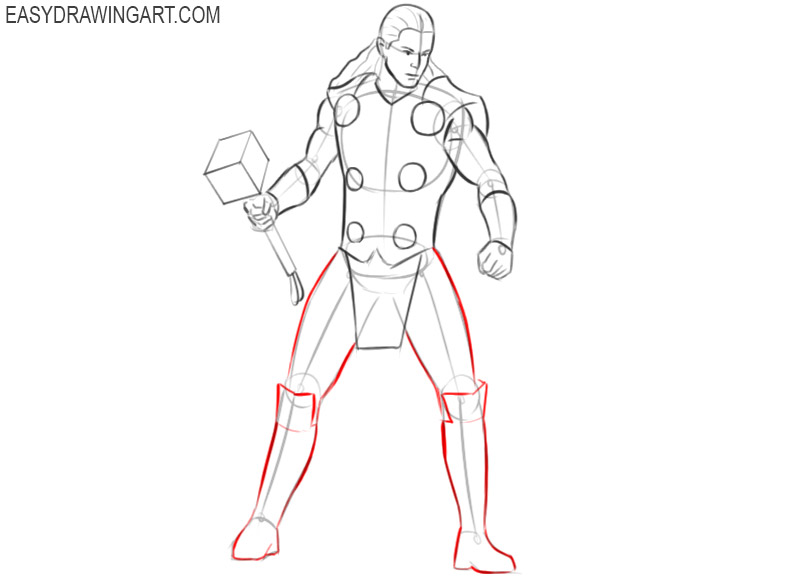
- Detail the legs.
Thor’s legs are wide apart. With smooth lines, draw the outline of the hips. At the bottom, depict the boots with high tops.
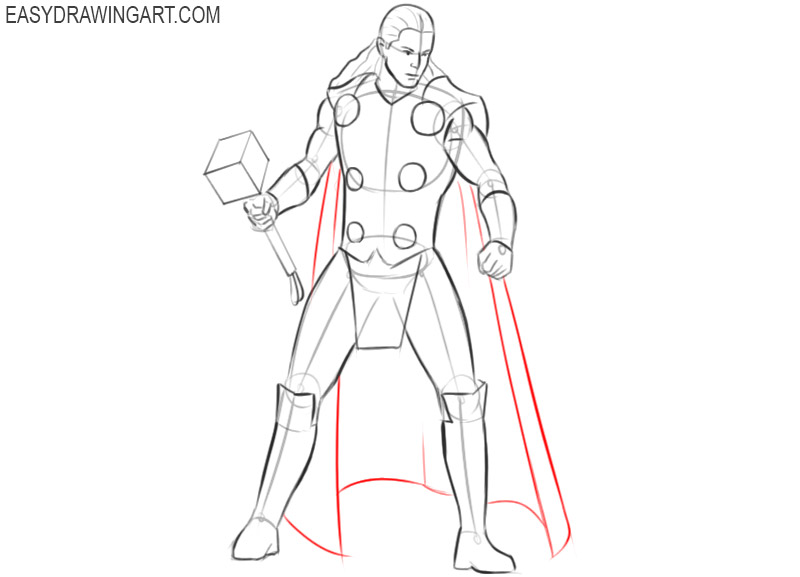
- Depict the cape.
From the armpits, draw down straight lines to depict the side edges of the cape. With a smooth wavy line, draw the bottom outline and add a few folds to the fabric.
- Correct inaccuracies.
We hope that you have correctly completed all the previous drawing steps, and now it remains only to prepare the drawing for coloring. Remove all extra lines and correct the mistakes.
- Color the drawing.
Use different shades of beige to color the skin and hair. Color the suit, shoes, and armbands in different shades of gray, color the round curly elements in light gray and color the cloak in red.
So the instruction on how to draw Thor came to an end. As always, the Easydrawingart.com team is looking forward to your feedback and suggestions. We will be happy to receive feedback from you.