How to Draw the Lorax

If you like to sketch unusual characters, then you will definitely love the step-by-step guide on how to draw the Lorax. This unusual creature cares about the state of the environment.
In the cartoon, the Lorax is represented as a forest spirit. This creature has hair, large eyebrows and a lush mustache.
We hope that you will draw this character with pleasure and thus once again train your creative abilities.
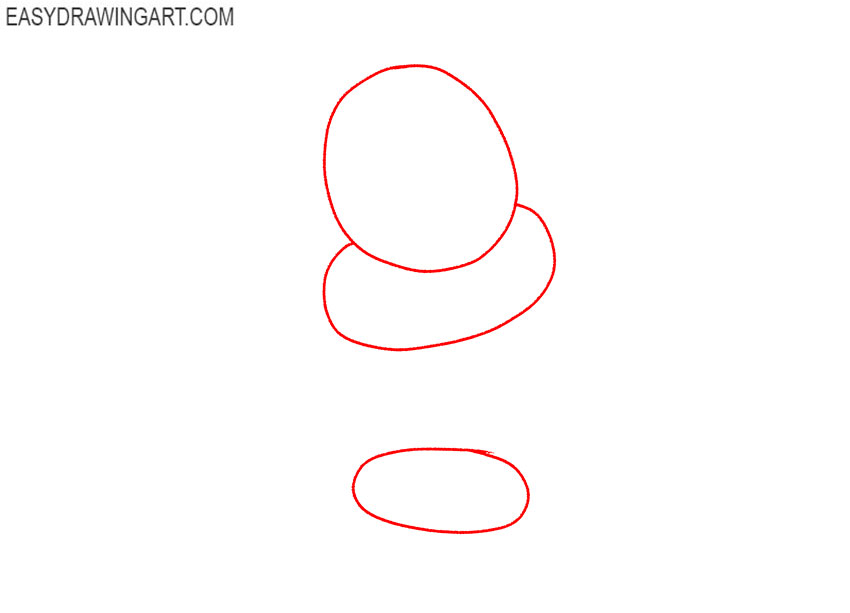
Step 1: Sketch the Lorax body outlines
Draw a large oval for the Lorax’s head, then place two smaller overlapping ovals below it for the chest and pelvis. Keep these construction shapes light so they remain easy to adjust.
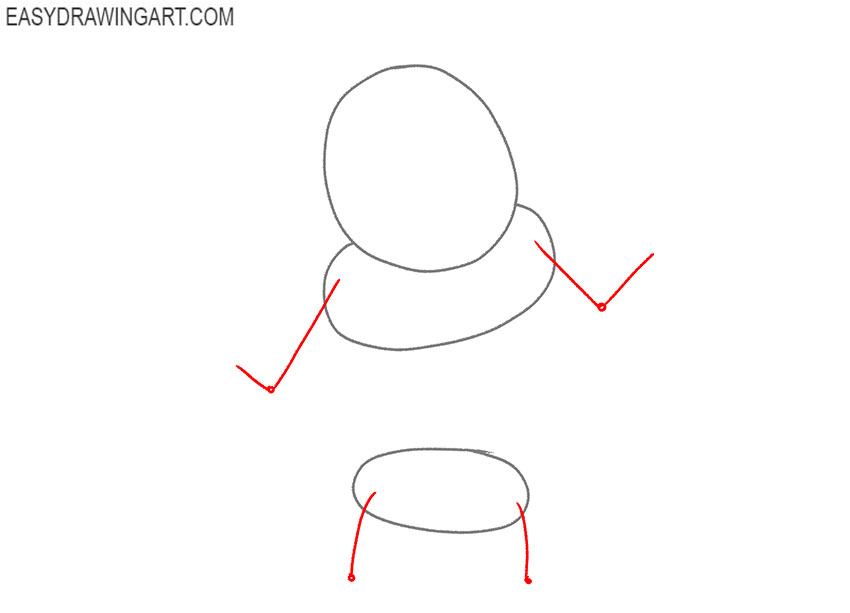
Step 2: Add the Lorax’s arms and legs
Extend thin lines from the torso to indicate both arms and legs. Place rounded marks at the elbows and knees, then add short guide lines for the hands and feet at the ends.
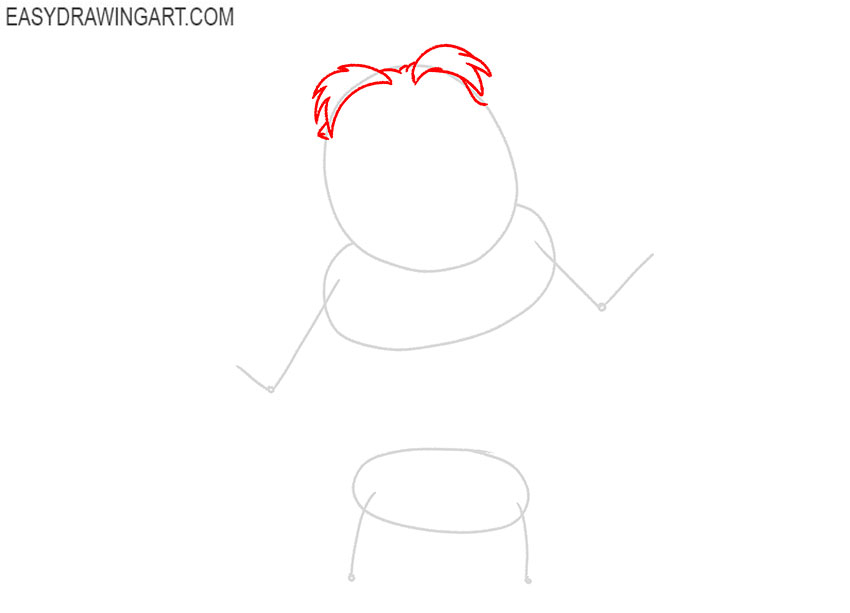
Step 3: Outline the Lorax’s head and eyebrows
Trace the rounded upper edge of the head with an uneven contour. At the sides, draw the thick eyebrows with short pointed tufts along their outer edges.
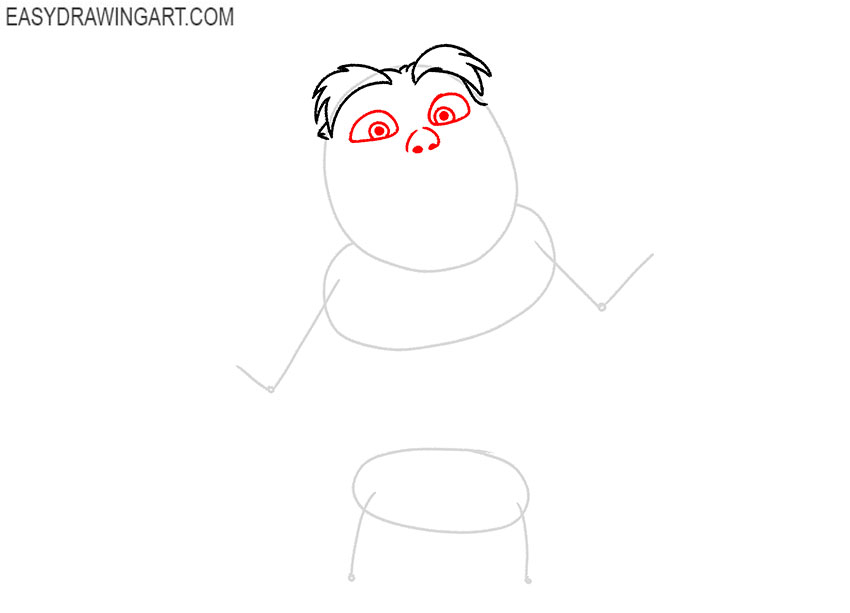
Step 4: Draw the Lorax’s eyes and nose
Place two narrow eyes directly beneath the eyebrows and add small pupils inside them. Below the eyes, outline the broad upper edge of the nose and draw two large rounded nostrils.
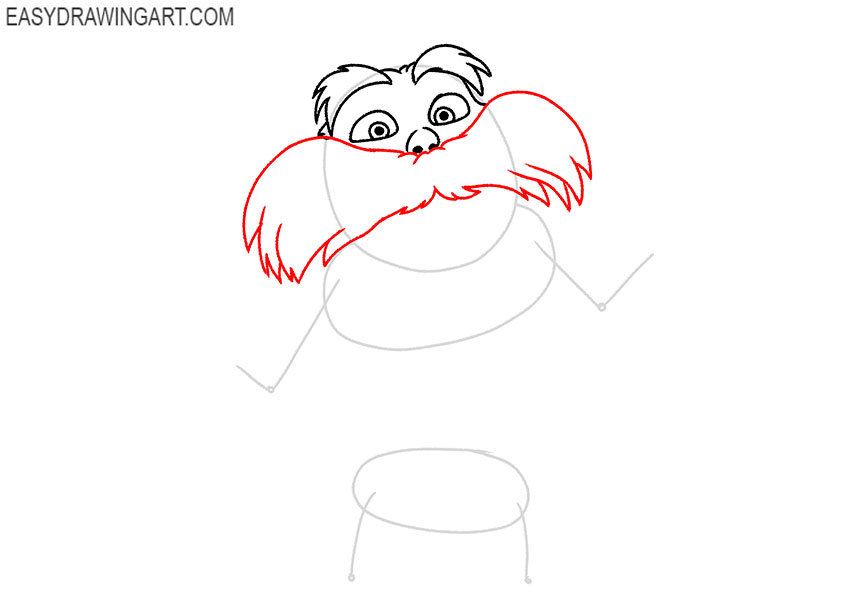
Step 5: Sketch the Lorax’s large mustache
Begin drawing the mustache beneath the nose with two wide sections. Form each side from several long, pointed strands that curve outward and then angle downward.
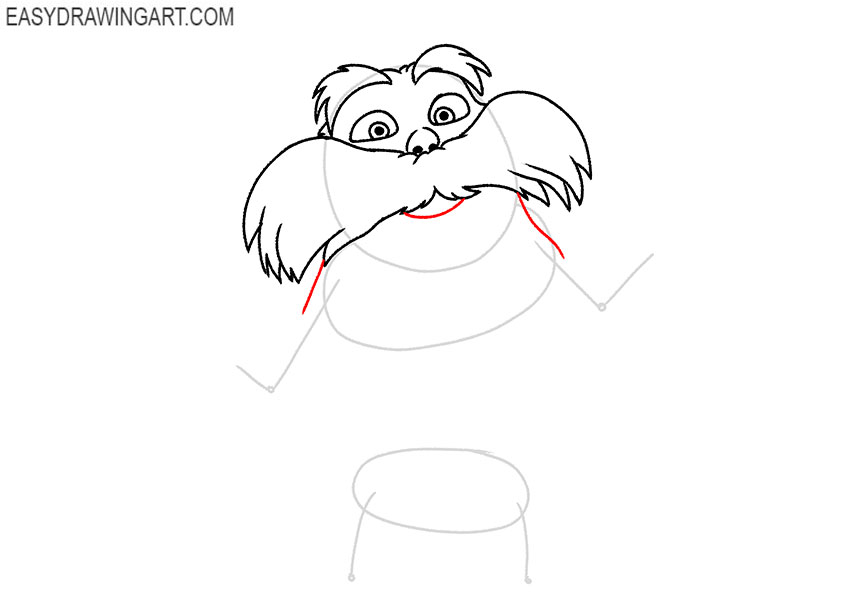
Step 6: Add the mouth and neck
Draw a short curved line beneath the center of the mustache to form the mouth. From the lower sides of the head, extend two short curves downward to connect the head with the torso.
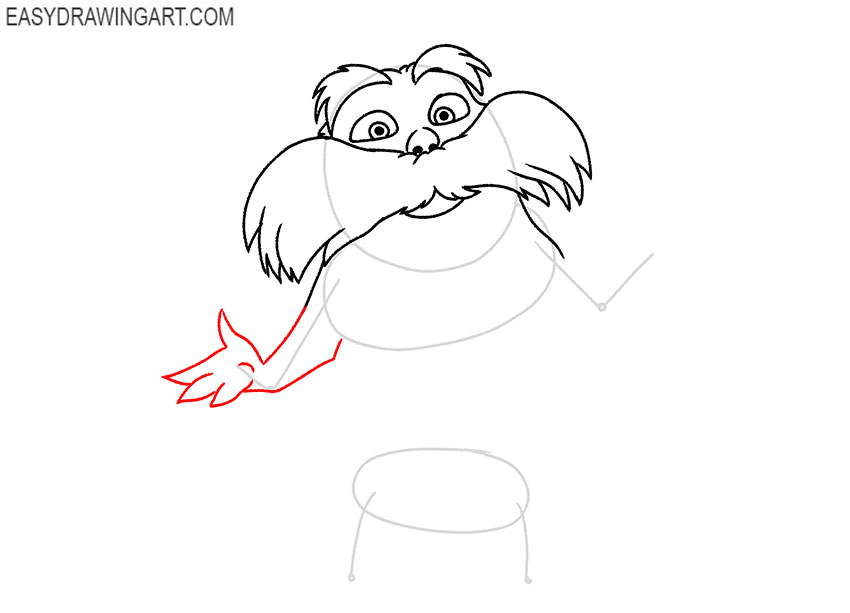
Step 7: Draw the first arm and hand
Outline the first arm around its guide line, widening it slightly near the shoulder and narrowing it toward the wrist. Finish by drawing the hand with four pointed fingers.
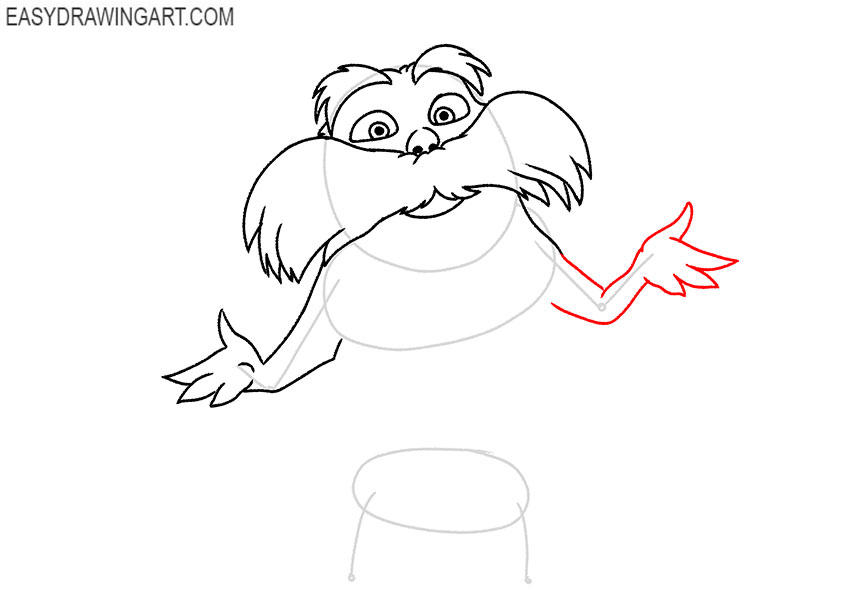
Step 8: Outline the second Lorax arm
Build the second arm around the remaining guide line using two curved contours. Narrow the shape near the wrist, then outline the open hand and separate its four pointed fingers.
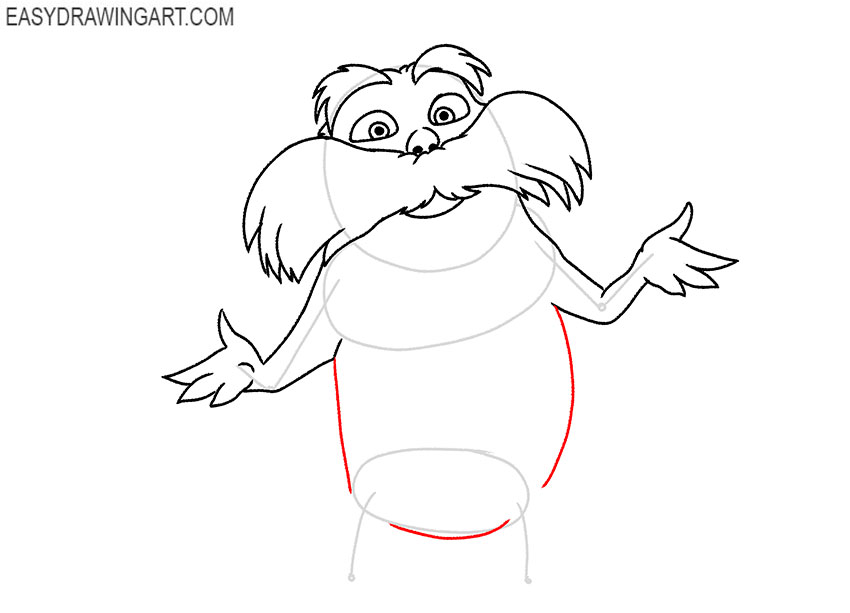
Step 9: Form the Lorax’s rounded torso
Draw curved lines downward from beneath the arms to shape the sides of the body. Join these contours across the bottom with a broad rounded line that follows the pelvis guide.
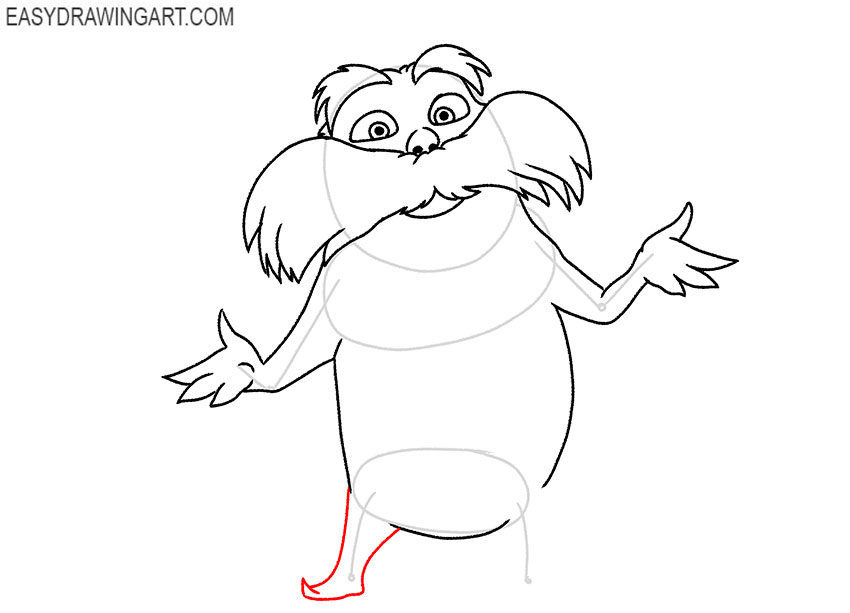
Step 10: Draw the first leg and raised foot
Outline the first leg around the construction line, keeping it short and slightly tapered. Curve the lower contour forward to form the foot, then lift the pointed toe at the end.
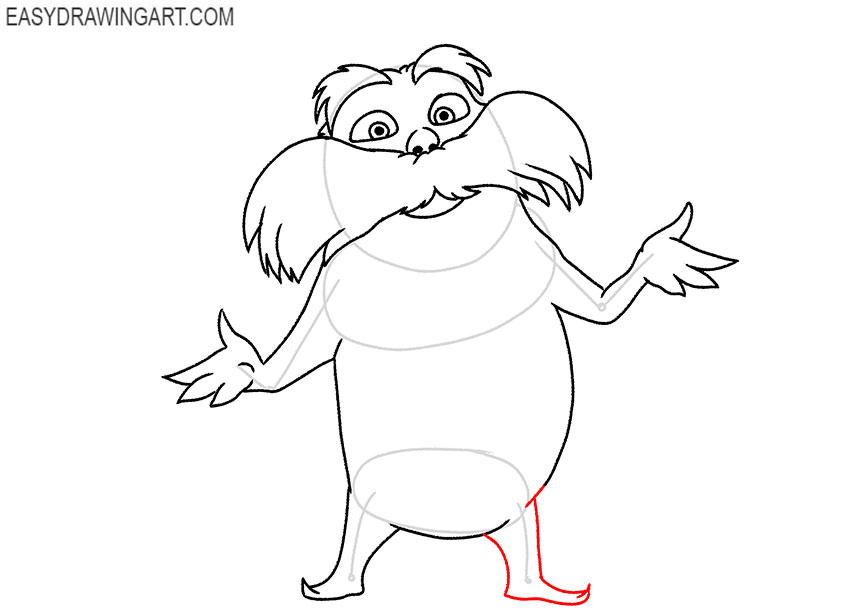
Step 11: Draw the second Lorax leg
Use the remaining guideline to outline the second leg with two smooth curves. Extend the lower edge into a broad foot and finish the shape with a small upward turn at the toe.
Step 12: Clean up the Lorax line drawing
Erase the oval body shapes, limb guides, and joint marks from inside the character. Refine any rough intersections and darken the head, mustache, arms, torso, and legs.
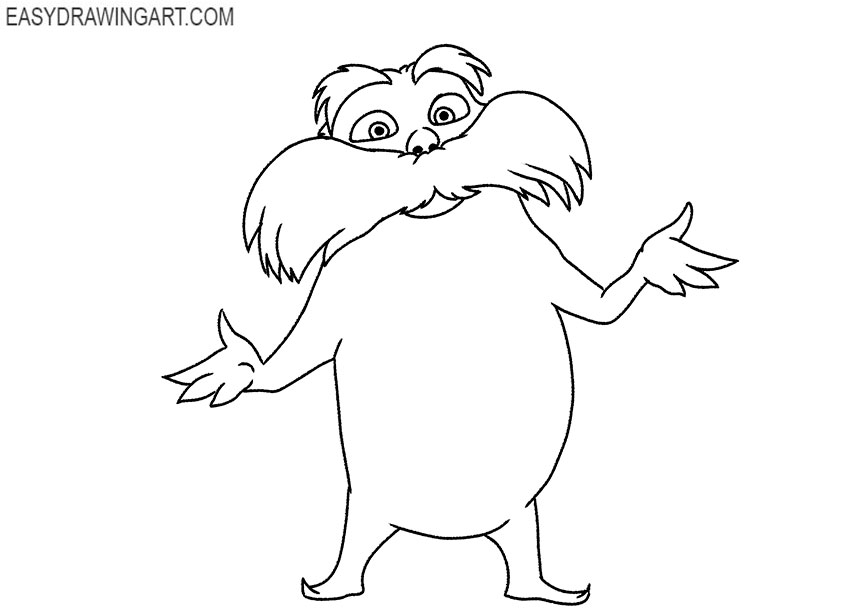
Step 13: Color the Lorax drawing
Fill the Lorax’s body with orange and use a darker orange along the sides and lower areas. Color the mustache and eyebrows yellow, then add light cream tones to the eyes.
The Lorax is now complete with his rounded body, heavy eyebrows, and long yellow mustache. For another simple character study, continue by drawing a cartoon character.
The step-by-step tutorial is over, and now you can evaluate your work. If you were careful at every stagee, then you should get a great drawing.
We recommend that you visit other exciting guides presented on our website. You can learn about all the new products from social networks. Subscribe if you haven’t already.


i liek this picture
this turned out pretty scary but it was my fault not yours