How to Draw the Golden Gate
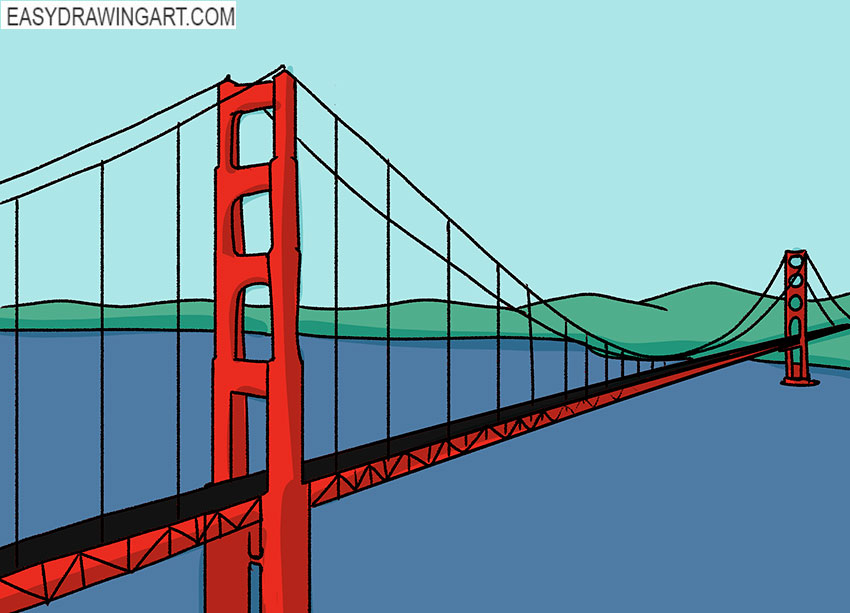
We decided to dedicate this step-by-step tutorial a popular landmark, and now you will learn how to draw the Golden Gate.
This is a suspension bridge across the Golden Gate Strait. The bridge connects the city of San Francisco and southern Marin County.
The bridge withstands the Pacific current and strong gusts of wind. This is one of the largest bridges in the world.
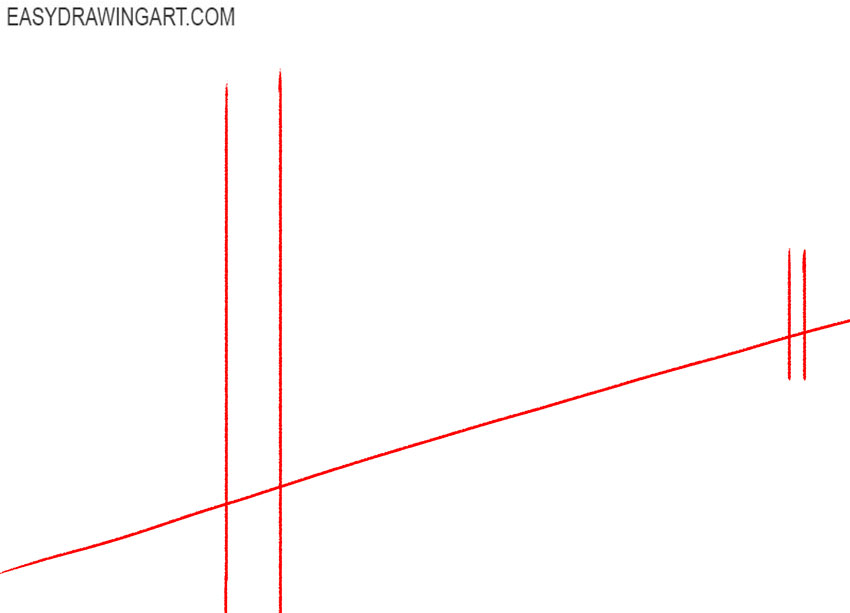
Step 1: Sketch the Golden Gate Bridge framework
Mark the overall length and height of the Golden Gate Bridge with light lines. Draw the sloping bridge deck, then place two tall vertical guidelines where the main suspension towers will stand.
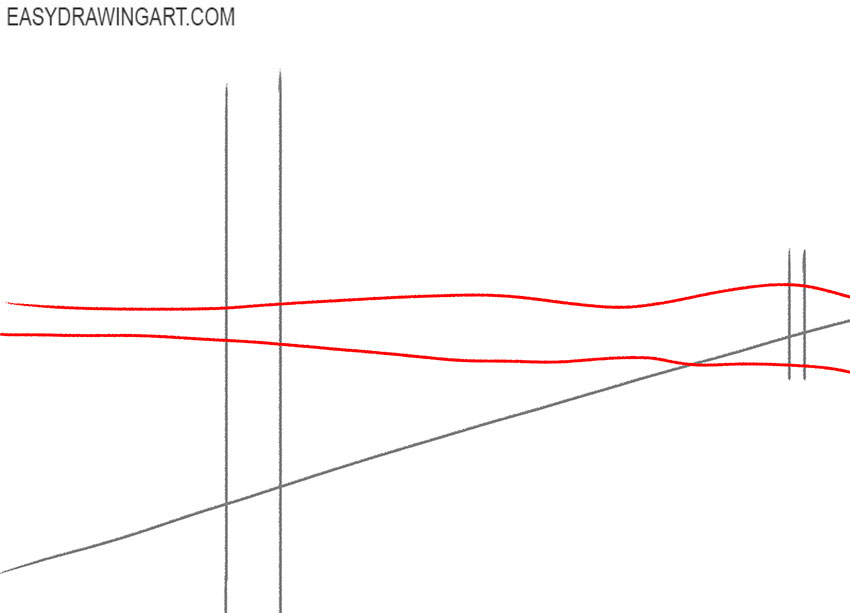
Step 2: Outline the distant shoreline
Add two long, gently curved horizontal lines behind the bridge framework. These contours form the distant shoreline and separate the land from the water beneath the San Francisco landmark.
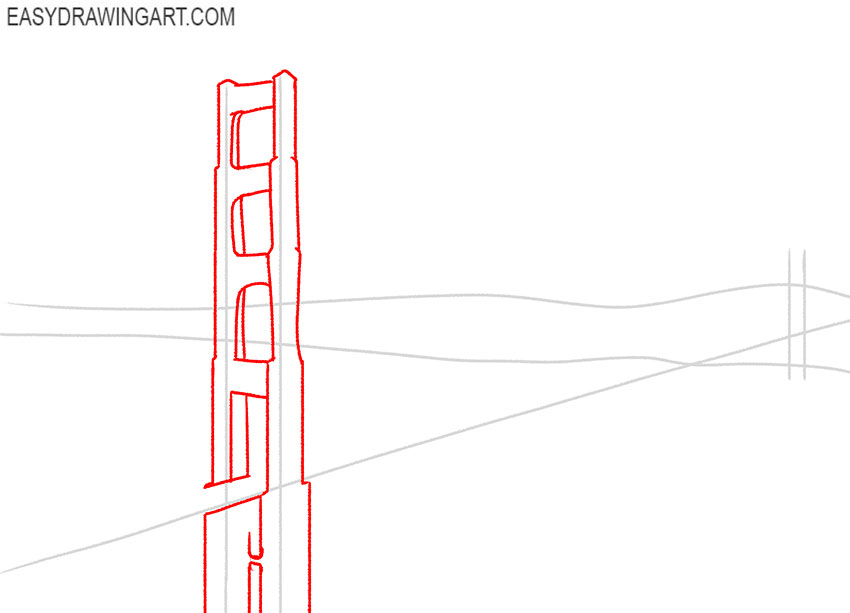
Step 3: Draw the first suspension tower
Use the nearer vertical guide to outline the first Golden Gate Bridge tower. Draw its two tall sides, narrow top, and horizontal crossbars, then add the large openings between them.
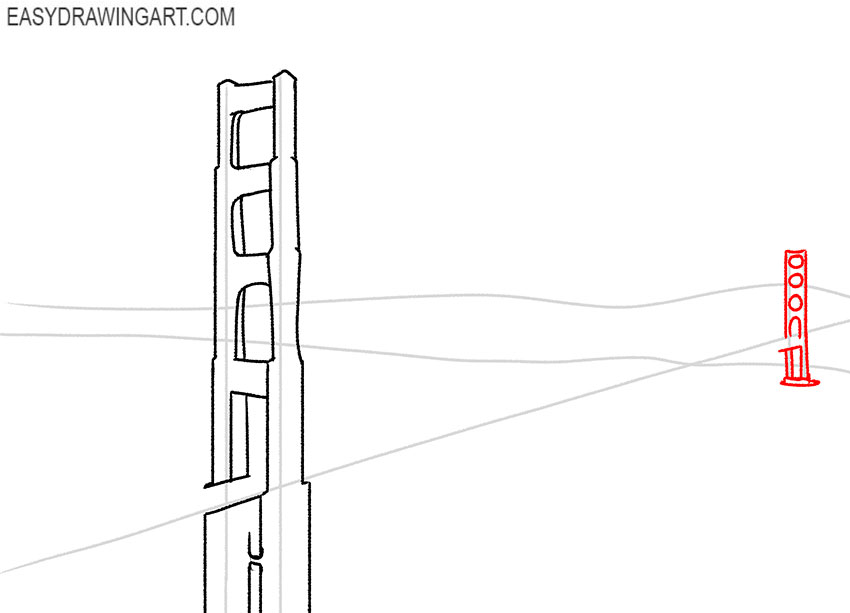
Step 4: Add the second bridge tower
Outline the second suspension tower around the remaining vertical guide. Repeat the narrow upper section, crossbars, and large rectangular openings while accounting for its smaller size in the distance.
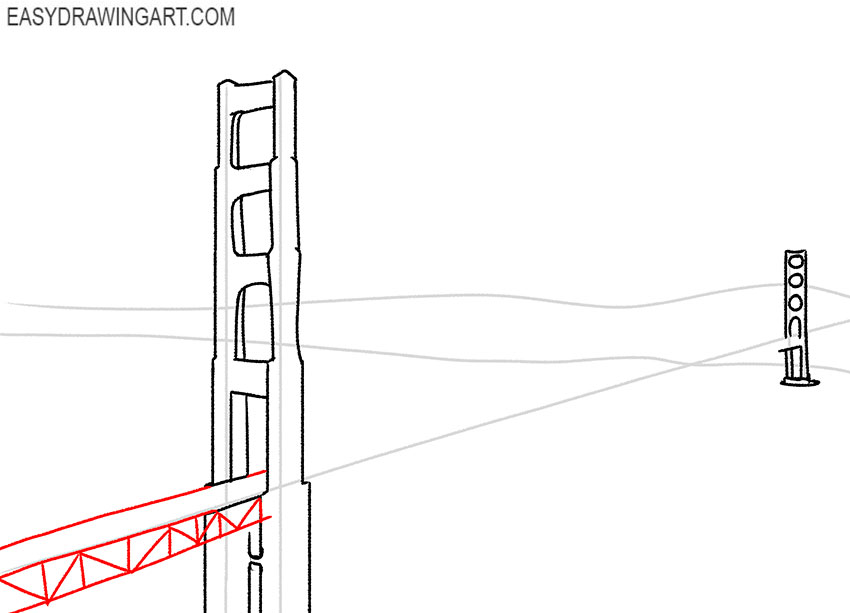
Step 5: Define the near section of the bridge deck
Use several straight lines to shape the wide foreground section of the bridge. Extend the upper and lower edges toward the first tower and outline the roadway across the deck.
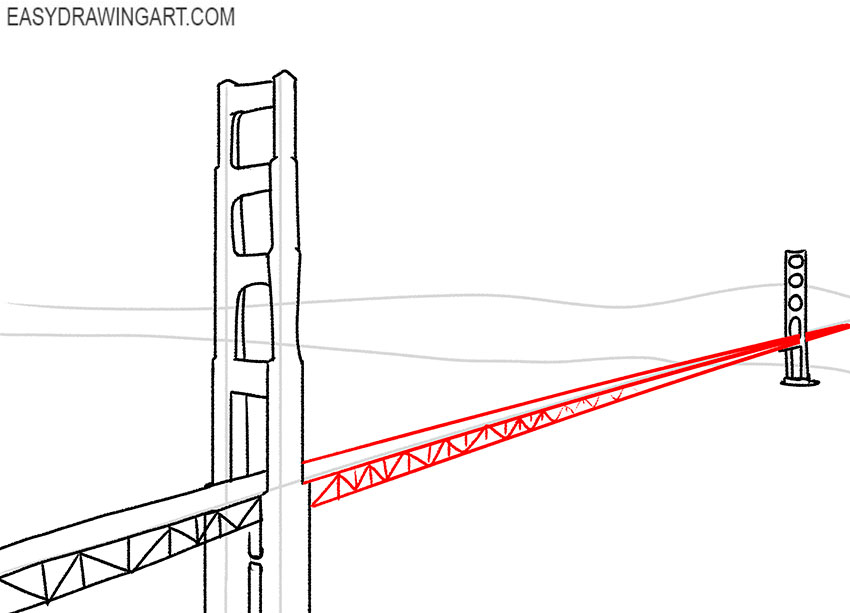
Step 6: Complete the Golden Gate Bridge deck
Continue the straight deck edges through the two towers and toward the opposite shore. Follow the initial sloping guideline so the distant section becomes gradually narrower.
Step 7: Add the hills behind the bridge
Draw several uneven, flowing contours along the distant shore to form the coastal hills. Vary their height and shape as you sketch the rising landscape behind the bridge.
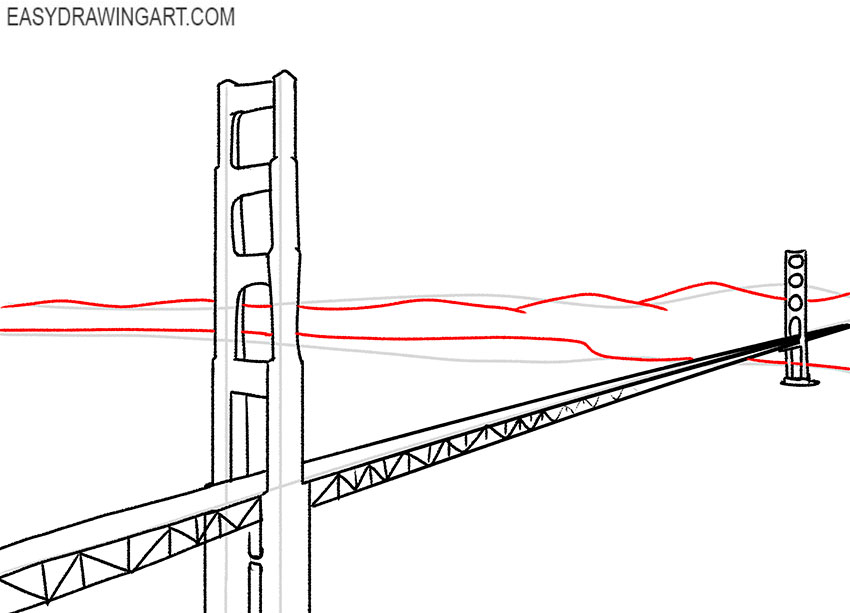
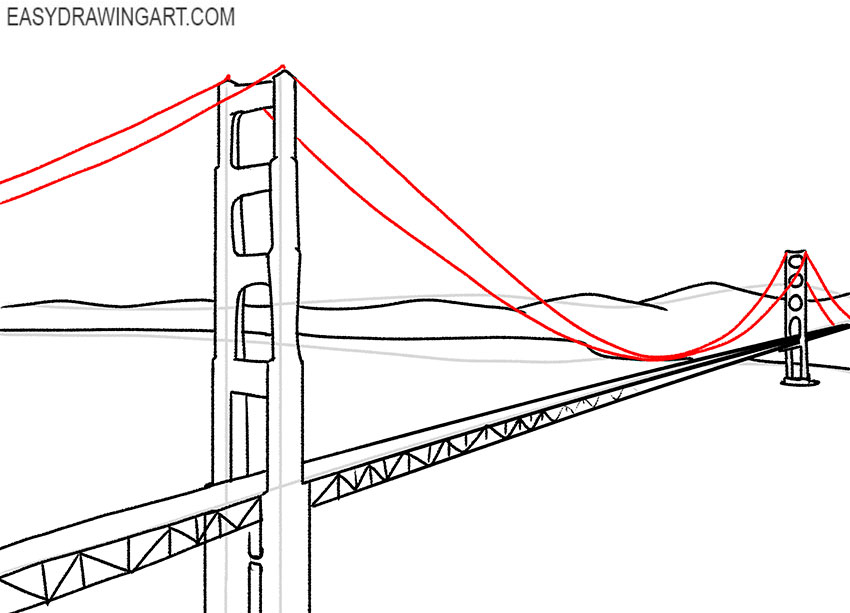
Step 8: Draw the main suspension cables
Add long curved suspension cables across the upper part of the Golden Gate Bridge. Connect the tower tops with a shallow central curve, then extend the outer cables toward both ends of the deck.
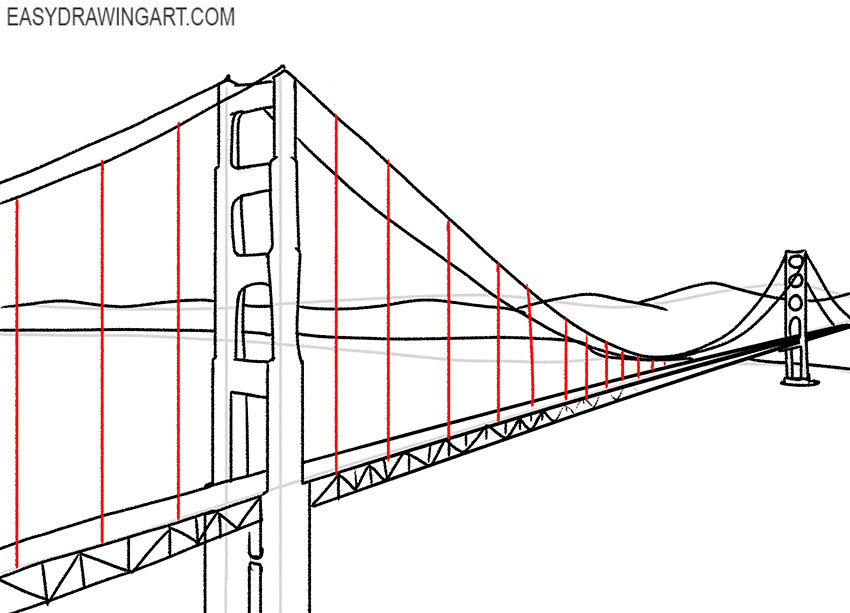
Step 9: Add the vertical suspension cables
Draw a sequence of straight vertical cables between the curved main cables and the bridge deck. Place them at regular intervals, making the gaps appear narrower toward the distant tower.
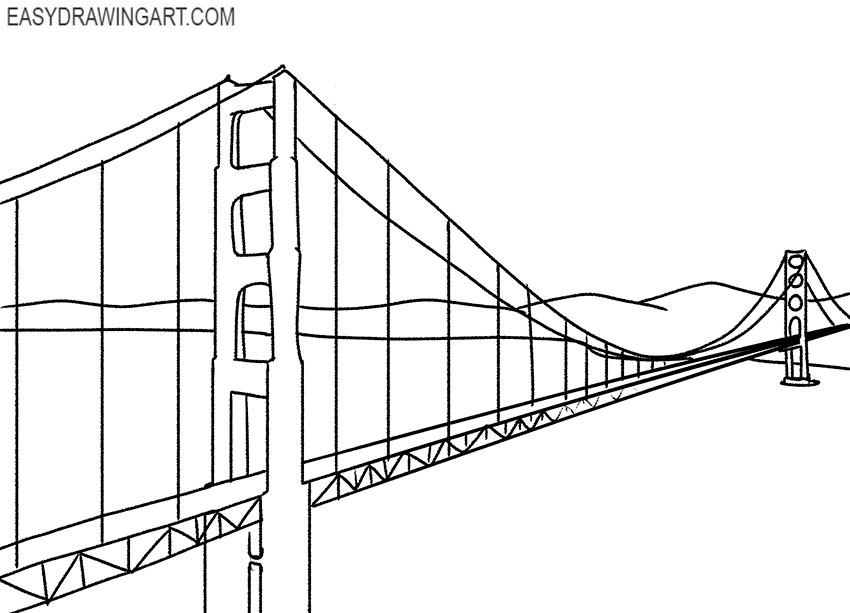
Step 10: Refine the bridge line drawing
Erase the remaining construction marks and strengthen the final contours. Straighten the towers and deck where needed, then clarify the shoreline, hills, main cables, and vertical supports.
Step 11: Color the Golden Gate Bridge drawing
Color the suspension bridge red-orange and fill the water and sky with different shades of blue. Use green for the coastal hills and add darker tones to the bridge deck and tower openings.
The bridge has a bright red color that makes it easily recognizable. We hope that you were interested in learning some facts about this attraction and that you are ready to start the lesson.
The Golden Gate Bridge drawing now is completed. Continue with another famous landmark by drawing the Eiffel Tower.
Subscribe to us on social networks and stay tuned for updates on the site.