How to Draw Marvin the Martian
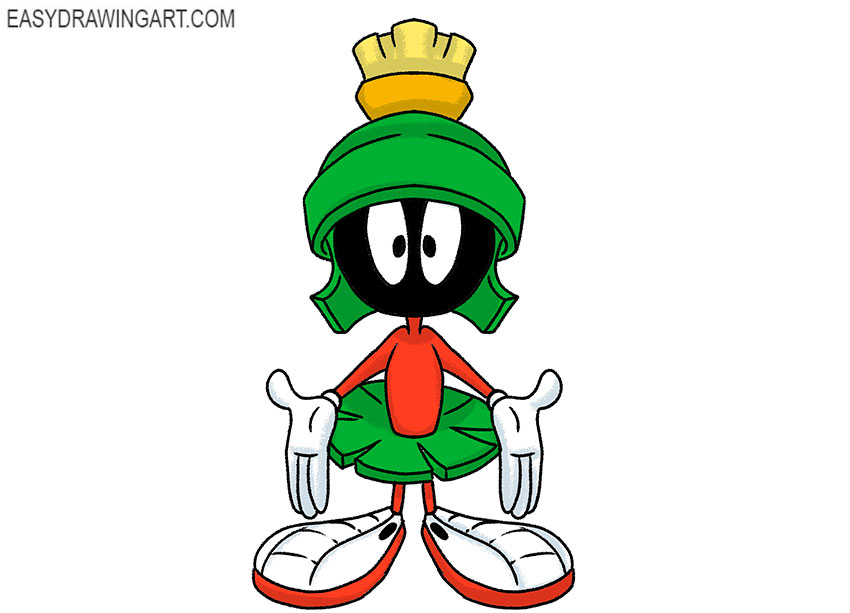
In this tutorial you will sketch an unusual character – here you will learn how to draw Marvin the Martian.
Marvin has a small stature, a large head and a thin body. There are large gloves on the hands and huge boots on the feet.
Thanks to such proportions, this character looks very funny.
We hope that the creative process will give you pleasure and you will get a great drawing.
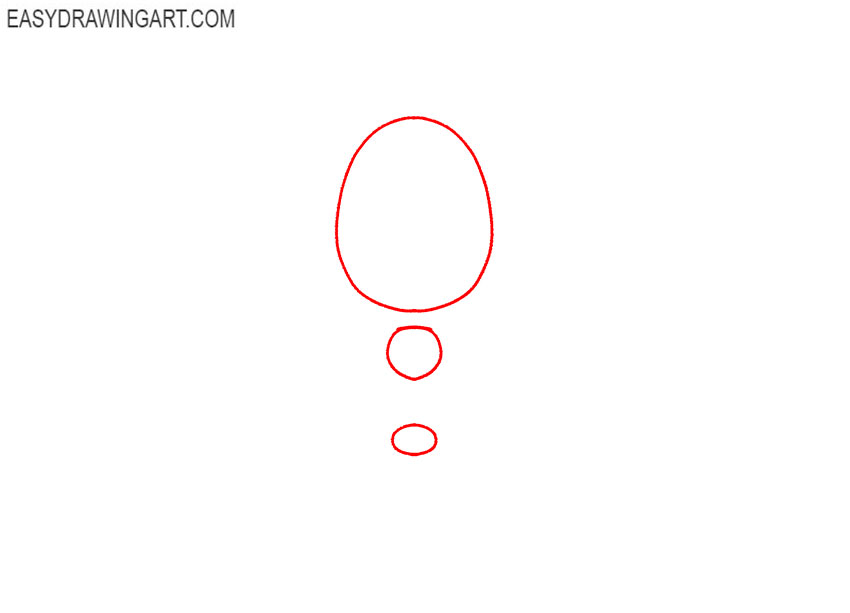
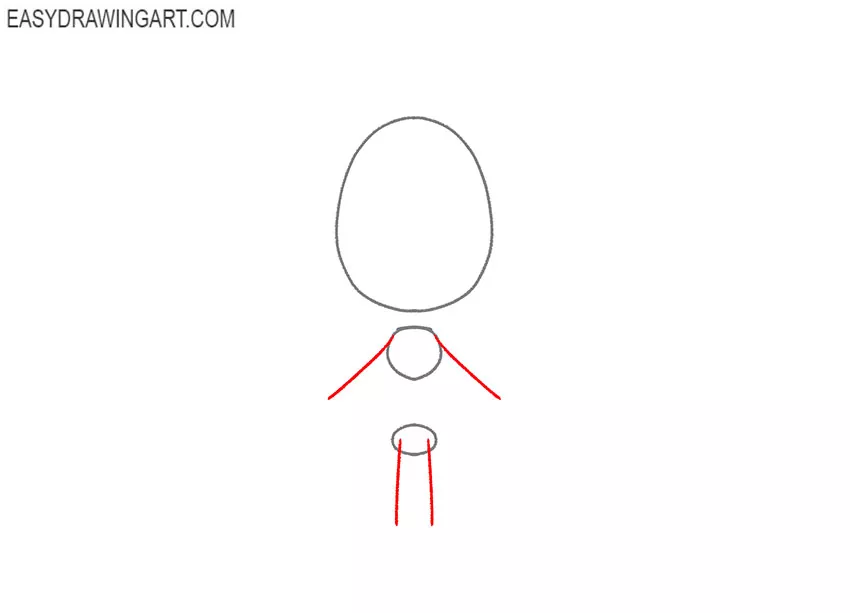
Step 1: Sketch Marvin the Martian’s body base
Draw three oval guides in a vertical row to place Marvin the Martian’s head, torso, and lower body. Leave small gaps between the shapes and keep the construction lines light.
Step 2: Add Marvin’s arm and leg guides
Sketch thin lines from the upper and lower body guides to place both arms and legs. Mark the elbows, hands, knees, and feet with small shapes that can be erased later.
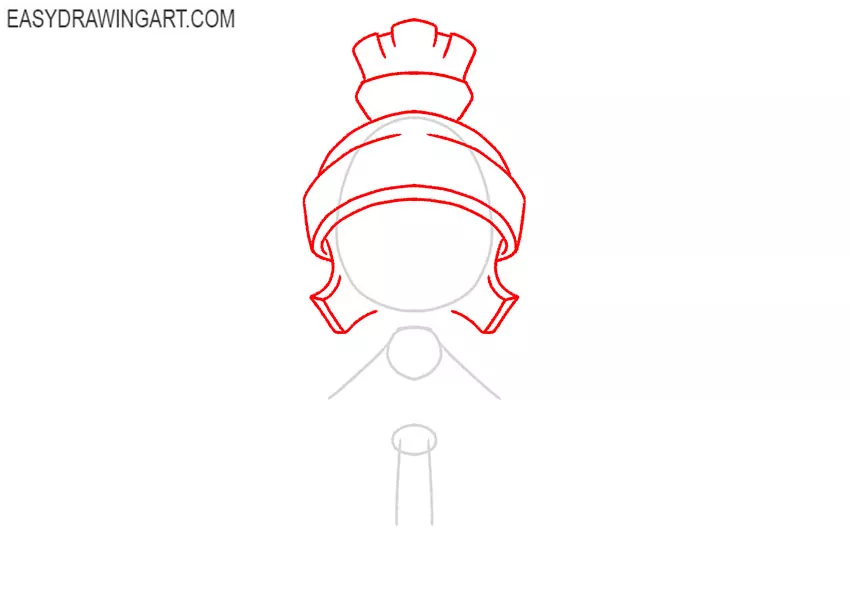
Step 3: Draw Marvin the Martian’s helmet
Outline the helmet around the upper oval, following the sides of the head closely. Extend the tall crest above it, then add the small curved details projecting from both sides.
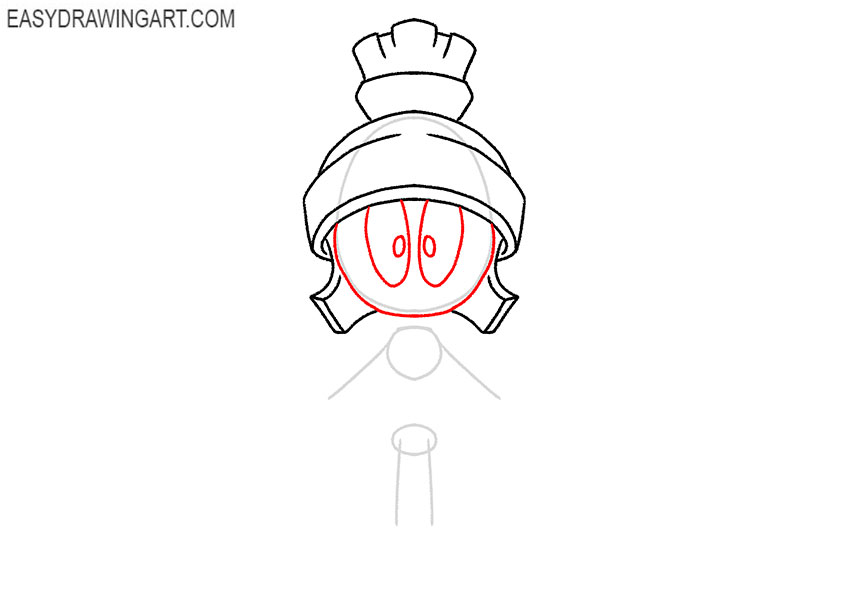
Step 4: Outline the cartoon face and eyes
Refine the face around the oval guide, narrowing the lower contour slightly. Then draw the eyes as two large vertical ovals placed close together.
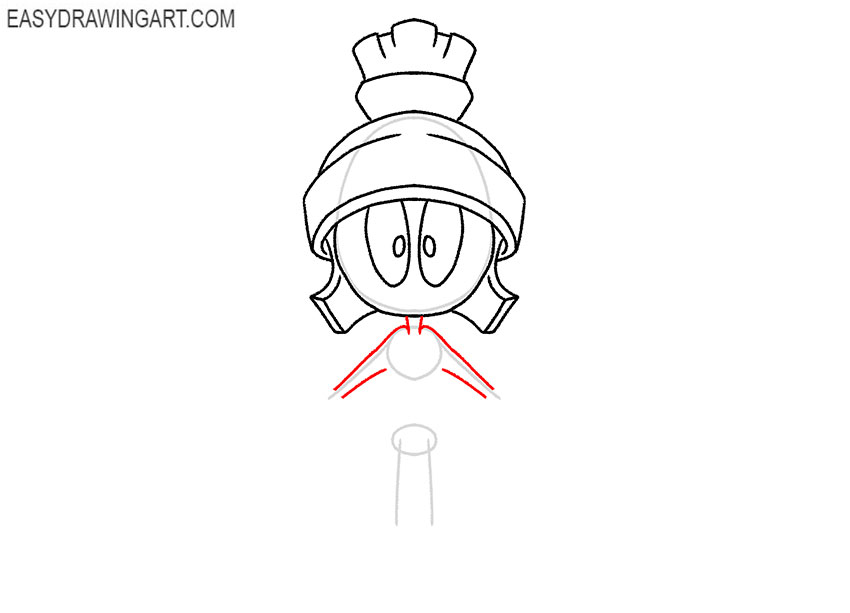
Step 5: Draw the neck and upper arms
Add two short lines below the head to form the neck. Use the arm guides to outline the thin upper arms, keeping the contours narrow as they extend toward the elbows.
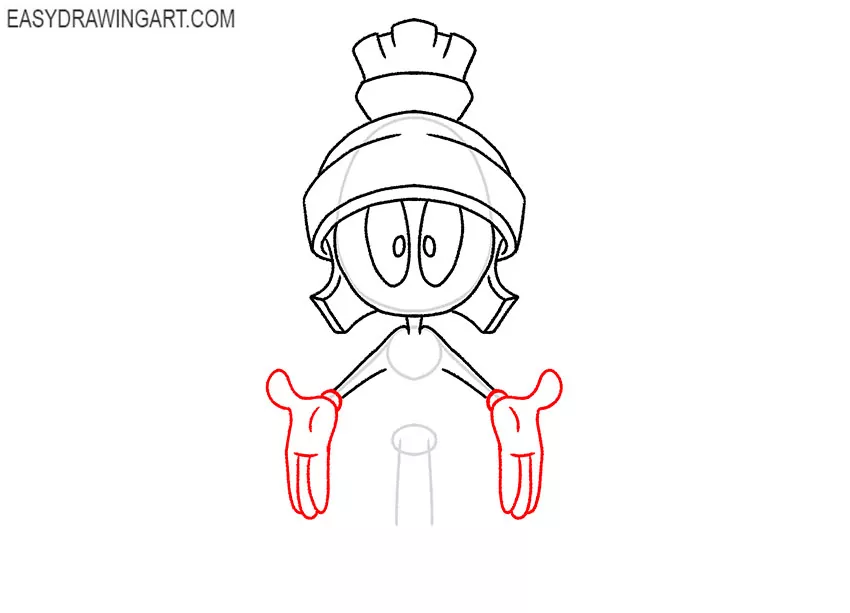
Step 6: Draw Marvin the Martian’s hands
At the ends of the arms, draw the hands with broad palms facing upward. Separate the fingers with curved lines and bend them slightly away from the center.
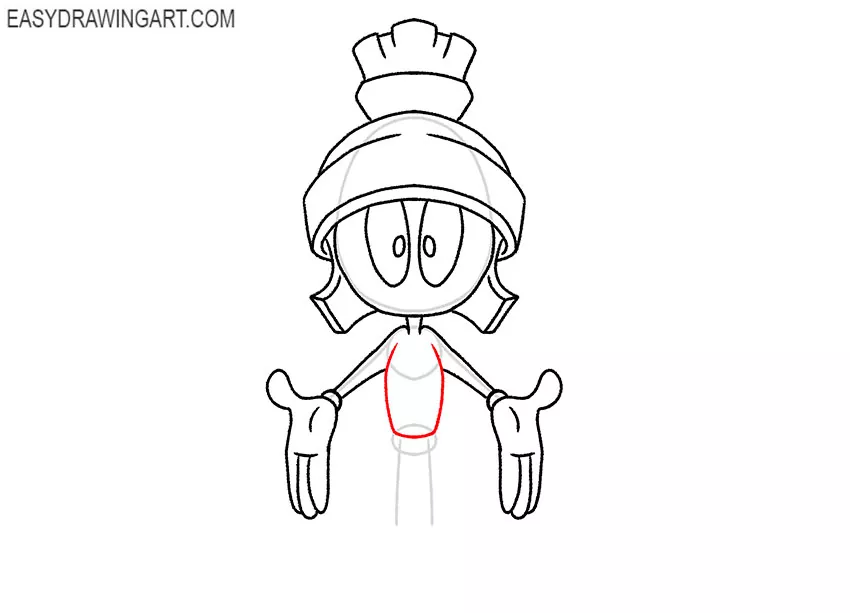
Step 7: Outline the oval cartoon torso
Trace the middle construction oval to define the compact torso. Connect its upper edge to the neck and arms, then narrow the lower contour slightly where it meets the belt.
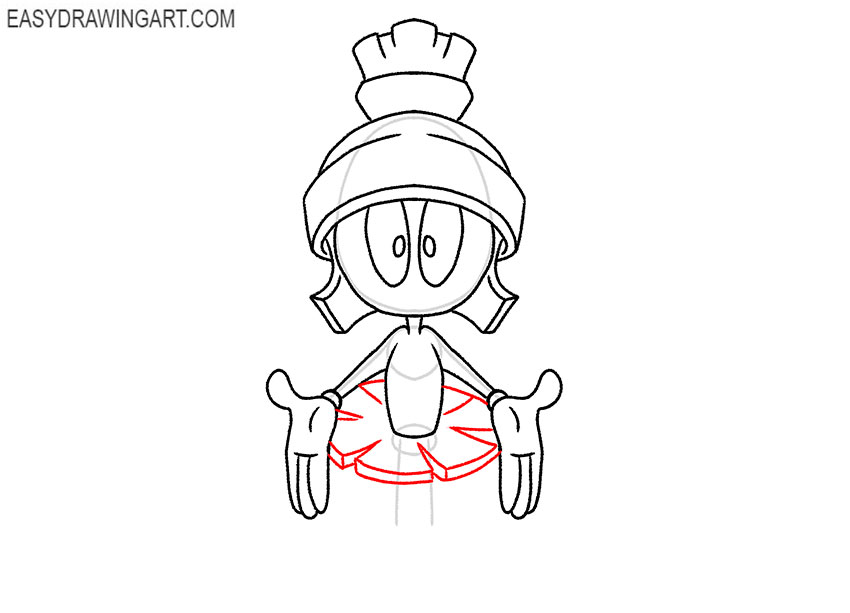
Step 8: Add Marvin’s wide belt
Draw the belt around the lower torso with two curved horizontal lines. Extend the lower edge outward on both sides, forming the broad skirt-like section of Marvin’s Roman-style outfit.
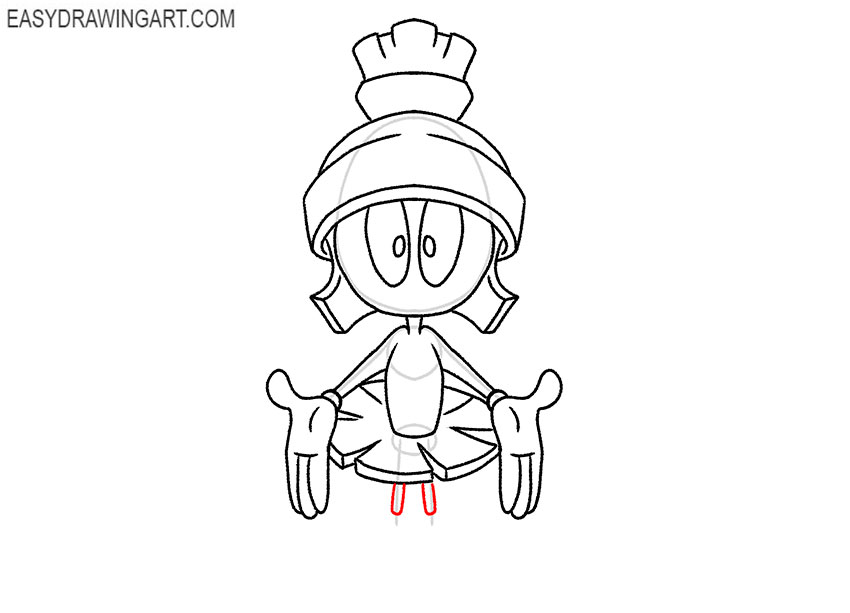
Step 9: Draw Marvin’s upper legs
Use the remaining leg guides to outline both upper legs beneath the belt. Keep the contours narrow near the hips and widen them gradually as they approach the tops of the boots.
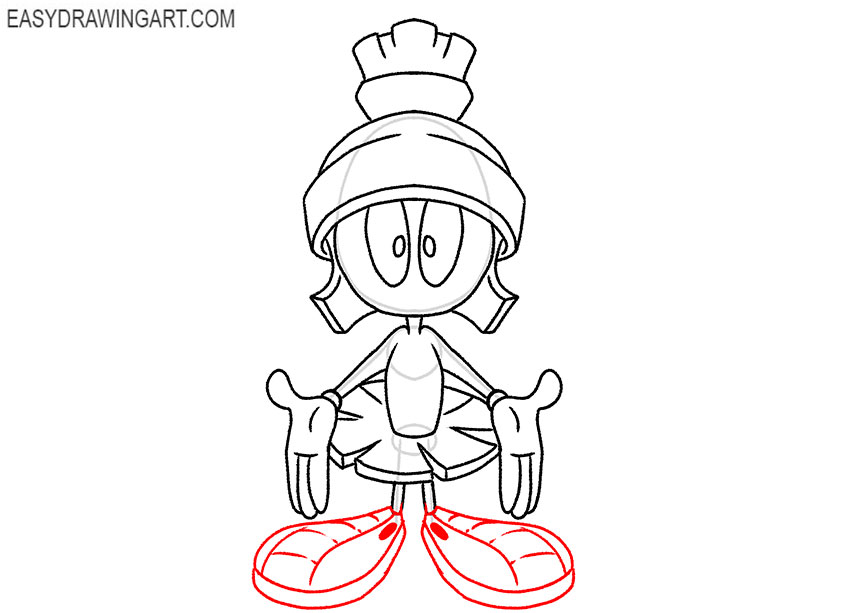
Step 10: Draw Marvin the Martian’s boots
Continue by drawing the boots of the Looney Tunes character with large feet pointing in opposite directions. Add horizontal and vertical bands across each boot to divide the sections.
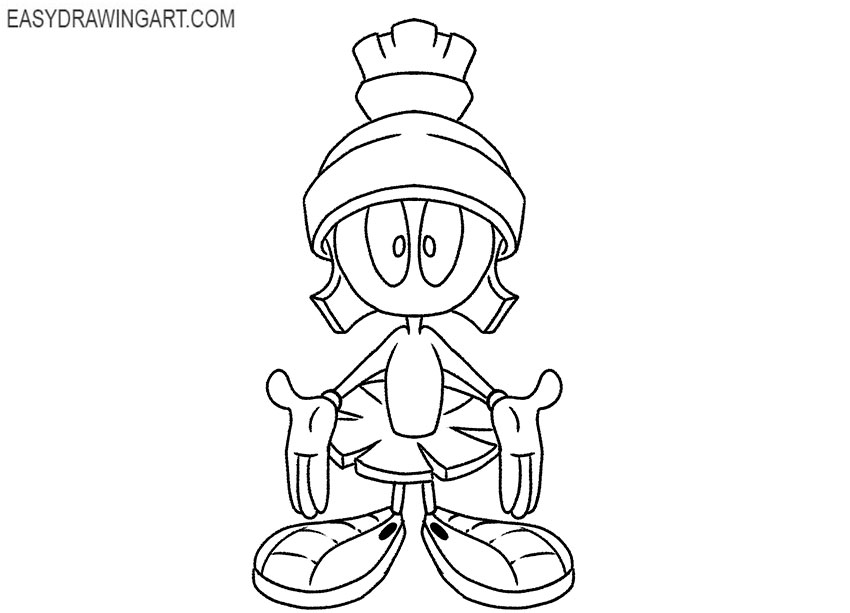
Step 11: Clean up the Marvin drawing
Erase the original ovals, limb guides, and small construction marks inside the figure of Marvin the Martian. Restore any weakened contours around the helmet, face, torso, belt, arms, legs, and boots.
Step 12: Color the cartoon character drawing
Fill the face of Marvin the Martian with black and color the helmet and outfit green. Use red for the torso and belt details, then add yellow to the crest, skirt-like belt, gloves, and boot accents.
Marvin the Martian is now complete in his familiar helmet and Roman-inspired outfit. For another space-themed subject, continue by drawing an alien with a different body and head design.