How to Draw Mario

Mario is one of the most popular video game characters of all time. In this easy tutorial, you will learn how to draw Mario in just a few steps and practice your video game character drawing skills.
Mario is a famous video game character created by a Japanese game designer. He is a short plumber who wears a red cap with an “M,” blue overalls with large yellow buttons, and a thick mustache.
Step by step, you’ll draw a full-body illustration of Mario in his classic outfit with his signature cap, mustache, and overalls.
Time needed: 1 hour
How to Draw Mario
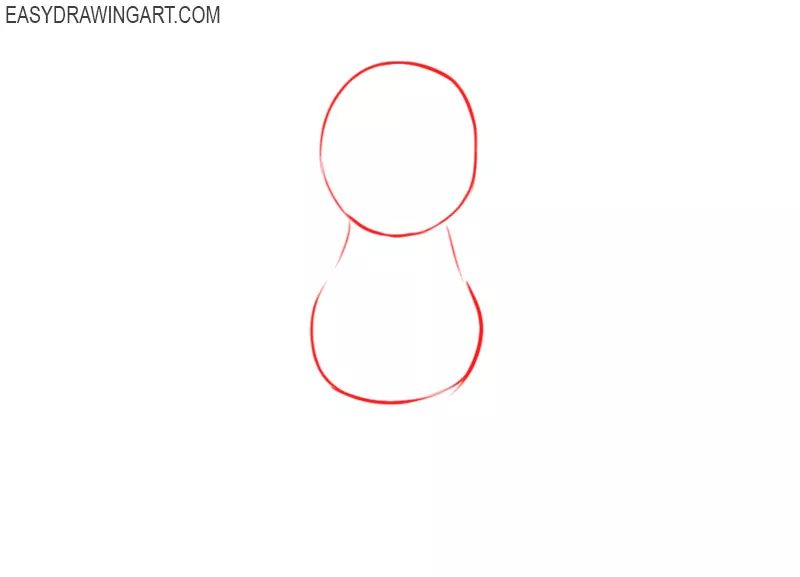
- Draw the outline of the character’s head and torso.
Depict Mario’s head as an oval and also add a torso below her using broken, curved lines.

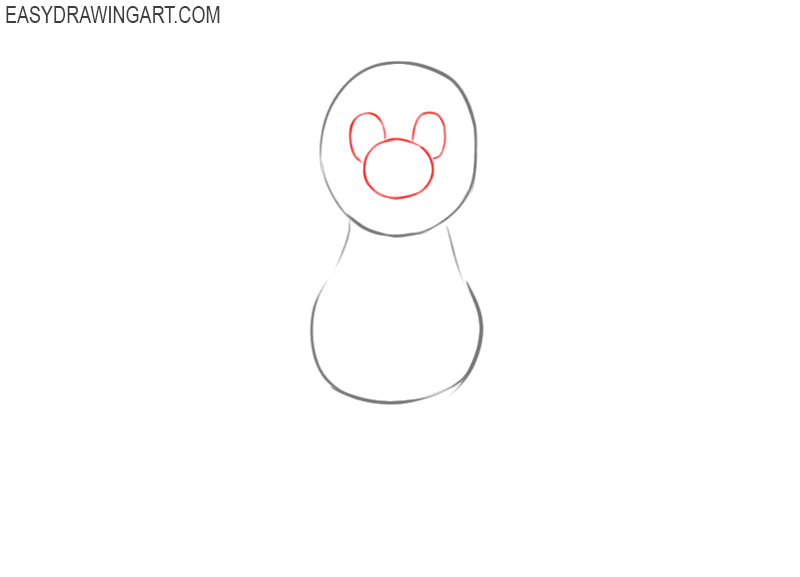
- Depict the main features of the face.
Draw the nose in the form of a large oval, and also add two eyes on the sides in the form of smaller incomplete ovals.
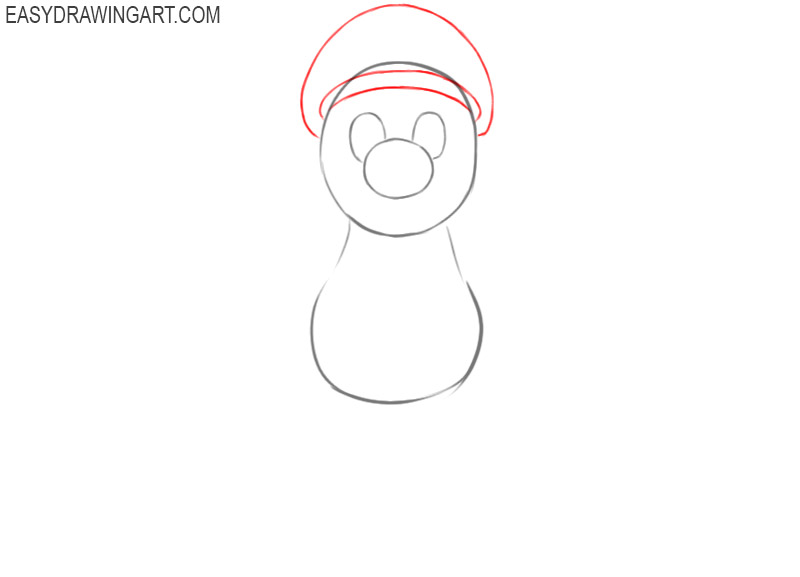
- Add the outline of Mario’s cap.
At the top of the previously drawn character’s head, draw a cap using arcs of different sizes.
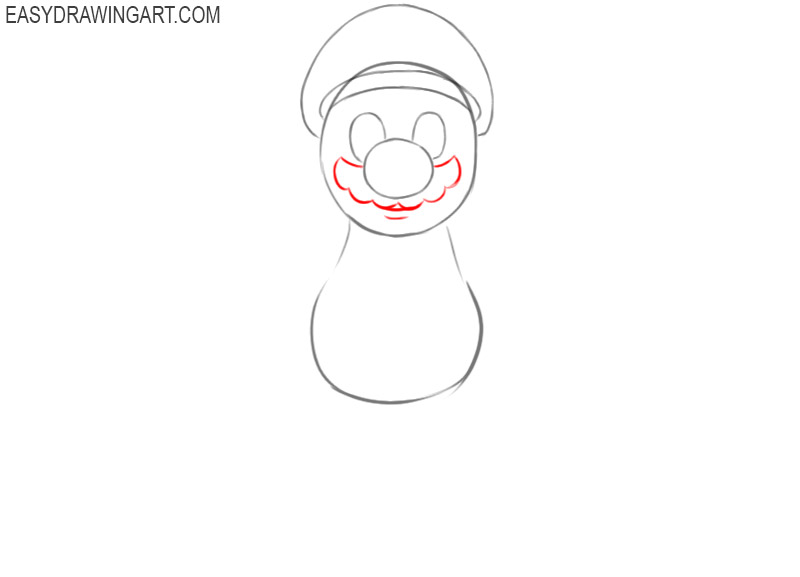
- Sketch out the character’s mouth and mustache.
Depict the mustache below Mario’s nose using several arcs of different sizes, and also add the mouth below the mustache.
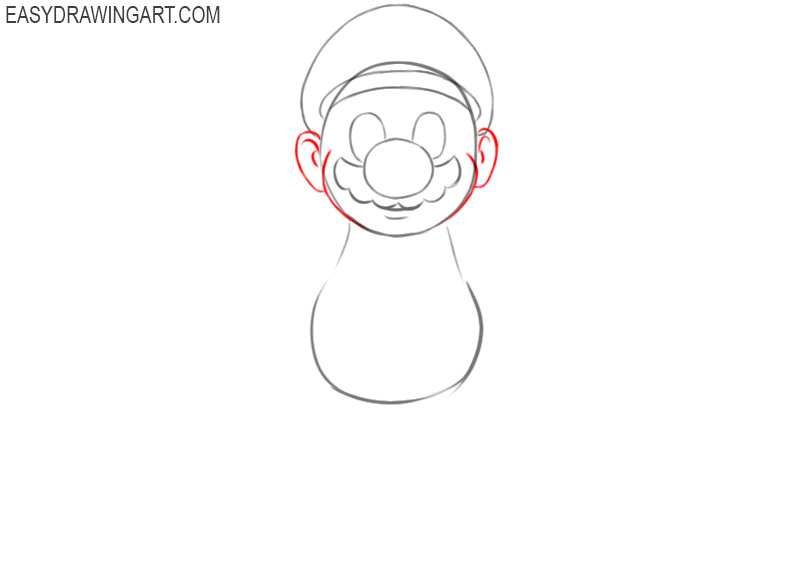
- Add the Mario’s ears and cheek outlines.
On the right and left sides of the character’s head, depict two identical ears using incomplete ovals and curved lines, and add rounded cheeks.
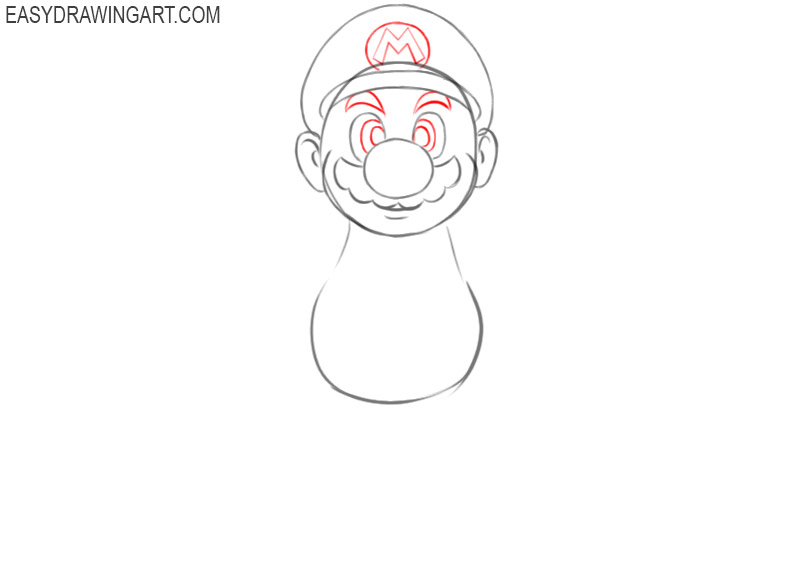
- Draw the eyes, eyebrows, and icon.
Depict the inside of Mario’s eyes in the form of incomplete ovals, add two identical eyebrows, and also draw an icon in the form of an arc and the letter M.
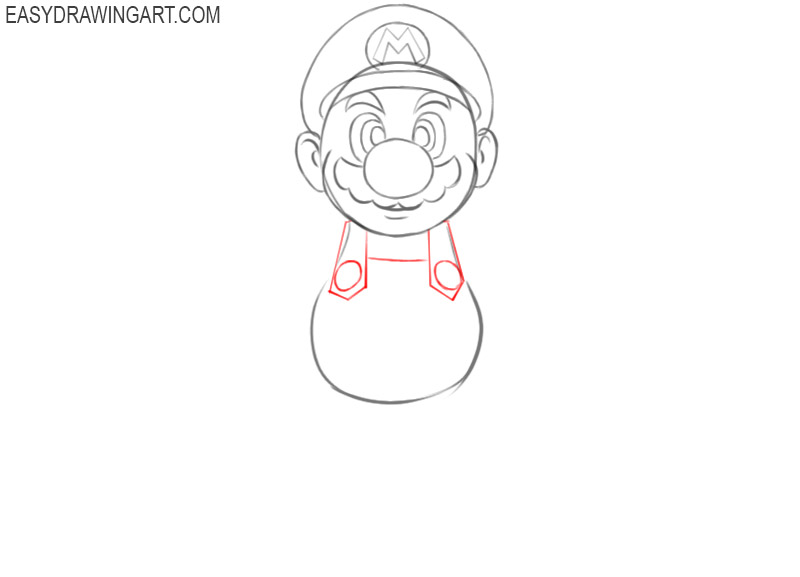
- Sketch out the straps of the jumpsuit.
Below Mario’s head, draw two symmetrical jumpsuit straps using an oval and straight lines.
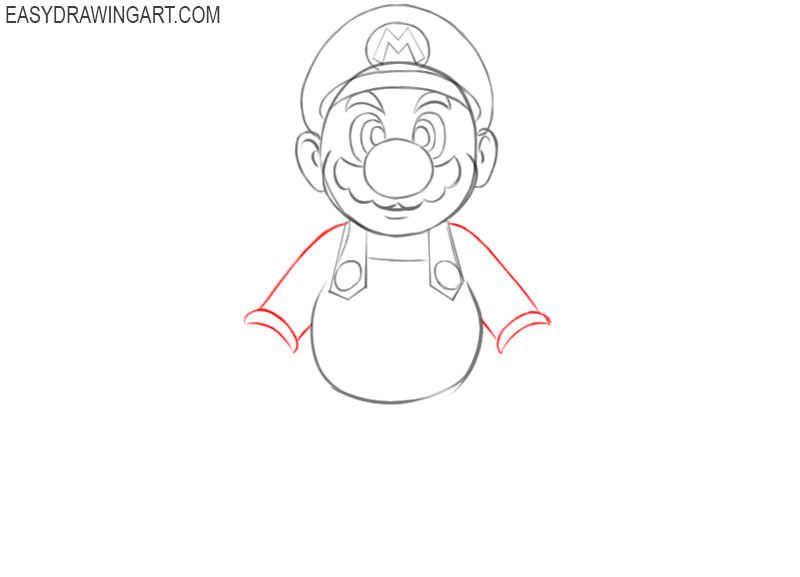
- Add the character’s sleeves.
On the right and left sides of Mario’s torso, depict two identical arms using straight and curved lines.
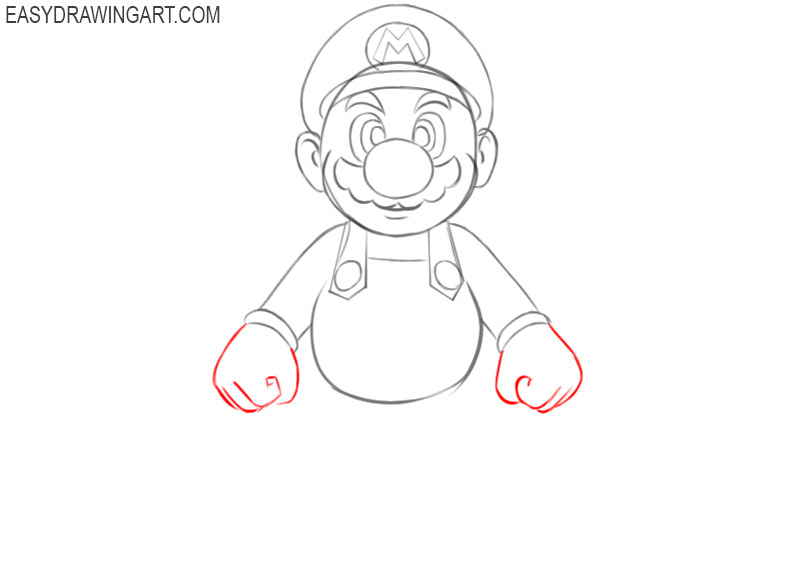
- Depict the character’s hands.
To complete the drawing of Mario’s arms, add two symmetrical hands clenched into fists.
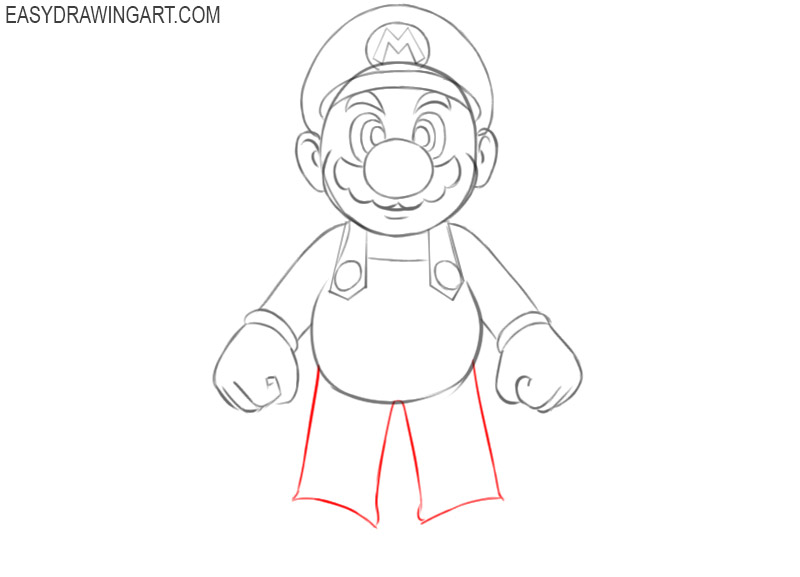
- Sketch out the pant legs.
Below the previously drawn torso elements, depict two symmetrical legs using straight and curved lines.
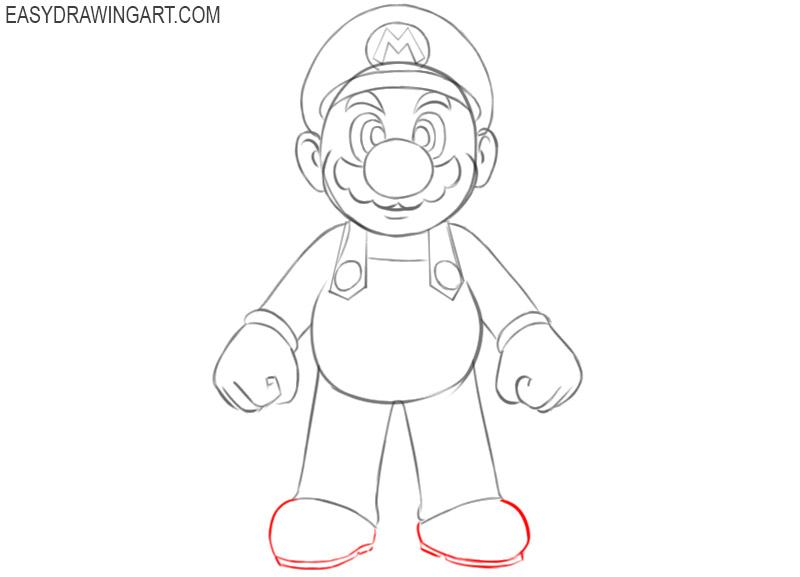
- Draw the Mario’s shoes.
To complete the drawing of the character’s legs, draw two large boots at the bottom of the legs, as shown in the figure.
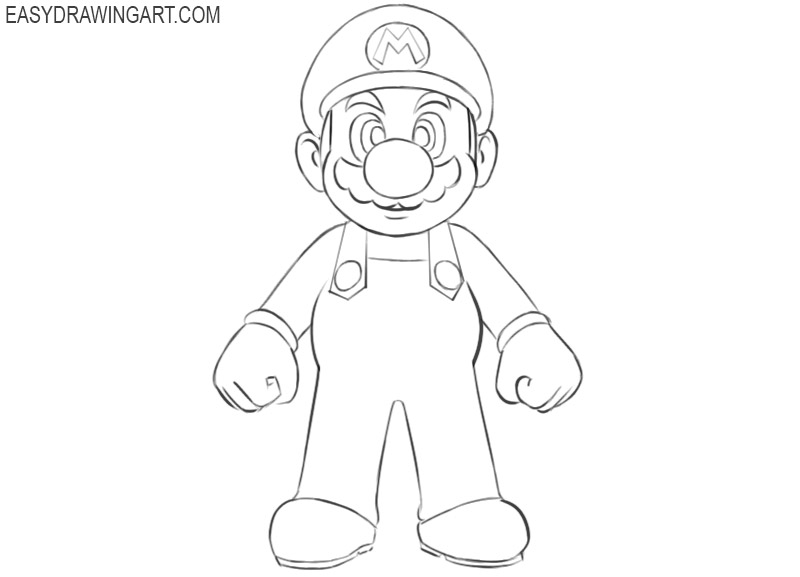
- Erase extra lines.
Use the eraser to remove any unnecessary guidelines from the drawing. Do this carefully so that you do not accidentally delete important lines in the drawing.
- Color the drawing.
To color Mario, use blue, beige, shades of brown, red, yellow, and black.
So this fascinating and unusual drawing lesson came to an end, with the help of which you could learn how to draw Mario step by step. If you liked this tutorial, you can share it with your friends. Also, don’t forget to leave a comment and tell us about your impressions about this tutorial.
very easy
love you
THIS WAS SO BEAUTIFUL
This was really difficult for me, but it turned out great! 🙂