How to Draw Luffy
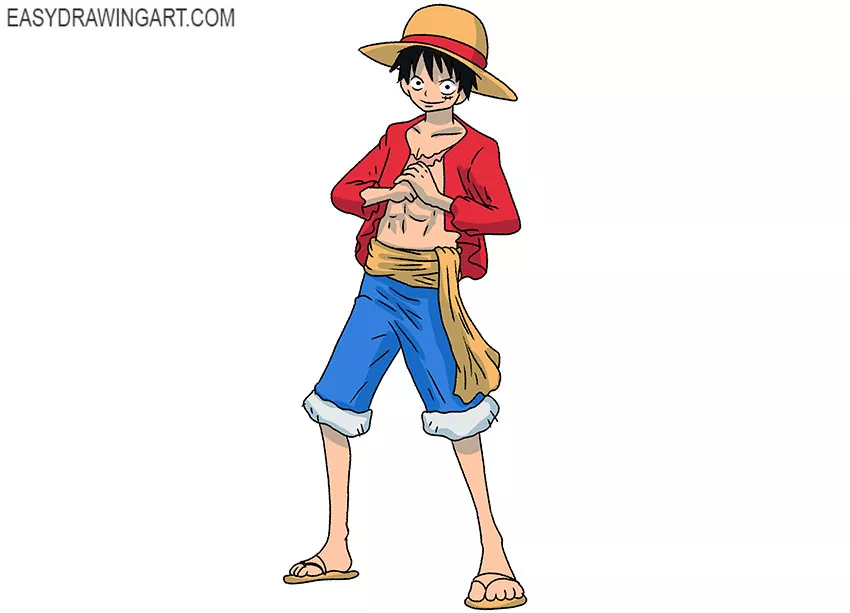
So, in this tutorial, you will learn how to draw Luffy. He is a lean, black-haired young man of average height.
Luffy wears a straw hat, vest, shorts, and sandals. With the help of these clear and accessible instructions, you can easily draw these elements and achieve an excellent result.
Now get your art supplies ready and prepare for some fun creative work.
Time needed: 1 hour
How to Draw Luffy
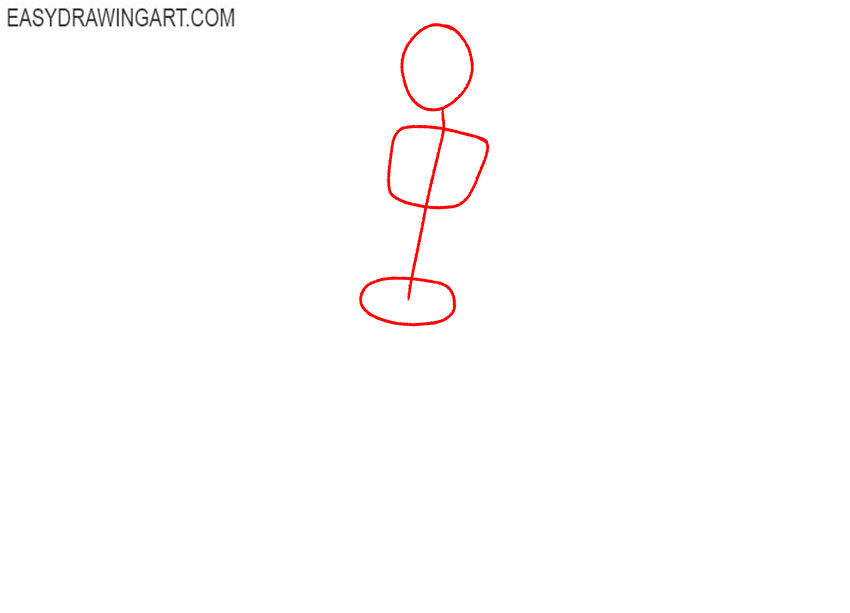
- Prepare the base.
Draw the head, thoracic region and pelvis in the form of figures of different shapes. With a smooth line, mark the central axis of the body.

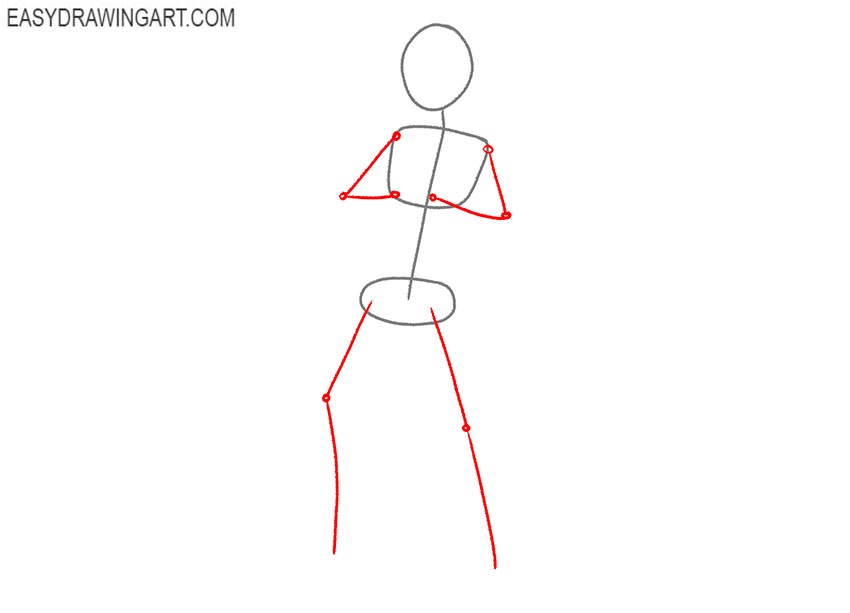
- Sketch out the limbs.
Use thin lines to mark the position of the arms and legs. Mark the places of the folds in the form of large dots.
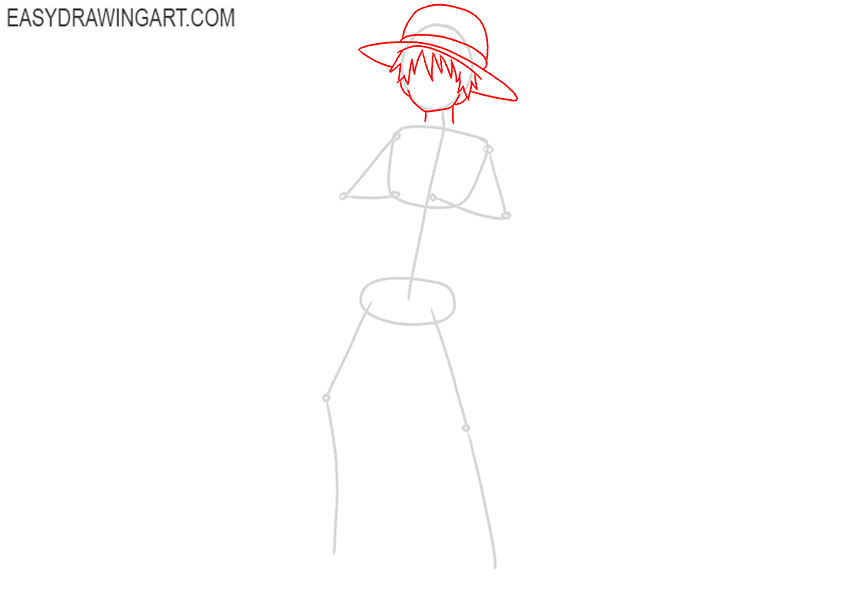
- Detail the head.
Make a clear oval of the face, add the ears and neck. Using short strokes, draw the spiky strands of the hair. With smooth lines draw the hat with brim.
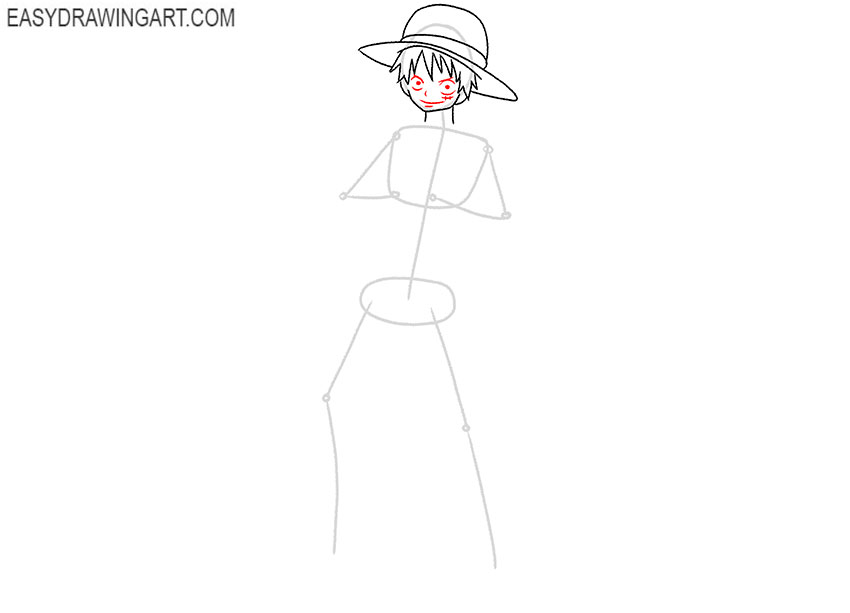
- Add facial features.
Draw the large, wide-open eyes. With a short stroke draw the nose and with a smooth line draw the mouth.
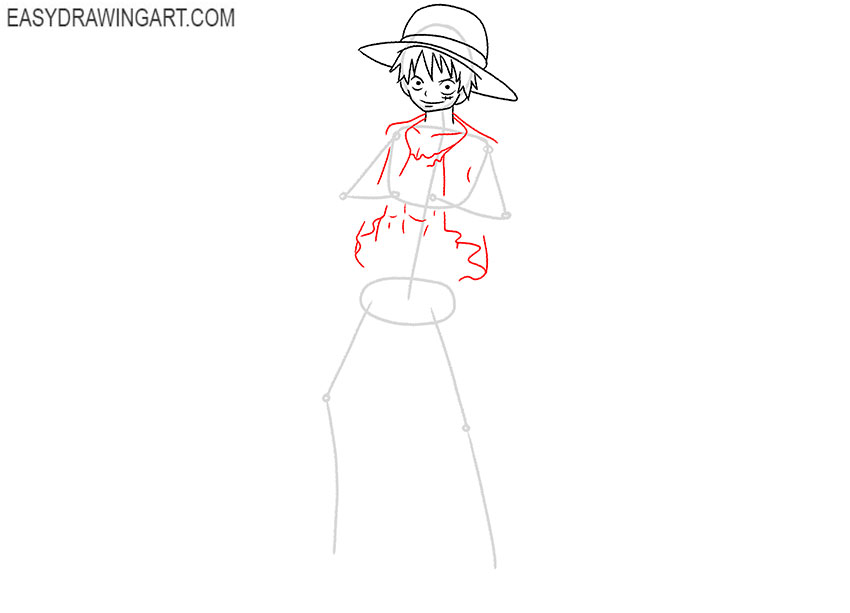
- Start drawing the clothes.
Use smooth lines to draw the outline of the vest on the shoulders, draw the front of the vest and use a wavy line to draw the bottom outline.
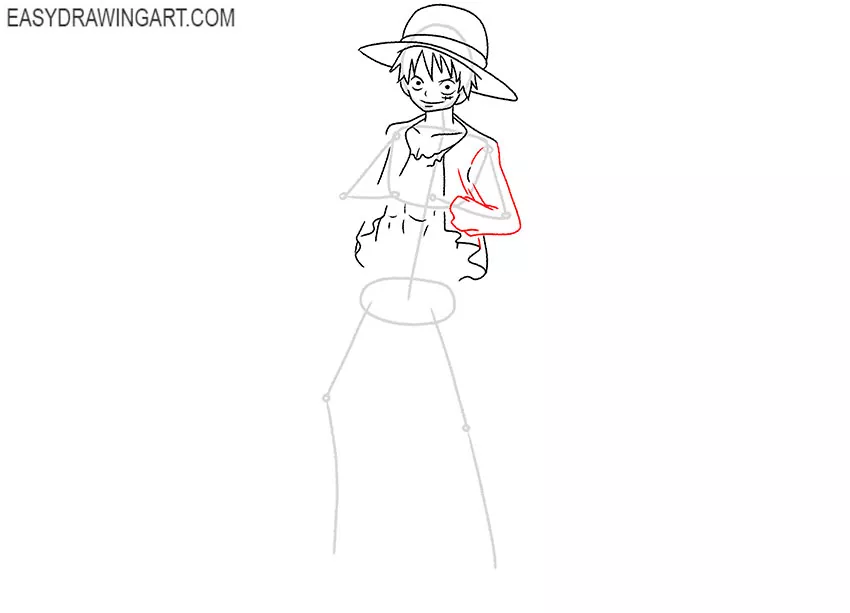
- Draw one sleeve.
Use the lines you drew earlier as a guide and draw the sleeve on one side. Add the folds to the clothes.
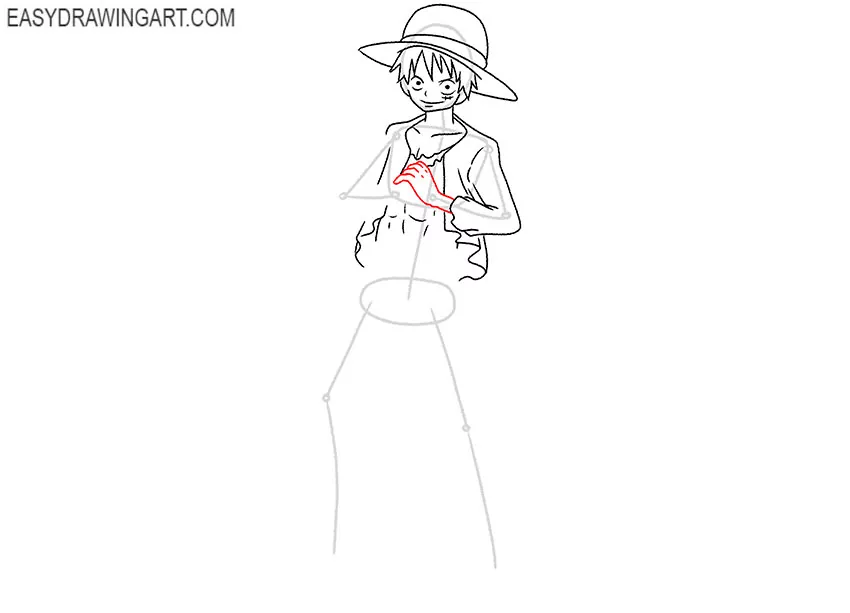
- Depict the hand.
With smooth lines, depict the hand in the same position as in our example. Try to carefully draw all the lines.
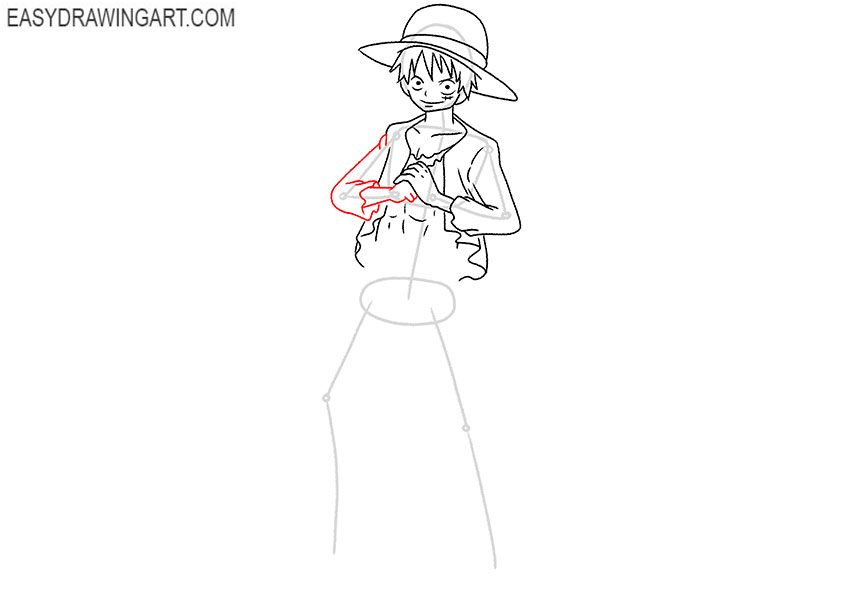
- Add the second hand.
With smooth curved lines draw the outline of the second sleeve and draw the visible part of the hand.
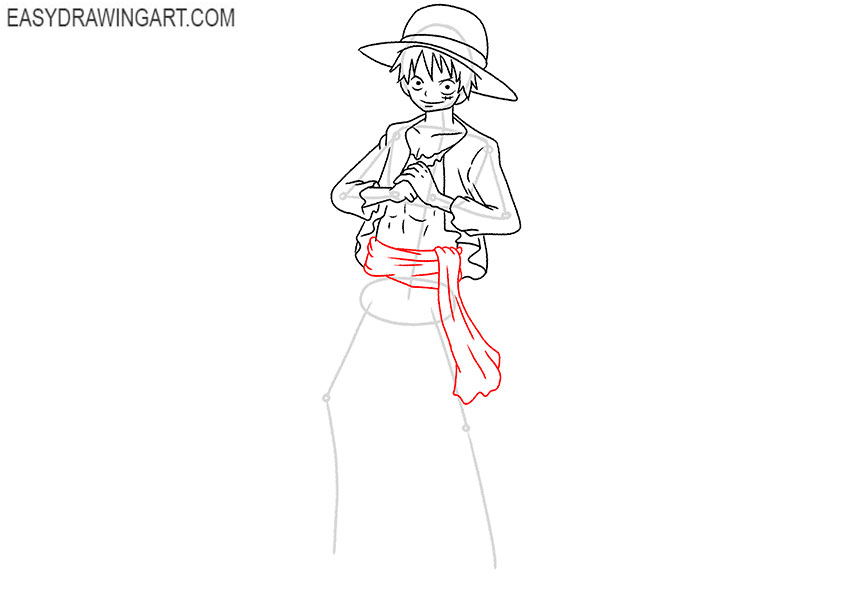
- Sketch out the bandage on the belt.
Using smooth lines, depict the wide bandage on the belt, one end of which hangs freely down. Add the folds to the fabric.
- Draw the shorts.
As a guide, use the guidelines and draw the shorts to the knees. Add the wide stripes at the bottom.
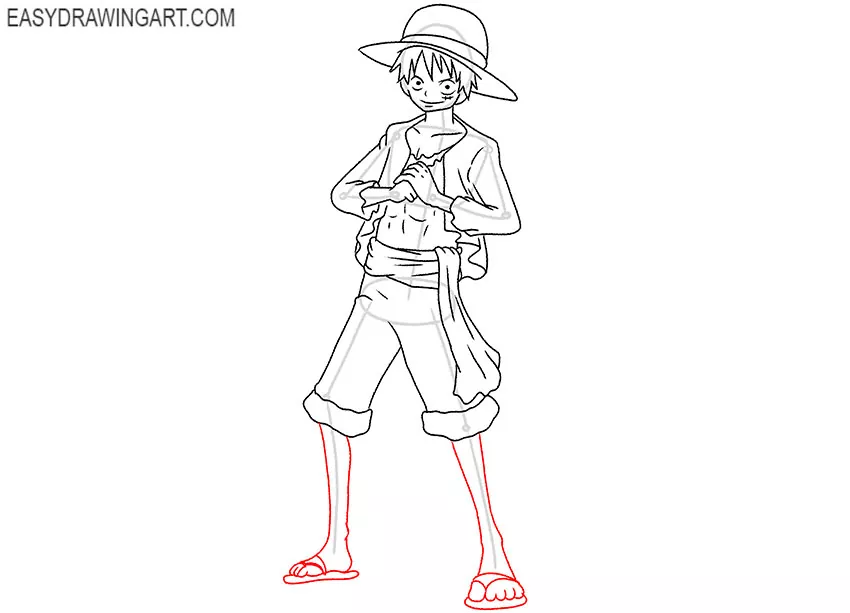
- Depict the legs.
Focus on the guidelines and draw the thin legs. At the bottom, add the open sandals.
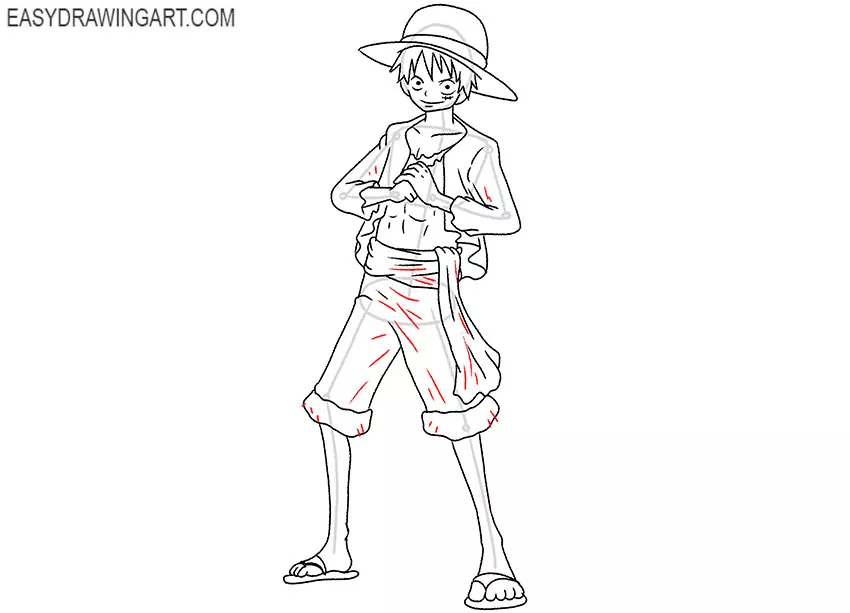
- Add the folds to the clothes.
With the help of thin strokes of different sizes, depict the folds on the vest, on the bandage and on the shorts.
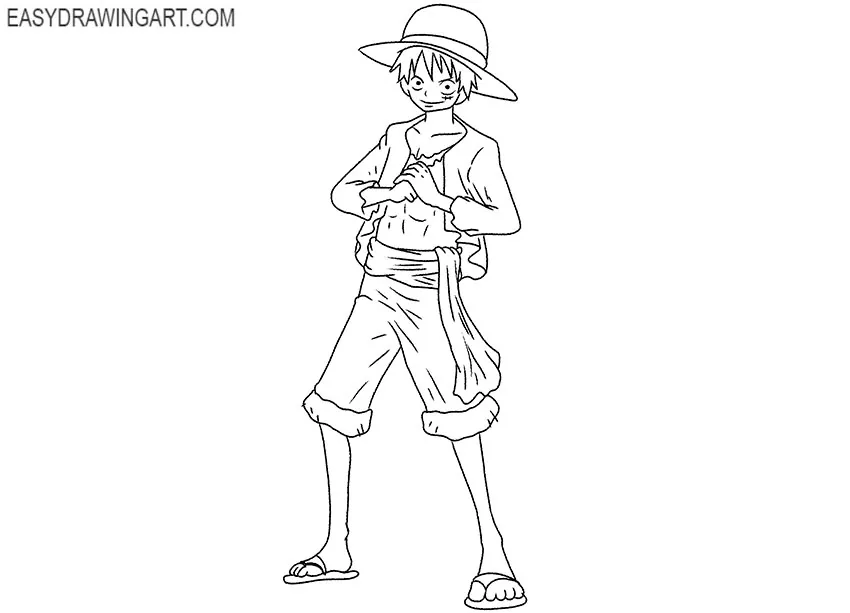
- Correct inaccuracies.
Look carefully at your drawing and if you notice inaccuracies, then correct them. Remove all extra lines.
- Color the drawing.
Color the skin in beige, for coloring clothes and shoes use yellow, red, blue and light gray.

Now you know how to draw Luffy step by step. We recommend that you follow the other tutorials provided on this site and learn how to draw various anime and manga characters. Follow us on social networks to keep abreast of all the news.