How to Draw Lips
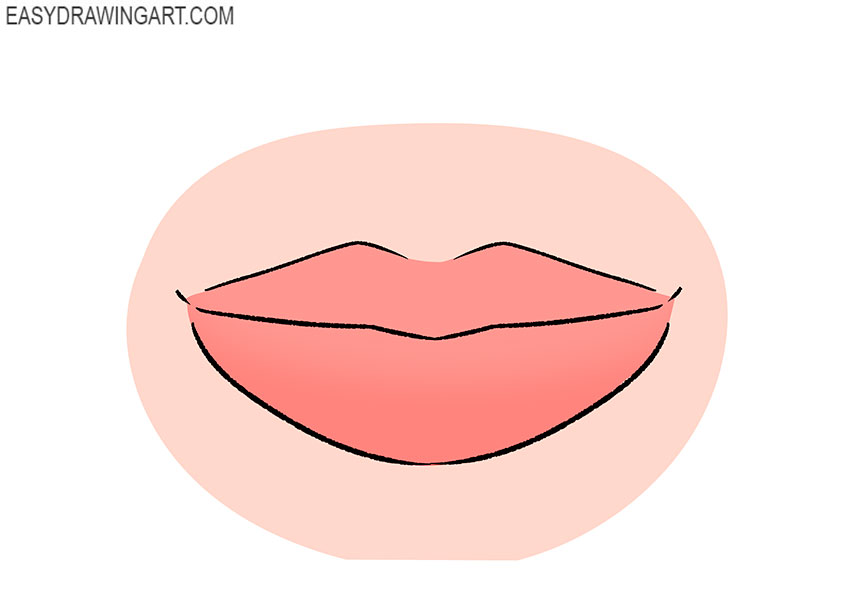
With the help of this easy-to-follow guide, you will learn how to draw lips step by step. This is a very simple method that artists of any skill level can easily master.
When drawing a portrait of a real person, you can use the same basic principles, but always take the individual shape and features of the lips into account.
Gather your art supplies and begin the tutorial.
Time needed: 1 hour
How to Draw Lips
- Prepare the base.
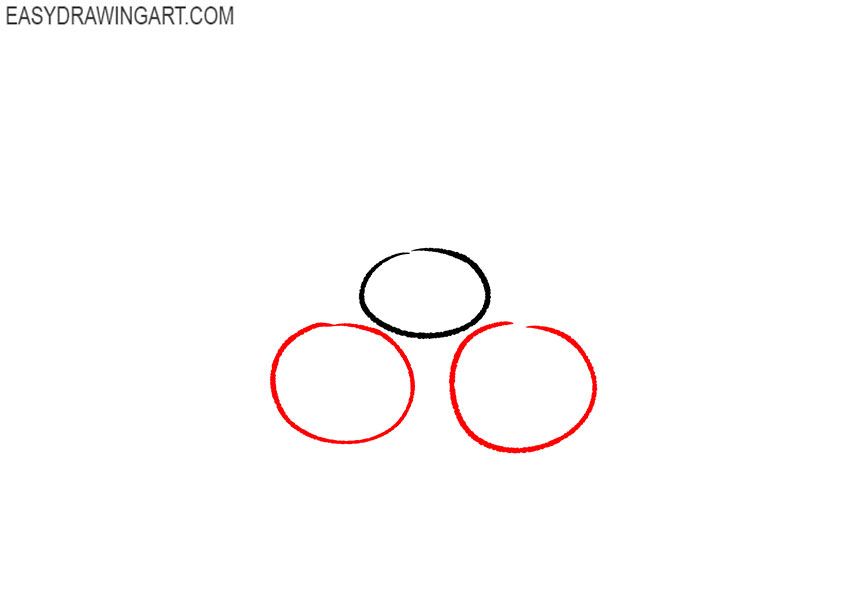
As usual, start drawing baselines. Determine the location and size of the upper lip and draw an oval with a thin line.

- Mark the position of the lower lips.
This step is a bit similar to the previous one. Here you have to add two more identical ovals to determine the size of the lower lip.
- Depict the inner contour of the lips.
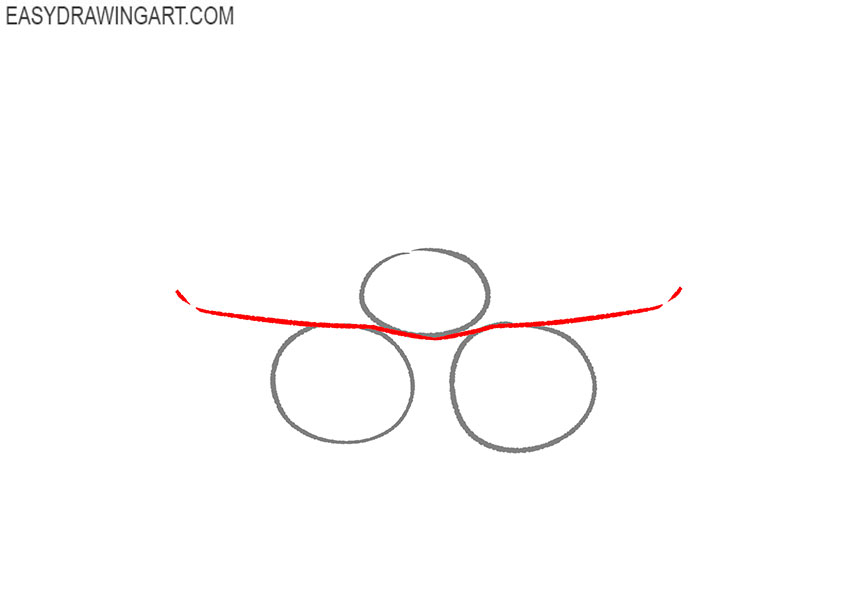
Continue adding elements of the drawing and in this step draw a smooth line between the ovals, as shown in our example.
- Draw the outline of the upper lip.
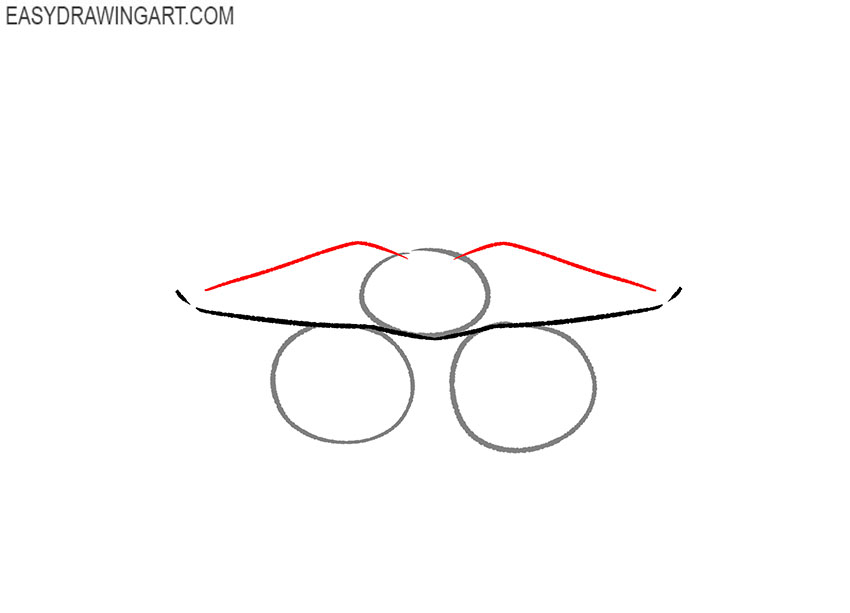
Use the guidelines as a guide and depict the upper lip, taking into account all the anatomical features of the structure of the lips.
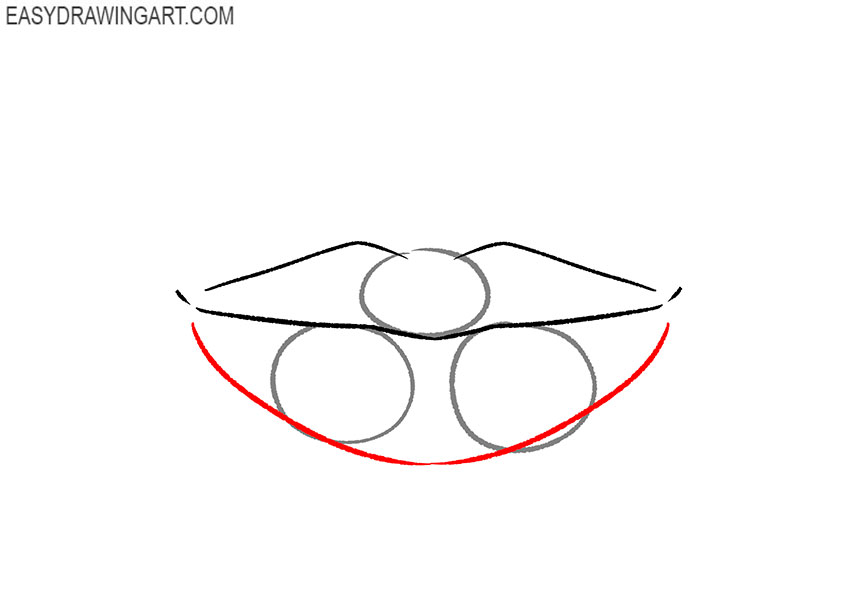
- Sketch out the outline of the lower lip.
This step is similar to the previous one, and now you have to draw the outline of the lower lip. At the bottom of the picture, add a smooth connecting line from one corner of the lips to the other.
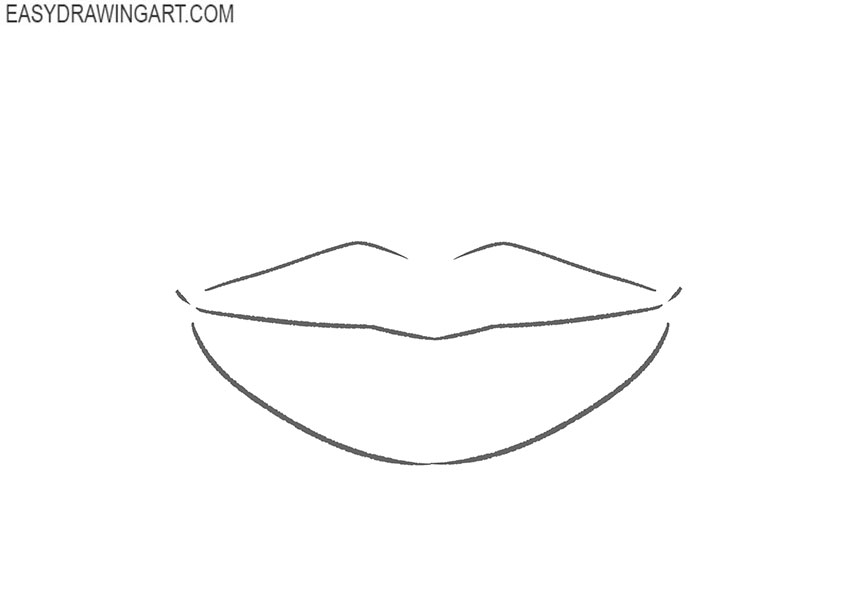
- Correct inaccuracies.
Check the drawing and correct the lip contour if necessary. Carefully remove all extra lines in the drawing.
- Color the drawing.
To color the skin, use any natural shade. Color the lips pink. Add the shadows and highlights if you want to make the drawing more realistic.

So this simple and useful drawing lesson has come to an end. Share your impressions about this lesson. We will be happy to receive feedback from you. Subscribe to us on social networks so as not to miss updates on the site.