How to Draw Eyes Looking to the Side

In this lesson you will learn how to draw eyes looking to the side. The instruction includes fifteen steps, where each step is one simple action.
This lesson is designed for those who want to learn how to draw eyes from different angles and now we will show how to draw eyes that look to the side. Start drawing with thin lines and gradually give all the elements of the drawing the desired shape, making the drawing clearer.
So, prepare all the art materials you need to complete this tutorial and get ready for some fun creative work.
Time needed: 1 hour
How to Draw Eyes Looking to the Side
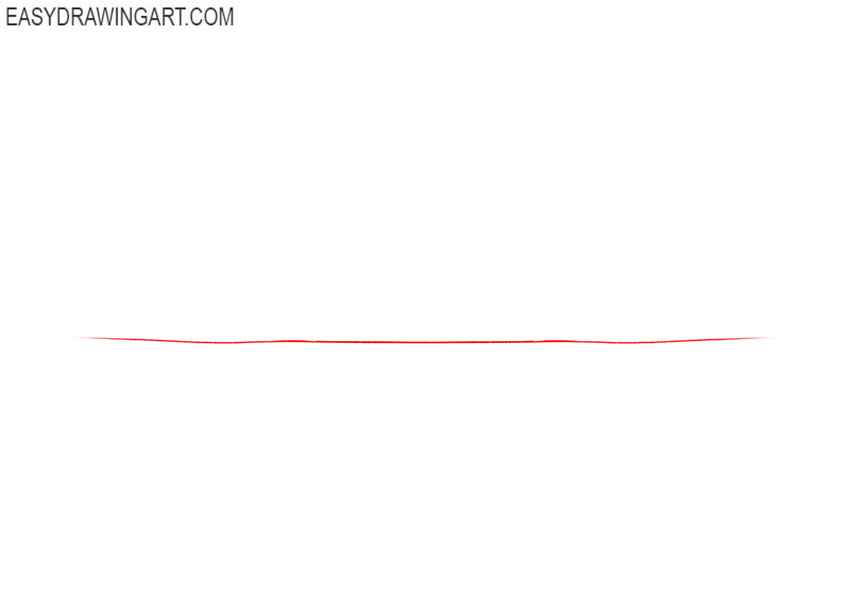
- Mark up.
Determine the size and location of your drawing and draw a thin horizontal line as a starting point.

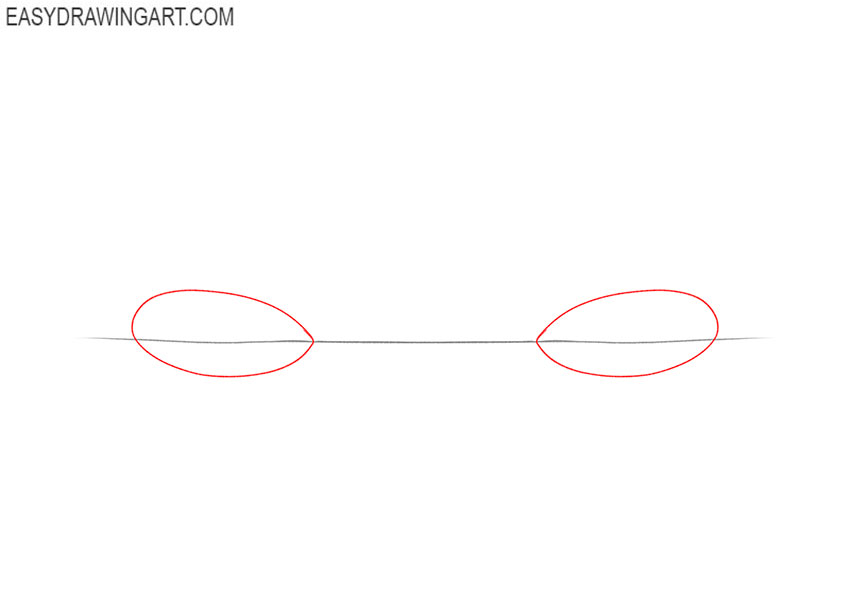
- Mark the location of the eyes.
On the horizontal line, draw two ovals, which are located at some distance from each other. The inner parts of the ovals should be slightly pointed.
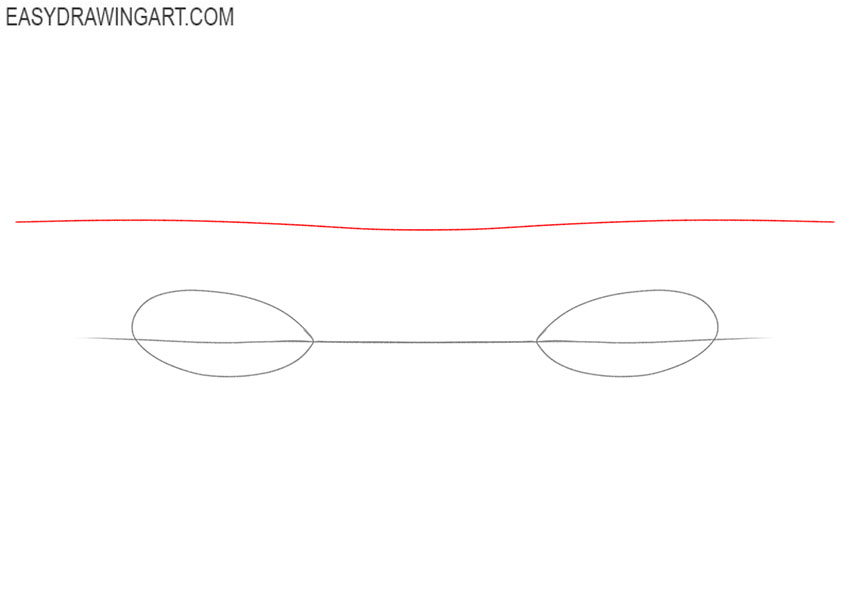
- Make a marking for the eyebrows.
A little higher, draw another even horizontal line, with which you can indicate the location of the eyebrows.
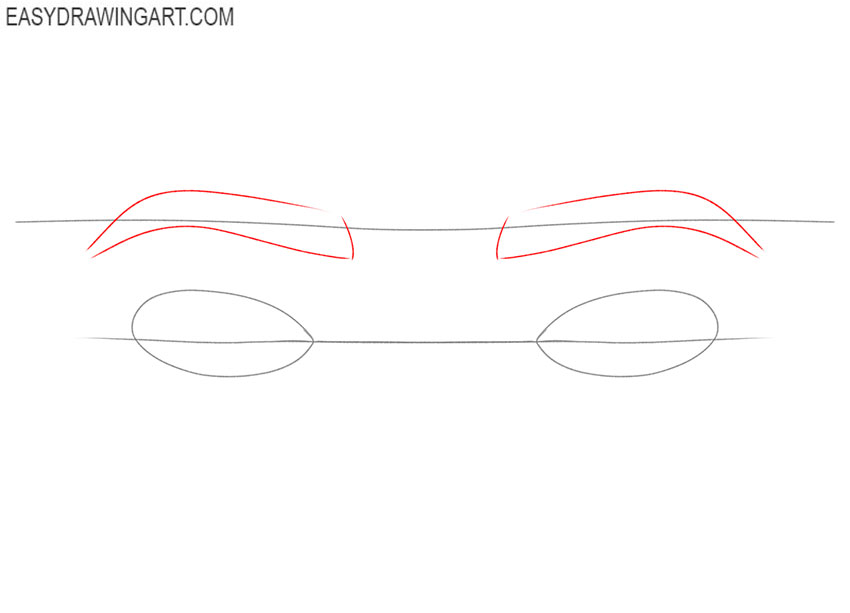
- Draw the outline of the eyebrows.
Using thin, curved lines, outline the outer contour of the eyebrows, while using the line that you drew in the last step as a guide.
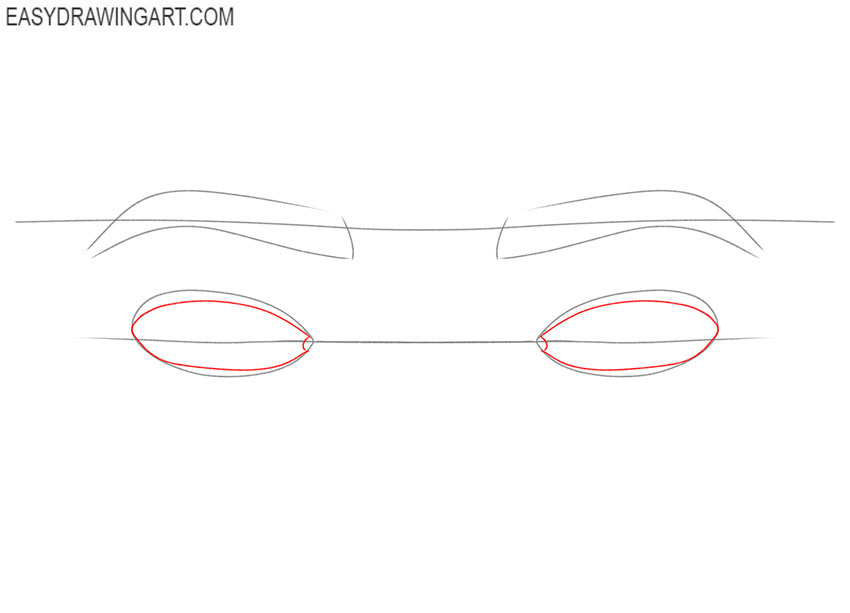
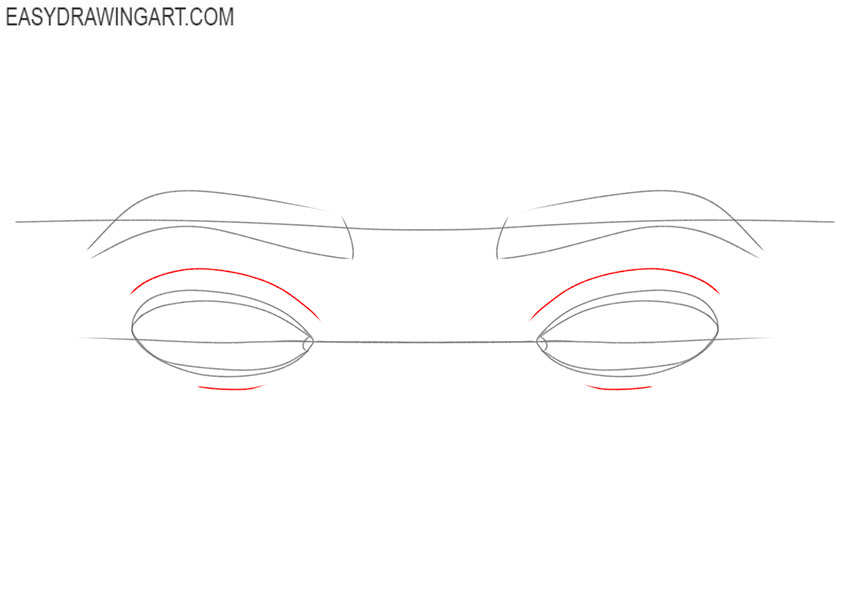
- Give the eyes the desired shape.
Now you can use sharper lines. Carefully circle the eyes along the contour, giving them the necessary shape and then highlight the corners of the eyes.
- Depict the folds on the eyelids.
Above the eyes, draw curved lines to indicate the creases in the upper eyelids, and in the same way, draw short lines under the eyes to indicate the creases in the lower eyelids.
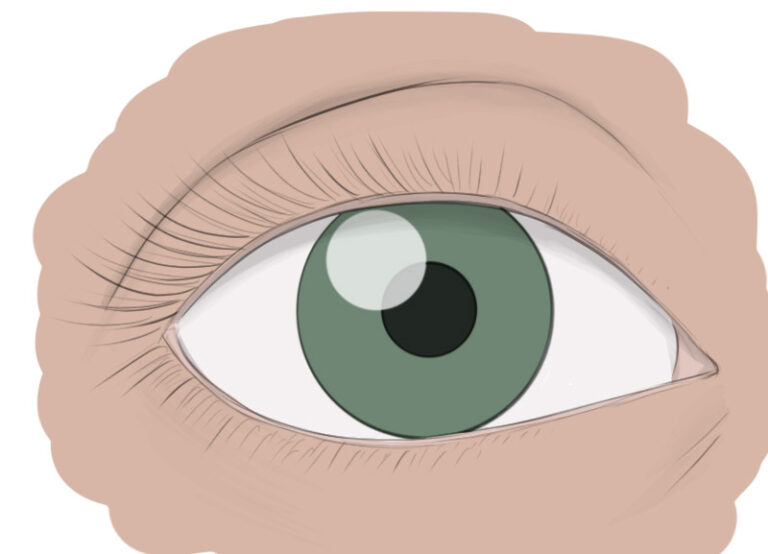
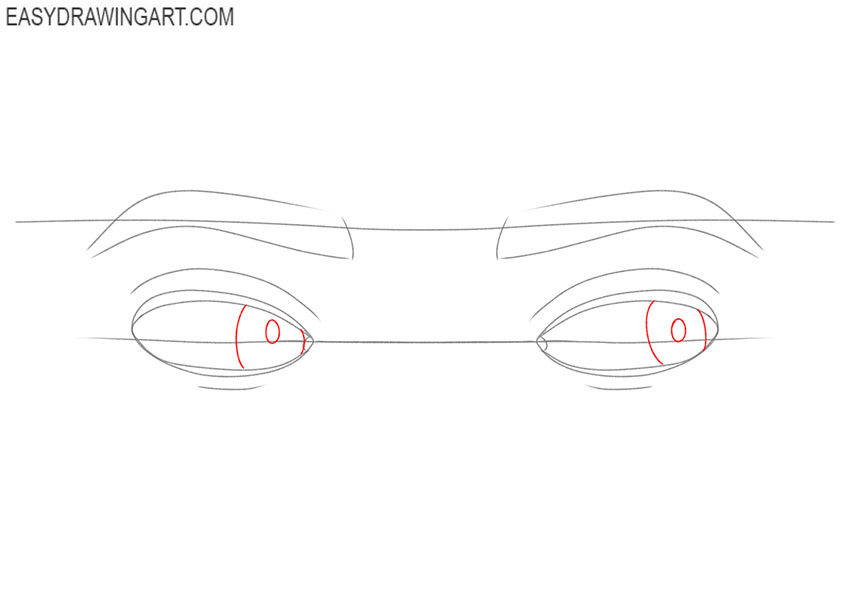
- Sketch out the iris and pupils.
With the help of smooth curved lines depict the iris in each eye and inside draw the pupil, which has an oval shape.
- Mark the location of the eyelashes.
Continue adding the eye elements. On the upper and lower eyelids, successively draw the eyelashes using small, curved lines.
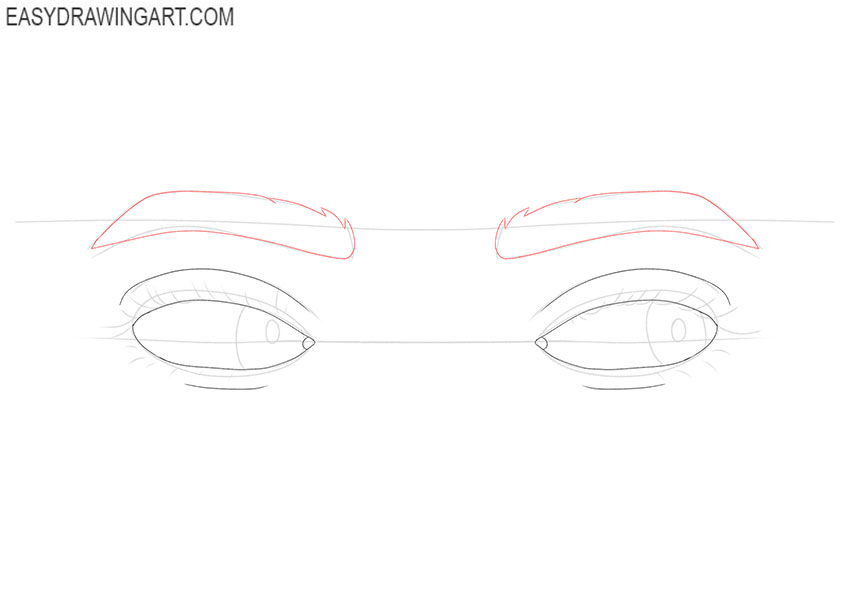
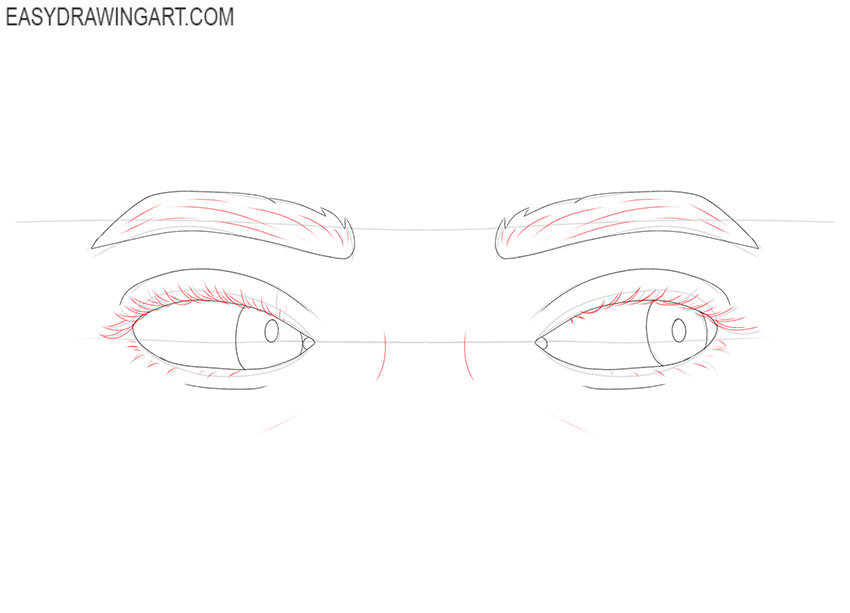
- Give the eyebrows the right shape.
Carefully circle the eyebrows along the contour, giving them the correct shape. Use short strokes to define individual hairs on the eyebrows to make them more realistic.
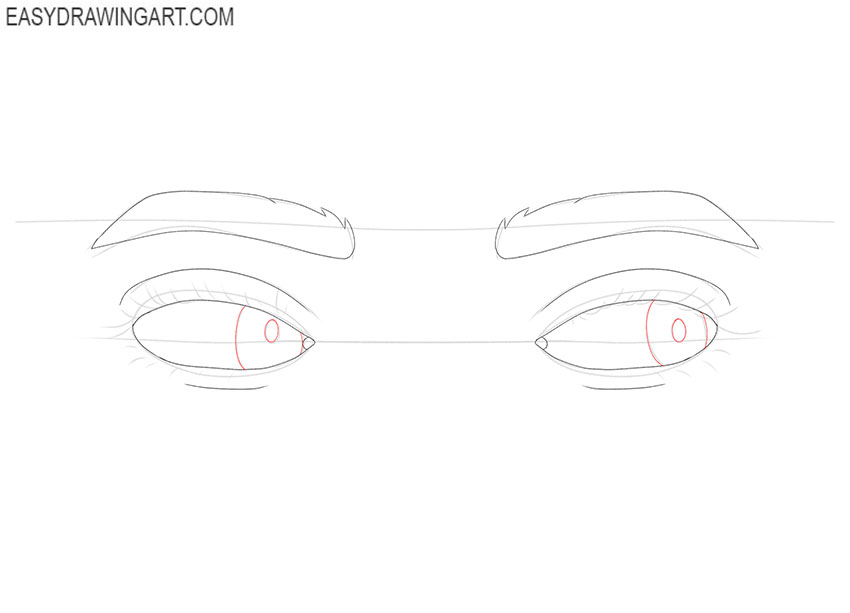
- Make a clear outline of the iris and pupils.
Keep tracing the drawing and give it a more expressive look. And in this step, carefully outline the irises and pupils in each eye.
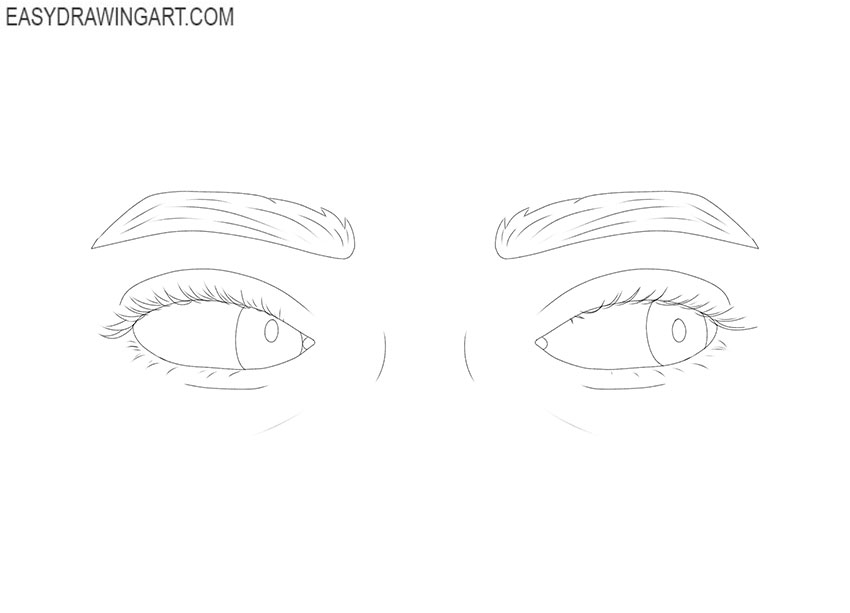
- Detail the eyebrows and eyelashes.
Add the small hairs on the eyebrows and make the eyelashes thicker and fuller using short, curved strokes.
- Correct inaccuracies.
Look at the drawing and correct any mistakes you see. Using the eraser, carefully remove all extra lines.
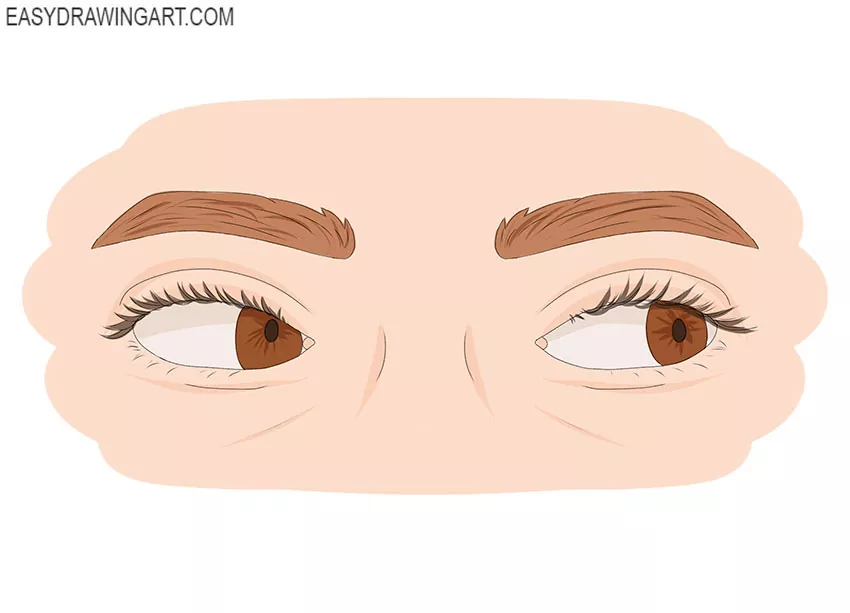
- Color the drawing.
Use any natural shades to color the skin, eyebrows, and eyelashes. You can color the iris in brown. Highlight the dark areas.

We hope that you have memorized all the drawing steps and will be able to repeat them if necessary. We recommend that you follow the other lessons presented on this site in order to learn how to draw eyes from different angles.