How to Draw Elsa
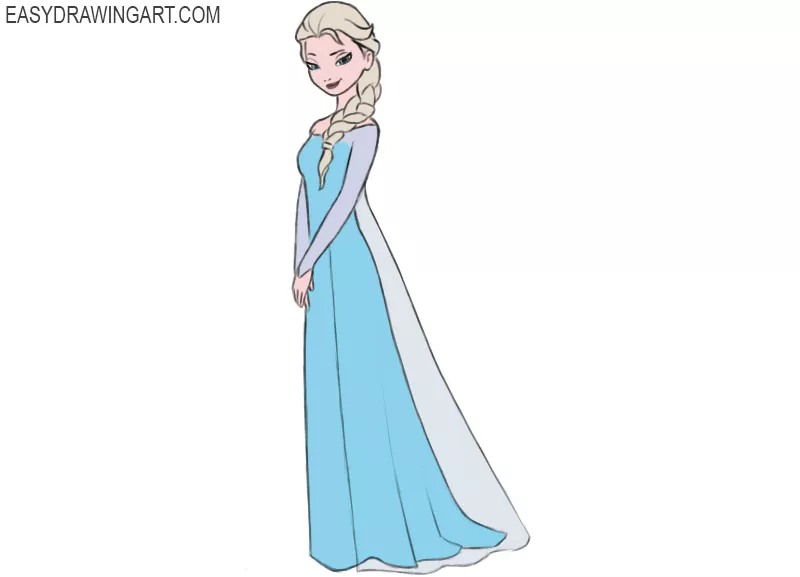
If you enjoyed Disney’s Frozen, you’ll probably recognize this character right away. In this tutorial, you’ll learn how to draw Elsa, the Queen of Arendelle, who has the magical ability to create snow and ice.
Elsa appears reserved and calm, but she is also kind and deeply emotional. In this drawing, she holds her hands together, tilts her head slightly, wears a gentle smile, and has her thick braid resting over one shoulder.
Pay close attention to the facial features to make Elsa look more recognizable. Step by step, you’ll draw Elsa in a graceful pose.
Time needed: 1 hour
How to Draw Elsa
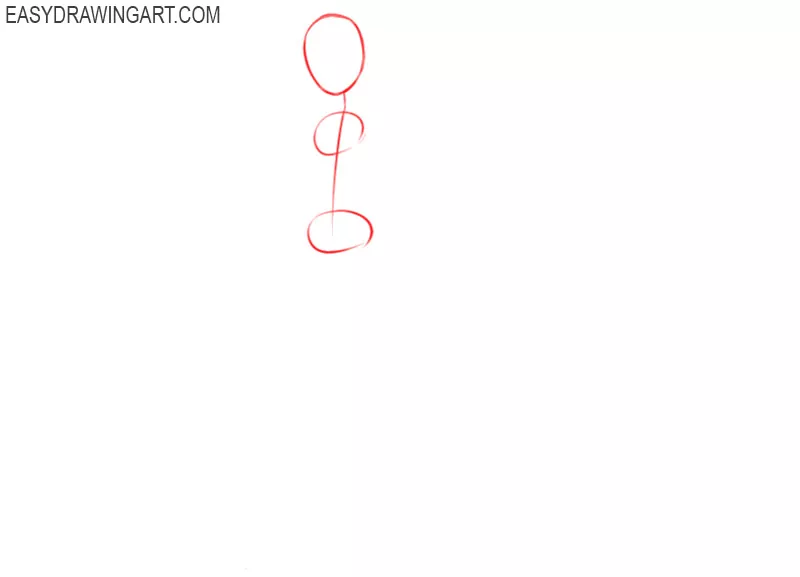
- Draw the base.
Using thin lines, draw a vertical axis and three oval shapes to define the location of the head, thorax, and pelvis.

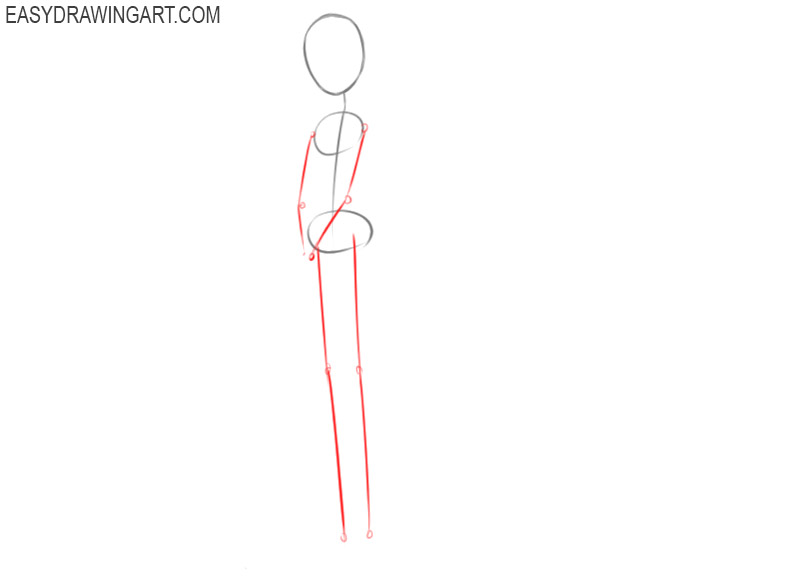
- Determine the position of the arms and legs.
Draw a few thin straight lines that will help in the future to properly position the arms and legs. Draw the joints as large dots.
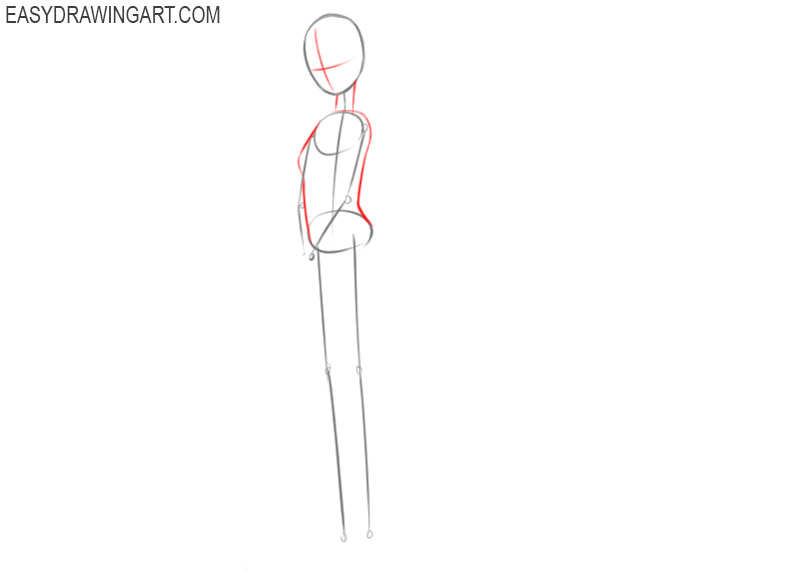
- Depict the outline of the torso and markings on the head.
Draw smooth lines between the thoracic region and the pelvis, add the neck and draw transverse lines on the head, which will help to correctly position the elements of the face.
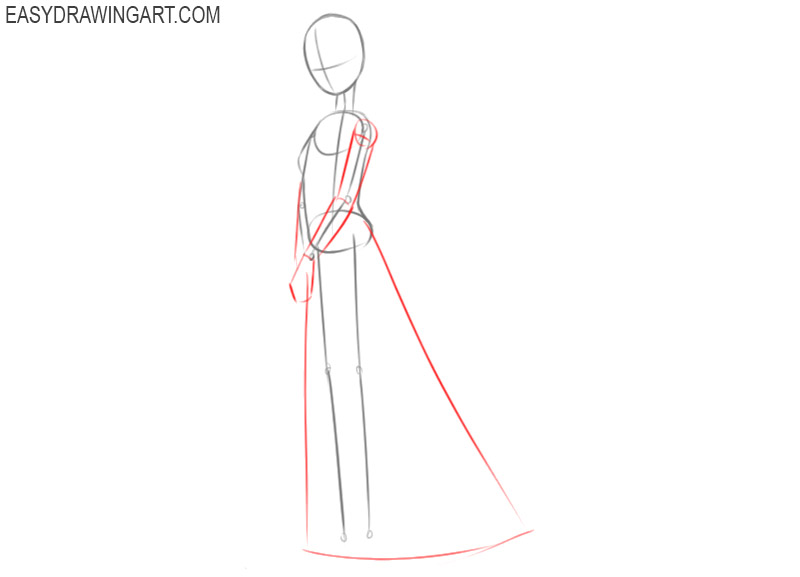
- Add the outlines of the arms and dress.
Use guidelines and add thickness to the arms. Draw smooth lines down to depict the long dress.
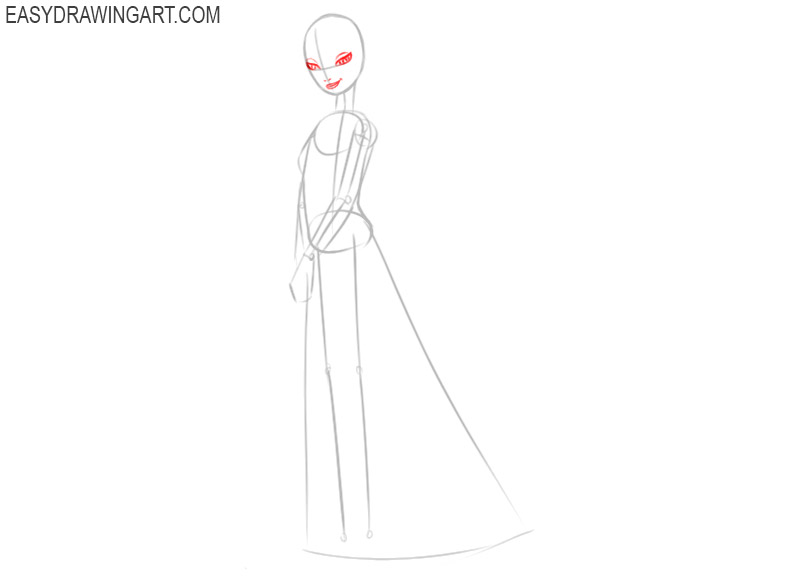
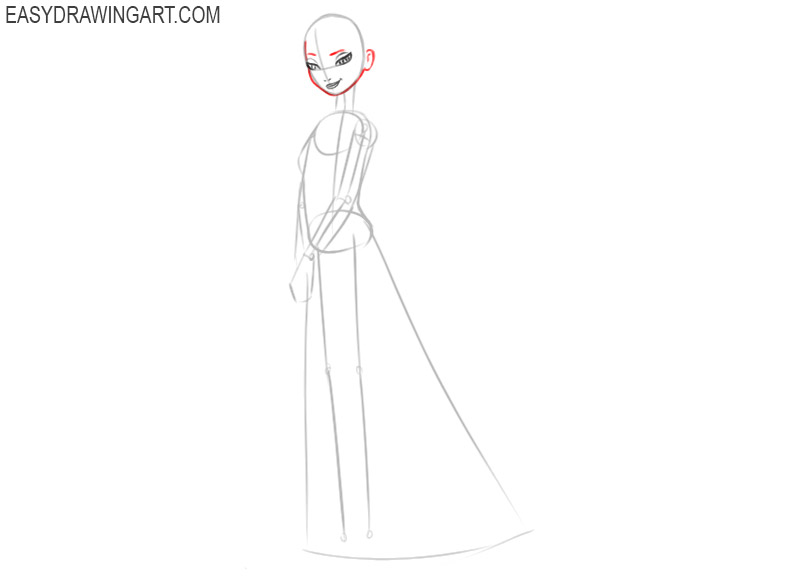
- Sketch out the elements of the face.
Depict the eyes in the same shape as in the example, add two dots to represent the nasal openings, and add the lips.
- Draw the eyebrows and the rest of the contours.
Depict the small eyebrows above the eyes using two short lines. Make the oval of the face more clear and add an ear on the side.
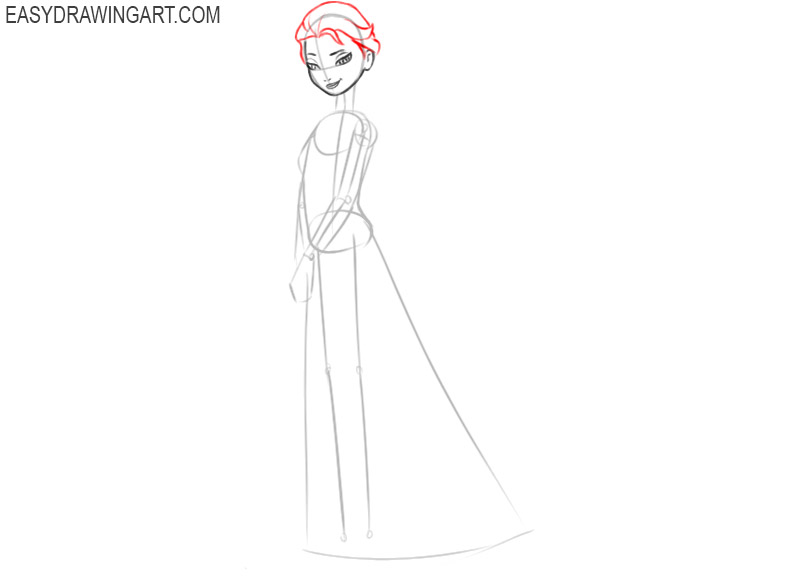
- Add some of the hair.
Use smooth lines to draw the hair on top. Depict one small strand of hair above the forehead.
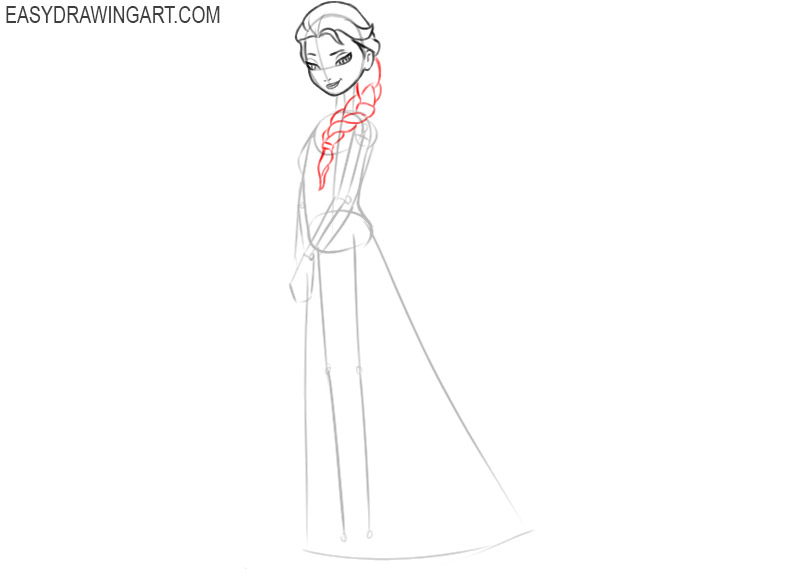
- Depict the braid.
This step will require special attention from you, because you must correctly depict the hair woven into the braid. The scythe has a wide base and gradually tapers downwards.
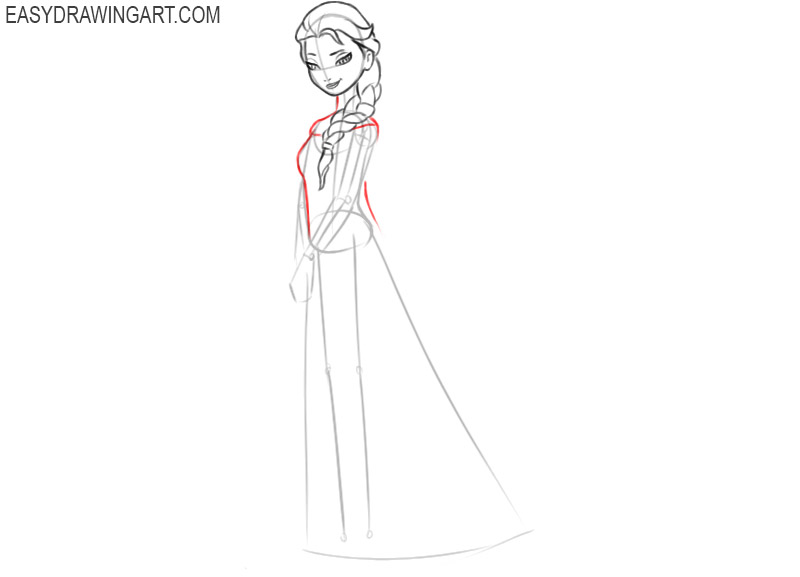
- Sketch out the top of the clothes.
Let’s get down to a more detailed drawing of clothes. Use the lines you drew in the previous steps to draw the top of the dress.
- Draw the arms.
In this step, use the lines you drew earlier and make a clear outline of the sleeves. At the bottom, add the hands in the same position as in the example.
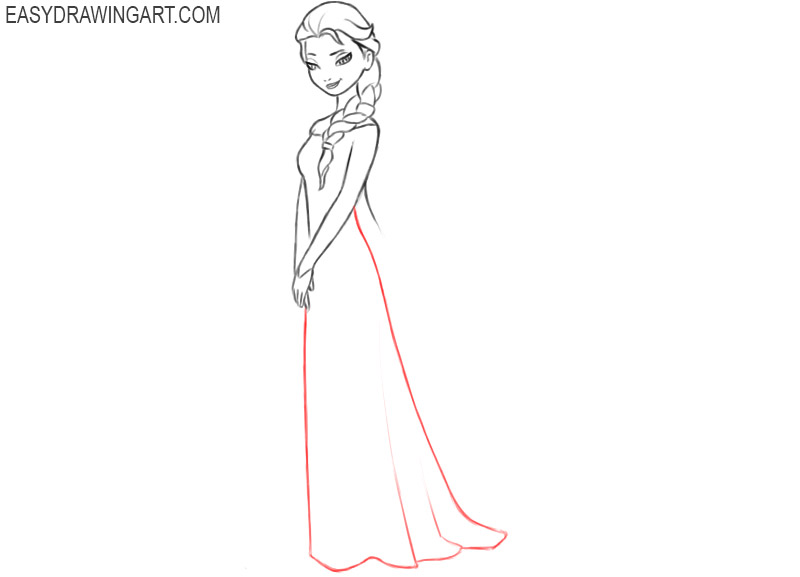
- Add the bottom of the clothes.
Give the desired shape to the bottom of the dress. To do this, circle the sides along the contour and add the few folds at the bottom.
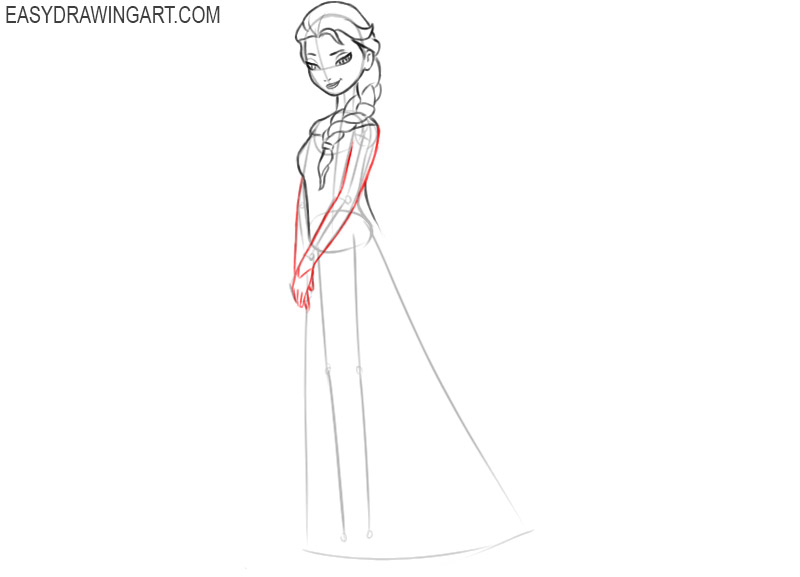
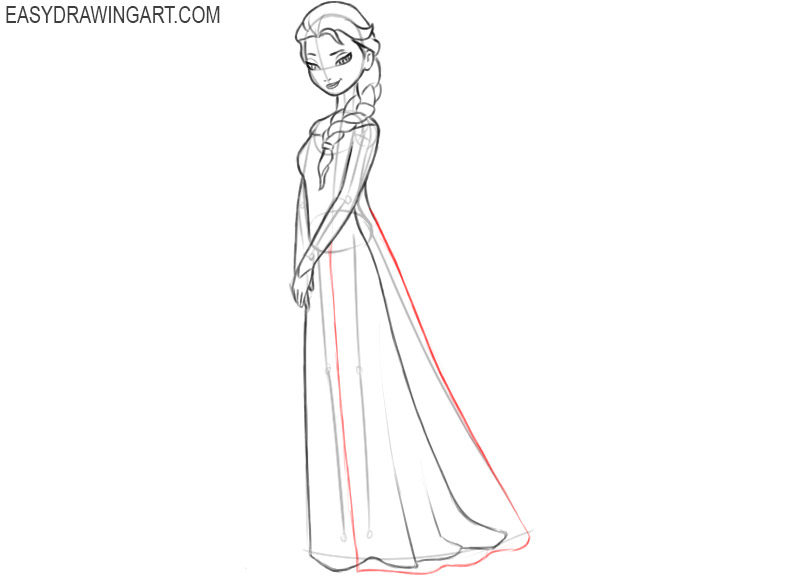
- Draw the cape.
On top of the dress, depict the cape using a few smooth lines. The cape protrudes slightly beyond the contours of the dress from the bottom and side.
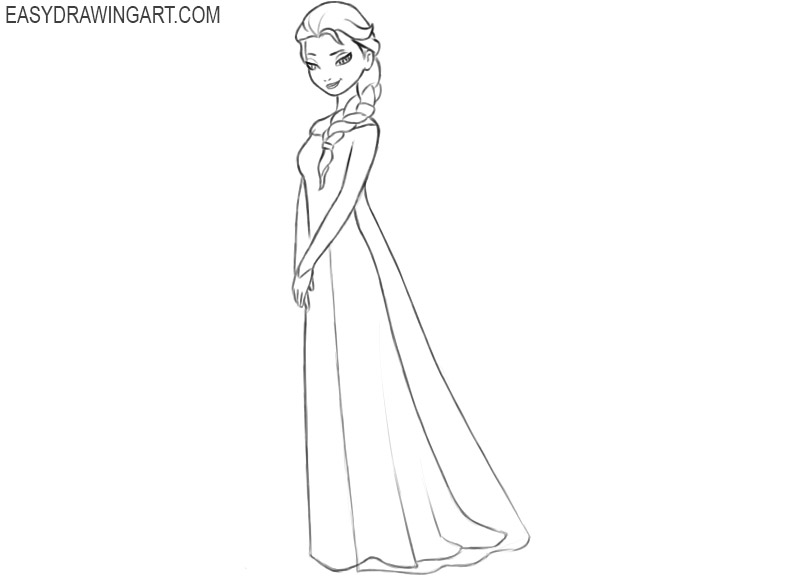
- Erase extra lines.
It’s time to evaluate your drawing and correct inaccuracies, if any. Carefully remove thin auxiliary lines and leave only the main contours.
- Color the drawing.
We recommend that you use several light shades of blue, gray, and beige. As a result, Elsa should look elegant and gentle.
Finally, you have gone through all the stages of drawing and learned how to draw another popular cartoon character. Write in the comments who you would like to draw in the next lessons. When creating new lessons, we always take into account your opinion.