How to Draw Deadpool
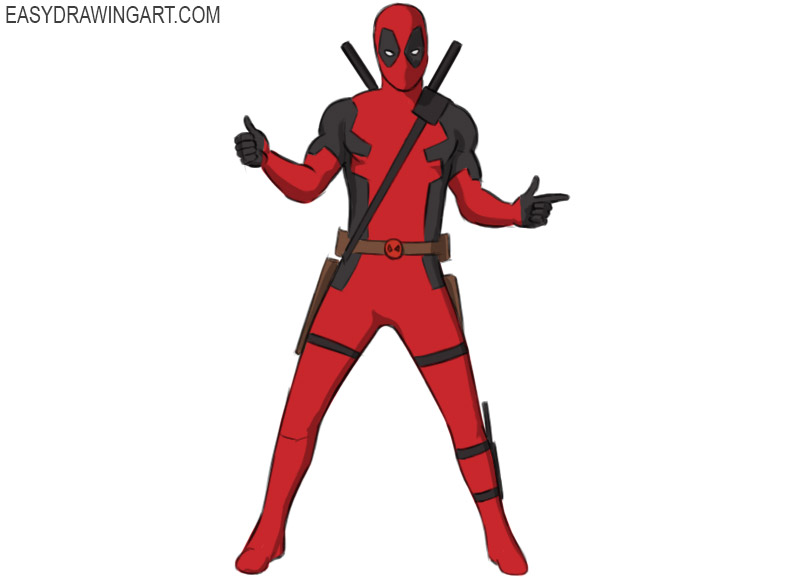
This superhero is one of Marvel Comics’ most popular characters. In this tutorial, you will learn how to draw Deadpool while getting more practice drawing the human figure.
By the end of the tutorial, you’ll have a finished drawing of Deadpool standing in his classic costume with crossed swords on his back.
Time needed: 1 hour
How to Draw Deadpool
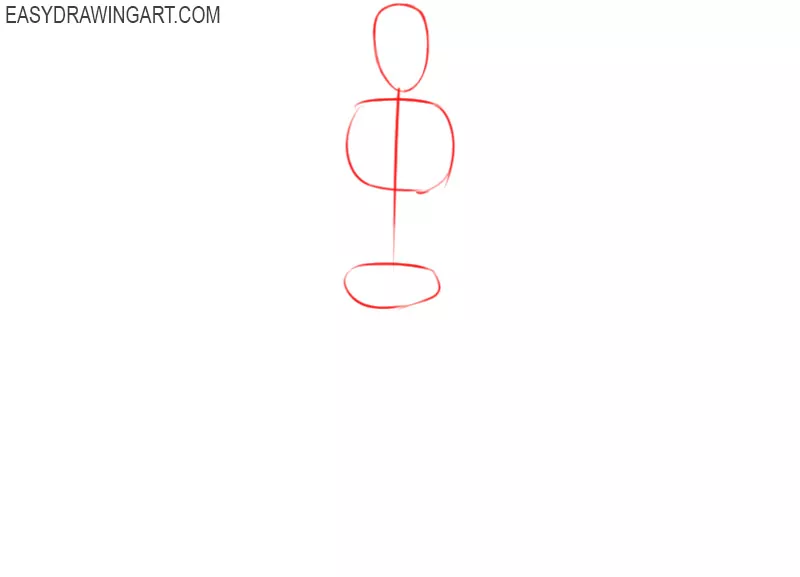
- Draw the base.
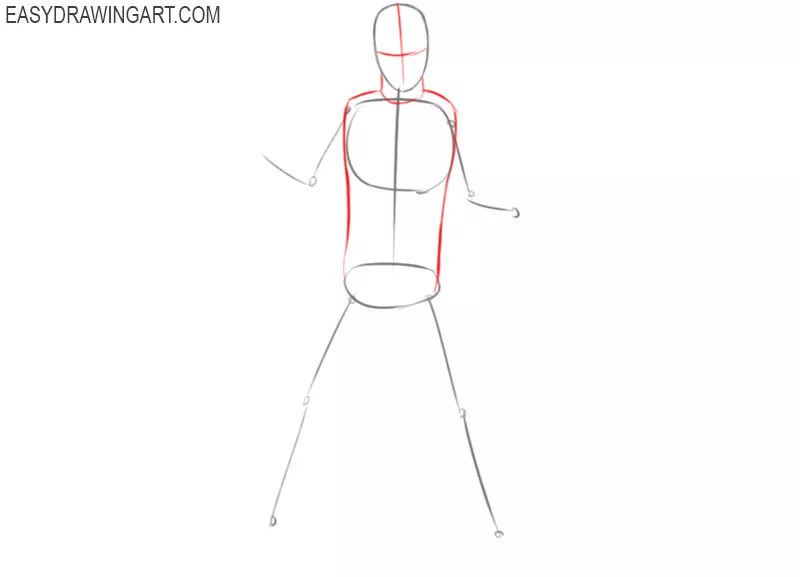
As usual, start the lesson by marking the main parts of the body. Draw three oval shapes to define the position of the head, chest, and pelvis.

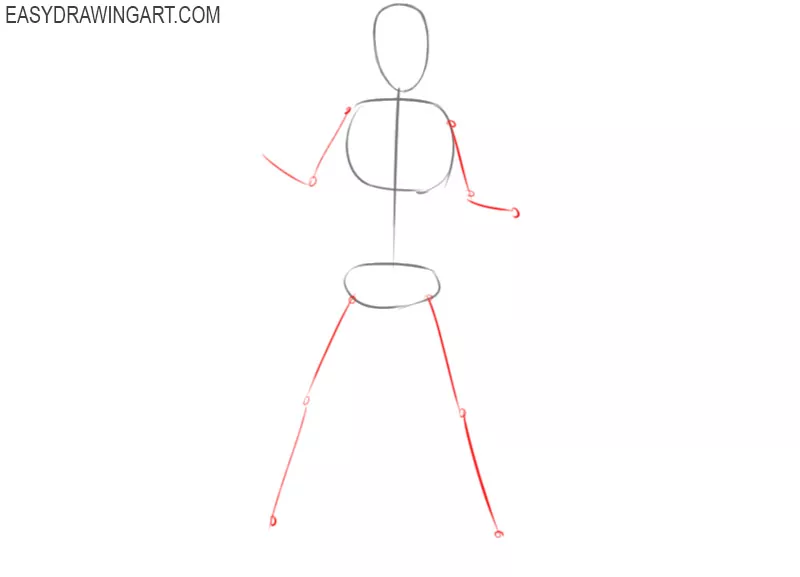
- Determine the position of the limbs.
With simple thin lines, mark the position of the arms and legs. Mark the places of the folds in the form of large dots.
- Define the contour of the torso and make markings on the head.
Draw connecting lines between the thoracic region and the pelvis. Draw the shoulders, draw the neck in the form of a cylinder and draw two transverse lines on the head.
- Sketch out the arms.
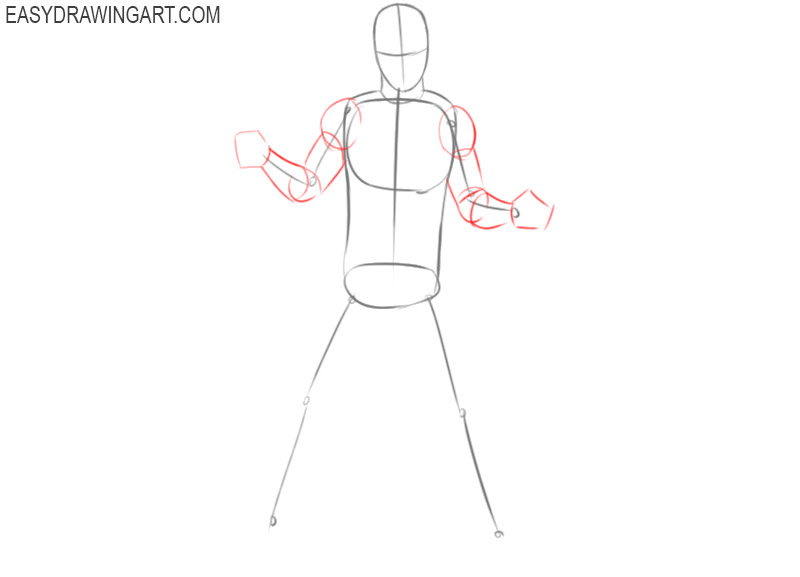
Use the guidelines and give the arms the necessary thickness. To do this, draw several round and cylindrical shapes.
- Depict the legs.
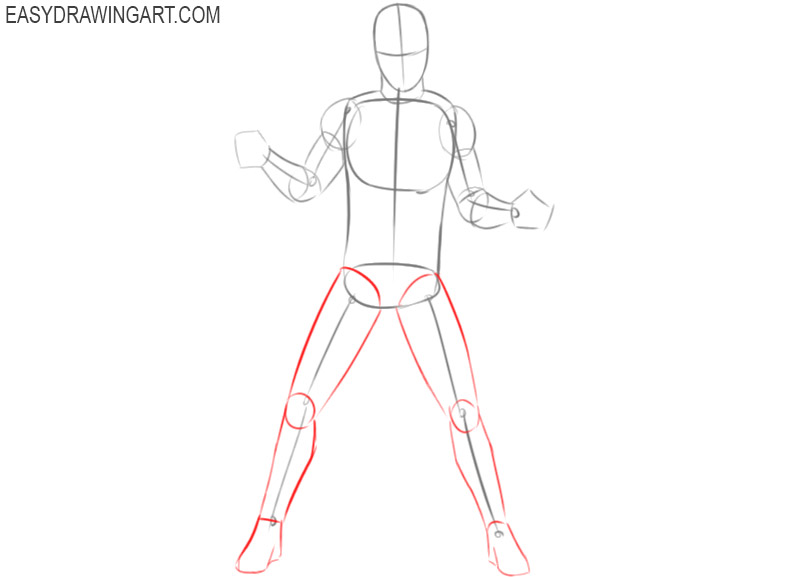
This step is similar to the previous one. Here you also have to give the limbs the necessary shape. Consider all the anatomical features of the structure of the legs.
- Draw the mask on the face.
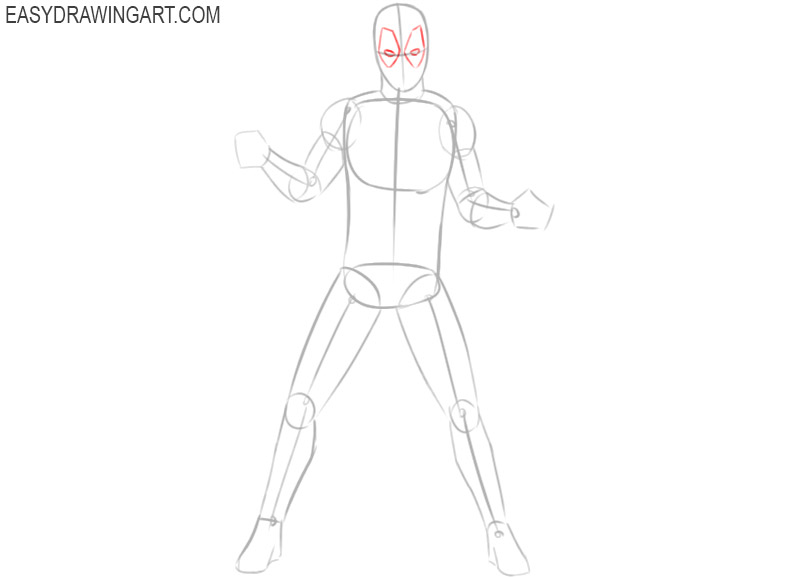
Use the lines you drew earlier as a guide. Draw two holes for the eyes and draw a curly outline around the eyes.
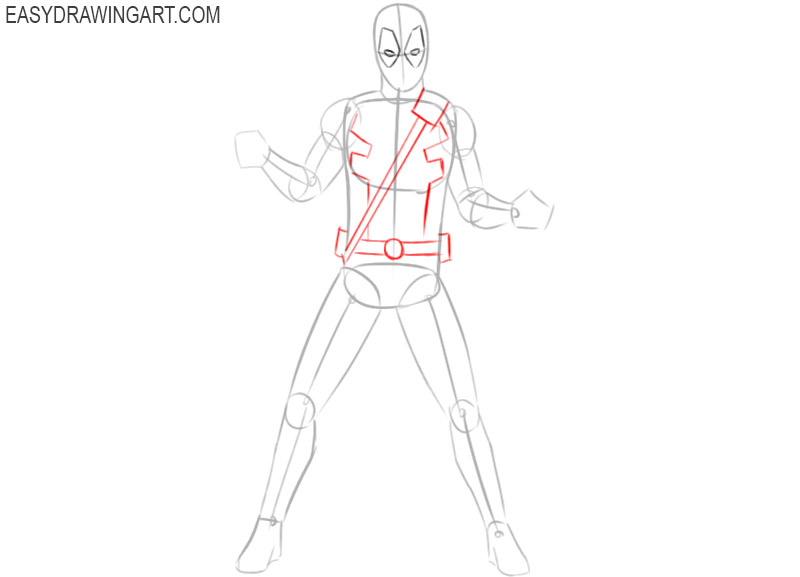
- Detail the costume.
Draw the belt with the round buckle in the middle. On the chest, depict the curly elements on the Deadpool costume. Draw the strap that goes over the shoulder.
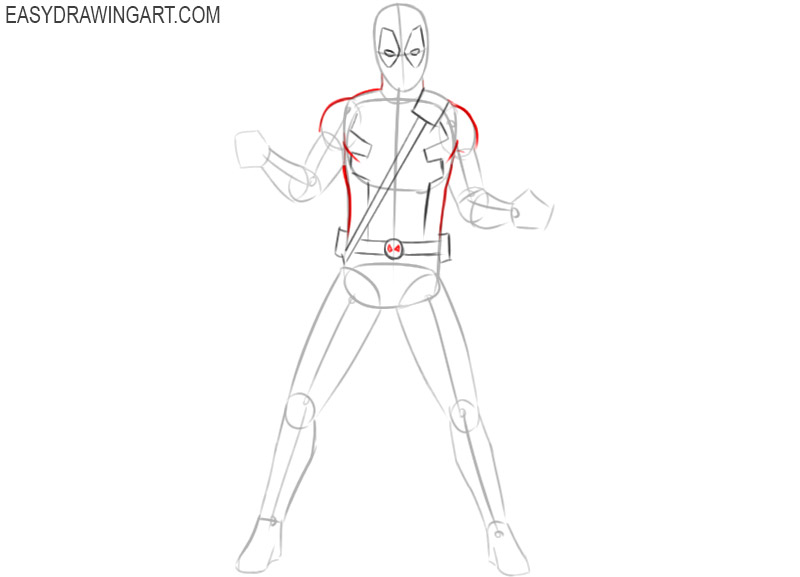
- Detail the contour of the torso and add small elements.
Smooth lines mark the shoulders. Draw straight, clear lines along the sides of the body. Depict the small emblem on the belt.
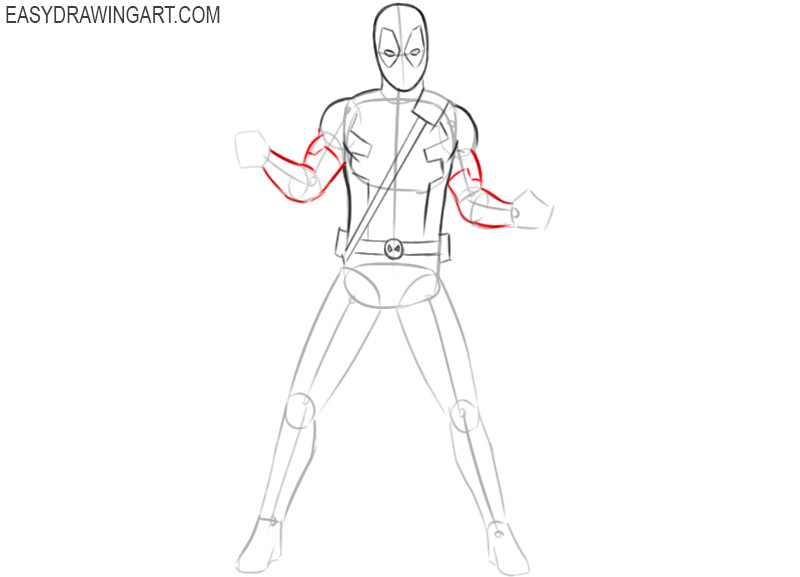
- Sketch out the hands.
Continue drawing the forearms, while using smooth, clear lines. Draw the rest of the arms and outline the outline of the suit.
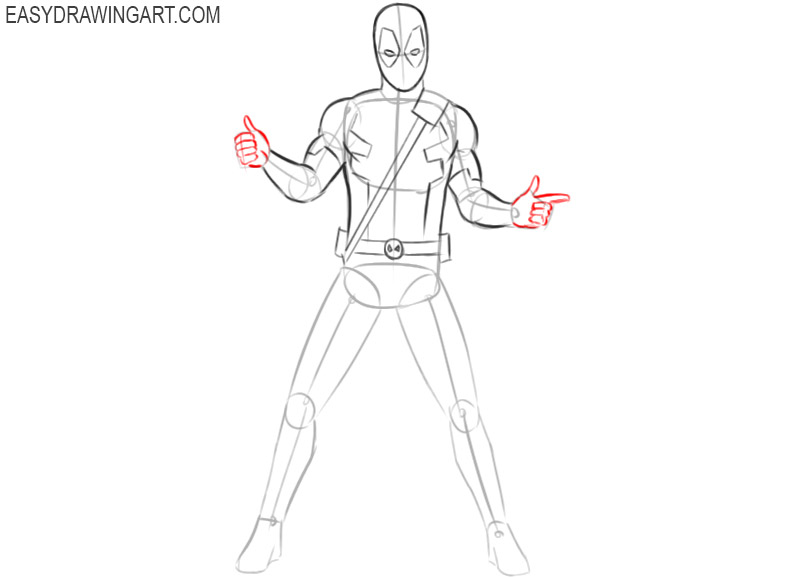
- Draw the hands.
This step will require you to pay special attention, as you must get the position of the fingers correct. Look carefully at the sample and try to draw the same lines.
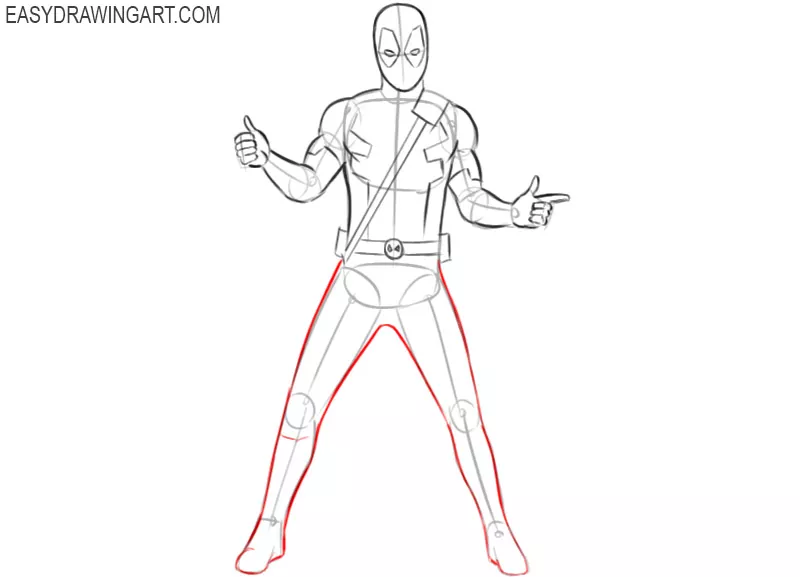
- Depict the legs.
Now you can carefully outline the legs along the contour, giving them the desired shape. Do it very carefully.
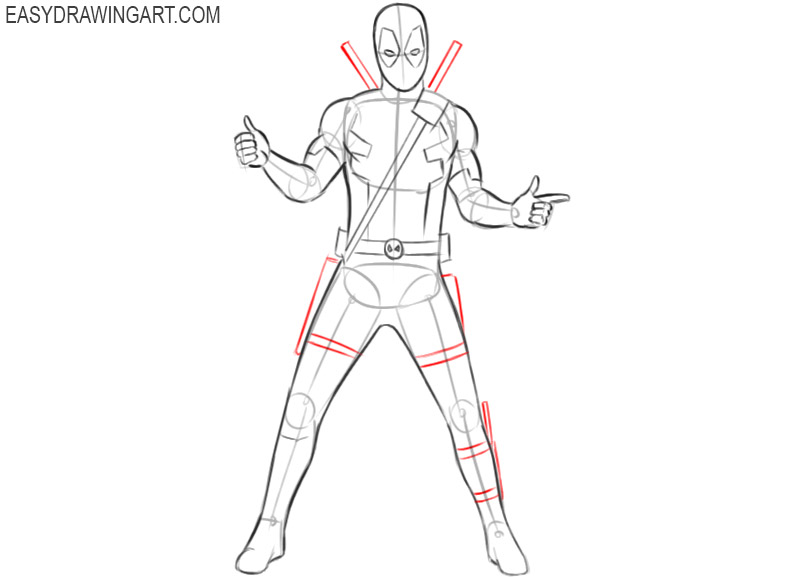
- Sketch out the weapon.
In this step, you have to draw a few elements that have the shape of an elongated rectangle. Some elements are behind the back, others are located on the legs.
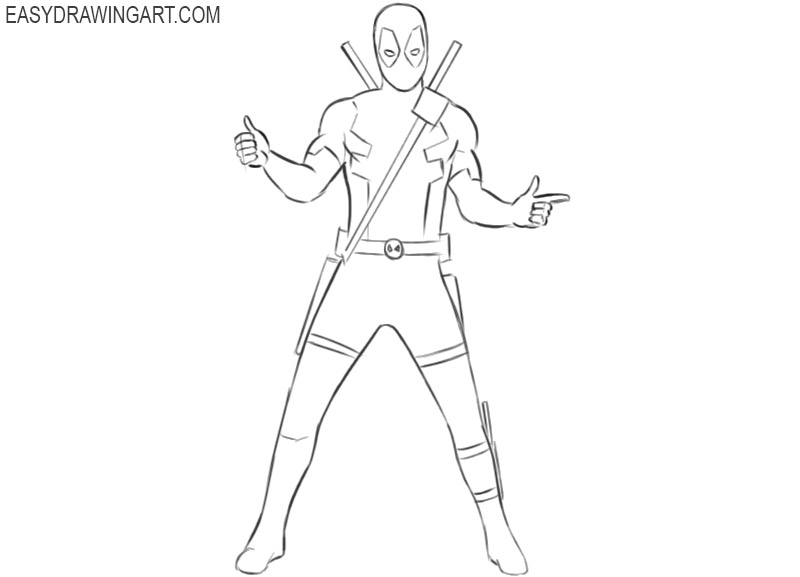
- Correct inaccuracies.
We hope that you have correctly completed all the previous steps, and now you can prepare your drawing for coloring. Delete all unnecessary lines and correct inaccuracies.
- Color the drawing.
For coloring the Deadpool, you will need different shades of red and gray, as well as brown and orange for coloring the belt. Add shadows to make the hero look more realistic.
You have smoothly come to the very end of the instructions, and now you know exactly how to draw Deadpool step by step. We tried to make this step-by-step guide as clear and accessible as possible for you. Now we look forward to your comments. You can also suggest your ideas for the next lessons. We always take into account your opinion and are ready to consider any proposals.