How to Draw Crossed Arms
Arms can look very different depending on their position. This tutorial will show you how to draw crossed arms step by step.
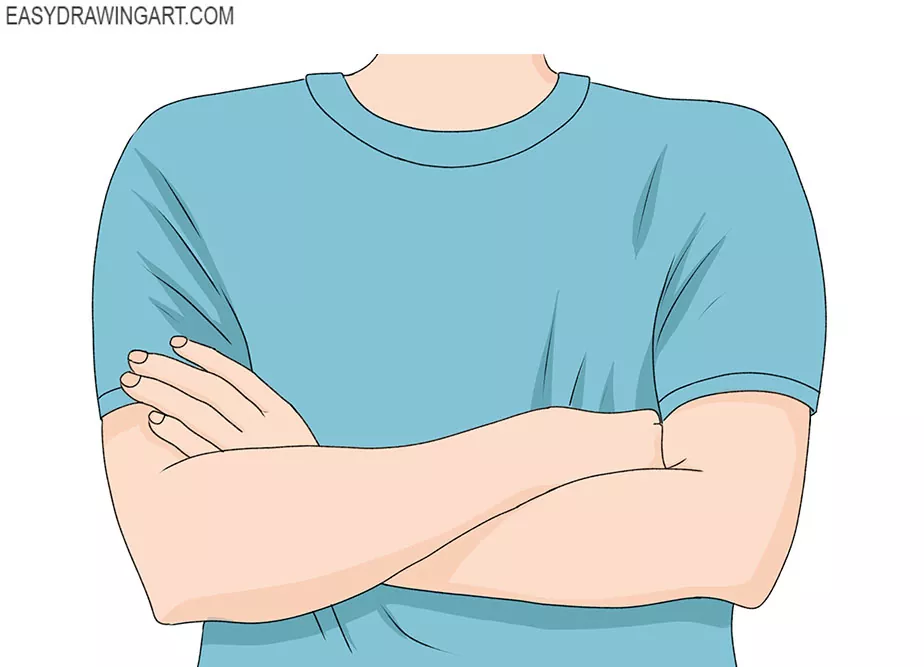
The picture shows a pair of arms folded across the chest. You’ll draw this common pose by building the basic shapes first and then adding the final details.
Time needed: 1 hour
How to Draw Crossed Arms
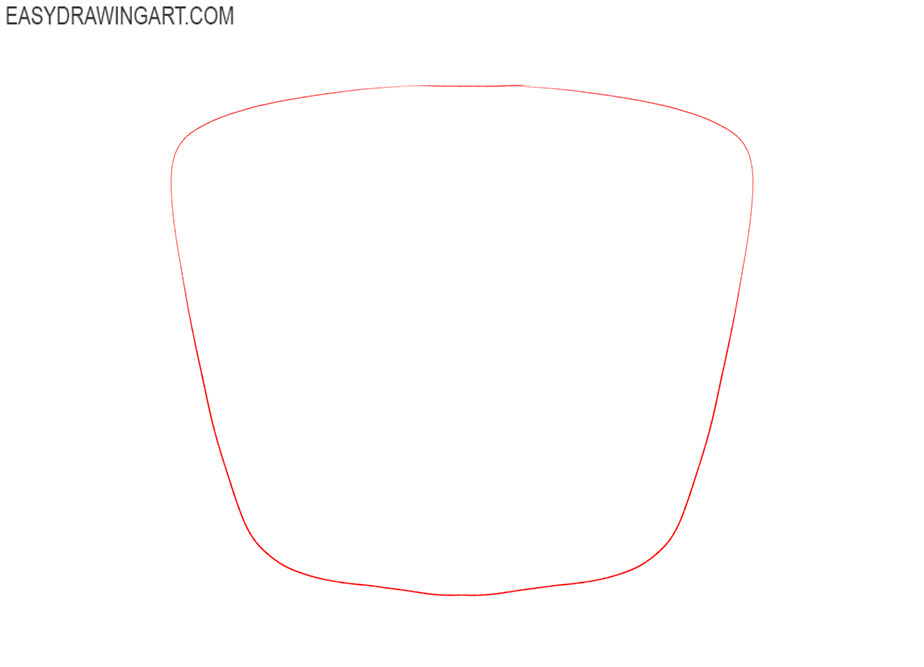
- Draw the torso of the body.
First, outline the boundaries of the shoulders, the sides of the torso and the belt. To do this, draw a trapezoid shape with rounded corners.

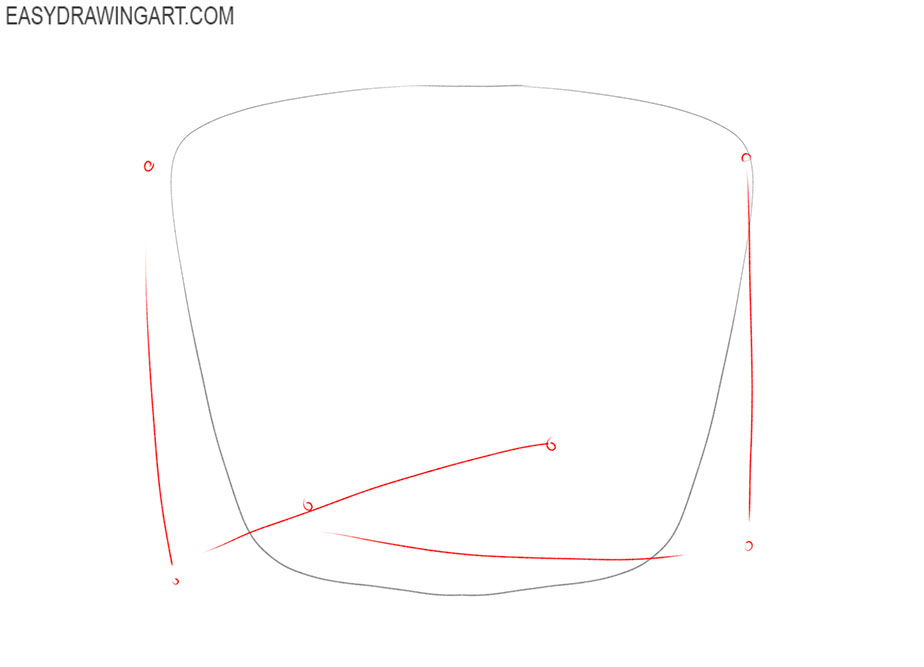
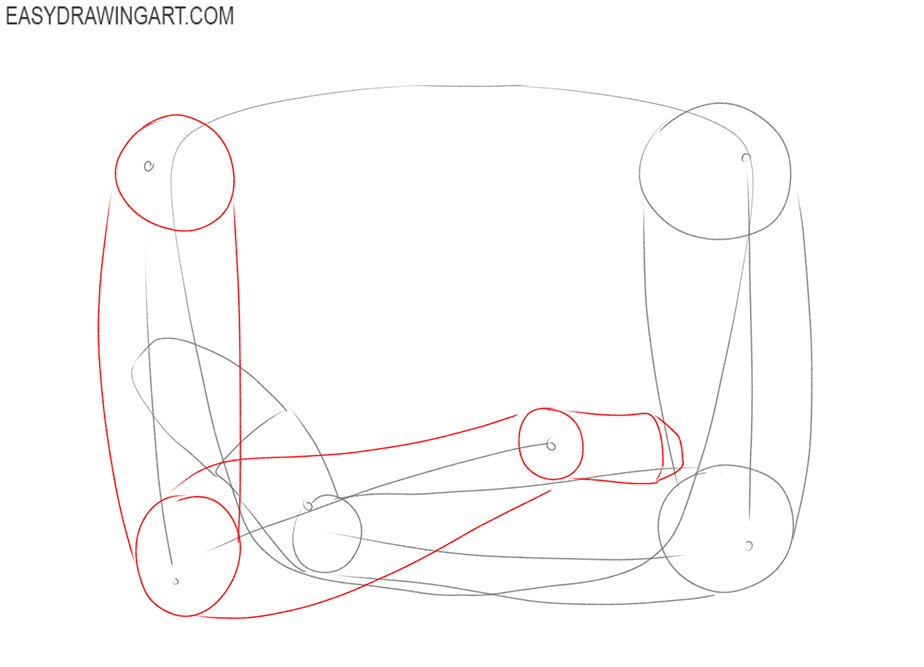
- Mark the position of the hands.
With the help of several thin lines depict the forearms and the rest of the arms. Mark the joints as small circles.
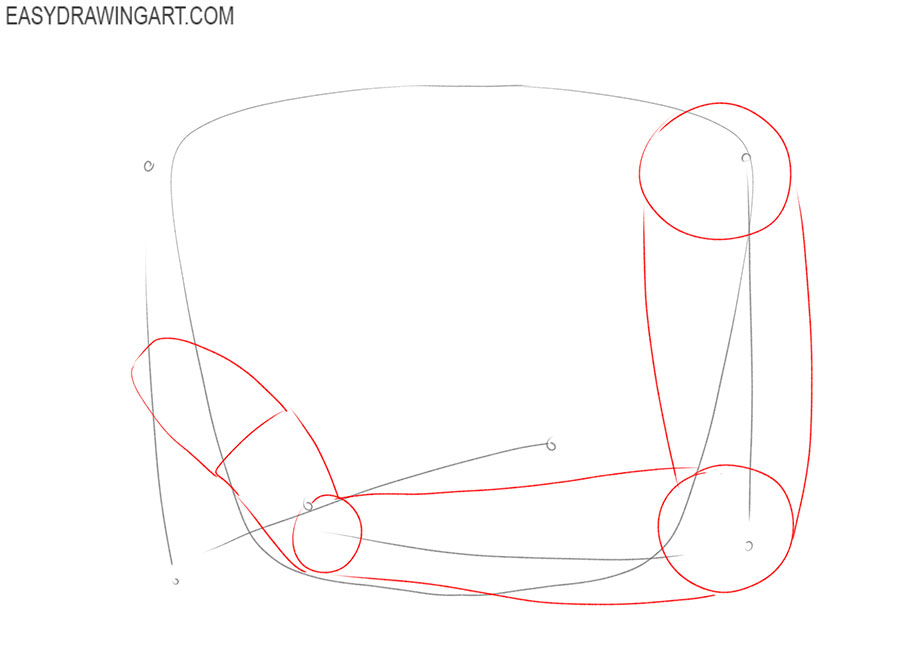
- Depict the thickness of one arm.
Add the joints as circles and add connecting lines between the joints to give the arms the necessary thickness. Then add the hand.
- Sketch out the thickness of the other hand.
Follow the same steps as in the previous step. Make sure to correctly depict the position of this hand.
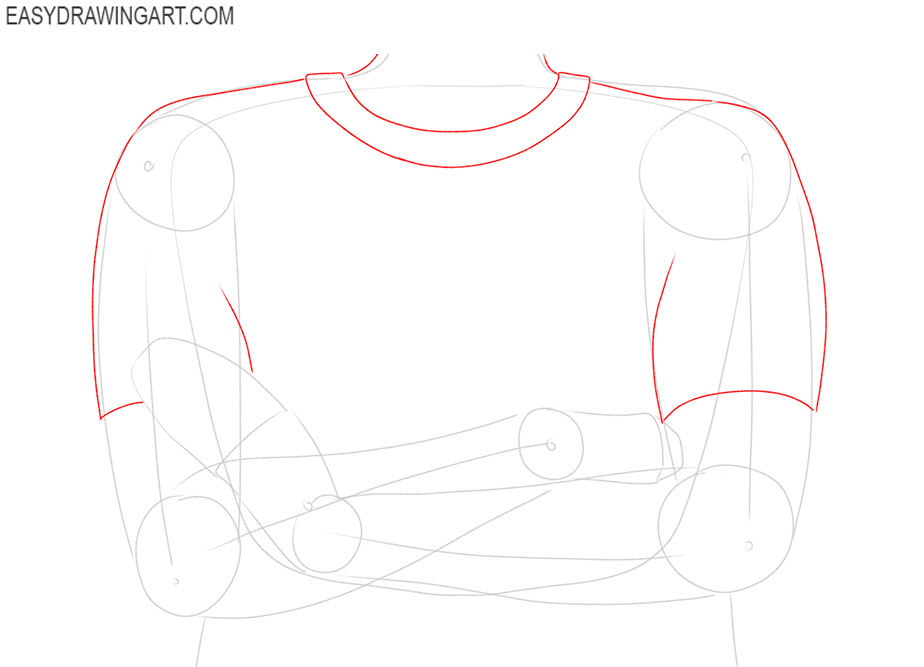
- Add the rest of the body contours.
With the help of smooth lines depict the shoulders and the visible part of the neck. At the bottom, add two vertical lines to depict the side contours of the body.
- Draw the clothes.
Make the outline of the neck clearer. Draw the outline of the T-shirt with smooth lines and add the collar that has a rounded shape.
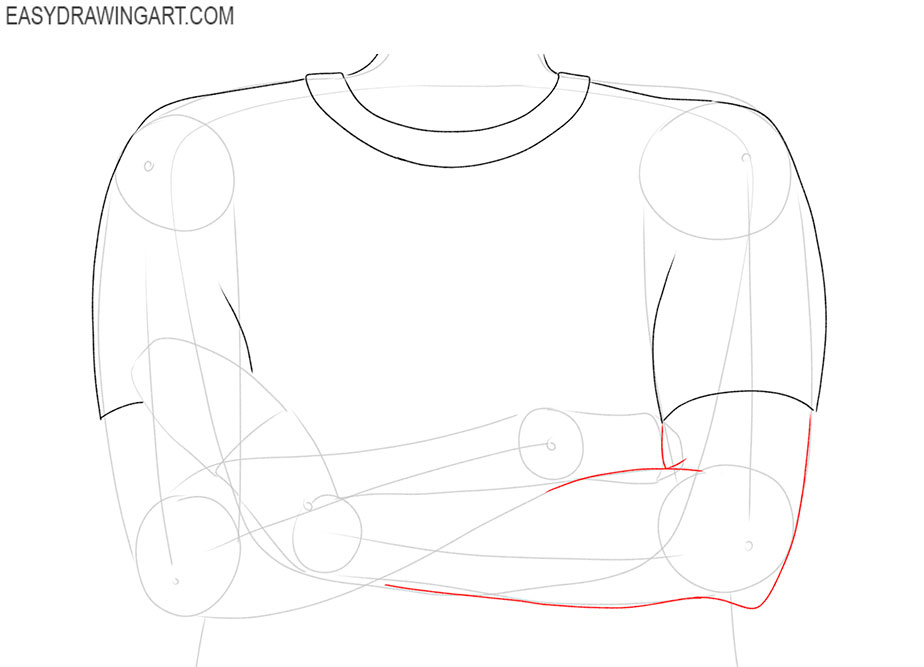
- Depict the outline of one hand.
Use the lines you drew in the previous steps and outline the outline of one arm. Draw the pointed elbow joint from the side.
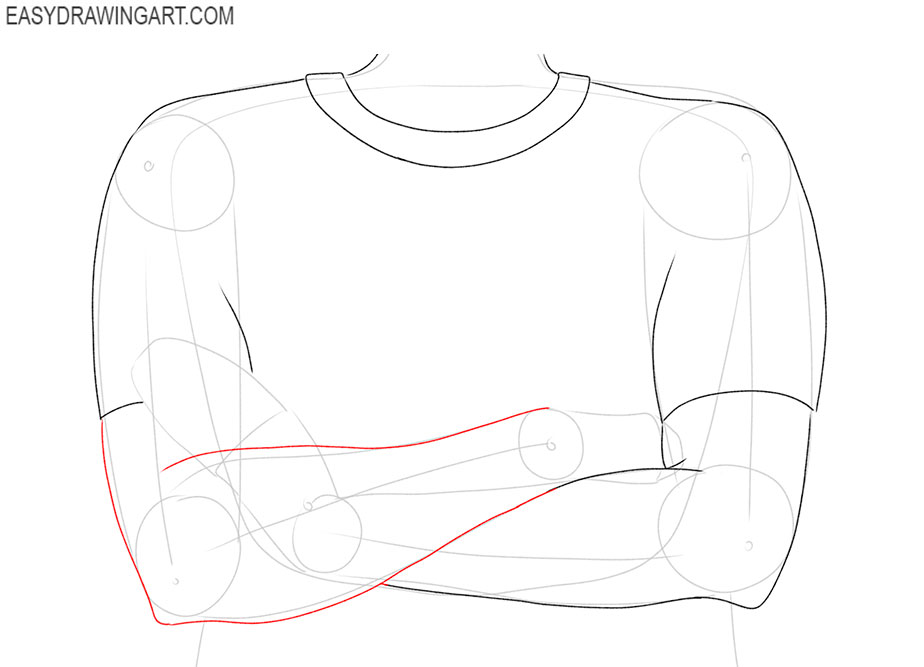
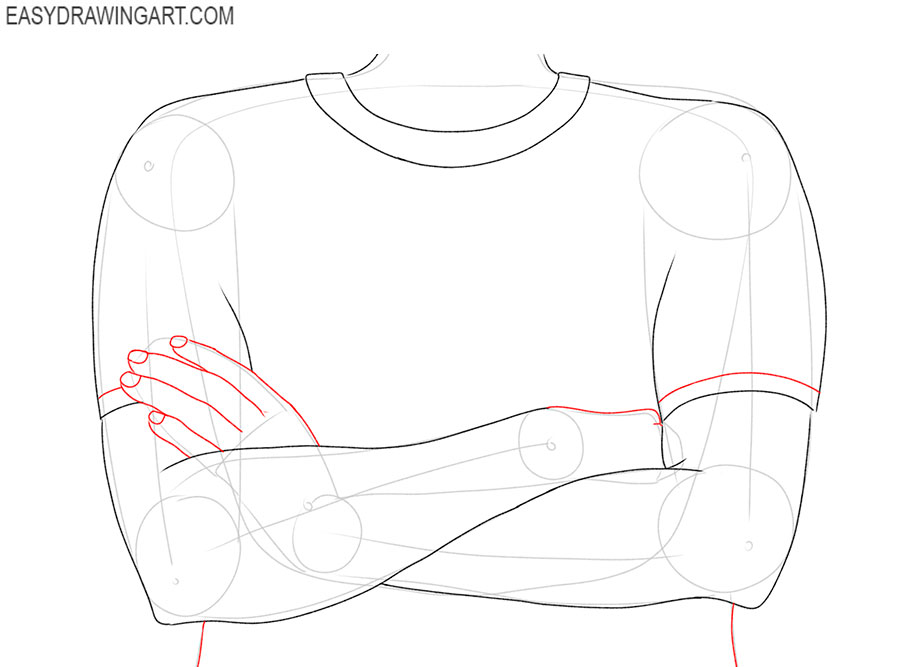
- Add the outline of the other hand.
This step is similar to the previous one. Here you also need to outline the outline of the hand. Give the arm the correct anatomical shape and make the elbow pointed.
- Draw the rest of the elements.
On the sleeves of the T-shirt, draw smooth curved lines. Draw the sides of the torso and draw the hands in the same position as in the example.
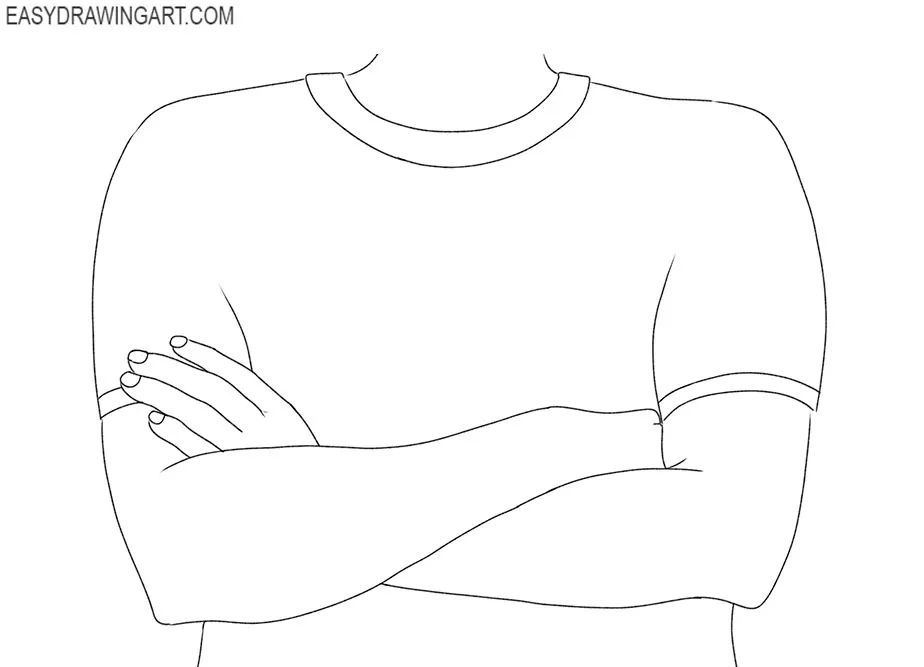
- Remove extra lines.
At this stage, you need to use the eraser to carefully remove the auxiliary lines and leave a clean outline.
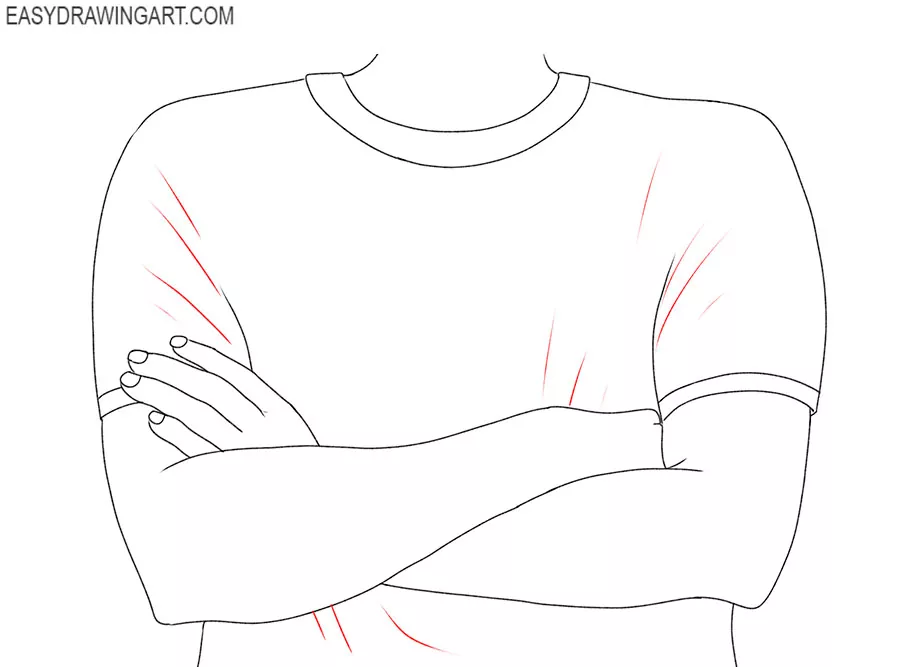
- Add the folds to the clothes.
In order to give the clothes a more realistic look, you need to add some folds. For this purpose, use thin short strokes.
- Color the drawing.
To color the skin, use any natural shade. You can paint clothes in any bright color. Highlight the dark areas to make the drawing look more realistic.

Now you have gone through all the drawing steps and learned how to draw crossed arms. You can use the acquired skills in the future when you want to draw the whole figure of a person. Don’t forget to follow us on social networks.