How to Draw Astro Boy
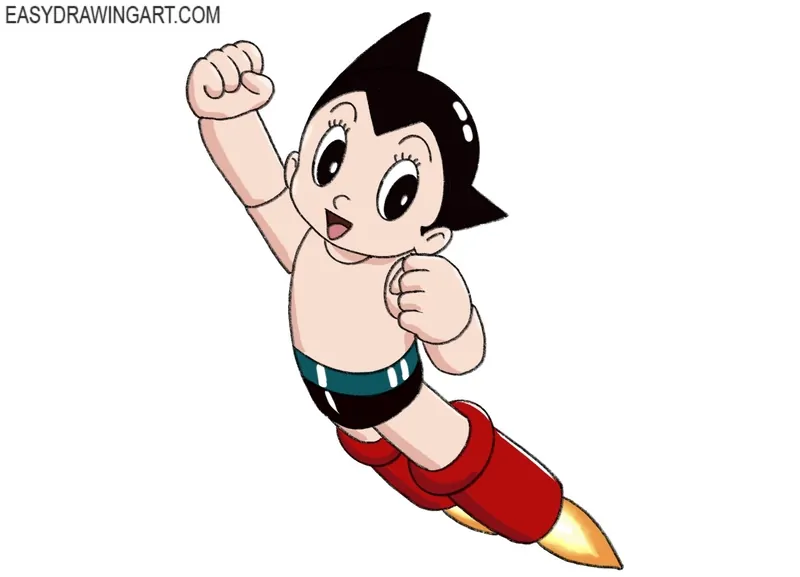
In this simple drawing tutorial, we’ll show you how to draw Astro Boy, or Atom, the main character of the anime and manga series of the same name.
This character has been known since the 1950s, and its design hasn’t changed significantly over time. In the steps of this Astro Boy drawing tutorial, we’ll demonstrate you a simple yet effective way to illustrate the character.
The character is made up of simple lines and shapes, with bold and distinctive colors. We’ll show how to draw Astro Boy in flight, but you can adjust the pose by changing the position of the arms and legs.
How to Draw Astro Boy Step by Step
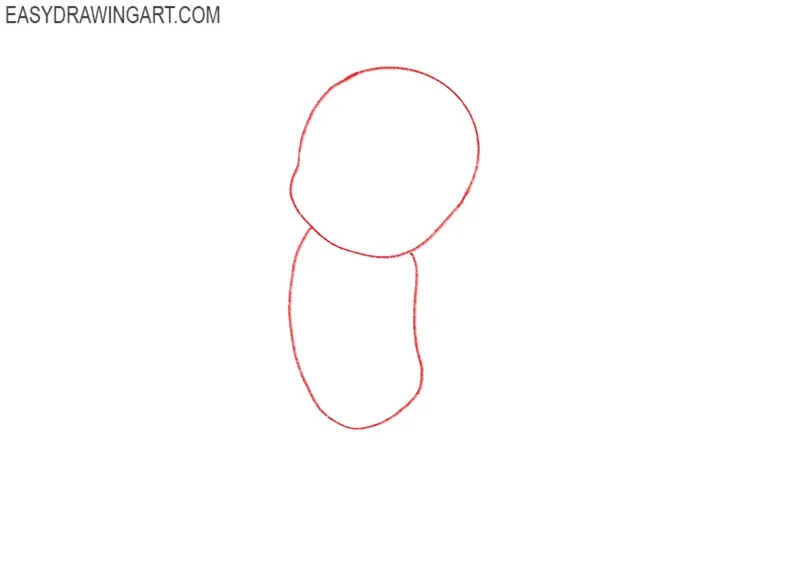
Step 1: Draw the Head and Body Outline
Sketch two rounded shapes – one for the head and another for the body. The body shape should be slightly curved and taper at the bottom. Indicate the shapes of the cheeks with simple curves.
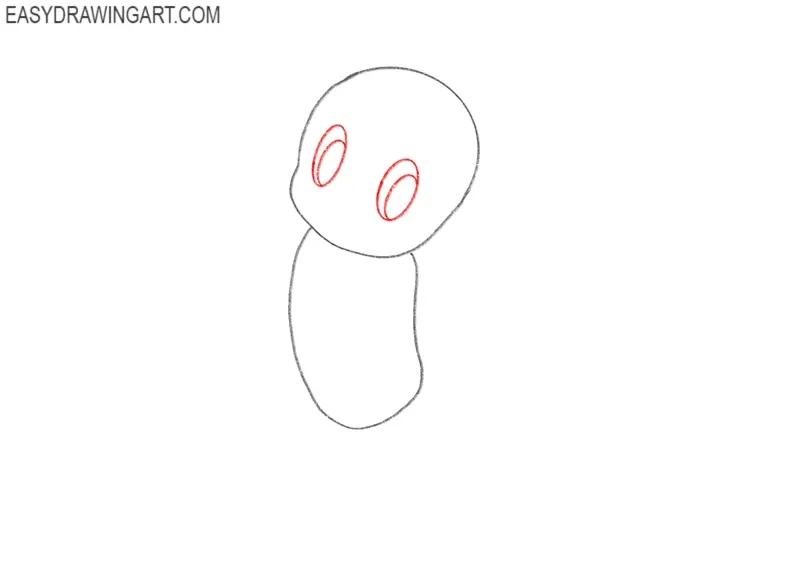
Step 2: Draw the Eyes of Astro Boy
Inside the head, draw two vertical ovals for the outlines of the eyes. After that, draw the shapes of the irises inside them. Try to make the left and right eye as symmetrical as possible.
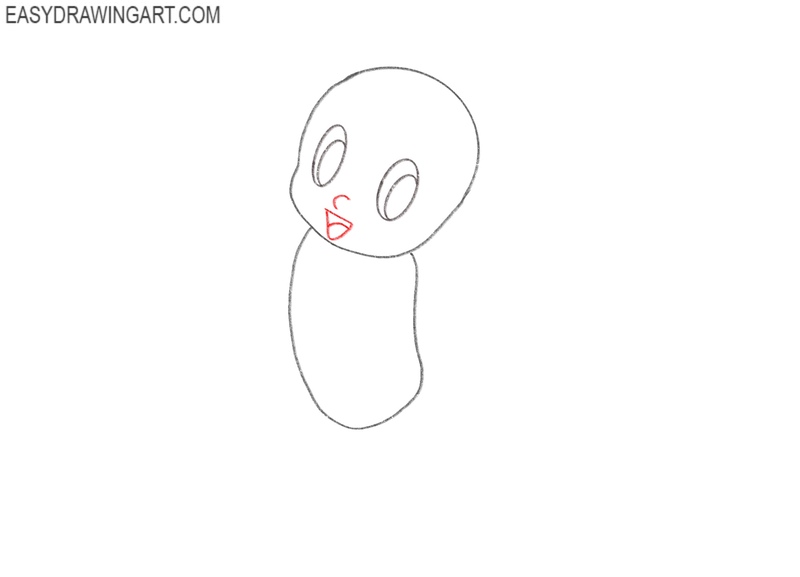
Step 3: Draw the Mouth and Nose
Add a small curved line for the nose and an open mouth below it. The mouth should show excitement while keeping the shape simple. Inside the mouth, sketch a simple short line for the tongue.
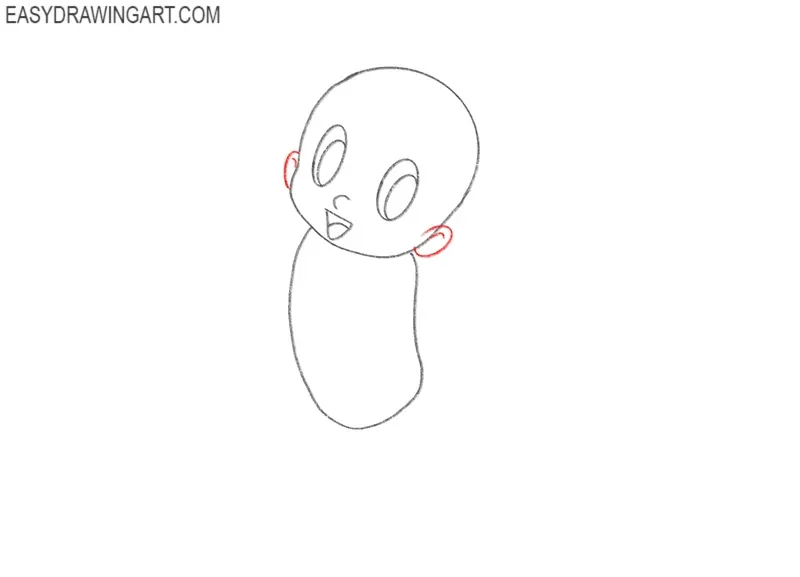
Step 4: Draw Astro Boy’s Ears
On each side of the head, add rounded ears. Align them with the eye level. Since this is a video game character, the ears are positioned unusually low compared to a typical human.
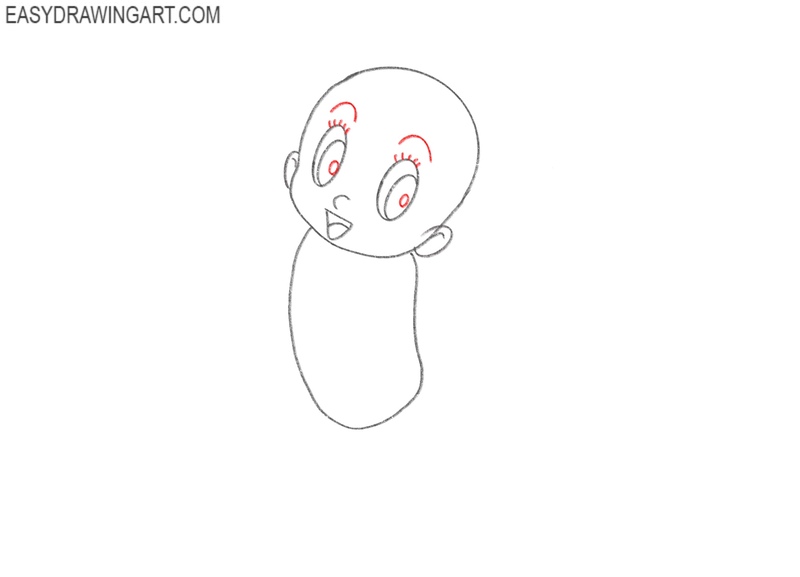
Step 5: Add the Eyebrows and Details
Draw thin, curved eyebrows above the eyes. After that, draw the pupils inside the irises. To complete the eyes of Astro Boy, draw the eyelashes on the top eyelid.
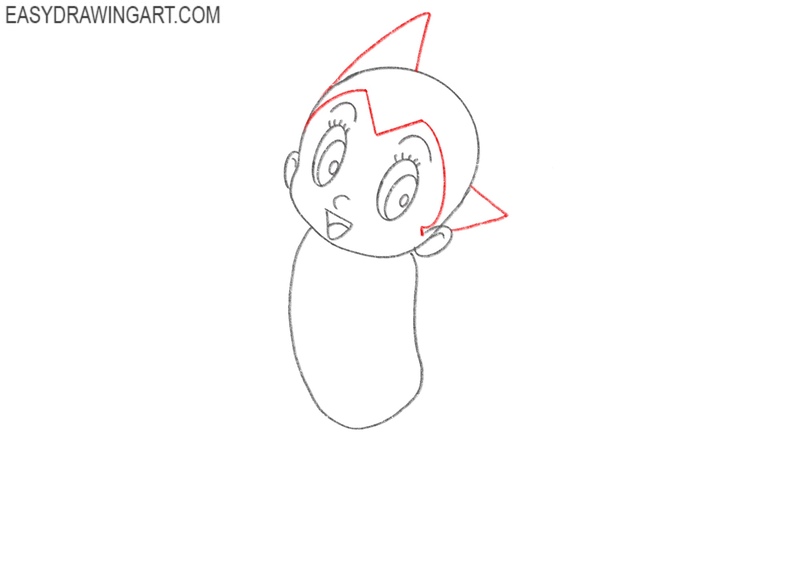
Step 6: Draw the Hair of Astro Boy
Sketch the spiky hairstyle using triangular shapes pointing backward. After that, draw the hair line on the forehead of Astro Boy, using angled shapes.
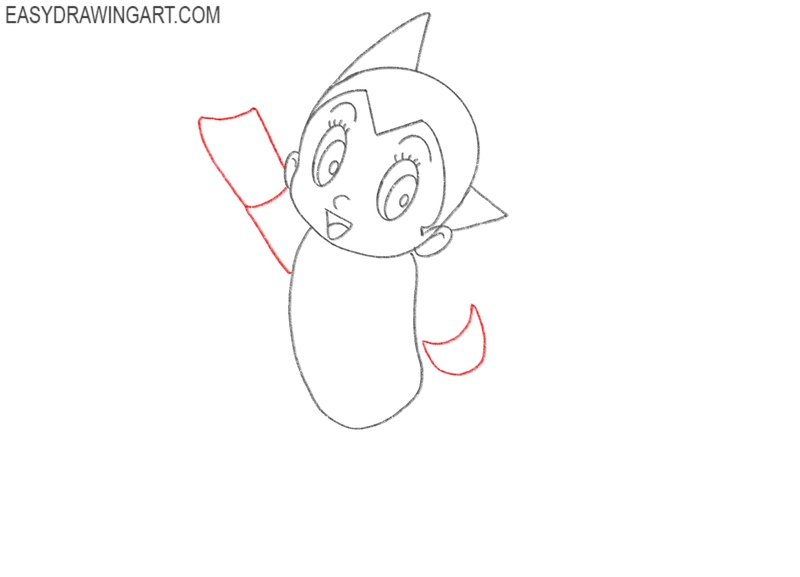
Step 7: Start Drawing Astro Boy’s Arms
Extend a basic shapes for the left and right arms. The left arm of the character should be bent at the elbow. The arms of Astro Boy should resemble toy’s or robot’s arms.
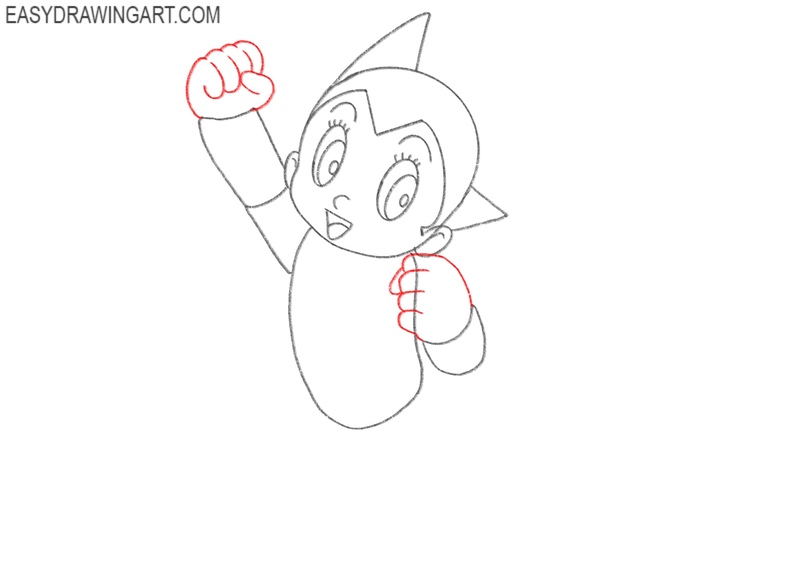
Step 8: Draw the Hands of Astro Boy
Refine the shape of the left and right arms and draw the hands. Add fingers curled into a fists, ensuring the knuckles and thumb are clearly visible. The arms and fists should have rounded shapes.
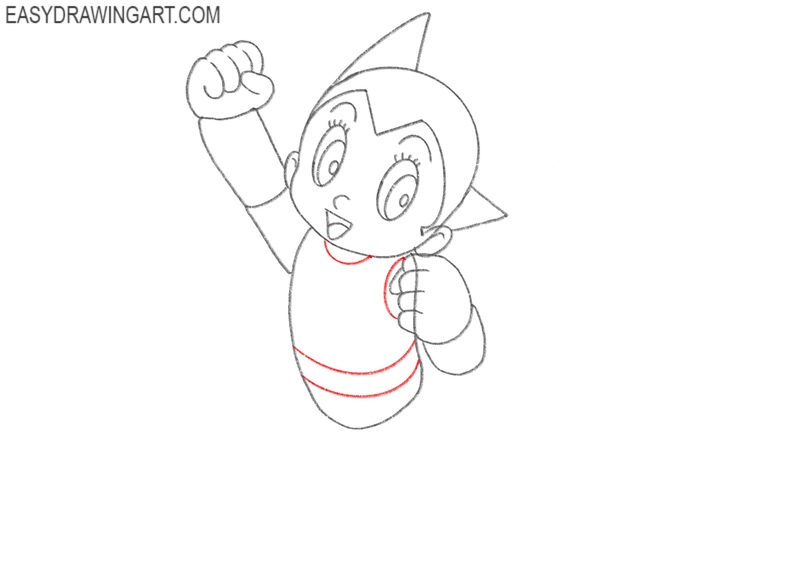
Step 9: Sketch the Neck and Belt
Now, draw Astro Boy’s neck below the chin with a simple curved line. Then, draw the belt of the character, using a couple of parallel lines. Don’t forget to draw draw the line that separates the arm from the torso.
Step 10: Draw Astro Boy’s Upper Legs
To do this, use simple cylindrical shapes. The arms and legs should be similar in style of drawing. The perspective should make one leg appear closer.
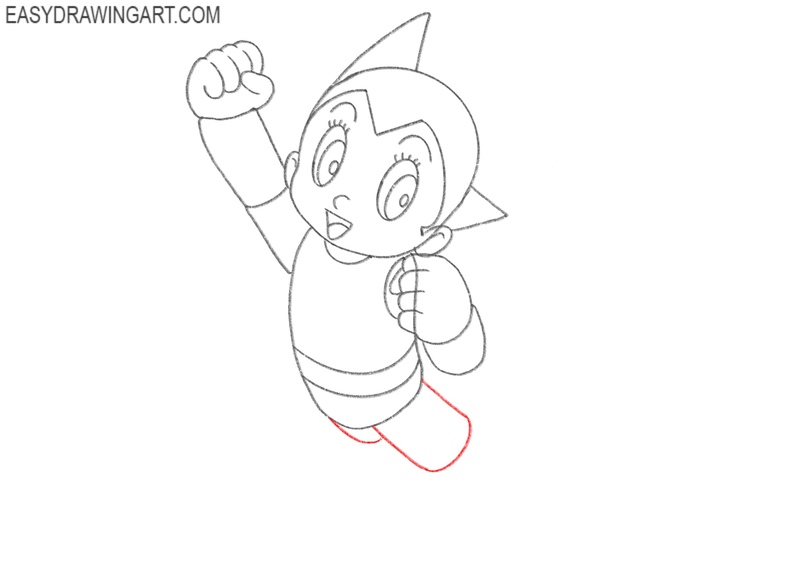
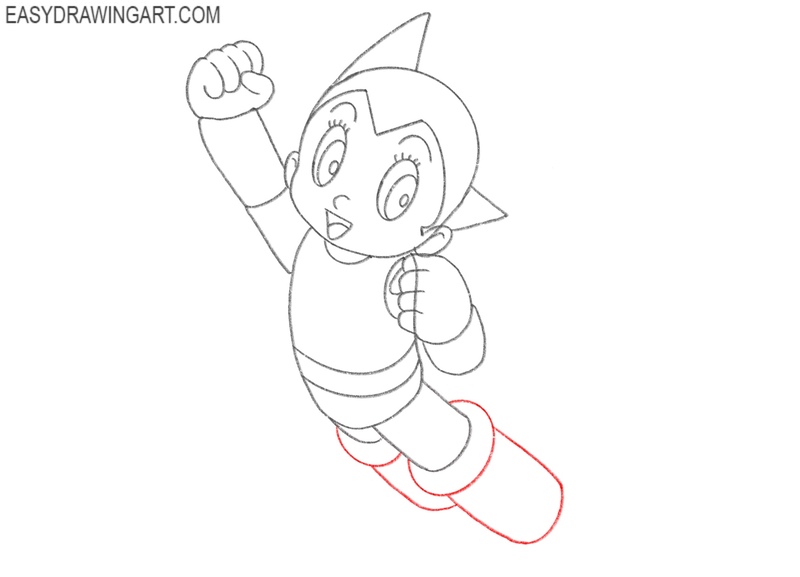
Step 11: Add the Boots of the Character
Continue the shapes of the legs and form the boots of Astro Boy. The boots also should have cylindrical shape. Don’t draw the feet, because in the next step we will draw the jet flames.
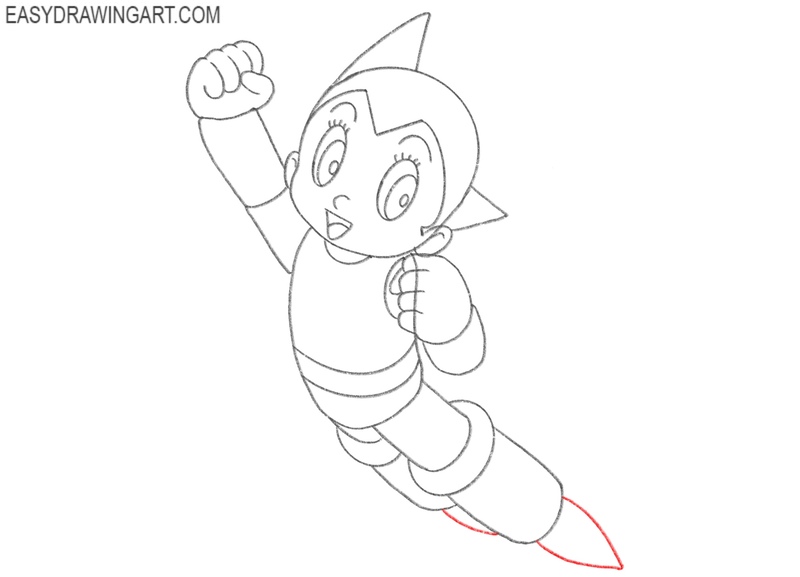
Step 12: Draw the Jet Flames
Now, using a couple of simple shapes draw the jet flames at the bottom of the legs. She shapes should be very simple and resemble curved triangles.
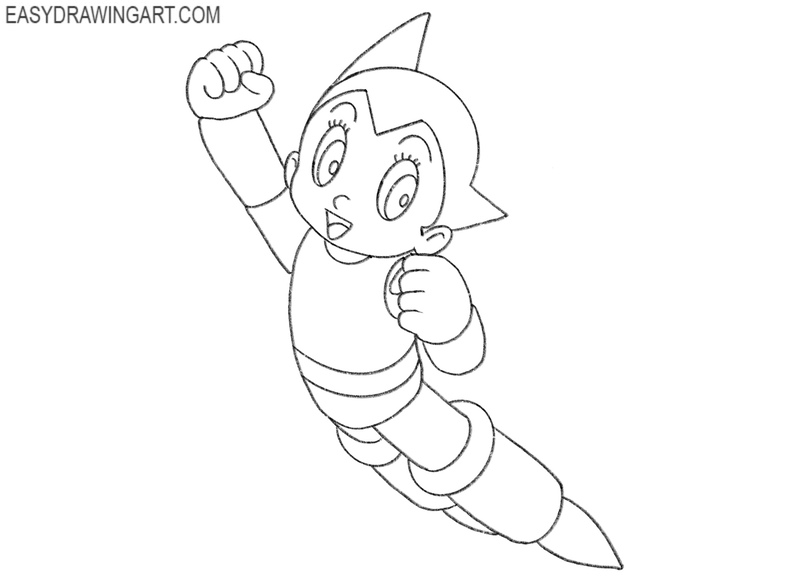
Step 13: Erase the Guidelines from the Astro Boy Drawing
Go over the entire sketch, refining the lines and erasing unnecessary guidelines. Adjust proportions and smooth out any rough areas.
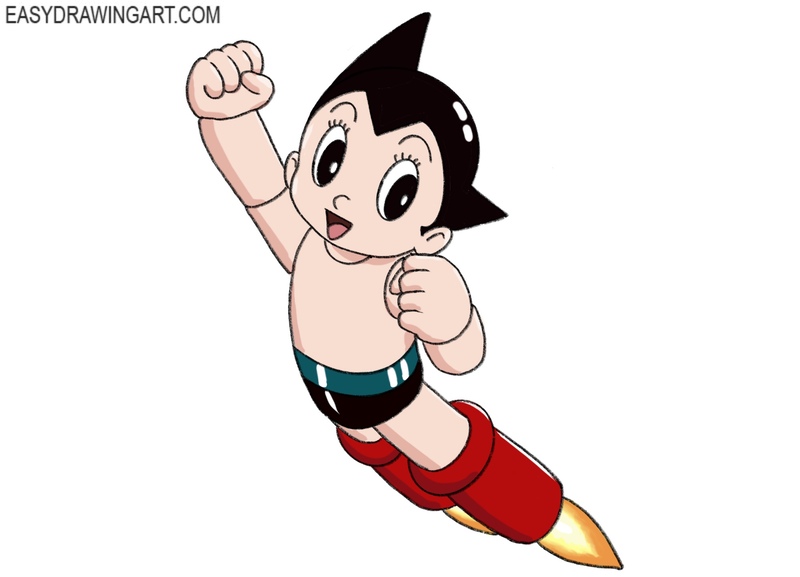
Step 14: Add Color to Astro Boy
Use peach or light pink of the skin. Then, color the belt in deep green and boots in bright red. Use black for the hair and short, leaving small highlights. Color the jet flames using orange and yellow.
In this drawing tutorial, I demonstrated a simple step-by-step method for drawing Astro Boy. You can add more details by incorporating extra lines and shapes. You can also enhance the composition by including a background or additional elements. To continue learning how to draw anime manga, visit our anime section, where you’ll find tutorials on many popular anime and manga characters, as well as lessons on the basics of the genre.