How to Draw an Elk

When learning to draw an elk, you’ll need to remember the most basic rules for creating the animal’s form.
This means you shouldn’t start by drawing the antlers or eyes, as they’re the most eye-catching, but rather start with the general outline of the head and body, and then add the details.
In this tutorial, we’ll show you how to do this step by step, and at the end, we’ll give you some helpful tips on how to further improve your elk drawing.
How to Draw an Elk Step by Step
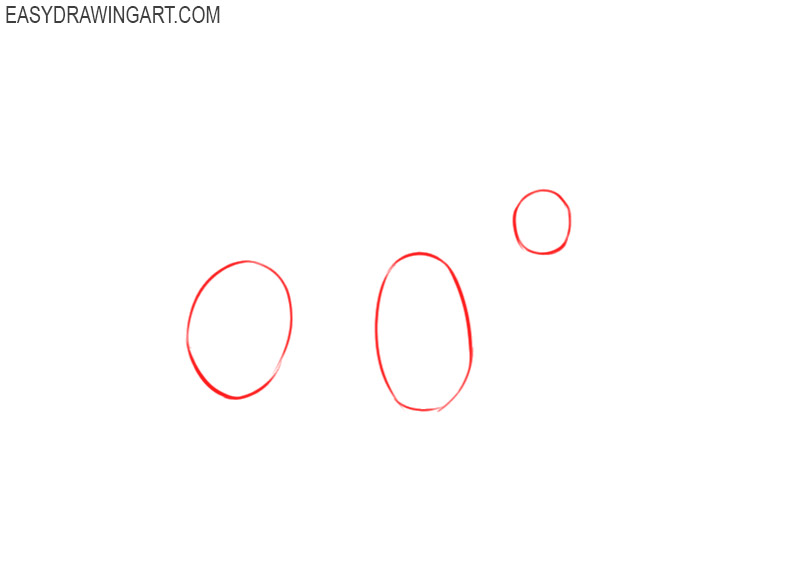
Step 1: Construct the elk’s body
Draw three circles of different sizes to establish the elk’s head, chest, and hindquarters. Leave enough space between them for the long neck and torso.
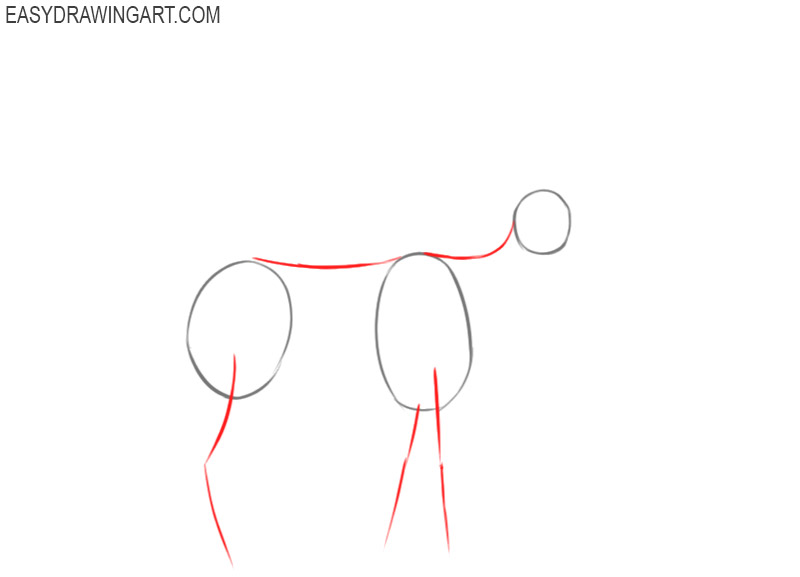
Step 2: Mark the back and legs
Connect the head and torso with a smooth upper line that continues across the back. Mark the front and hind legs with thin construction lines.
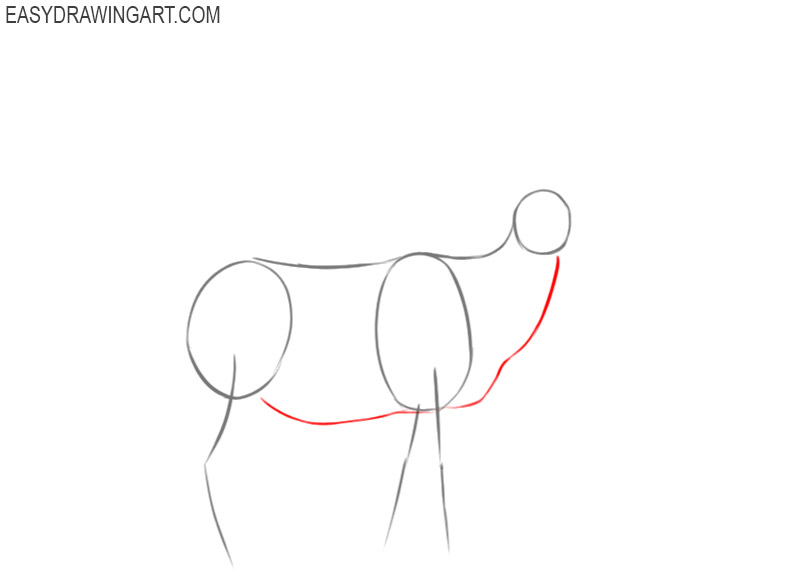
Step 3: Shape the muzzle and neck
Extend the front of the head into a broad muzzle. Outline the elk’s lower jaw and neck, then add the raised shoulder area above the front legs.
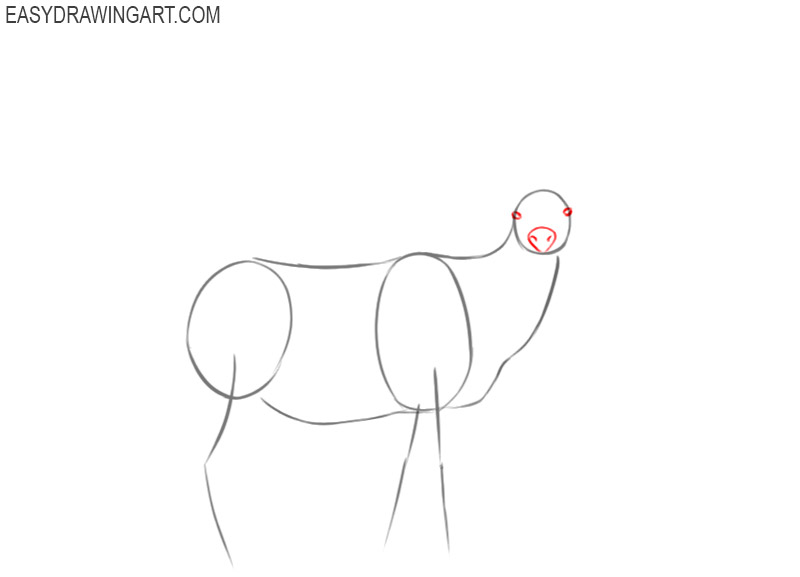
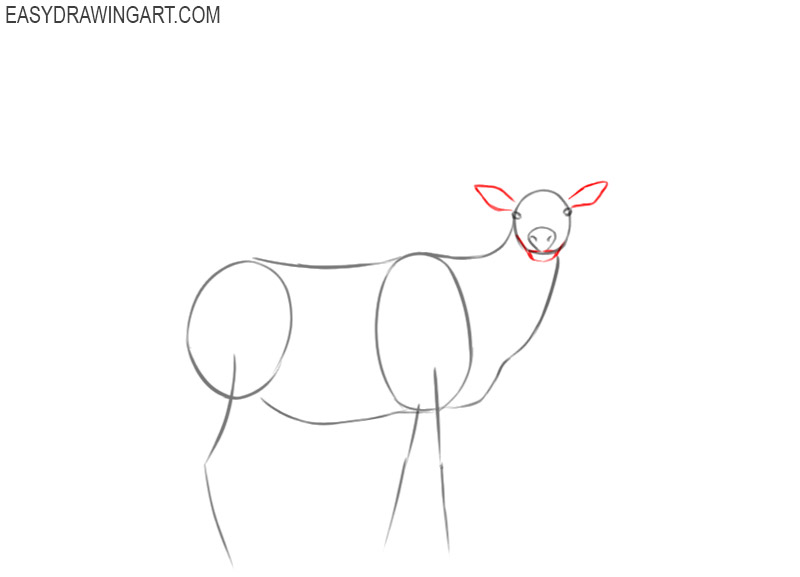
Step 4: Draw the elk’s facial details
Add the small eye on the side of the head and mark the nostril with a short curved line. Use several short strokes below the jaw to draw the hanging fur.
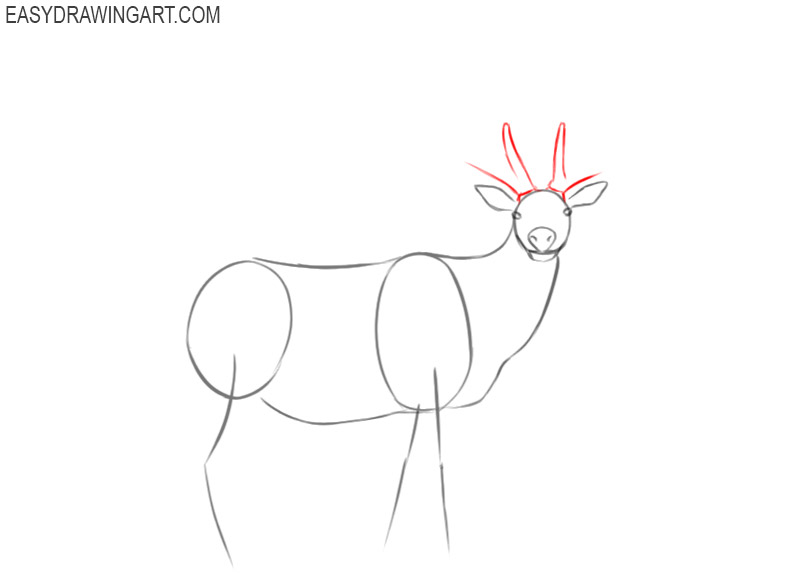
Step 5: Mark the antler bases
Draw two short lines rising from the top of the elk’s head. Angle them slightly outward to establish the narrow bases of the antlers.
Step 6: Outline the first antler
Extend one antler upward and outward from its narrow base. Widen the main beam and divide its outer edge into several pointed branches of different lengths.
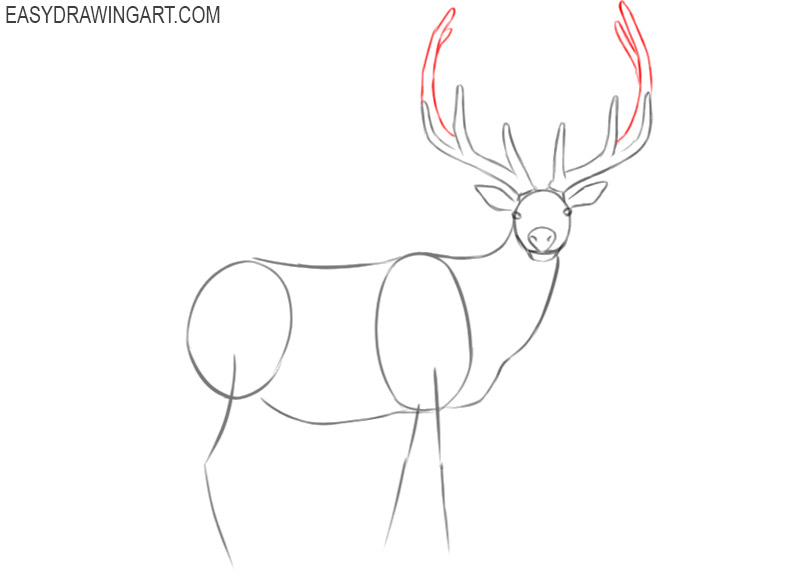
Step 7: Add the second antler
Draw the second elk antler on the opposite side of the head. Repeat the widening beam and uneven branches, but vary their angles so the two sides do not look identical.

Step 8: Define the elk’s torso
Draw a smooth line from the chest toward the belly, raising it slightly near the hindquarters. Refine the back and rump with another continuous line.
Step 9: Add volume to the front legs
Outline the front legs around the construction lines. Keep them wider near the chest, narrow them toward the lower legs, and mark the slight bends at the joints.

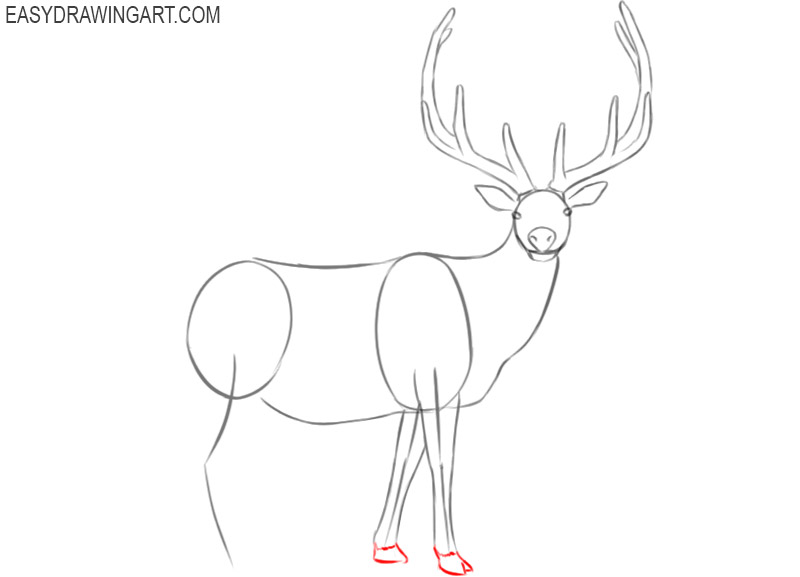
Step 10: Draw the elk’s front hooves
Shape the narrow lower ends of the front legs and add the pointed hooves. Use a short angled line to divide each hoof at the tip.
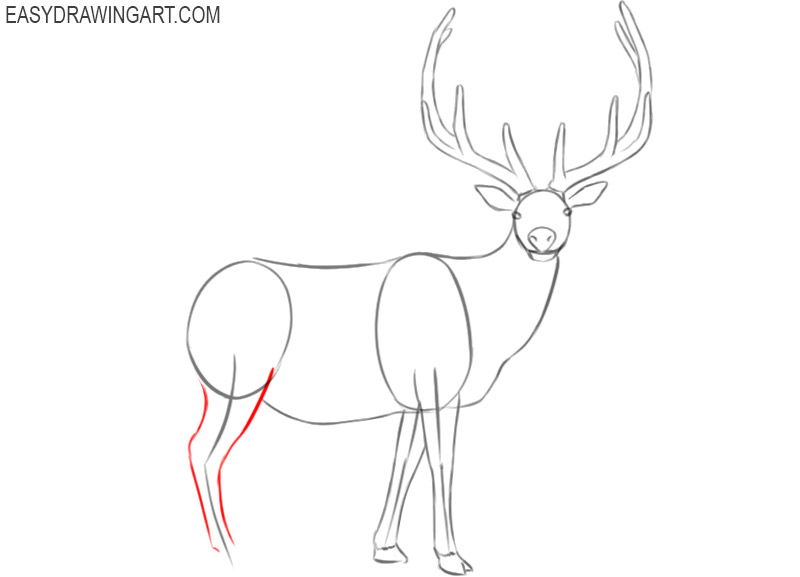
Step 11: Shape the hind legs
Outline the hind legs with stronger bends than the front pair. Curve the upper leg into the hock, then narrow the lower section toward the hoof.
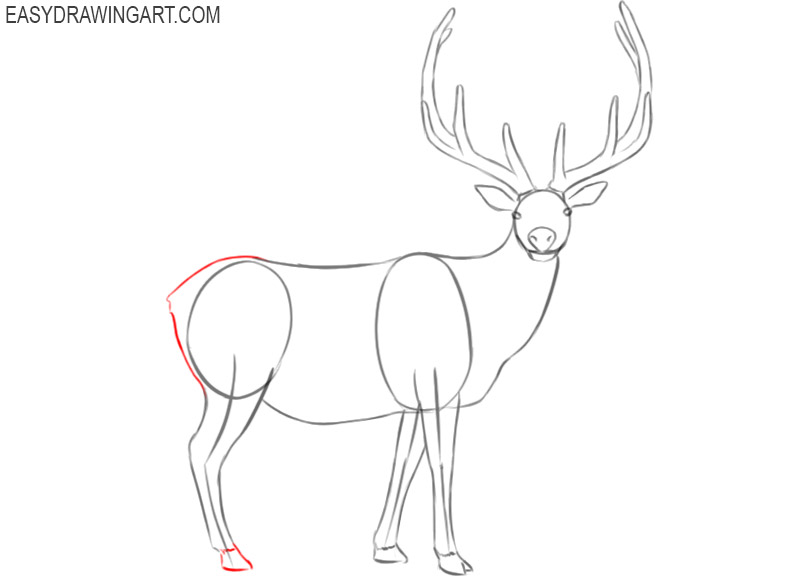
Step 12: Complete the hindquarters
Add the hind hooves and refine the curve of the rump. Draw the short tail at the back and connect the remaining contours of the elk’s legs and torso.
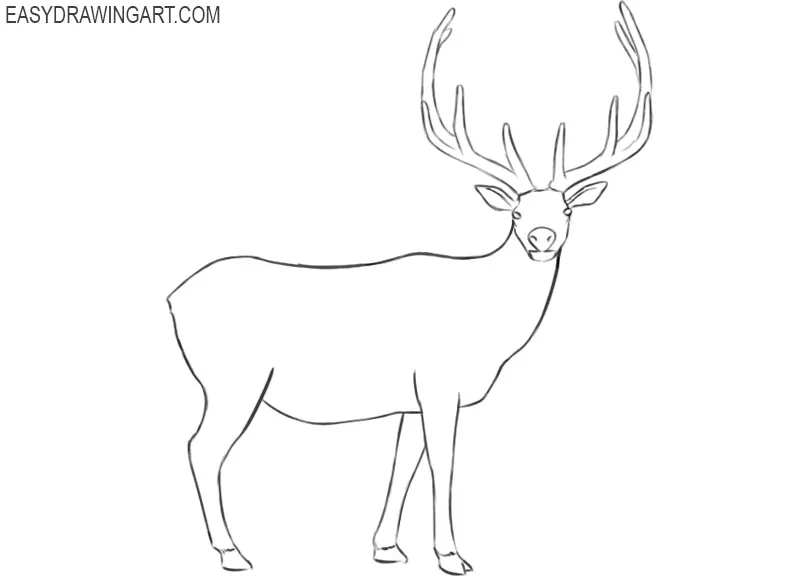
Step 13: Clean up the elk line drawing
Erase the circles and leg guidelines from the sketch. Correct any uneven connections, then darken the remaining outline of the body, antlers, and legs.
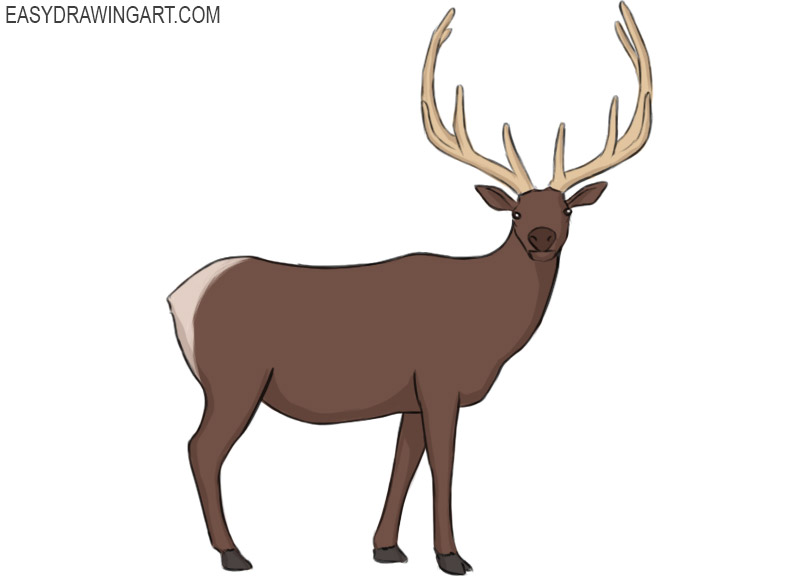
Step 14: Color the elk in natural tones
Color the fur in brown shades, keeping the neck and lower torso slightly darker. Use dark brown for the hooves and a lighter tan or beige for the antlers.
More About Drawing an Elk
The elk’s likeness depends largely on the high shoulder area and the long drop from the chest to the front hooves. If the body looks too level, raise the back above the forelegs before adjusting smaller details.
The antlers should grow from narrow bases and spread gradually as to the sides. For more practice with this branching shape, try drawing a deer.
A heavier head and a lower muzzle change the character of the entire animal. You can study that difference by drawing a moose, where the face extends farther forward and the body carries more weight through the shoulders.
The same body construction can be adapted to another member of the deer family by sketching a reindeer. Keep the torso lighter and pay attention to the narrower neck and different direction of the antler branches.
For a closer study of the head, continue by drawing a deer head. Working at a larger scale makes it easier to place the eye below the antler base and connect the muzzle cleanly to the jaw.
This was so easy to follow! I loved how my elk turned out. This is great.
This is so easy to follow I love it!
so hard, but of course I’m only nine