

How to Draw an Arctic Fox
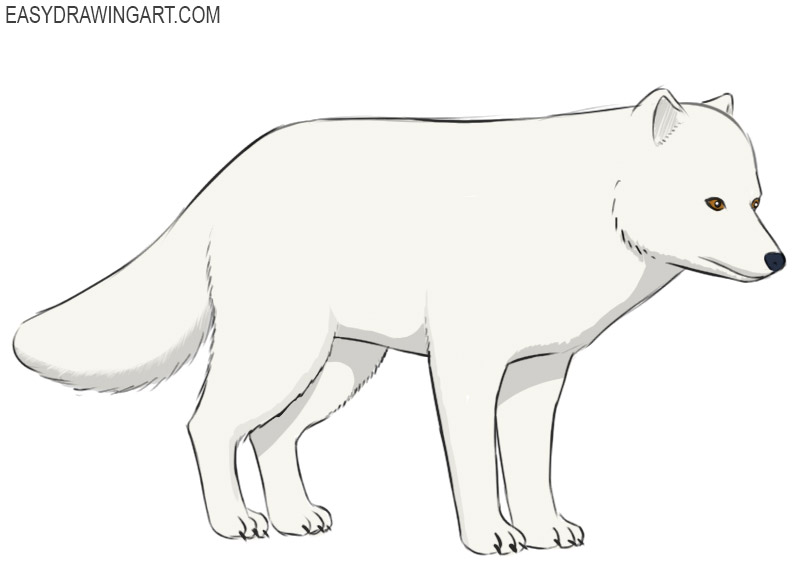
In this very simple instruction, the team of Easydrawingart.com will show you how to draw an arctic fox step by step. This is a fairly simple drawing, but to develop the proper skill, we advise you to draw many times, redrawing lines, studying shapes and volumes.
How to Draw an Arctic Fox
Step 1 – Sketch the Basic Shapes
Let’s start with simple shapes – draw two ovals and one circle. This circle will subsequently turn into the head of the arctic fox, so its position should be slightly above the oval shapes.

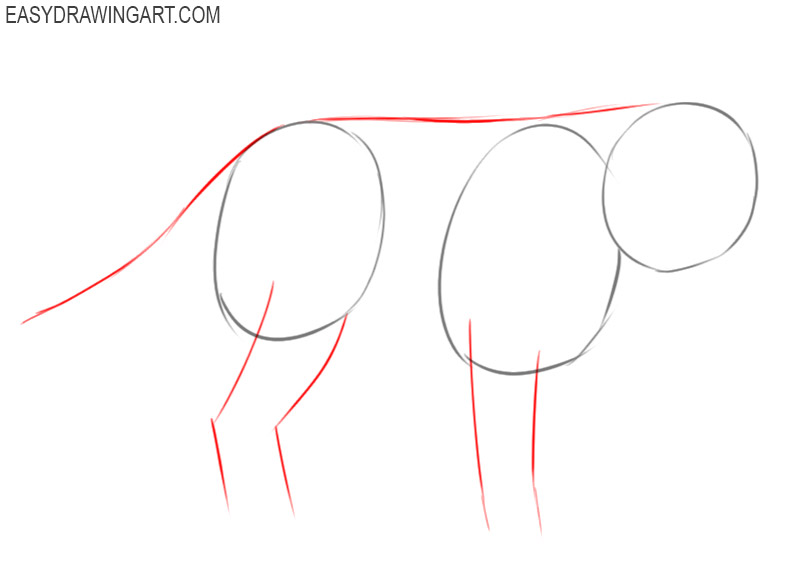
Step 2 – Draw the Spine and Legs of the Arctic Fox
Draw a line from the circle-head along the oval shapes and translate it into a tail. With simple and light movements, draw the limbs of the arctic fox.
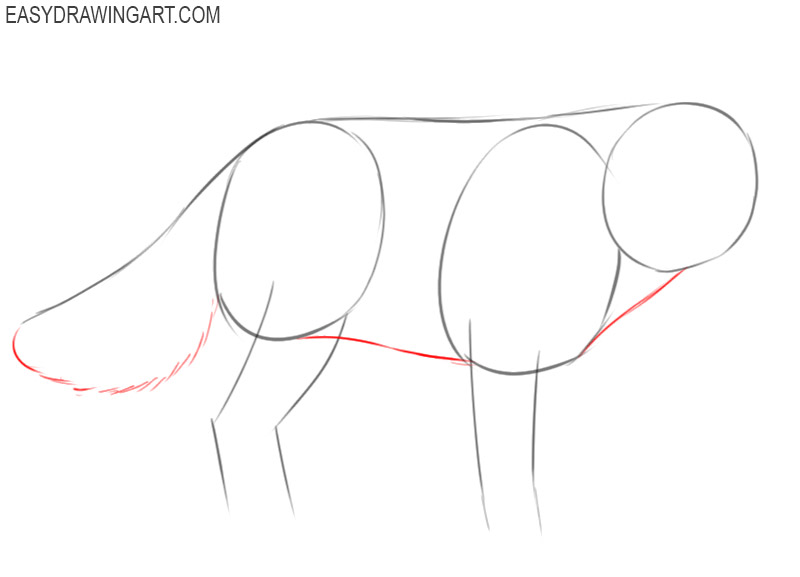
Step 3 – Draw the Belly and Tail
Draw another line, but this time from the bottom, to make the silhouette of the arctic fox visible. Turn the line for the tail into a fluffy fox tail.
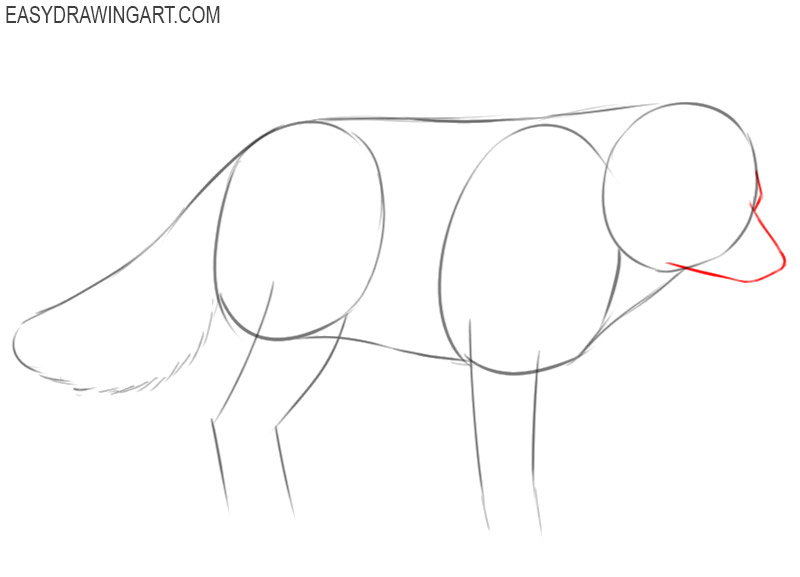
Step 4 – Draw the Muzzle
For this add a triangular shape to the head. Remember that you can always check the proportionality of your arctic fox drawing by looking at it through a mirror.
Step 5 – Detail the Head
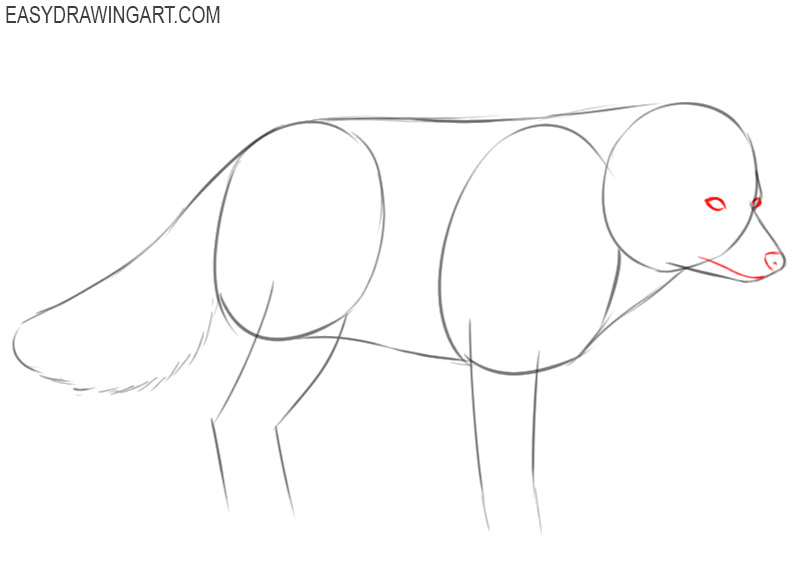
First, draw the eyes in two almond-shaped geometric shapes. Next, draw the nose and a line for the mouth. Don’t forget to draw the nostrils on the nose.
Step 6 – Draw the Ears
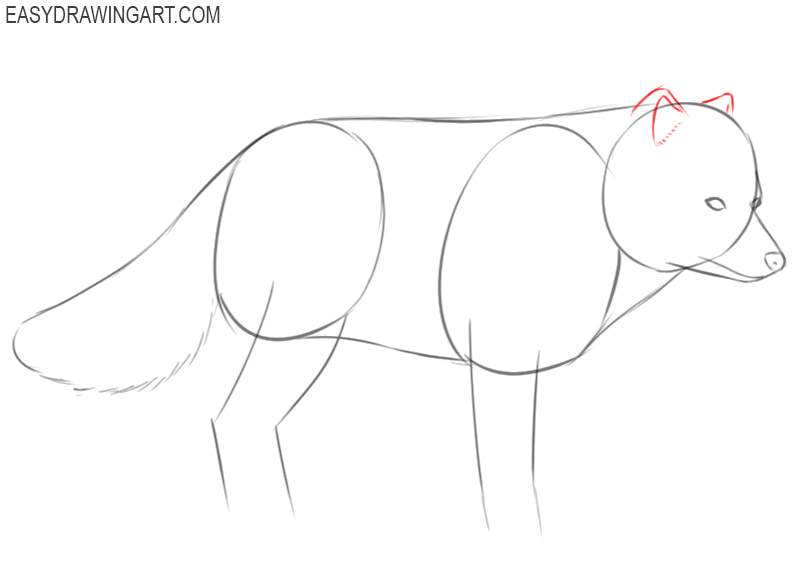
Do not forget about the ears – make sure that their shape is triangular. To give the ears a fluffier look, use short lines like in the example below.
Step 7 – Draw the Front Legs of the Arctic Fox
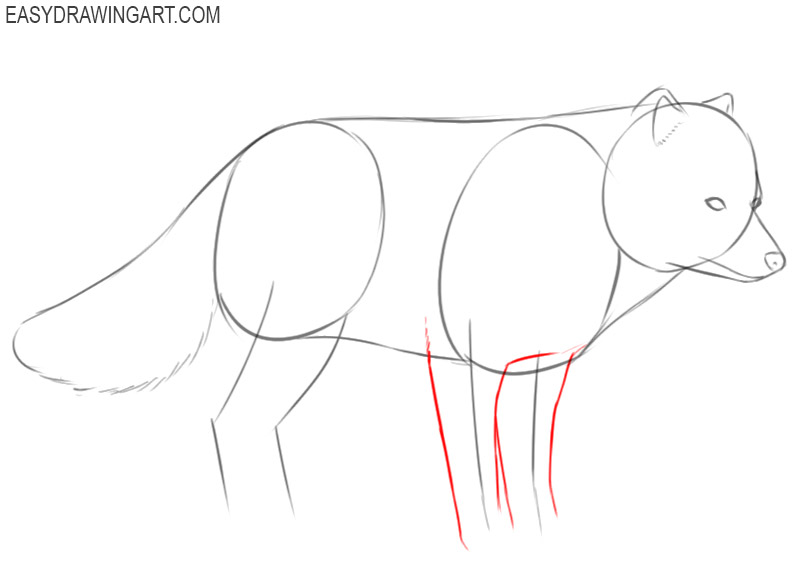
Go to the bottom of the arctic fox drawing and create the volume of the front legs. The lines for this step should be dark and crisp.
Step 8 – Draw the Front Paws
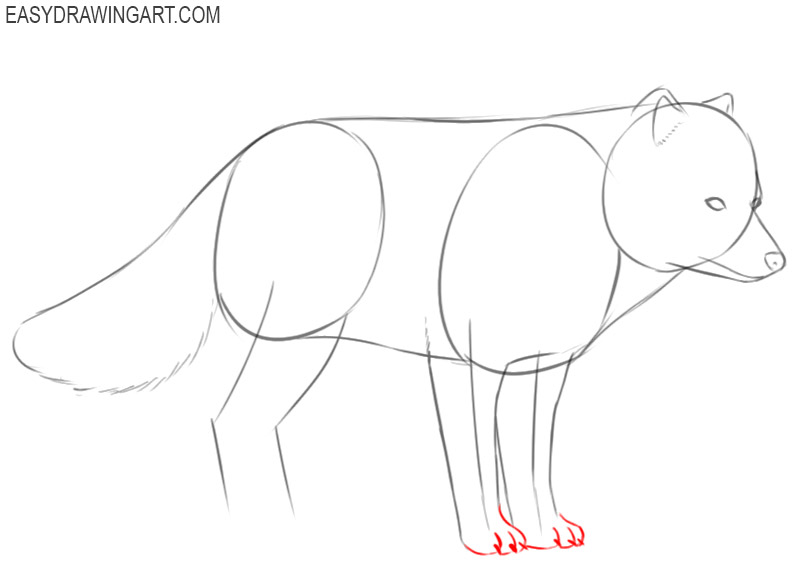
Finish off the paws carefully and draw the toes. Make sure that the toes point to one side and are in close contact with each other.
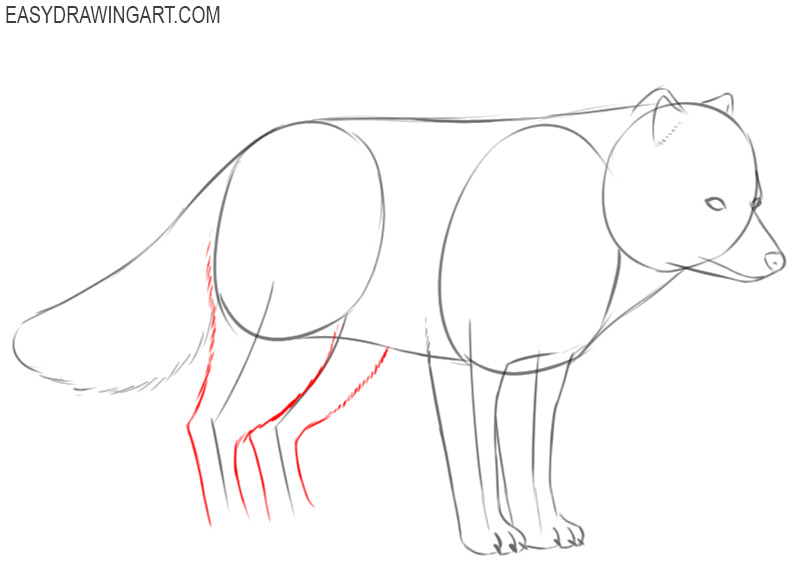
Step 9 – Detail the Hind Legs
Create a volume on the hind legs by drawing clear, curved lines so that you can distinguish between the thigh and the lower leg.
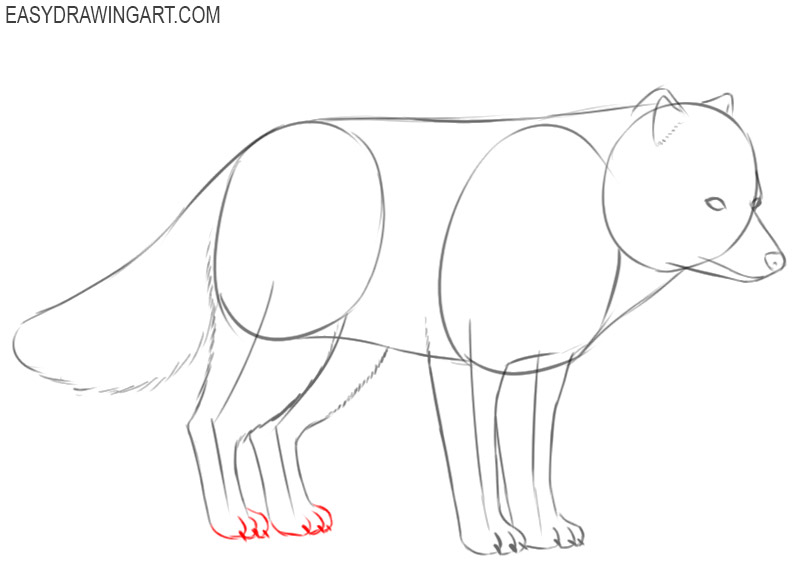
Step 10 – Detail the Hind Paws
Here you need to repeat everything exactly as in the eighth stage. Another way to check if your arctic fox drawing is correct is to look at it from a distance.
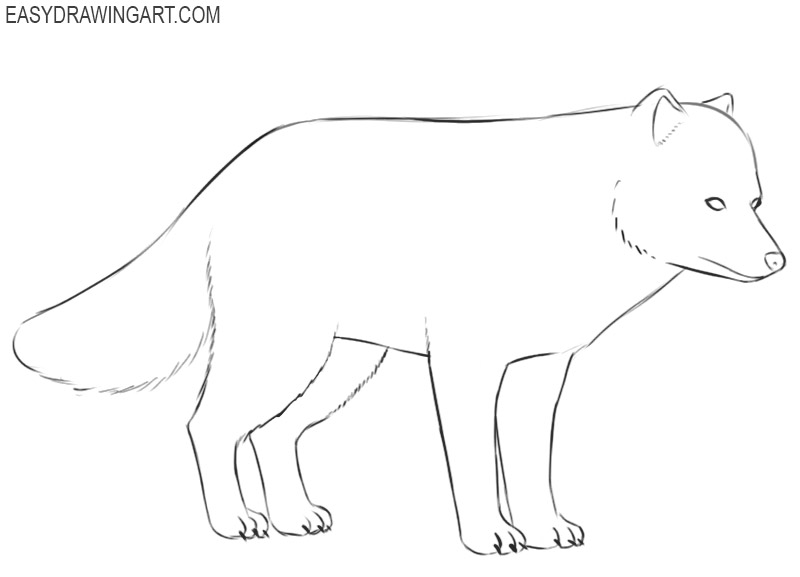
Step 11 – Erase the Guidelines
Erase the lines of the legs and the oval shapes inside the drawing to bring the arctic fox to life. In the area of the head, leave a small section of the line, it will emphasize the transition from the torso to the head.
Step 12 – Color the Arctic Fox Drawing
Finish the drawing – add shadows, change the color tone of the torso and head, paint the nose and eyes with black. Then, add shadows to make your arctic fox drawing more voluminous.
So, our arctic fox drawing is done! Your result is a worthy cause for pride. Write in the comments what stage was the most difficult during this arctic fox art instruction, and do not forget to give new ideas – they are the ones that inspire us to create simple and practical drawing lessons!



cool
This is a great tutorial! I’m a beginner at drawing and this was really helpful.
ya
yea im whith him
same
this art helped me with my assinment!