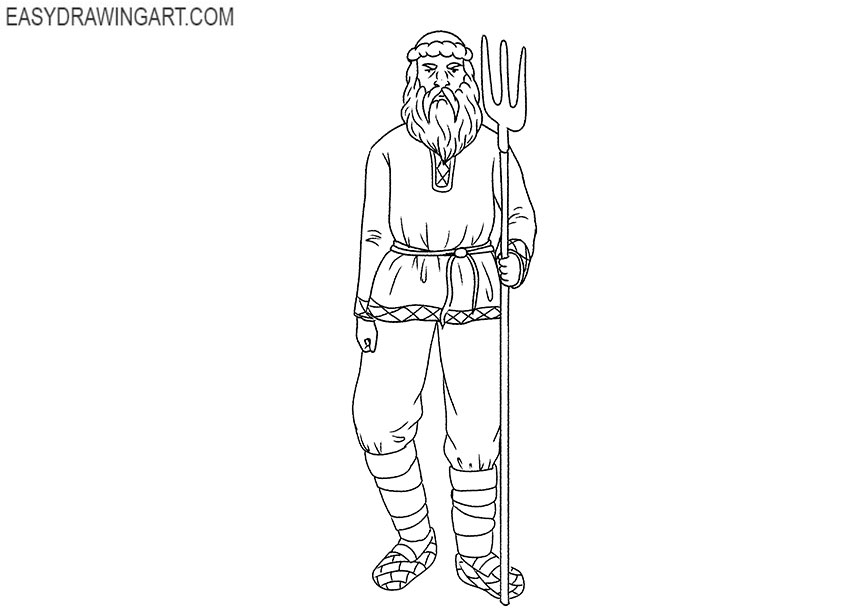
How to Draw a Villager
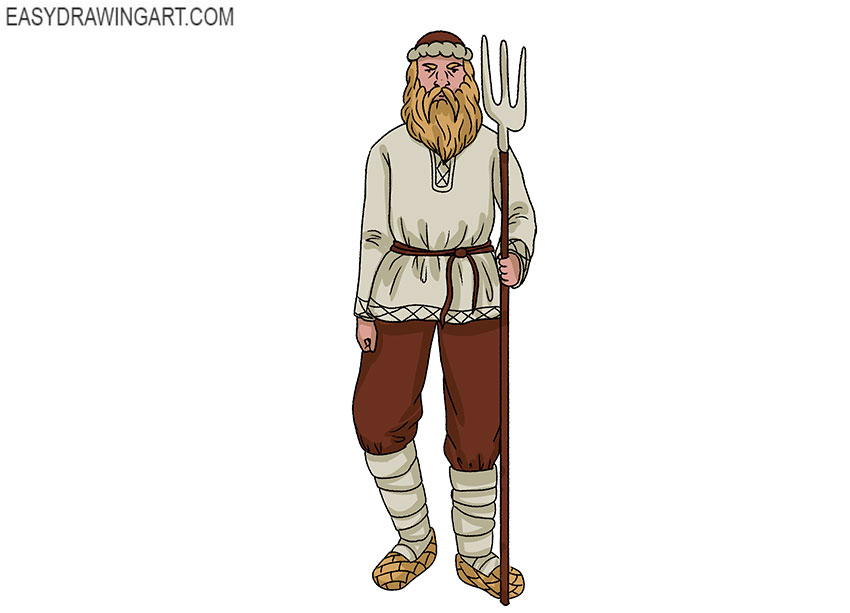
Now you will learn how to draw a villager. In this tutorial, you will draw an adult man dressed in simple rural clothing and sturdy shoes.
He is holding a pitchfork in one hand, one of the most common tools used on a farm. During this tutorial, pay close attention to the size of each body part and try to make your drawing as close to our example as possible.
Time needed: 1 hour
How to Draw a Villager
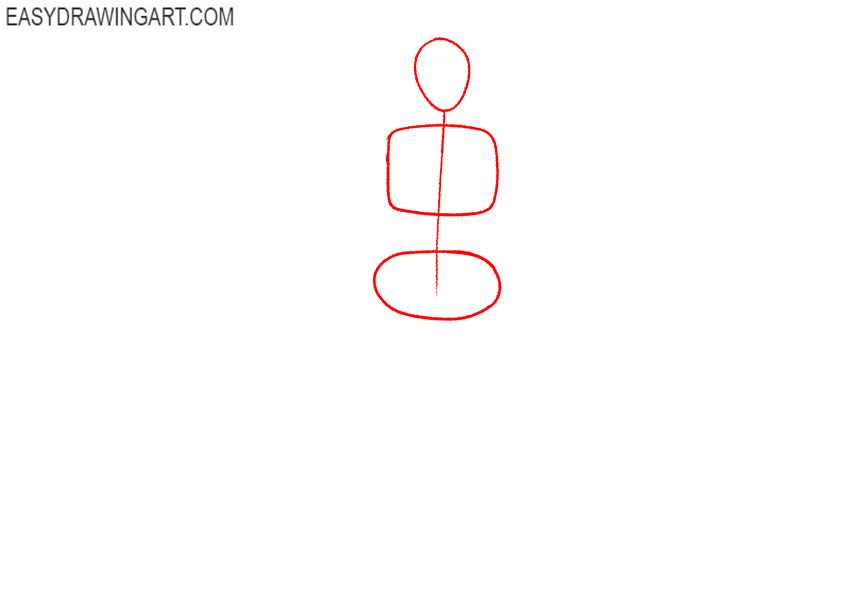
- Prepare the base.
As usual, start drawing by building baselines. Determine the position of the head, thoracic region and pelvic region using figures of various shapes.

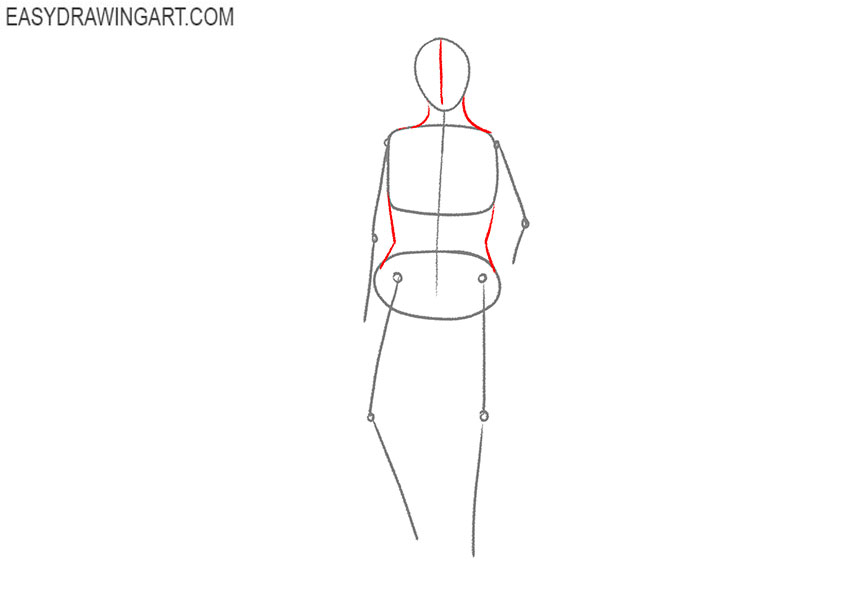
- Draw the limbs.
Use thin, straight lines to define the position of the arms and legs. Mark the places of the folds in the form of large dots.
- Add the contours of the body and make markings on the head.
Draw smooth connecting lines between the head and chest to represent the neck. Depict the sides of the torso and add markings on the head.
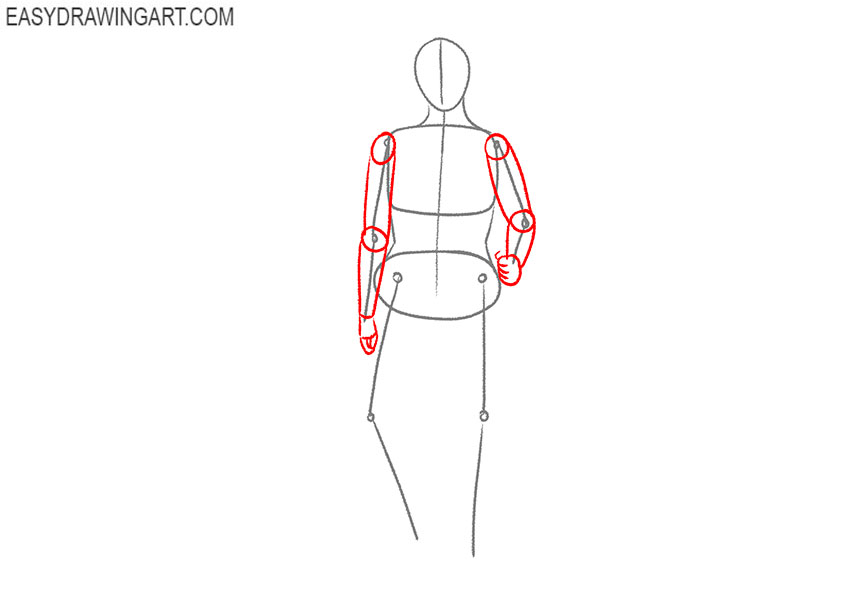
- Sketch out the arms.
Depict the individual parts of the hands in the form of cylindrical shapes. Draw the places of the folds in the form of ovals. At the bottom, add the hands.
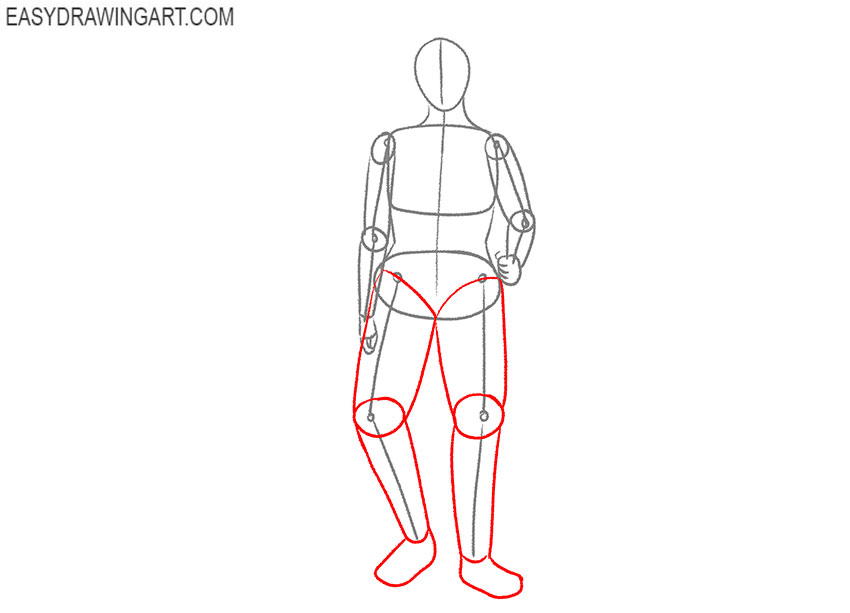
- Depict the legs.
Draw the legs in the same way as the arms. Draw the main contours with thin lines and add the feet at the bottom.
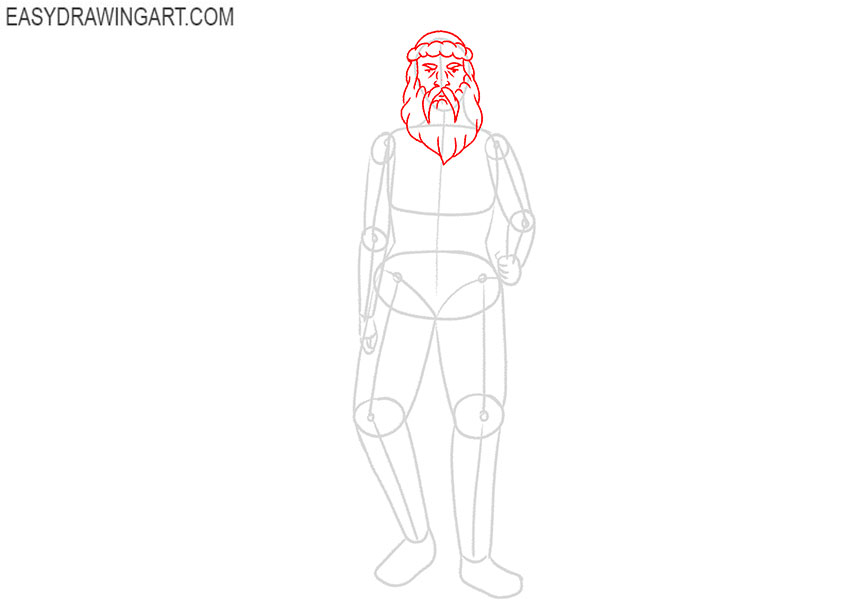
- Detail the head.
With the help of smooth lines depict the hat, a large beard and mustache. Sketch out the eyes, eyebrows, nose, and mouth.
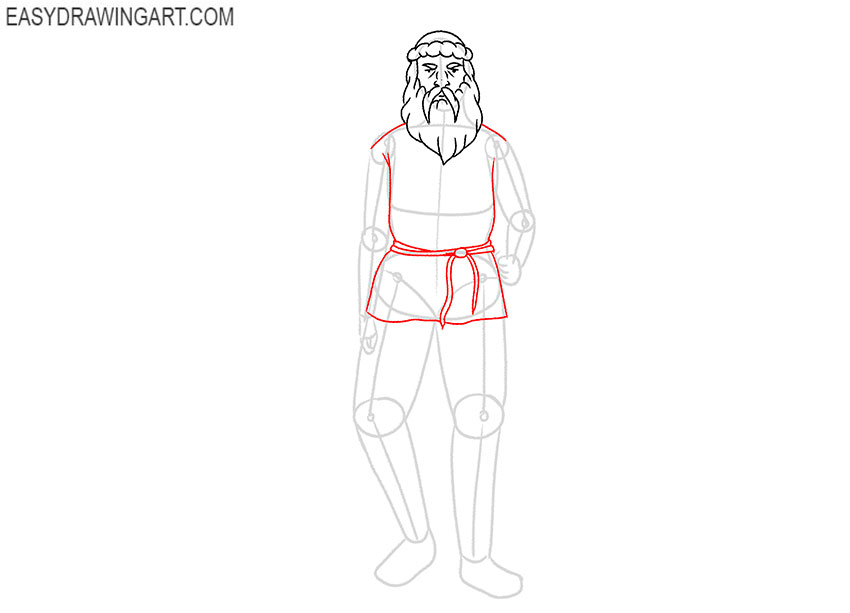
- Start drawing the clothes.
Draw the shoulders and sides of the clothes. With an uneven wavy line, draw the bottom outline and add the bandage on the belt.
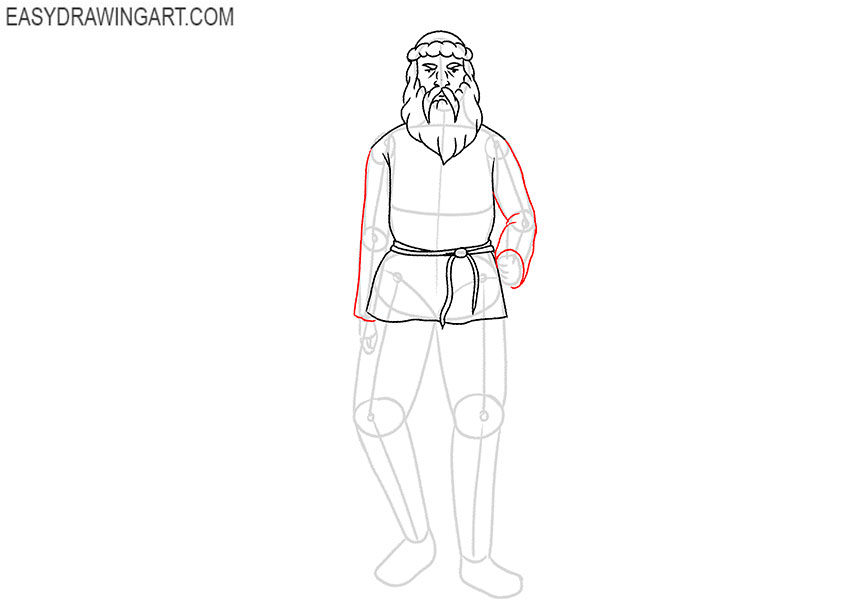
- Draw the sleeves.
Add the contour of the sleeves with clear smooth lines, focusing on the auxiliary lines that you drew earlier. Draw the folds on the clothes.
- Add the hands and pitchfork.
Depict the hands in the same position as in the example. With the help of straight lines draw the long thin handle and with curved lines draw the teeth on the forks.
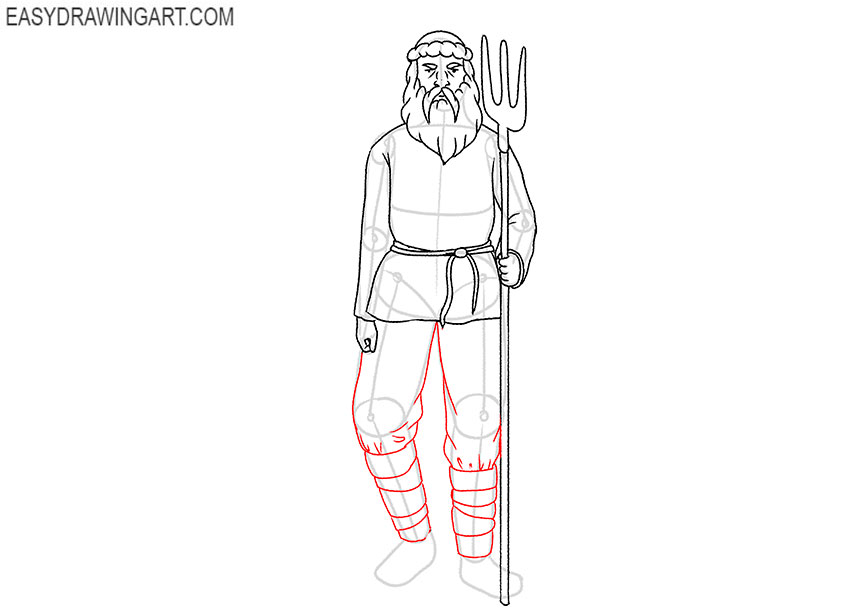
- Depict the pants and bandages.
Add the pants with smooth lines and draw the bandages at the bottom. With the help of short, uneven strokes, depict the folds on the clothes.
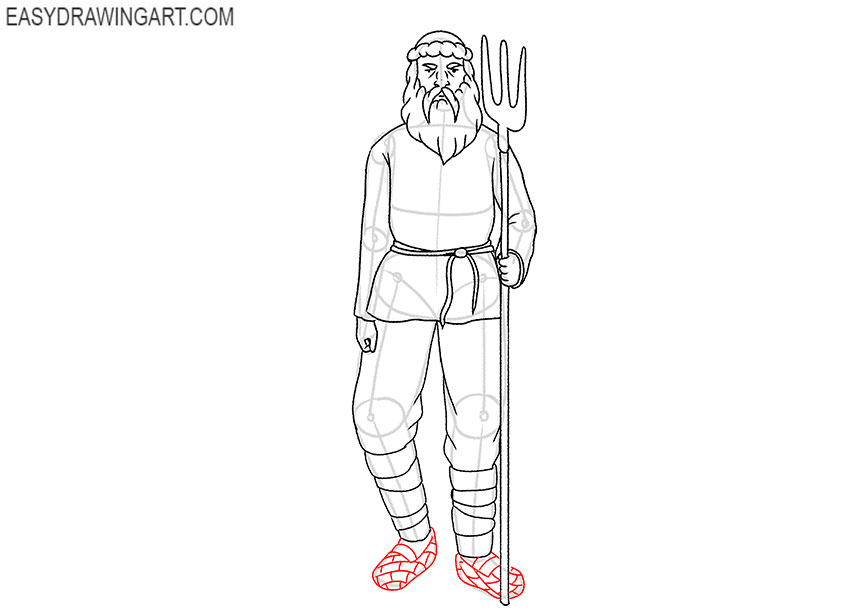
- Sketch out the shoes.
Draw the outline of the shoe and add the cross folds one after the other to represent intertwined stripes.
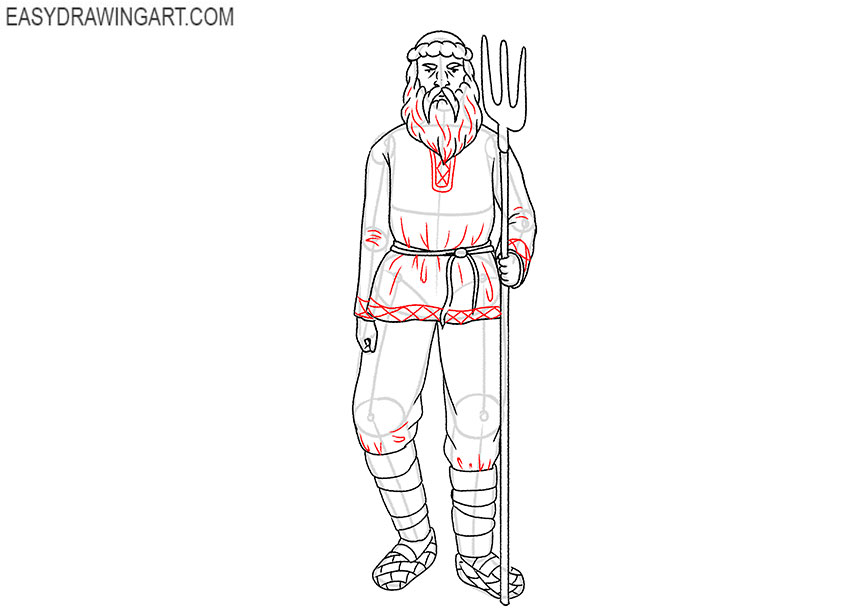
- Add details.
With the help of short curved lines depict the hair on the beard. Draw the ornament on the chest, on the cuffs and along the bottom edge of the shirt. Add the folds to the clothes.
- Correct inaccuracies.
The main contours are already ready and you do not need auxiliary lines. Carefully remove them to prepare the drawing for coloring.
- Color the drawing.
Use any natural shades to color the hair and skin. Use different shades of brown light to color the clothes and pitchforks.


The next lesson has come to an end, and now you can evaluate the result of the work. We look forward to your feedback, because your opinion is important to us. Subscribe to us on social networks and stay tuned for updates on the site.