How to Draw a Troll

In this lesson, we will show you in detail how to draw a troll. Thanks to this lesson, you will improve your drawing skills.
We decided to dedicate this drawing lesson to drawing a negative character, and now you will learn how to draw a troll. In any fairy tale there are positive and negative characters and the main theme of the story is the struggle between good and evil. Of course, good always wins.
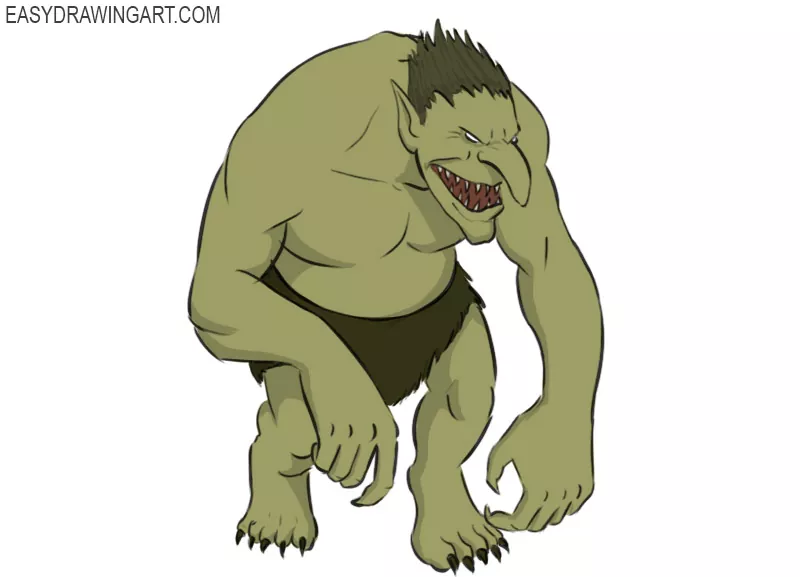
Now you will learn how to draw a popular character that can be seen in fairy tales and cartoons. The troll is a supernatural creature that we know from Scandinavian mythology. Usually this giant lives in the mountains and guards his treasures. He is hostile to people, and a chance meeting with him does not bode well.
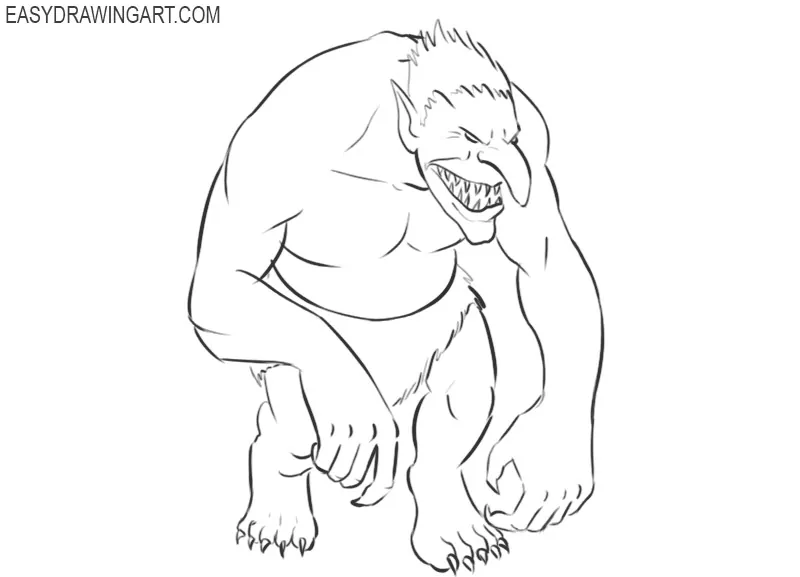
The troll looks menacing. He has a strong physique, a stooped back, long claws on his arms and legs, a large and pointed nose and ears, and sharp teeth. Try to correctly depict all these features in your drawing.
Time needed: 1 hour
How to Draw a Troll
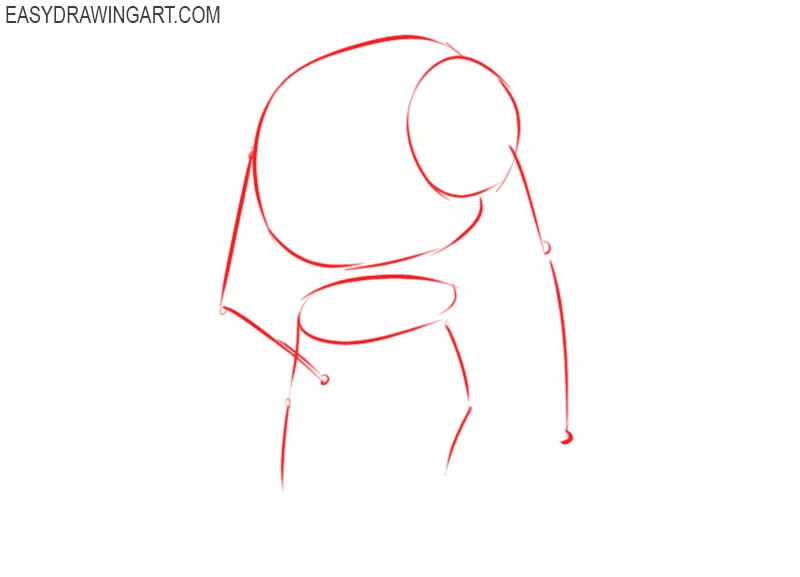
- Prepare the base.
With thin lines, draw rounded shapes of different sizes to define the position of the head, thoracic region and pelvis. Using straight lines and large dots, depict the position of the arms and legs.

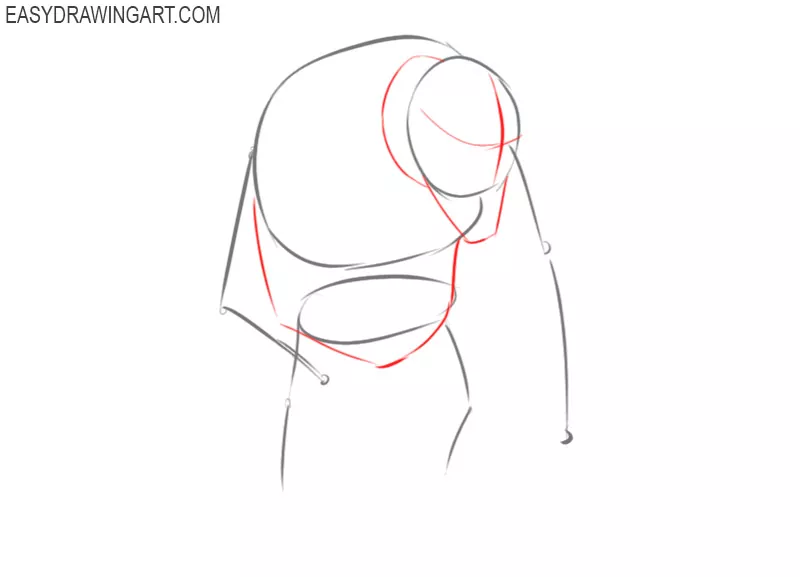
- Add the contours of the torso, head, and neck.
Draw connecting lines between the thoracic region and the pelvis and add the lower torso outline. Draw the neck, add the lower part of the head and mark up the face elements.
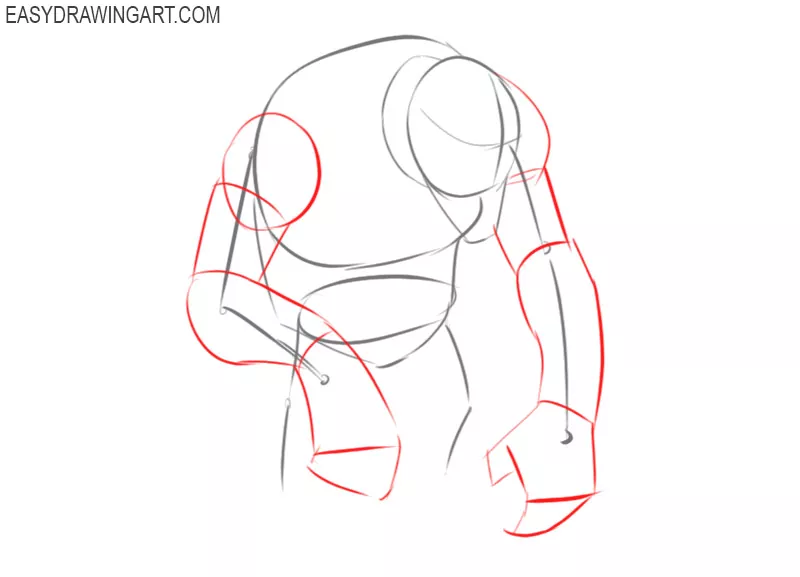
- Draw the hands.
Give the hands the necessary thickness, for this, draw the elements of the hands in sequence. Use the lines you made earlier than guides.
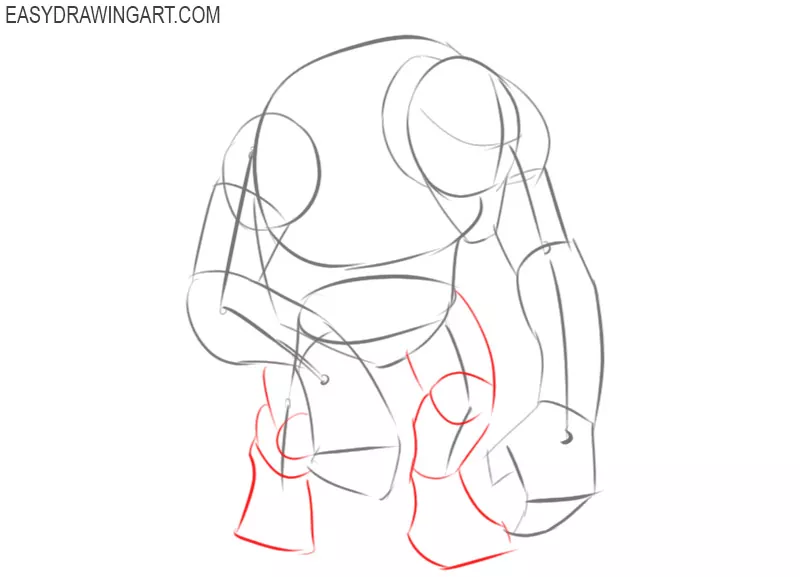
- Depict the legs.
This step is similar to the previous one. Use the guidelines you drew earlier and give the legs the required thickness.
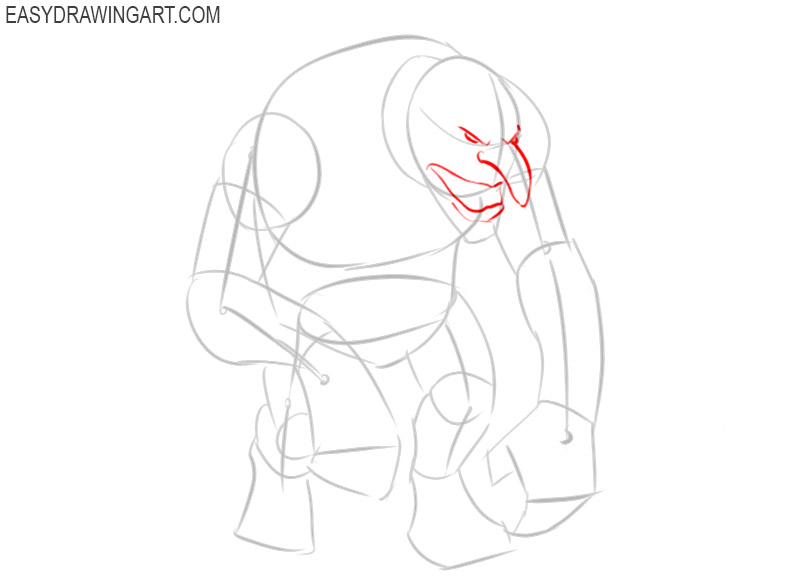
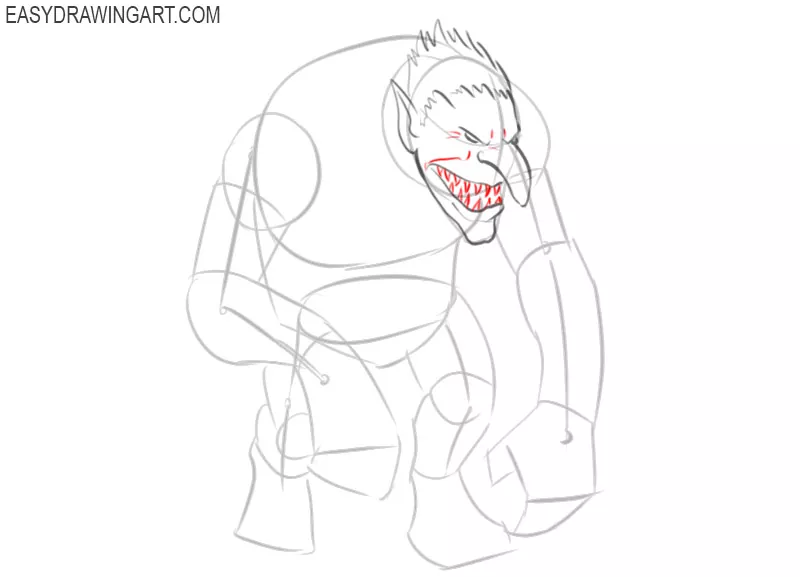
- Sketch out elements of the face.
Draw the small eyes, the large hooked nose and the large open mouth. In general, it should look very formidable.
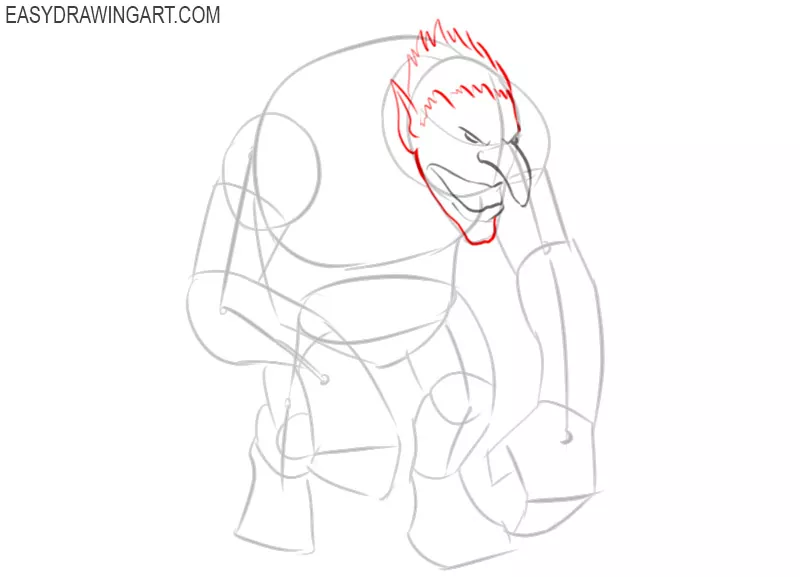
- Add the elements of the head.
To depict the pointed ear, draw the outline of the hair using short jagged lines of different lengths.
- Draw the rest of the elements of the face.
Consistently draw sharp teeth on the upper and lower jaws, draw the crease on the cheekbones, add creases in the corner of the eye.
- Depict the outline of the torso.
Use the lines you drew earlier and draw the outline of the back, belly, chest muscles and hollows on the collarbones.
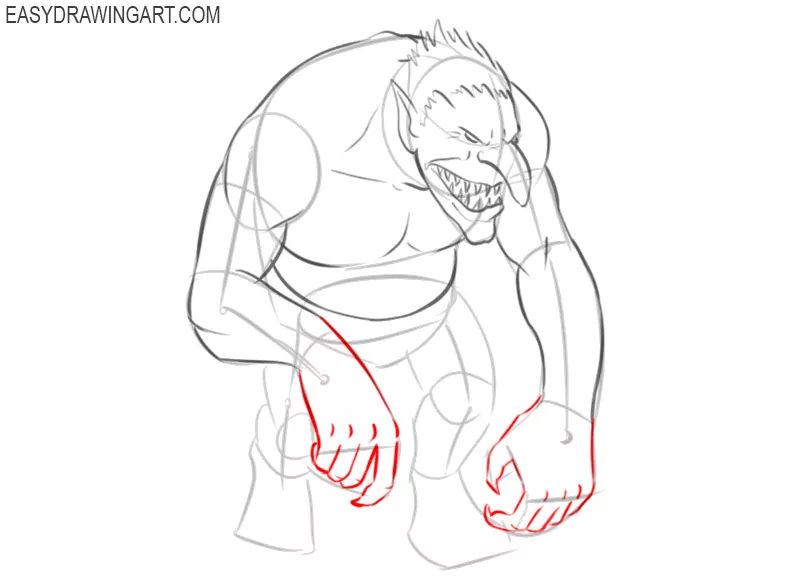
- Give the hands the desired shape.
Using smooth lines, circle the arms along the contour, while taking into account all the anatomical features of the structure of the hands. Then add the folds at the elbow joints.
- Sketch out the hands.
At the ends of the fingers, add the sharp claws and with the help of short strokes depict the bulges on the back of the hand.
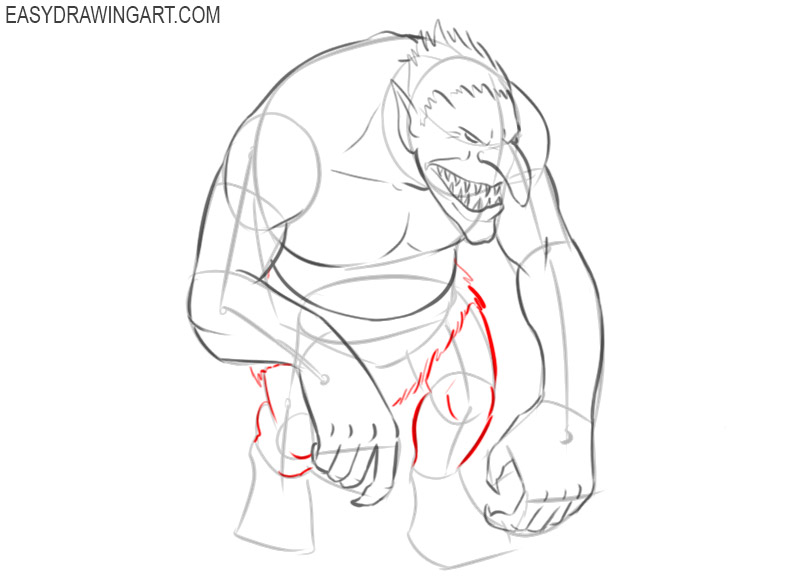
- Draw the upper parts of the legs.
Use the lines you drew earlier and make the outline clearer. Using short strokes, draw the bottom edge of the loincloth.
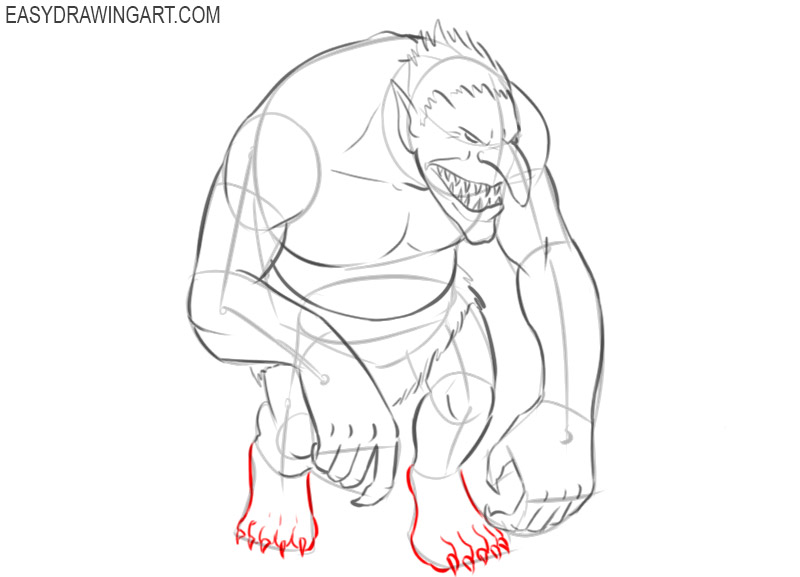
- Add the lower parts of the legs.
Draw the soles with smooth lines, add round fingers and draw the sharp claws on each finger.
- Correct inaccuracies.
Now you have all the main contours drawn, it remains only to prepare your drawing for coloring. Remove all extra lines from the drawing and correct any mistakes.
- Color the troll.
You will need several shades of gray. Color the hair and loincloth with the darkest shades. Color the torso in gray and add shadows.


We hope that you easily coped with all the stages of drawing, and you get a great drawing. Now you can try your hand at others in the drawing tutorials that are presented on this site. Practice as often as possible, improve your artistic skills, and share information about our lessons with your friends.