How to Draw a Tree House

So, now we will show you how to draw a tree house step by step. You might have seen this object in any city, cartoons, or computer games.
Thanks to this guide, you will once again practice drawing three objects – this is a house, a ladder, and a tree. You can use the acquired skills in the future to create new beautiful drawings.
Carefully draw all the lines and remember the drawing steps.
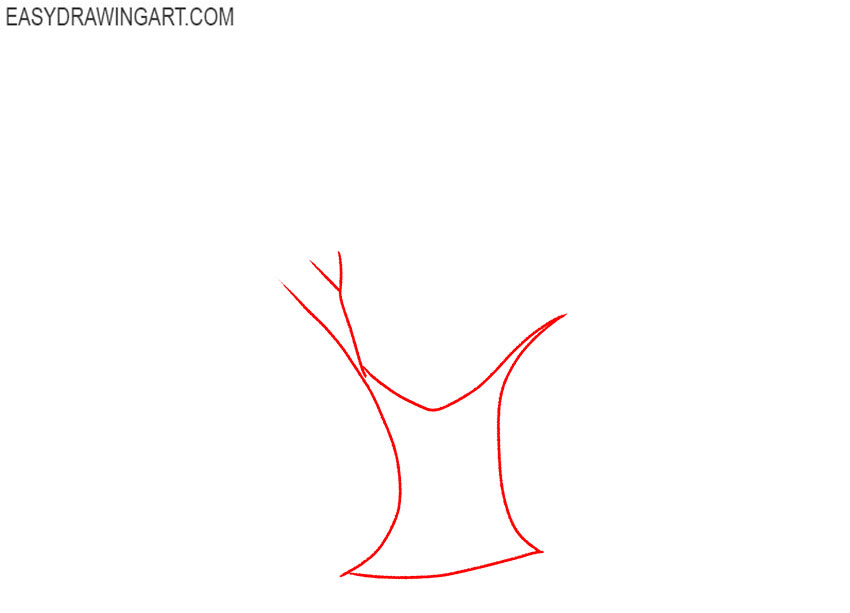
Step 1: Sketch the tree house trunk base
Choose the size of the tree house drawing, then outline a wide trunk with two long curved lines. Extend several thick branches from both sides, keeping the initial strokes light.
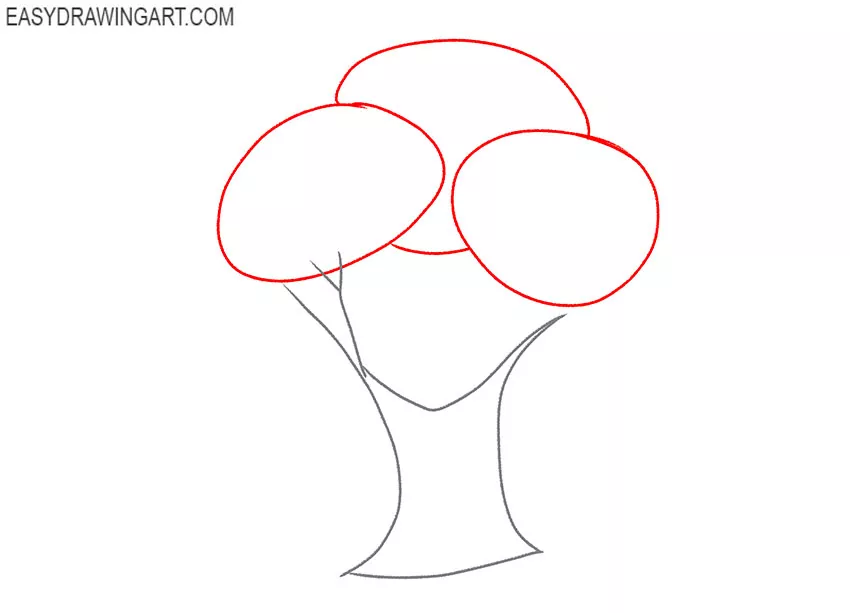
Step 2: Outline the leafy tree canopy
Above the trunk, sketch three overlapping oval shapes with thin strokes. Place one oval on each side and a larger one across the top to mark the main sections of the leafy canopy.
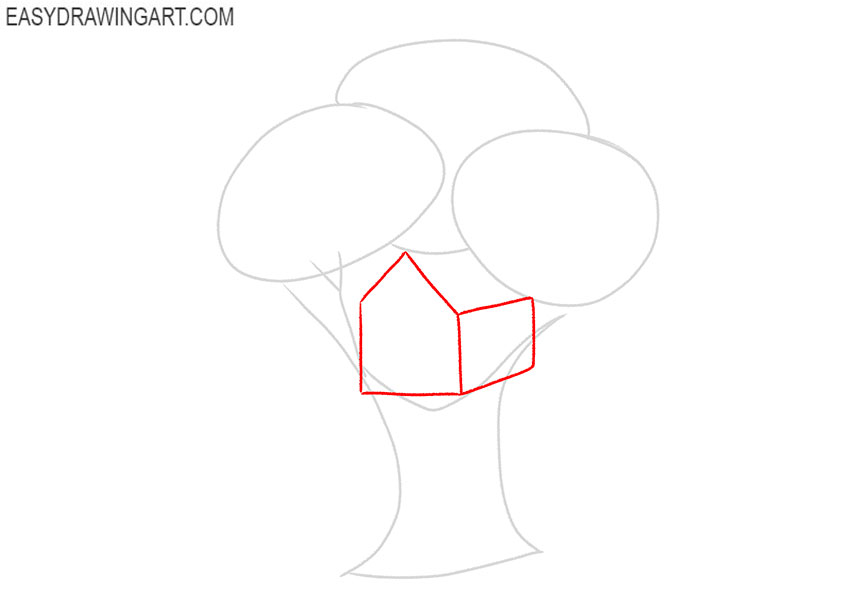
Step 3: Draw the basic tree house outlines
Place the small house between the upper branches. Use straight lines to draw the side walls, lower edge, and sloping section of the roof, leaving part of the structure behind the trunk.
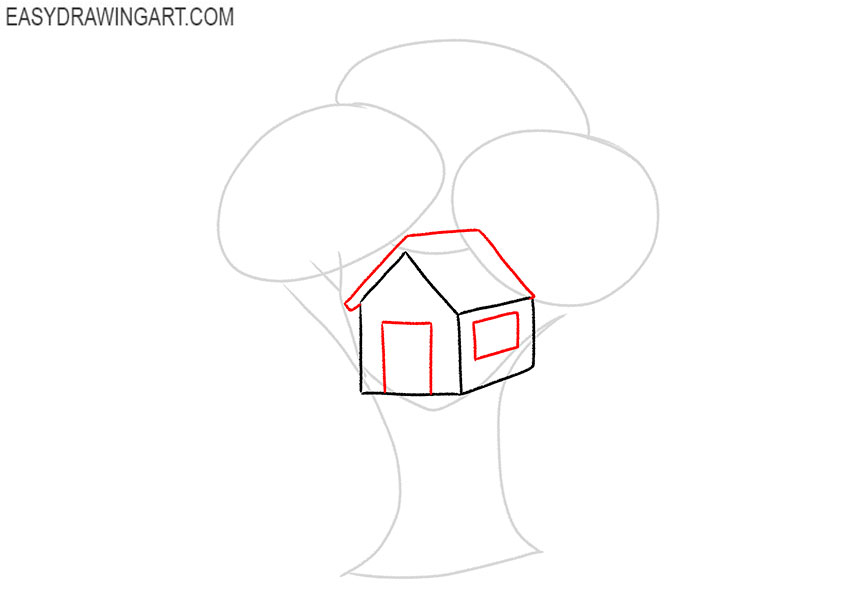
Step 4: Add the roof, door, and window
Complete the roof with several straight lines that meet above the walls. Add a tall rectangular door near the center and a smaller rectangular window on the visible side of the house.
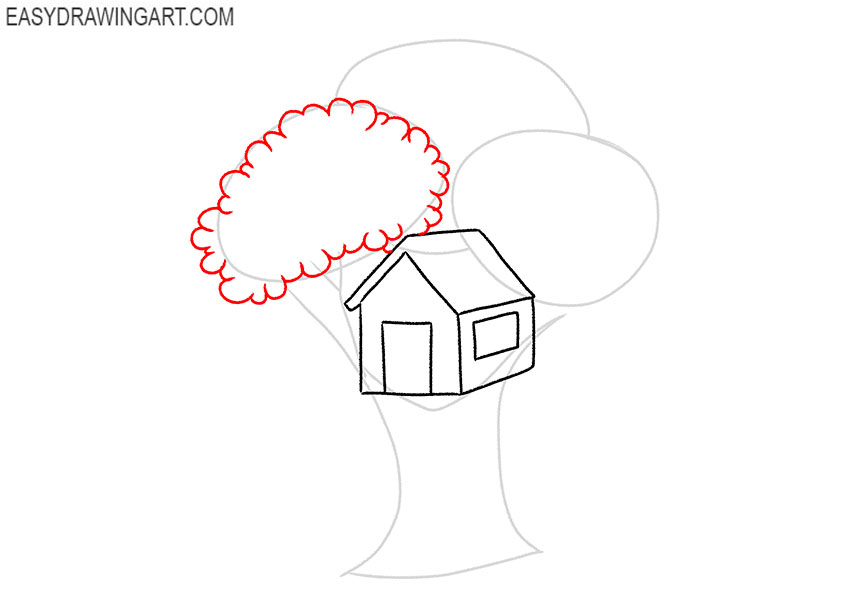
Step 5: Outline the left side of the canopy
Replace the left oval guide with a series of short rounded curves. Connect these curves around the outer edge to form clusters of foliage beside the house and upper branches.
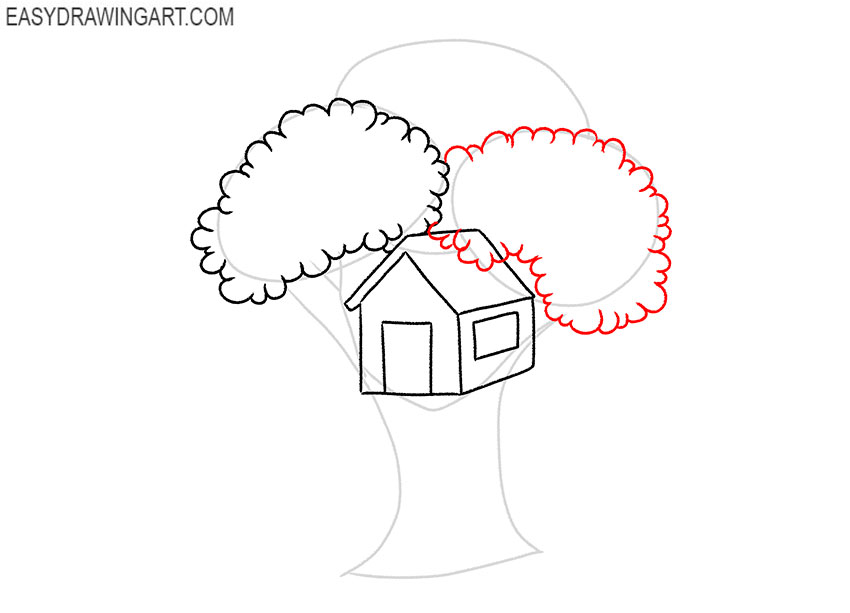
Step 6: Draw the right section of the canopy
Continue the foliage on the right side with connected curved segments. Follow the oval guide around the outer edge and bring the lower curves toward the branches and side of the house.
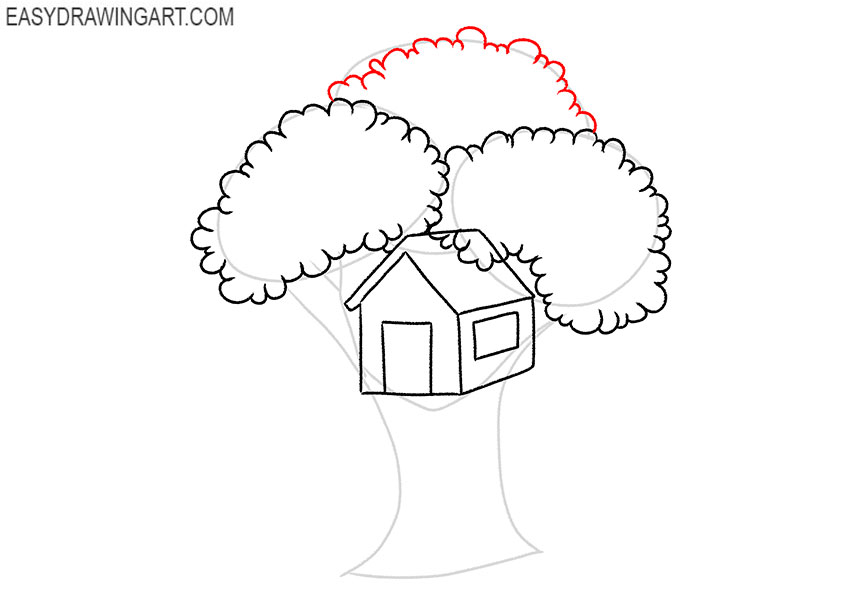
Step 7: Complete the top of the tree canopy
Outline the upper foliage with more short, rounded curves. Join this section to the left and right clusters, closing the canopy around the roof while leaving the house visible.
Step 8: Refine the tree trunk and branches
Trace the outer edges of the trunk with irregular curved lines, widening its base near the ground. Refine the branches as they extend behind the house and connect them to the trunk.
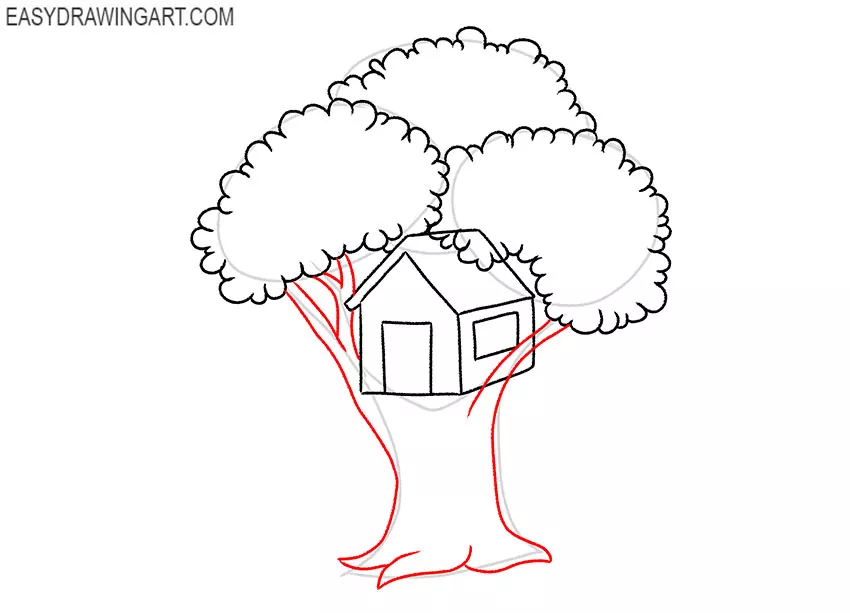
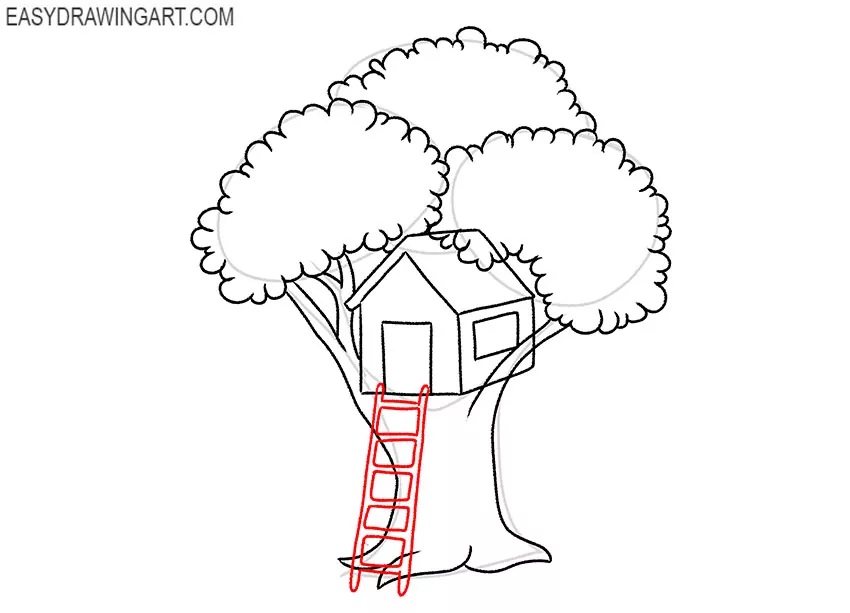
Step 9: Draw the tree house ladder
Extend two straight lines downward from the house to form the ladder rails. Connect them with a row of short horizontal rungs, following the angle of the ladder toward the ground.
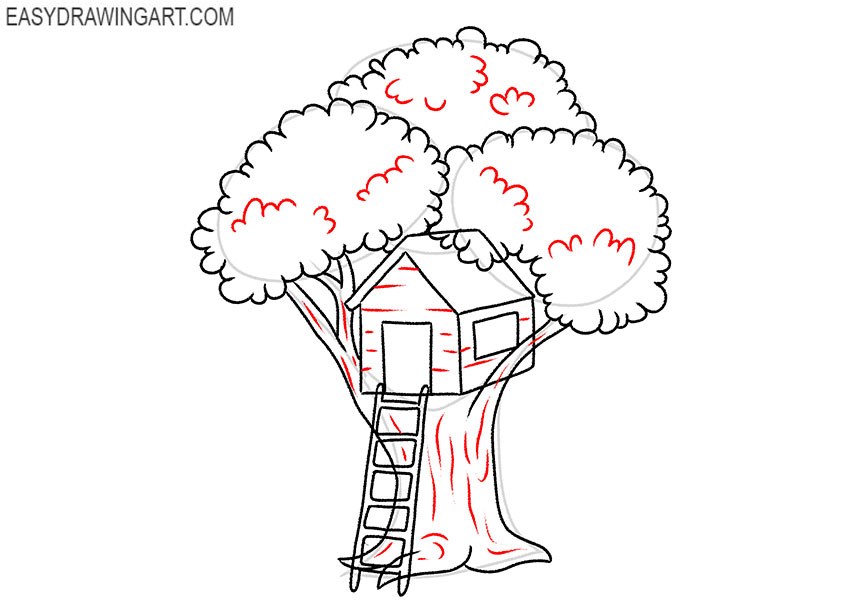
Step 10: Add wood, bark, and foliage details
Draw horizontal boards across the walls and add thin irregular strokes along the trunk and branches for bark texture. Place a few curved lines inside the canopy to separate the foliage clusters.
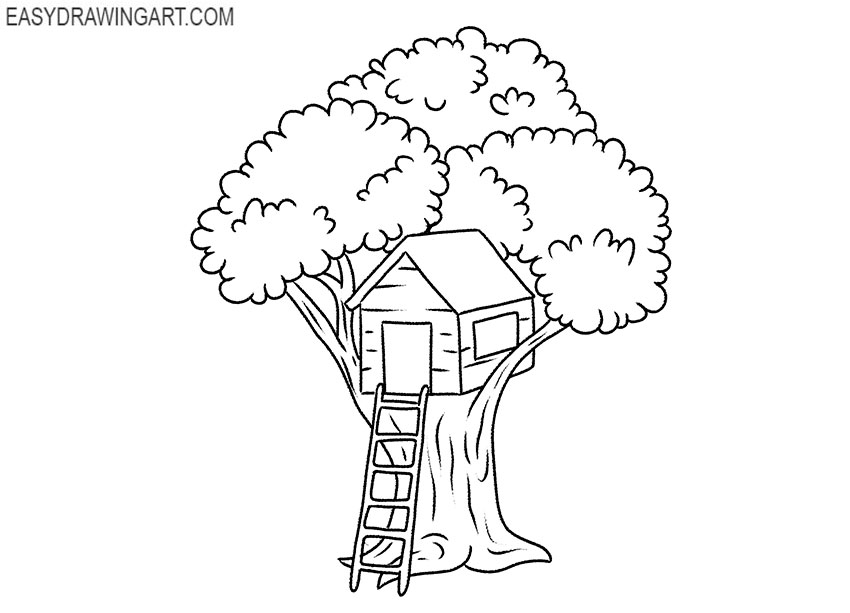
Step 11: Finish the tree house line drawing
Erase the oval canopy guides and any construction lines that remain inside the tree, house, and ladder. Refine broken contours and darken the final outlines where needed.
Step 12: Color the tree house drawing
Color the foliage with several green shades. Use light and dark browns for the trunk, ladder, and wooden house, then add darker tones beneath the canopy, branches, and roof.
The tree house is complete, including the leafy canopy, wooden walls, bark texture, and ladder. The same construction methods can also be used when drawing other small wooden buildings and trees.
If you enjoyed this drawing, you can continue by learning how to draw a tree to practice different trunk and foliage shapes, or drawing a simple house to improve your building sketches before creating more detailed scenes.
Show the drawing to your friends and share the information about this lesson. Try doing the guide together. Follow us on social media if you haven’t already.