How to Draw a TIE Fighter
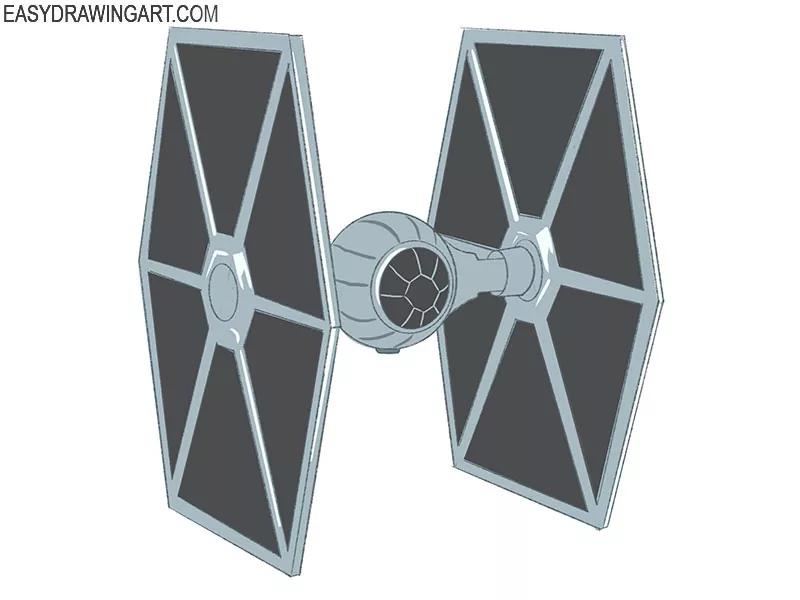
Science fiction spacecraft often combine simple geometric shapes. This tutorial will show you how to draw a TIE fighter from Star Wars step by step.
The finished drawing shows a TIE fighter viewed from the 3/4 angle. You’ll recreate this iconic Star Wars spacecraft with clean, straight lines.
Time needed: 1 hour
How to Draw a Tie Fighter
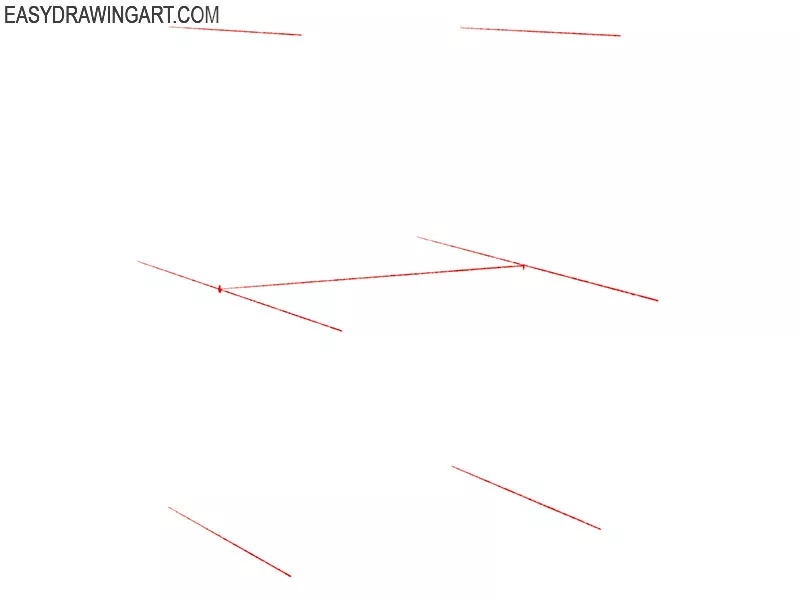
- Draw the guidelines.
First, you need to mark the location of the details of the fighter’s tie using straight lines.

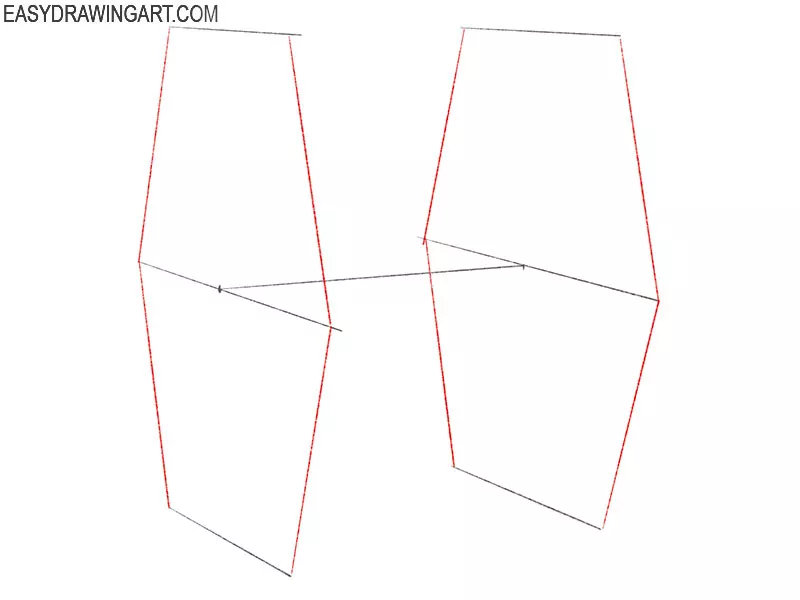
- Depict the side parts of the fighter’s tie.
Connect some drawn lines together using straight lines, as shown.
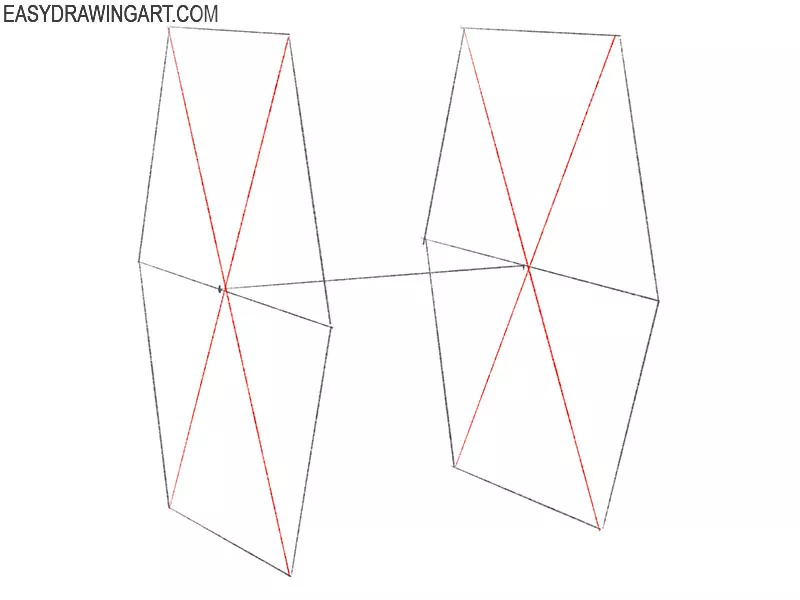
- Add elements on the sides of the fighter tie.
Inside the previously drawn shapes, add four straight lines crossing each other in pairs.
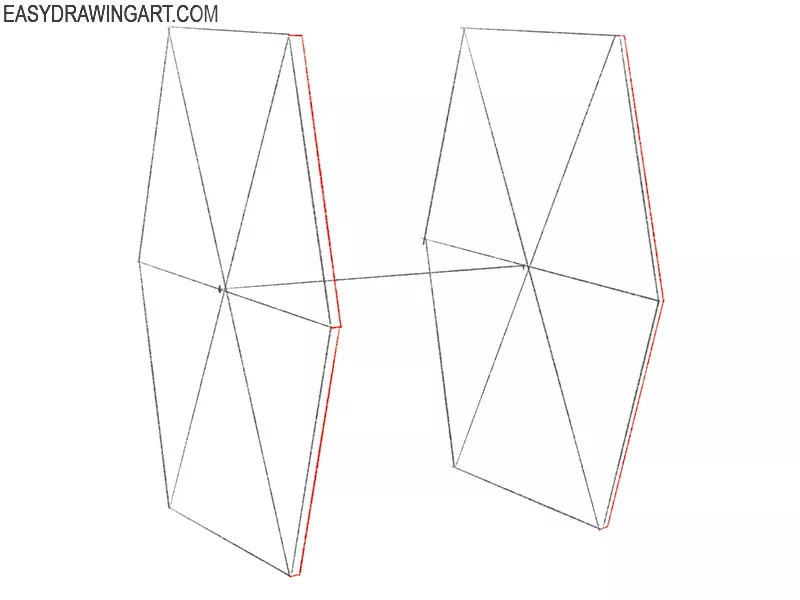
- Sketch out the edges to the sides of the fighter’s tie.
Next to the previously drawn elements, add short and long straight lines, as shown in the figure.
- Continue drawing the side parts of the tie fighter.
Inside the side parts of the fighter tie, add large triangles turned in different directions.
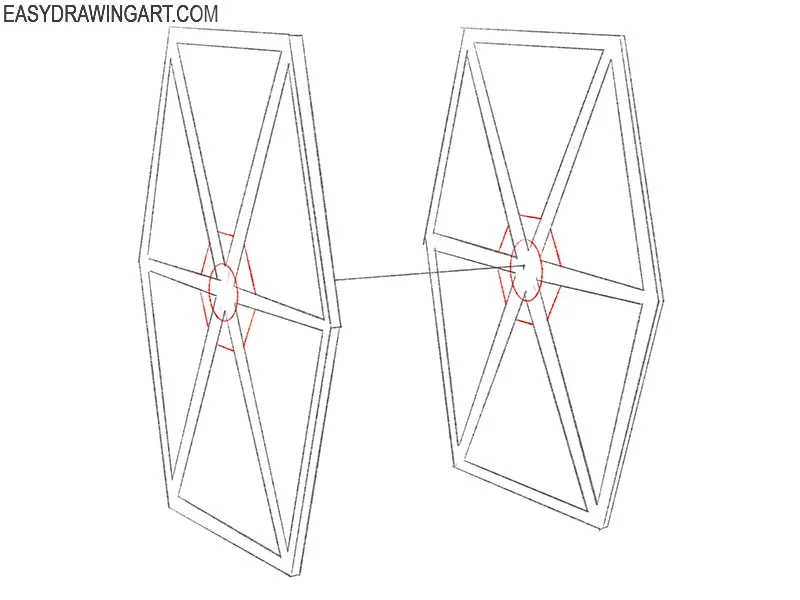
- Correct inaccuracies.
Use the eraser to remove extra lines, and also draw ovals and short straight lines.
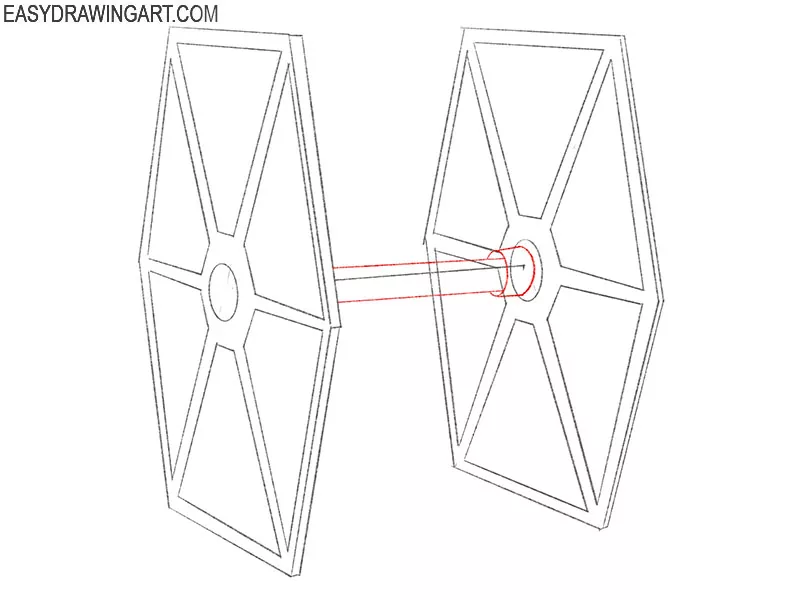
- Add an element connecting the side parts.
Using straight lines and a few arcs, connect the two drawn sides of the fighter tie.
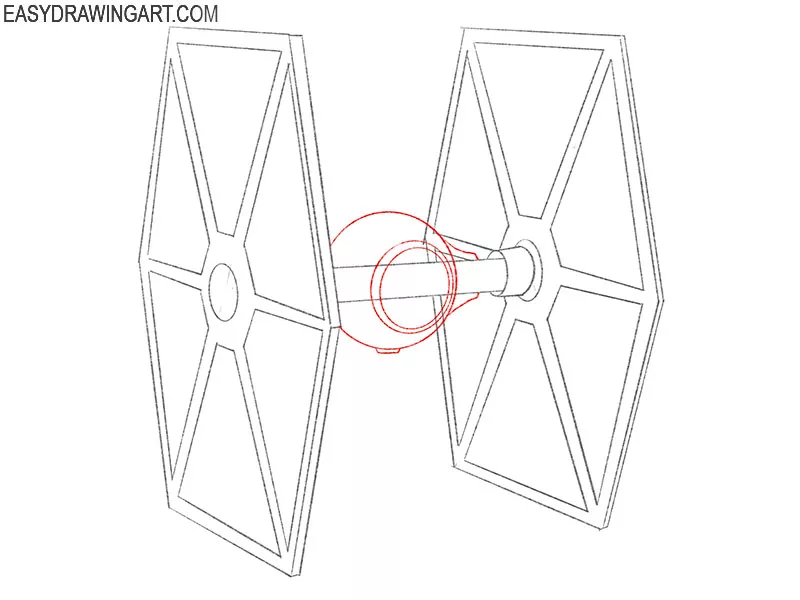
- Remove extra lines and add the central part of the fighter.
Use the eraser tool to remove extra lines and add some circles and curved lines.
- Color the drawing.
To color the tie fighter, use black and various shades of gray.

I’m sure you did great work! This is where this drawing lesson came to an end, with the help of which you could learn how to draw a fighter tie step by step. Don’t forget to visit other useful and exciting drawing lessons on our website that will help you develop your artistic skills, as well as learn how to draw various objects and characters from movies and video games. I will be glad to read your comments to see if you succeeded in completing this drawing lesson. I will also be happy to take into account your wishes for new drawing lessons. If you liked this tutorial and found it useful, you can share it with your friends.
If you want you can add little tubes at the bottom and then use red or green liner to make it look like its the a dog fight