How to Draw a Soldier
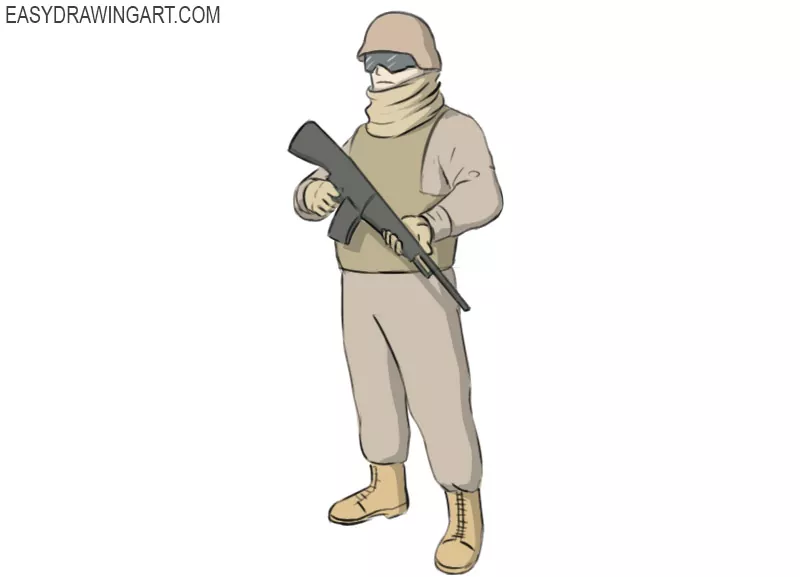
Now you will learn how to draw a soldier, and this will be a great exercise for developing your drawing skills. You will also get more practice drawing a human figure.
You can draw a soldier in many ways, and soldiers can wear a variety of uniforms. In this tutorial, you will learn a very simple way with a simple weapon.
The drawing uses simple elements and does not include many small details.
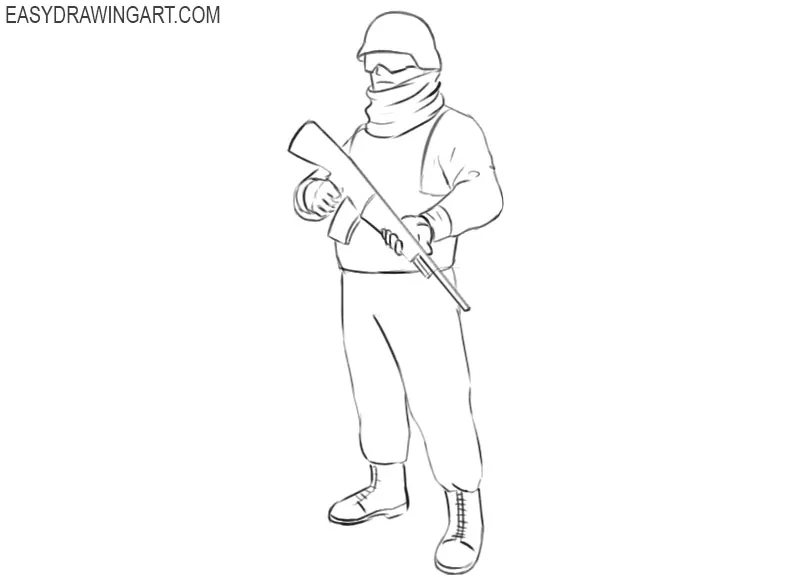
In this guide, the soldier has the most essential pieces of equipment. He wears a protective helmet, a wide scarf around his neck, a protective vest over his torso, and sturdy boots.
Time needed: 1 hour
How to Draw a Soldier
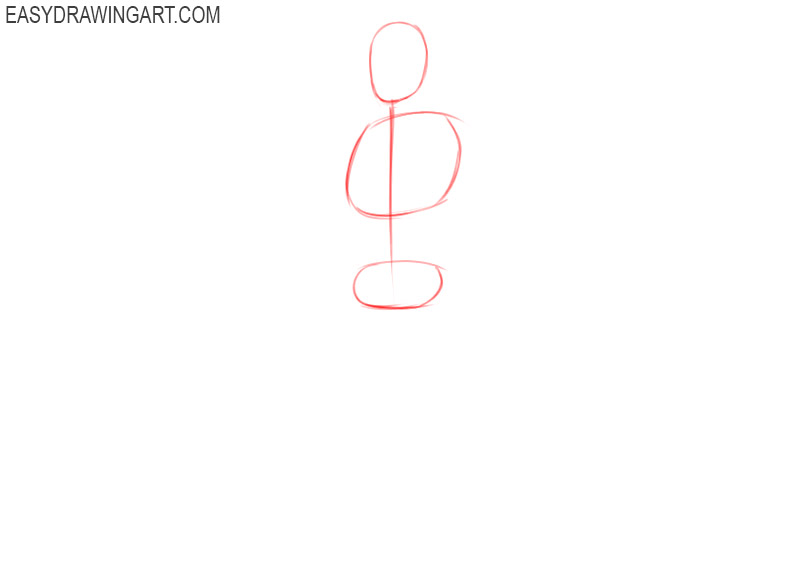
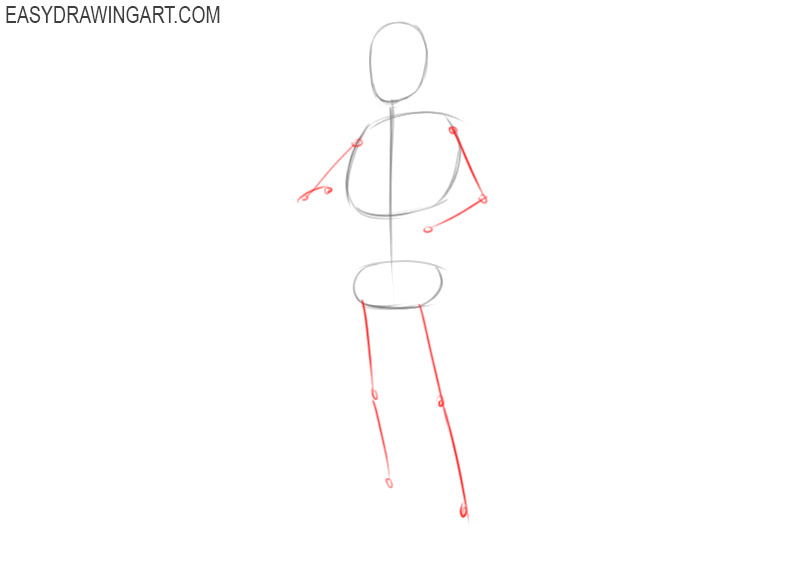
- Draw the base.
First, draw three oval shapes of different sizes, which are located at some distance from each other. Draw a vertical line connecting these figures.

- Mark the position of the arms and legs.
Use thin, straight lines to define the position of the arms and legs. Draw all joints as large dots.
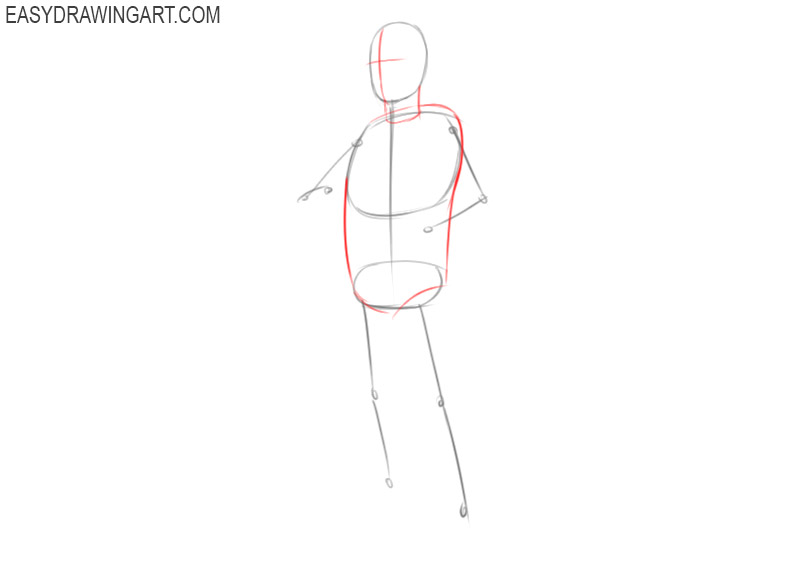
- Add the torso and make markings on the head.
Draw the sides of the torso, to do this, connect the thoracic region and the pelvis. Add the shoulders and draw the neck in the form of a cylinder. On the head, draw two transverse lines that will later help you correctly position the elements of the face.
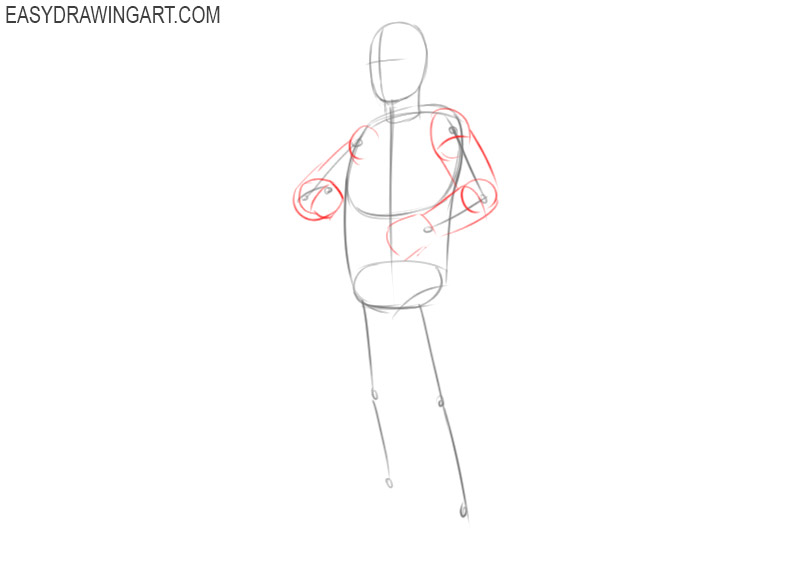
- Sketch out the hands.
Draw the thickness of the arms. To do this, draw elements of a cylindrical shape. Draw the shoulder and elbow joints as circles.
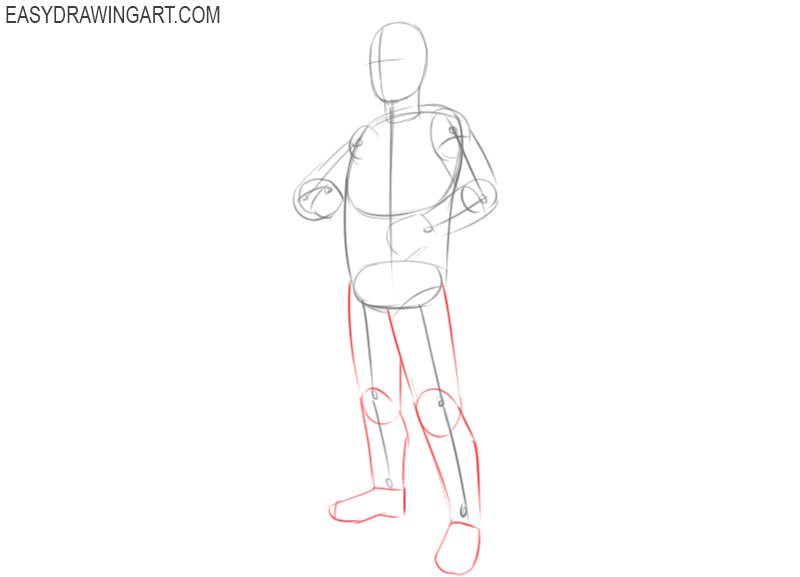
- Depict the legs.
This step is similar to the previous one. Use the guidelines and give the legs the necessary thickness, taking into account all the anatomical features. Draw the knee joint as a circle and add the lower parts of the legs.
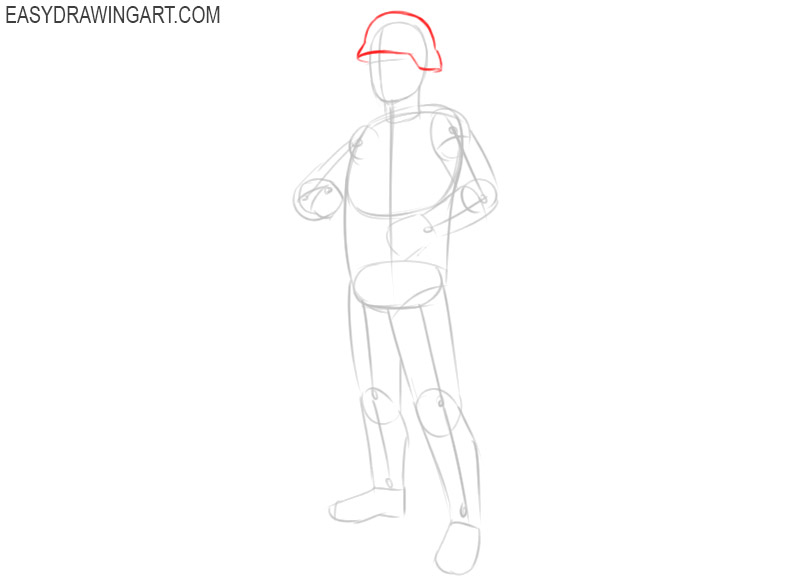
- Sketch out the helmet.
The upper part of the helmet has the shape of a semicircle, the lower part is wider and has a figured edge.
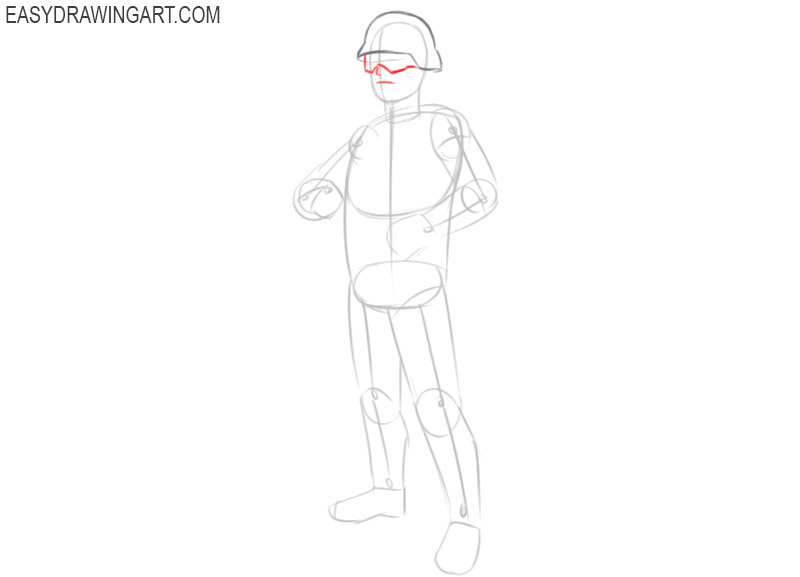
- Draw the elements of the face.
The soldier’s eyes are hidden under goggles, to try to depict their shape correctly. Add the small nose and draw the mouth as a small straight line.
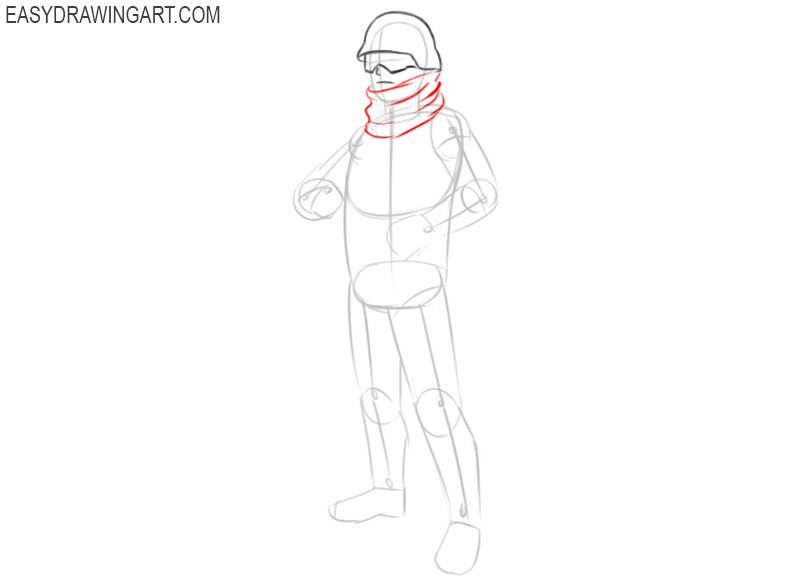
- Depict the bandage around the neck.
In this step, you can use arbitrary lines of different sizes. Mark the top and bottom contours of the bandage, draw the sides with wavy lines and add a few folds.
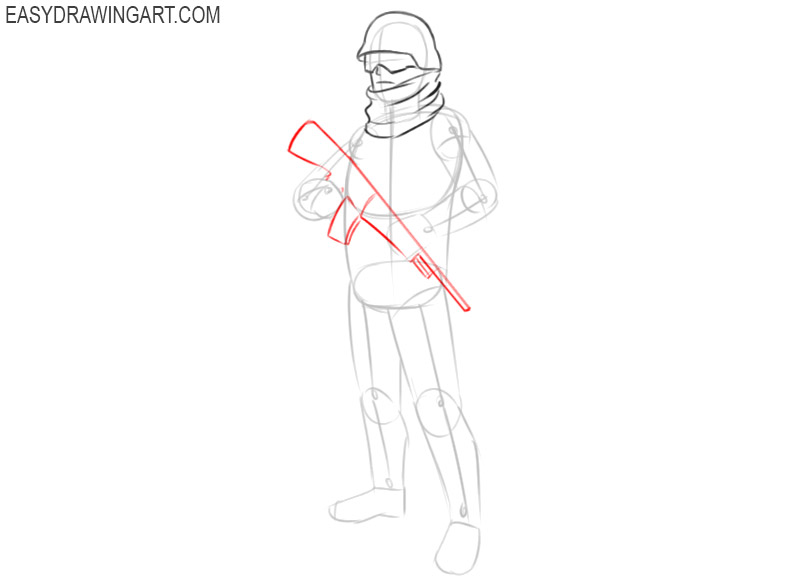
- Draw the automaton.
Now you have to draw several elements of different shapes. Repeat the same as in the example.
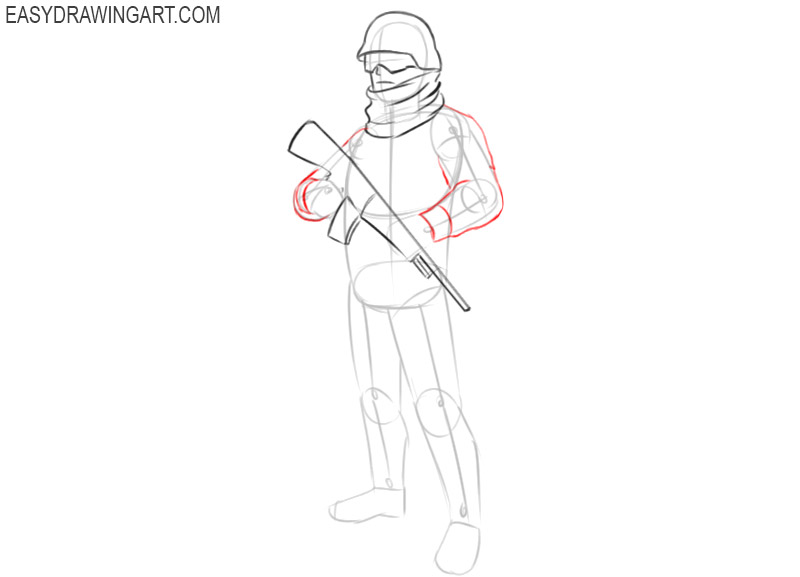
- Draw the clothes.
From the shoulders, draw smooth lines down to represent the sleeve, add cuffs on each sleeve and pleats at the elbow joint.
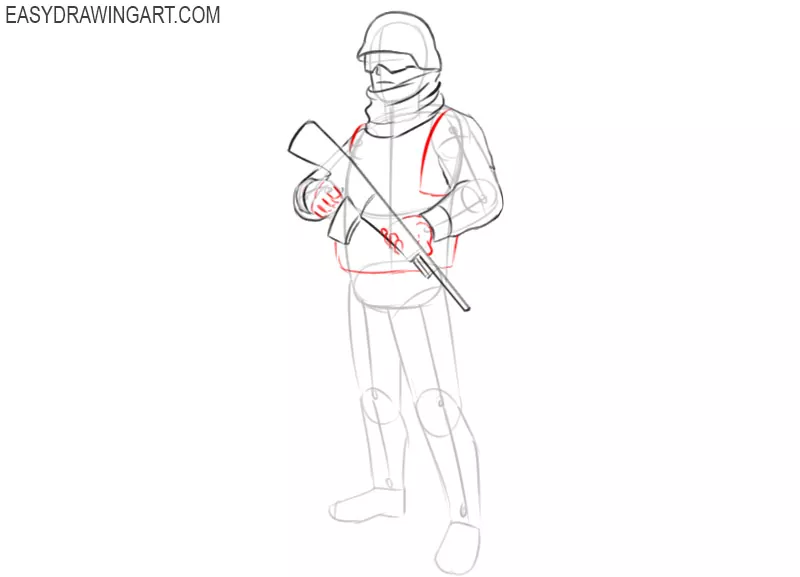
- Depict the hands and vest.
Try to correctly depict the position of the hands. To depict the vest, draw straight lines on the chest and belly.
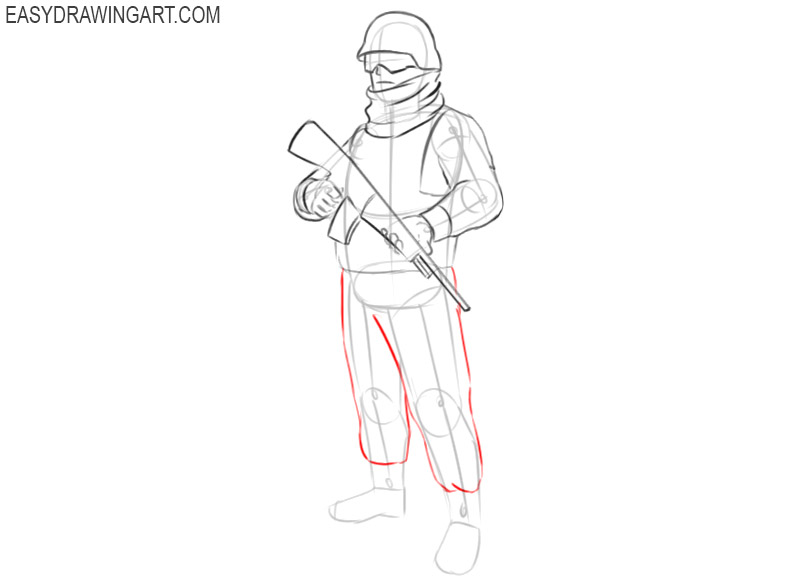
- Sketch out the pants.
Add the outline of the trousers, while using the same lines that you drew in the previous steps. Here you can use smooth, slightly curved lines.
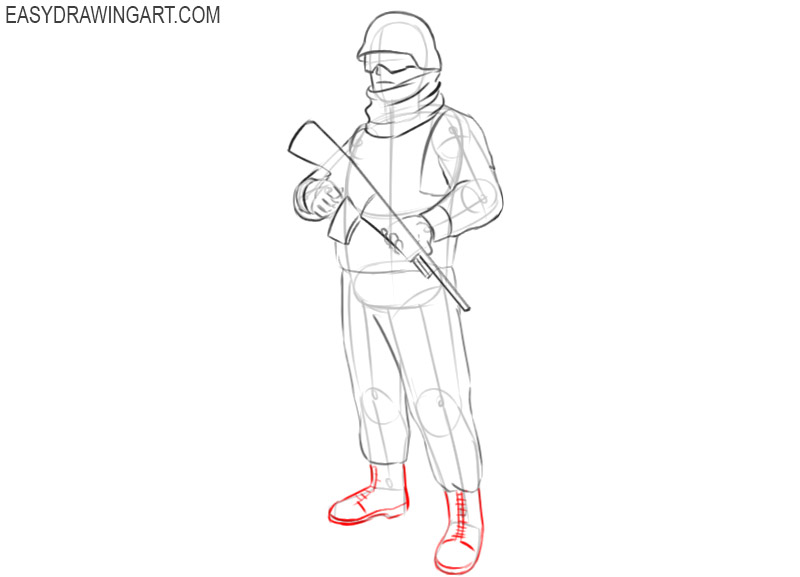
- Draw the boots.
The soldier has low boots with lacing in the front. Try to correctly depict the shape of the boots and the position of the legs.
- Correct inaccuracies.
Finally, you have drawn all the main outlines, and now you can evaluate your drawing. If you notice errors, you can correct them at this stage. Remove all extra lines in your drawing.
- Color the soldier.
You can use any shades of gray, green, and beige. The machine gun and glasses are painted in dark gray. Don’t forget to add shadows to make your drawing look more realistic.
We hope that this instruction was simple and understandable for you. Write us your wishes about what objects you would like to draw in the following lessons. We will definitely consider all your wishes.