How to Draw a Snow Leopard
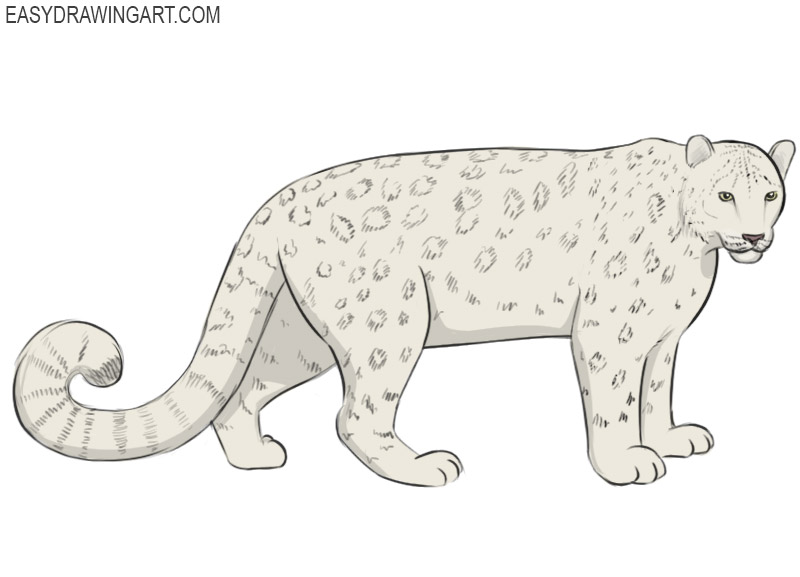
In this tutorial, you will learn how to draw a snow leopard step by step, a big cat with thick fur and beautiful spotted coats.
This big cat is believed to have lived as far back as the Ice Age alongside animals such as mammoths, cave lions, and woolly rhinos.
Its thick grayish-white fur is covered with distinctive dark ring-shaped spots that help it blend into its rocky mountain habitat.
By following the steps of this guide, you’ll draw a standing snow leopard with its characteristic spotted coat.
Time needed: 1 hour
How to Draw a Snow Leopard
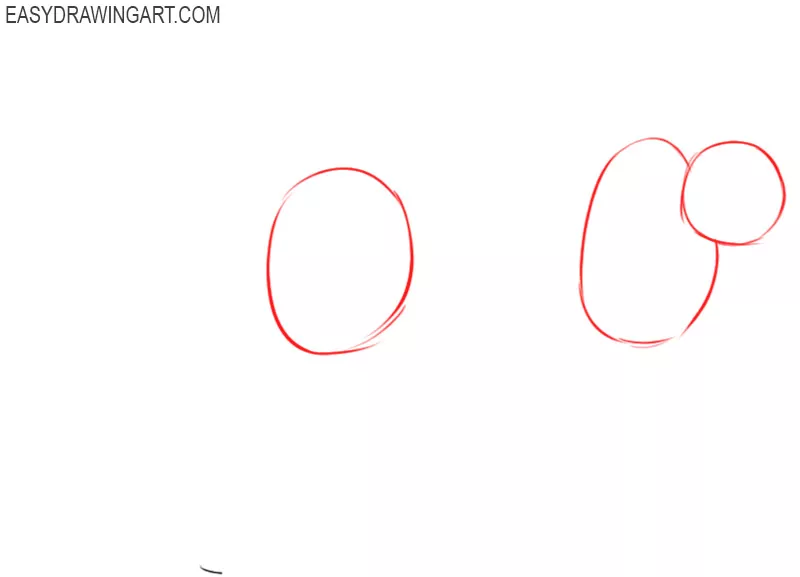
- Draw the guidelines.
Outline the outline of the head and markings of the torso in the form of figures similar to circles and ovals, using broken, curved lines.

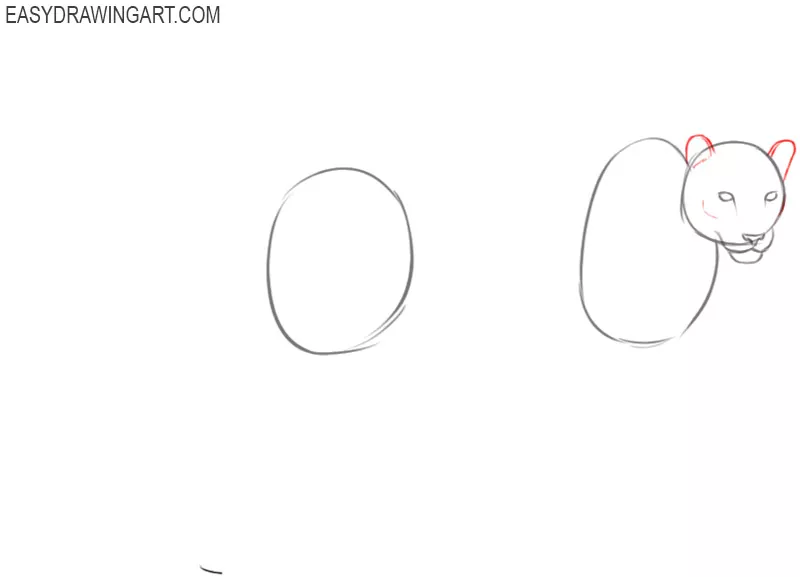
- Add the eyes and nose of the snow leopard.
Depict two eyes inside the previously drawn outline of the head, and add a nose at the bottom of the head using curved lines.
- Depict the lower part of the snow leopard’s face.
Below the previously drawn nose, draw some curved lines, as shown in the picture.
- Sketch out the ears and the elements on the head.
Depict two ears using curved lines, and also draw a thin line on the face of the snow leopard.
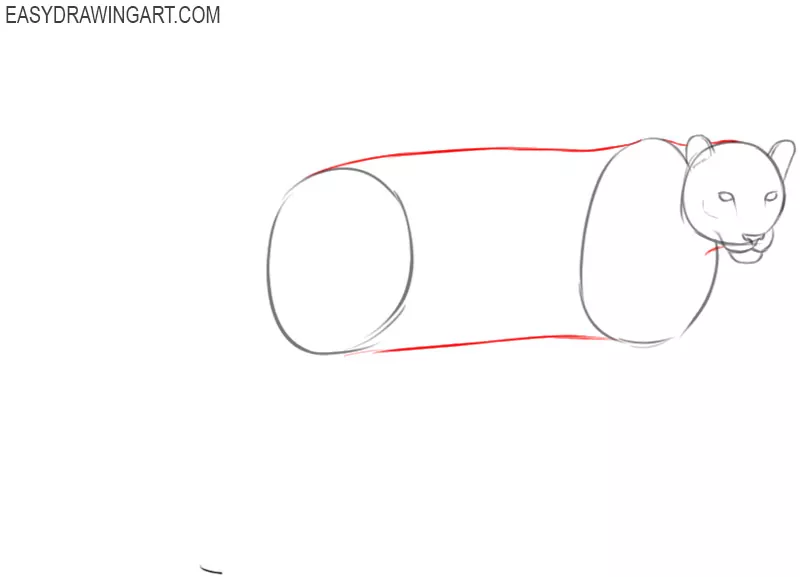
- Draw the back, neck, and belly.
Connect the head and the previously drawn ovals together using curved lines of different lengths.
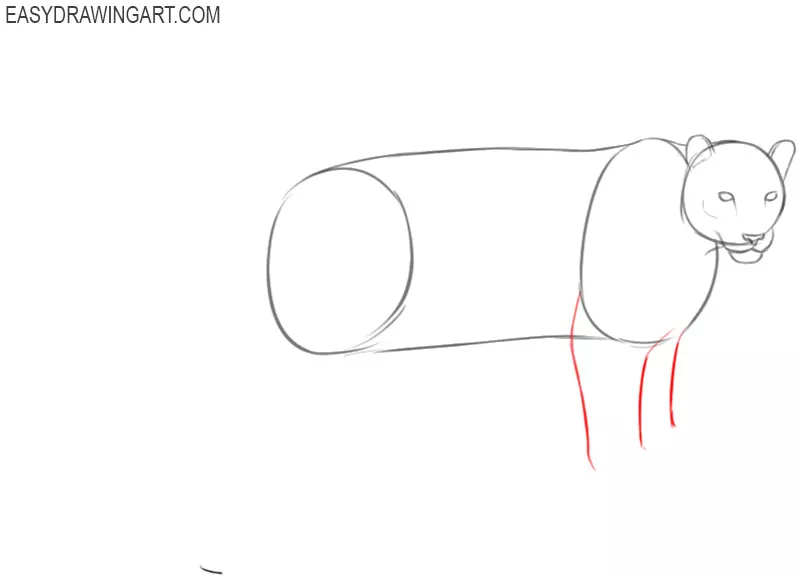
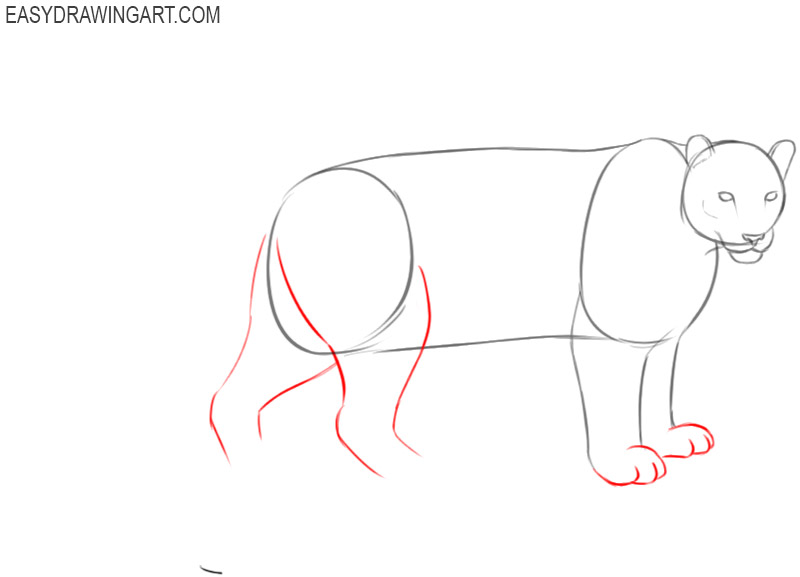
- Start drawing the limbs.
Depict the upper part of the snow leopard’s front legs using curved lines, as shown in the example.
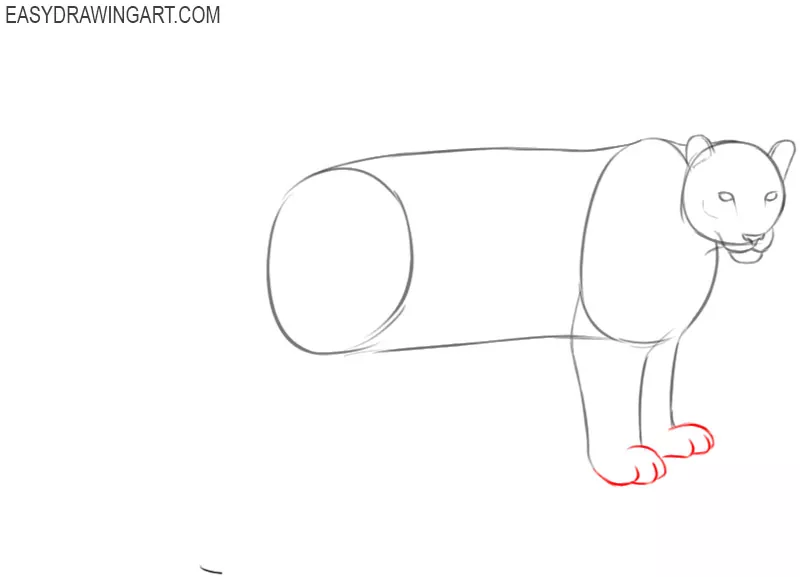
- Finish drawing the front paws.
Draw the bottom part of the front paws of the snow leopard using rounded lines as shown in the picture.
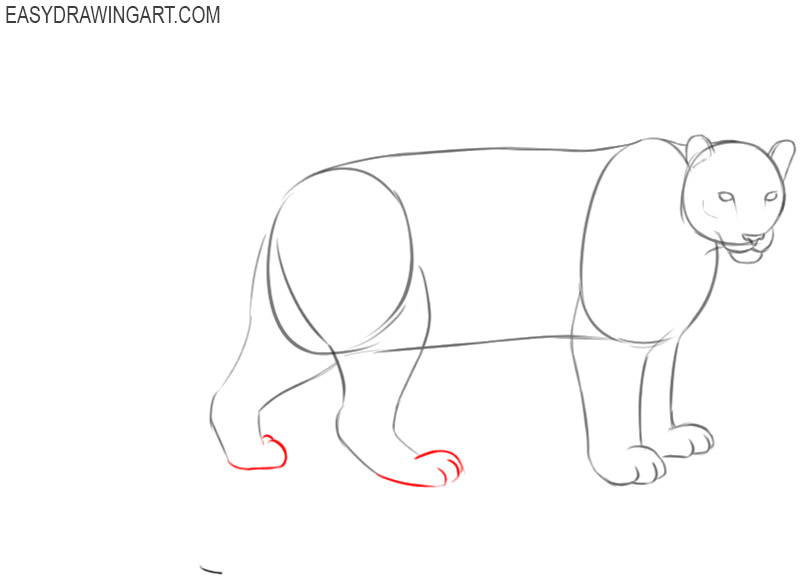
- Add the outlines of the leopard’s hind legs.
Continue drawing the limbs and at the back of the animal’s torso draw two paws using curved lines.
- Finish drawing the hind legs.
Now you should add the lower parts of the snow leopard’s paws, and depict them using curved lines.
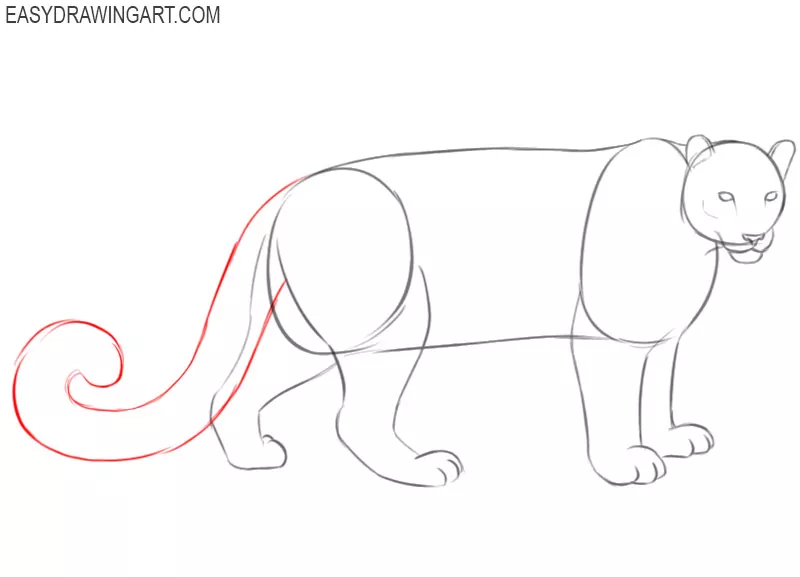
- Depict the tail of the snow leopard.
At the back of the leopard’s torso, draw the large rounded tail using curved lines as shown.
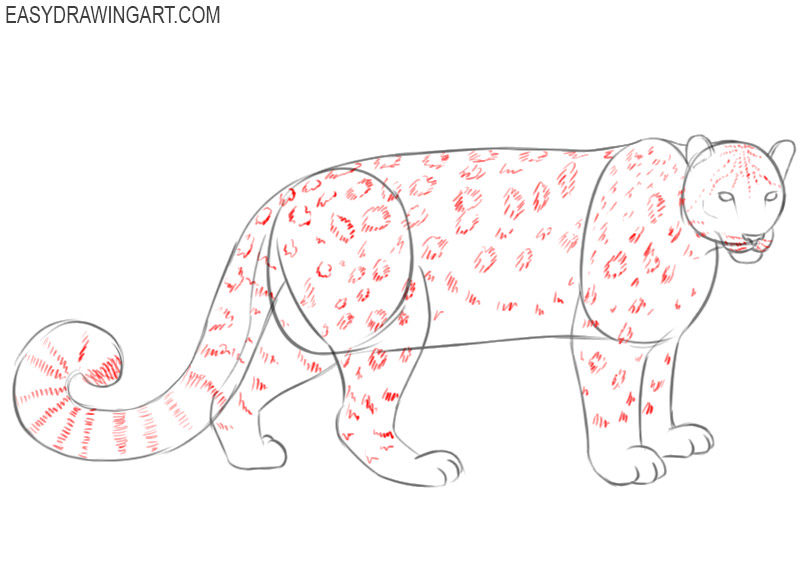
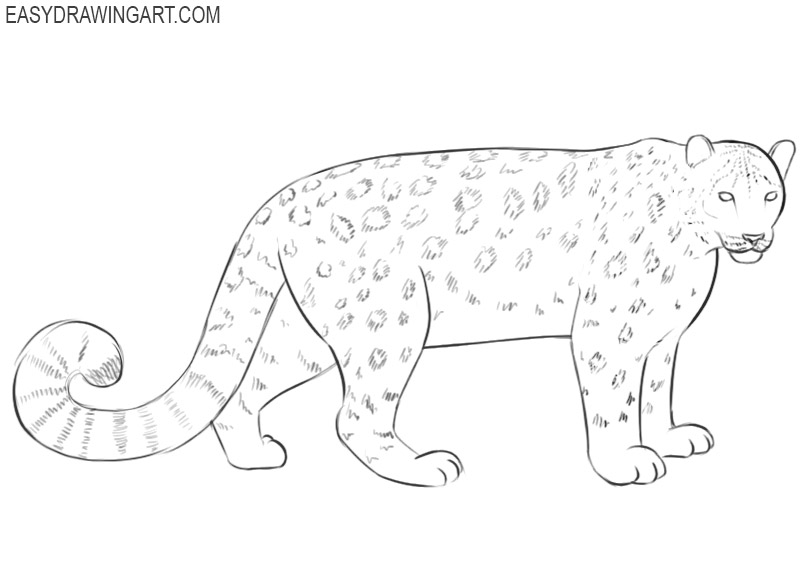
- Add decorative elements.
Depict the rings, spots, and stripes on the body, tail, and head of the snow leopard using hatching.
- Correct the inaccuracies.
Compare your drawing with the example and correct any mistakes as needed. Remove all unnecessary auxiliary lines from the drawing.
- Color the drawing.
Now you can proceed to the last step and add color. To color the snow leopard, use shades of gray and black.


This wonderful drawing lesson has come to an end, with the help of which you have learned how to draw a snow leopard step by step. We hope you enjoy this lesson. Now you can share these tutorials with your friends, so they can develop their artistic skills as well.