How to Draw a Running Horse
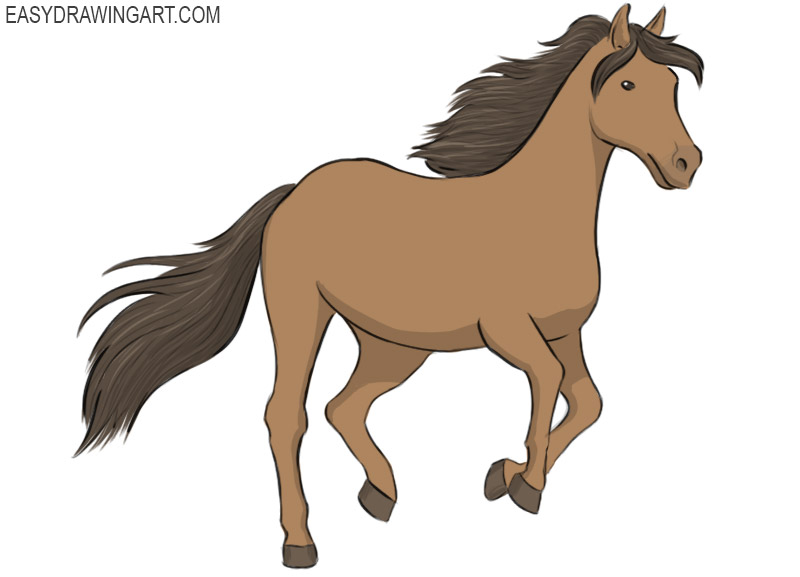
Now we will show you in detail how to draw a running horse. A horse in motion is a mesmerizing sight, and this tutorial will help you capture its graceful pose using simple, easy-to-follow steps.
A running horse is often used as a symbol of endurance, strength, perseverance, and freedom. We designed each step to make the drawing process clear and easy to follow.
Start with simple shapes and gradually add the remaining details as you progress. By the end of this tutorial, you’ll have a drawing of a running horse in a dynamic pose.
Time needed: 1 hour and 10 minutes
How to Draw a Running Horse
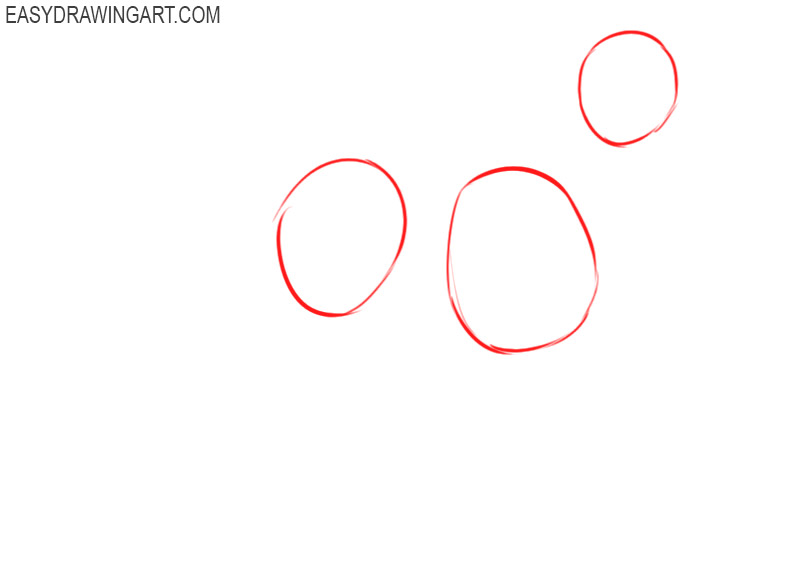
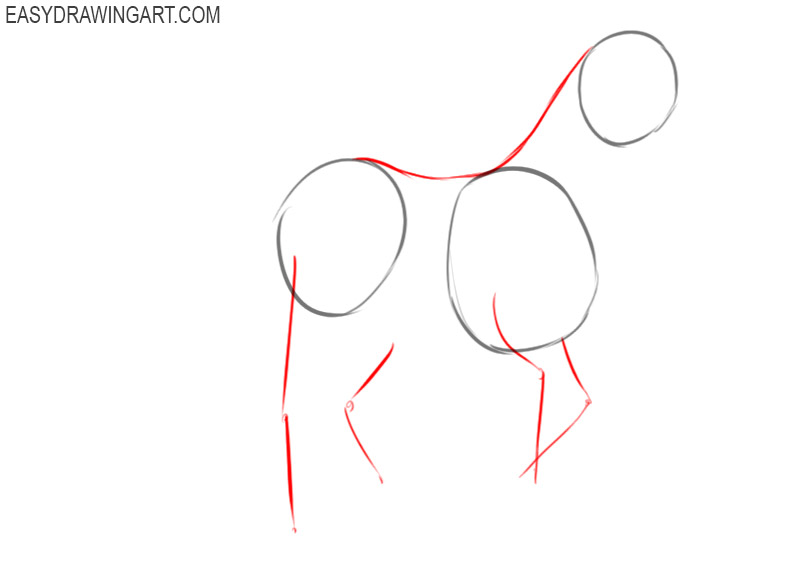
- Draw the main outlines.
Depict three round shapes to indicate the location of the head and torso. Try to keep all proportions.

- Add the top outline and limbs.
At the top, draw a smooth line that connects the head and torso. Then, using straight lines, determine the location of the limbs. All lines should be thin so that you can remove them if necessary.
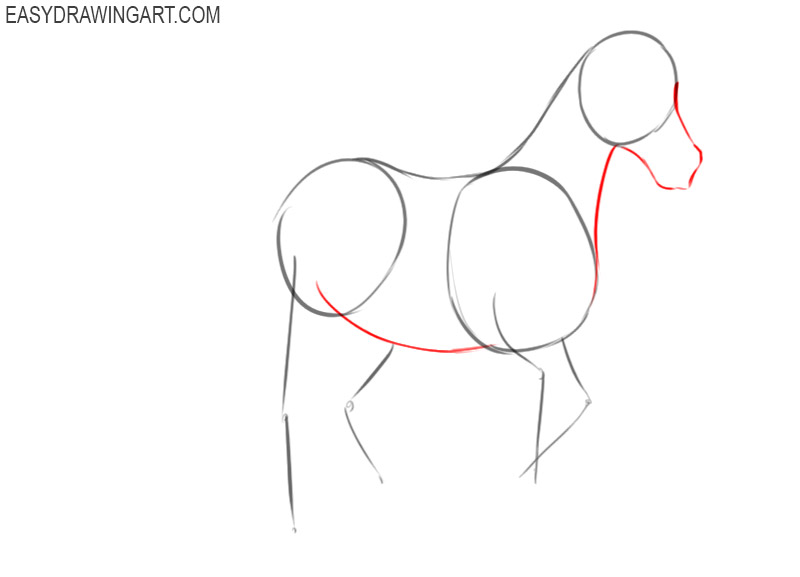
- Depict the head and lower body.
Give the head the desired shape. Draw the front of the head with smooth lines. Connect the circles along the bottom edge to draw the neck and belly.
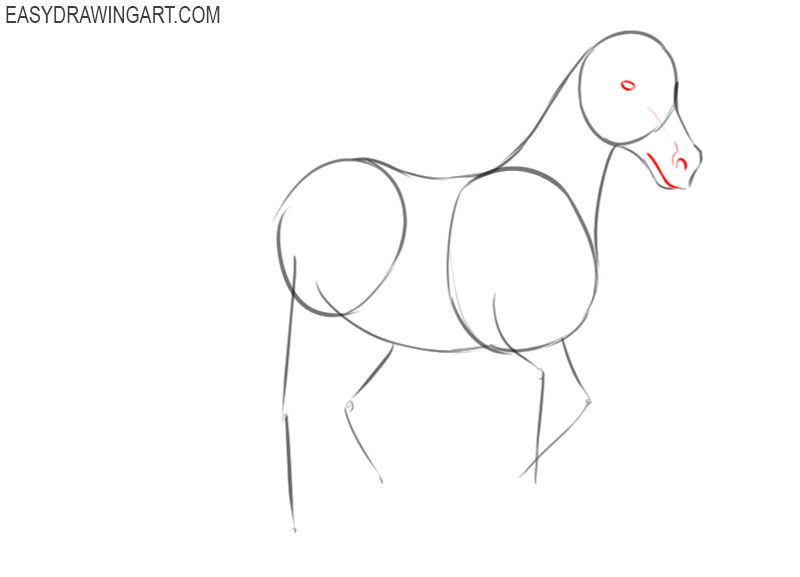
- Add elements of the muzzle.
Draw the small eye approximately in the center of the circle, then use a short rounded line to represent the nostril and use a smooth line to represent the mouth.
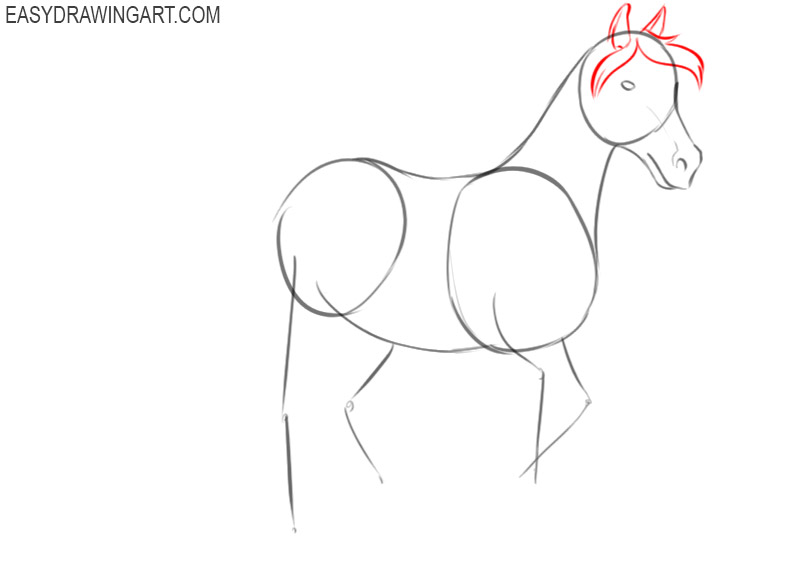
- Draw the ears and part of the mane.
The horse has erect, pointed ears. Draw the outer contour first, then add the inner contour. With smooth curved lines, depict the pointed strands of the mane on the head.
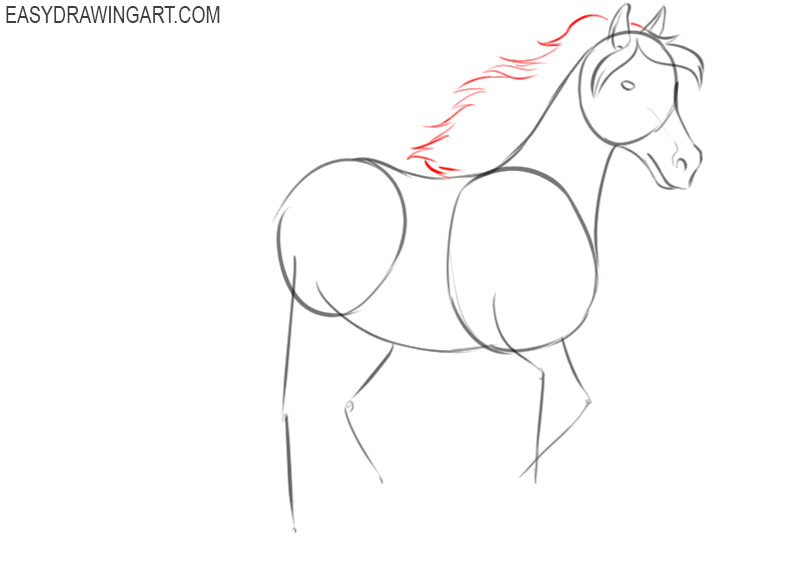
- Sketch out the rest of the mane.
Continue drawing the mane. Since the horse is in motion, the ends of the hair flutter in the wind. In this step, you can use freehand lines.
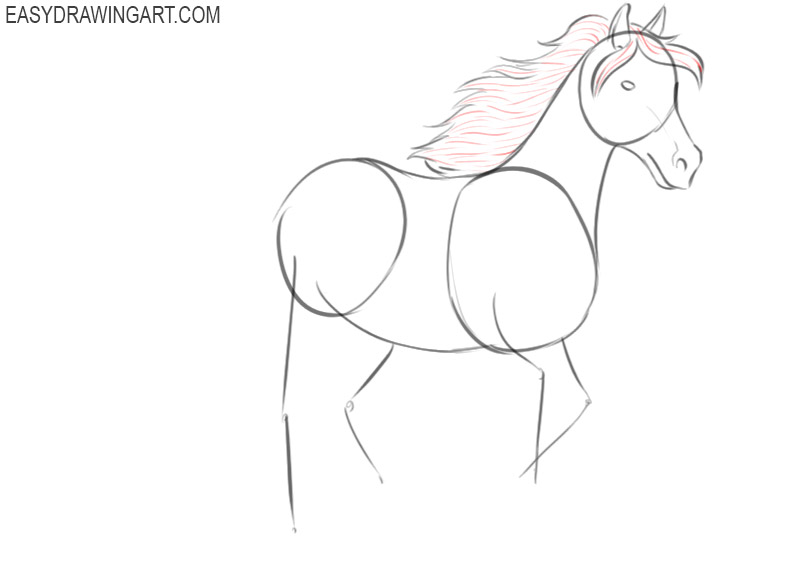
- Detail the mane.
Add thin lines of varying lengths to draw the individual hairs in the mane. Thus, the mane will look more realistic.
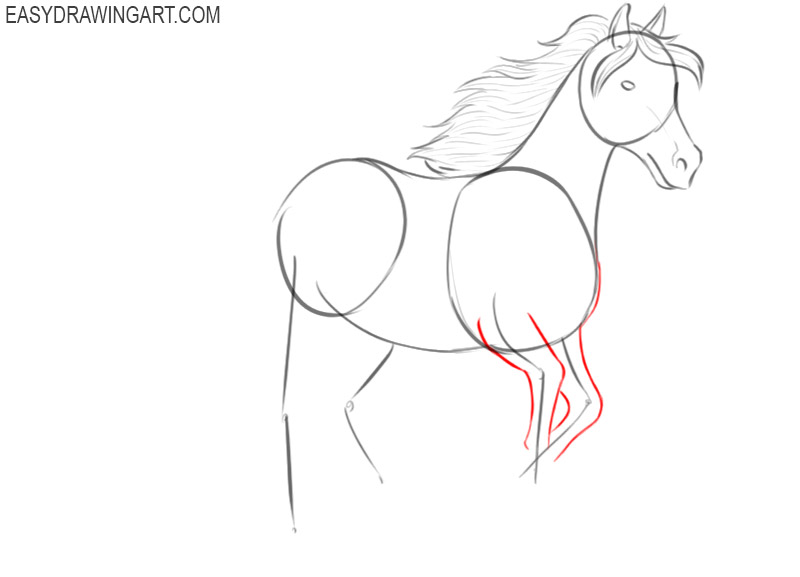
- Depict the front legs.
This step will require you to be careful and accurate, because you must correctly depict the shape of the legs. Use guidelines and try to draw all the curves correctly.
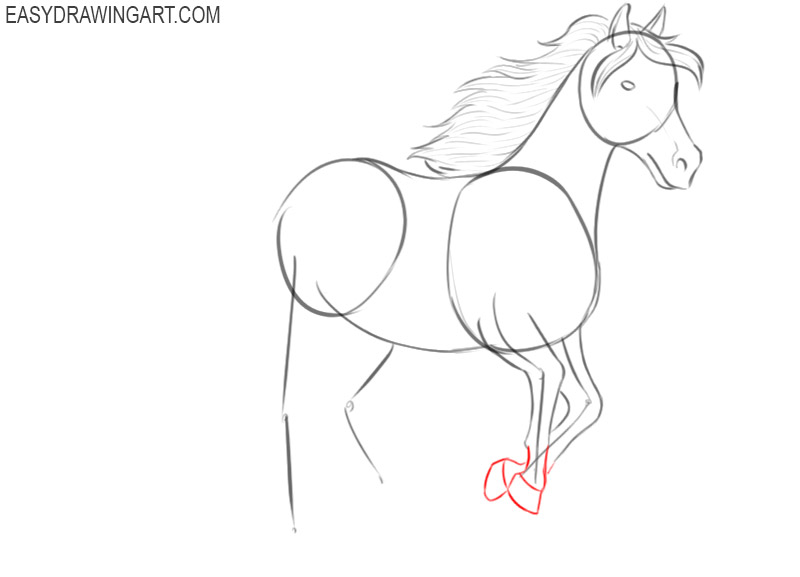
- Add the bottom of the front legs.
Depict the bottom and hooves on each leg. Try to correctly depict the position of the running horse’s hooves.
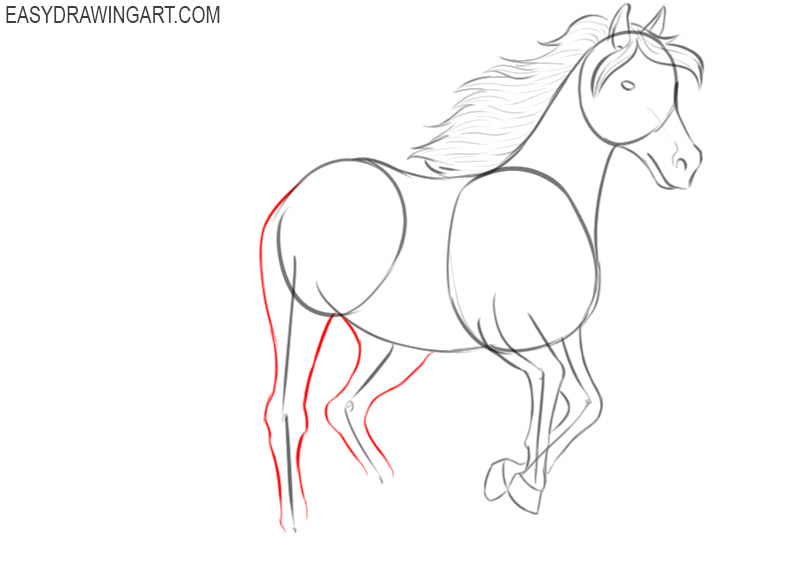
- Draw the hind legs.
The hind legs have a wide base and gradually taper downwards. In the middle part of the legs, there are bends in the joint area. Use the guidelines as a guide.
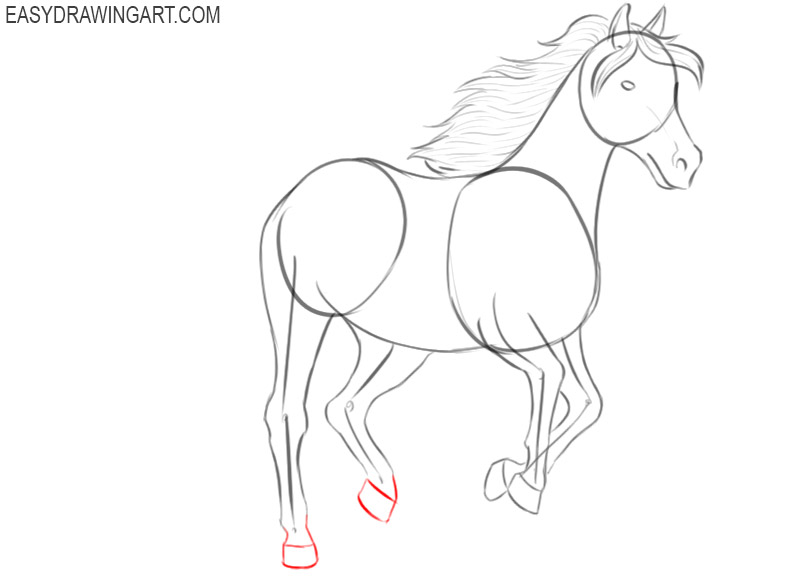
- Add the bottom of the hind legs.
The lower part of the hind legs should be drawn in the same way as the front legs. First continue the lines to draw the bottom part, then add the hooves.
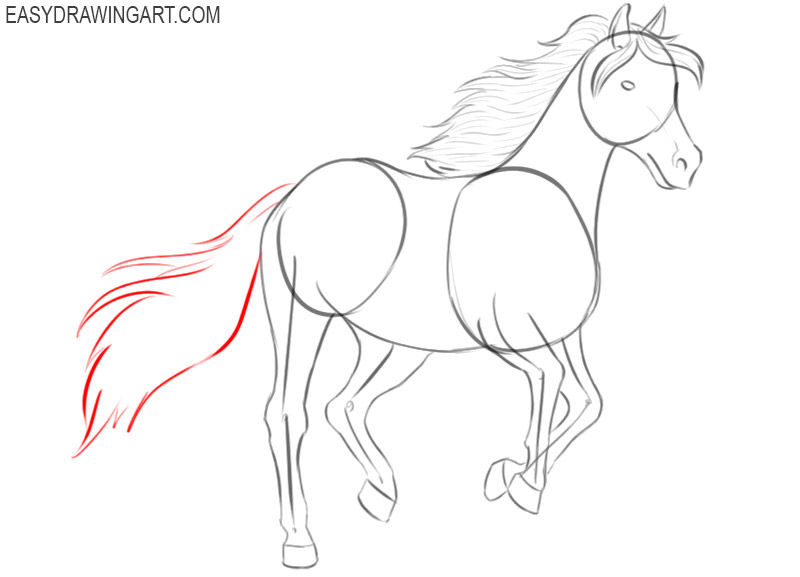
- Sketch out the tail.
In this drawing, the horse has the large bushy tail, individual strands fluttering freely in the wind. Use smooth, free-form lines to highlight individual strands.
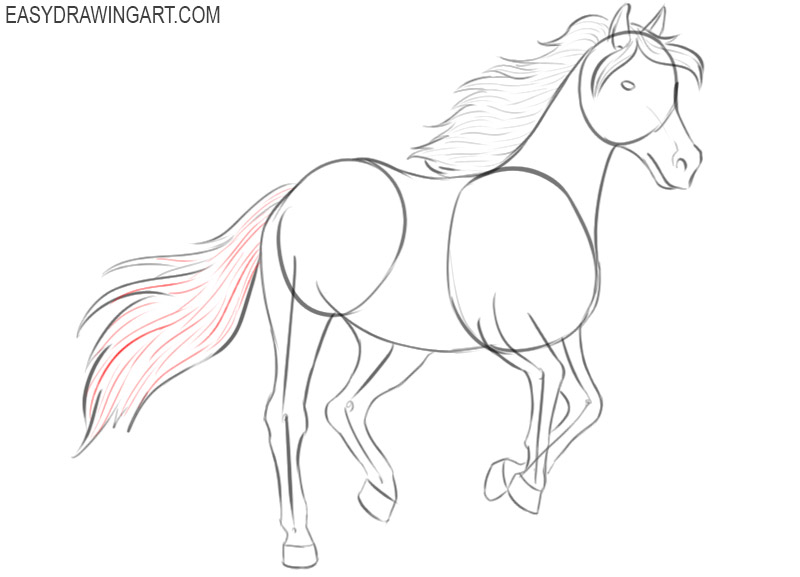
- Detail the tail.
Draw thin lines to depict individual strands, similar to how you detailed the mane. These simple steps will make your drawing more realistic.
- Correct inaccuracies.
With the eraser, carefully remove all unnecessary lines and correct inaccuracies so that your drawing takes on a complete look and is completely ready for coloring.
- Color the running horse.
Use brown to color the horse’s body. Color the mane and tail with a darker shade. If you wish, you can paint the horse in a different color, such as black or gray.
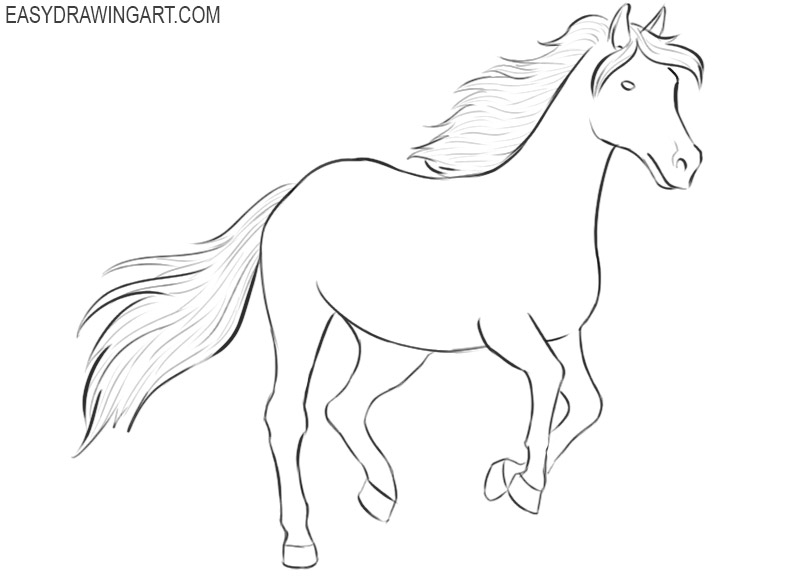
The lesson has come to an end. Did you like this step-by-step guide? Were you satisfied with the result of the work? We would love to hear from you. Share your impressions in the comments, and at the same time offer new ideas. We always take into account your wishes when compiling new, exciting lessons.