How to Draw a Rooster
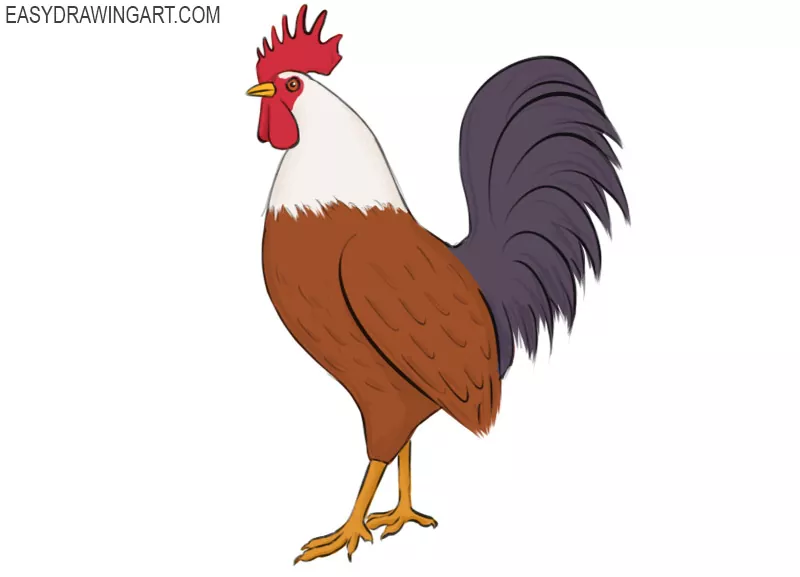
With this step-by-step tutorial, you’ll learn how to draw a rooster. This guide is designed for beginners and will show you the entire drawing process in twelve simple steps.
The rooster is a familiar farm bird, but it is also known for its remarkable intelligence. Roosters can recognize and remember many different people and other birds, and in many cultures they are an important symbol. They are also well known for crowing at dawn.
Roosters come in many different breeds and colors. In this tutorial, you’ll draw a rooster with a brown body and a solid-colored tail.
Time needed: 1 hour
How to Draw a Rooster
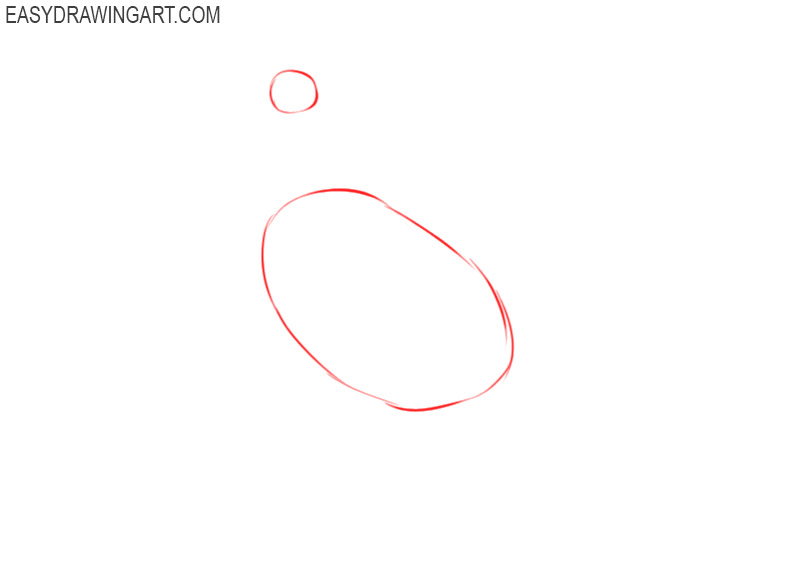
- Start drawing by marking.
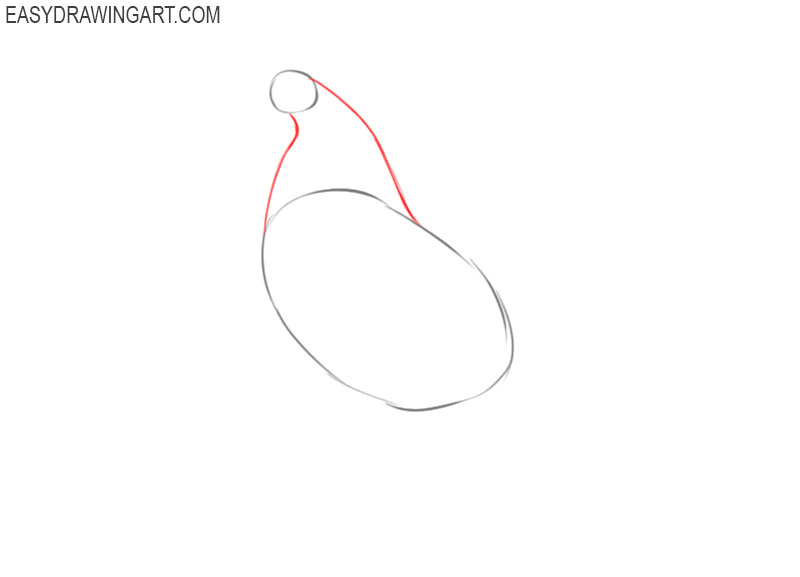
First, you need to note the location of the head and body of the rooster. Draw a circle and add an oval below it.

- Draw the neck of the rooster.
Now you should connect the previously drawn shapes with two curved lines as shown in the picture.
- Add the eye and beak of the rooster.
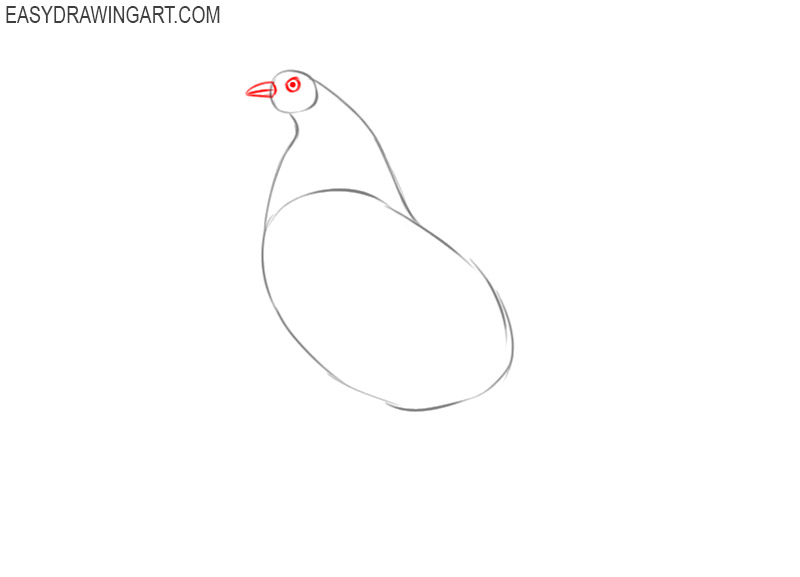
To represent the eye, depict a circle inside the outline of the head, and also add the dot inside it. Draw the beak pointed.
- Add the rooster’s comb and earrings.
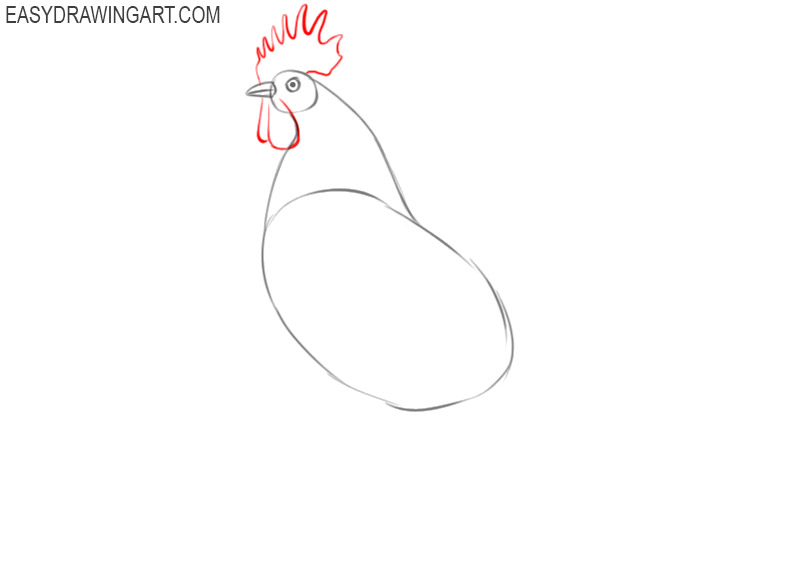
Depict the elements below the rooster’s head using curved lines of varying lengths, and add the comb at the top of the head.
- Draw the outlines of the wing and the top of the rooster’s tail.
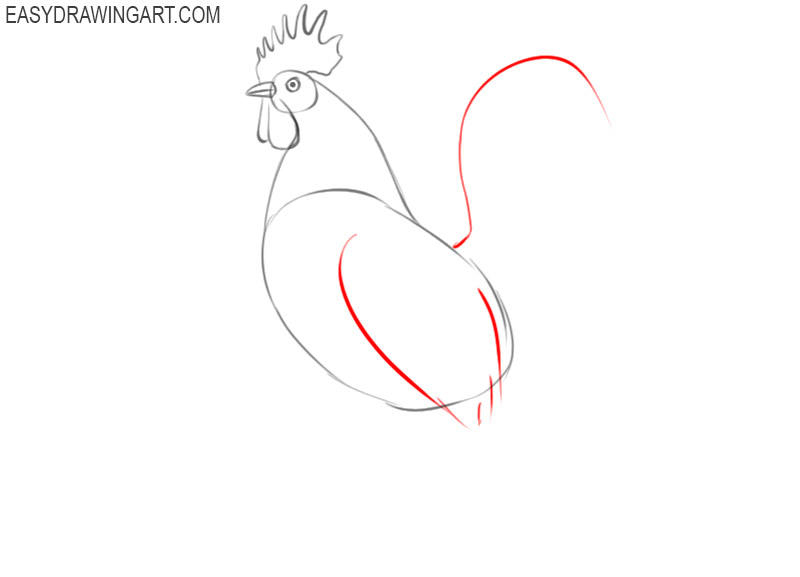
On the side of the body, draw the wing using broken lines of different lengths. Draw a curved line on the right side of the body.
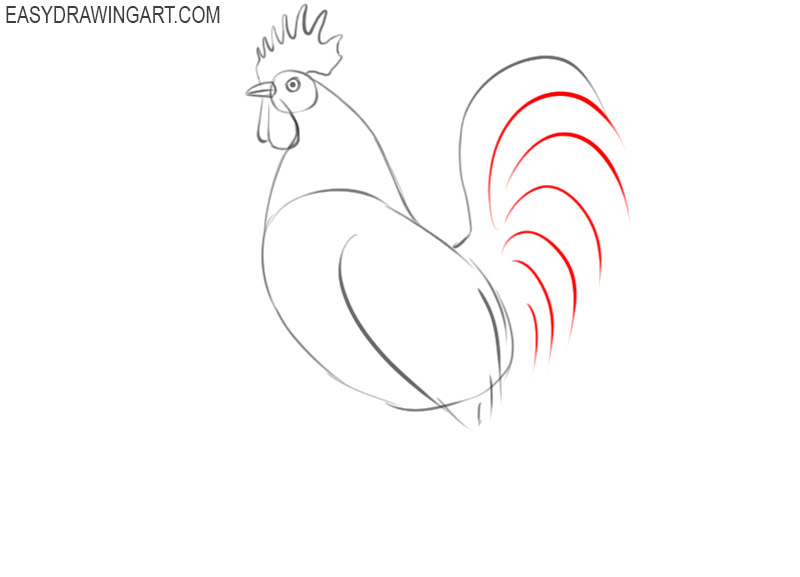
- Continue drawing the tail of the rooster.
To make the rooster’s tail consist of individual feathers, draw many arcs of different sizes, as shown in the picture.
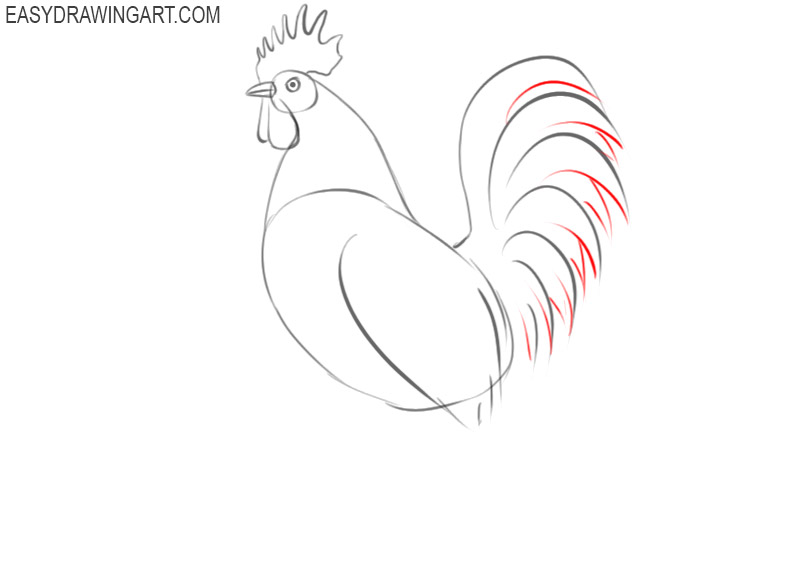
- Finish drawing the tail of the rooster.
Now add more arcs and curved lines of varying length to represent the pointed feathers on the rooster’s tail.
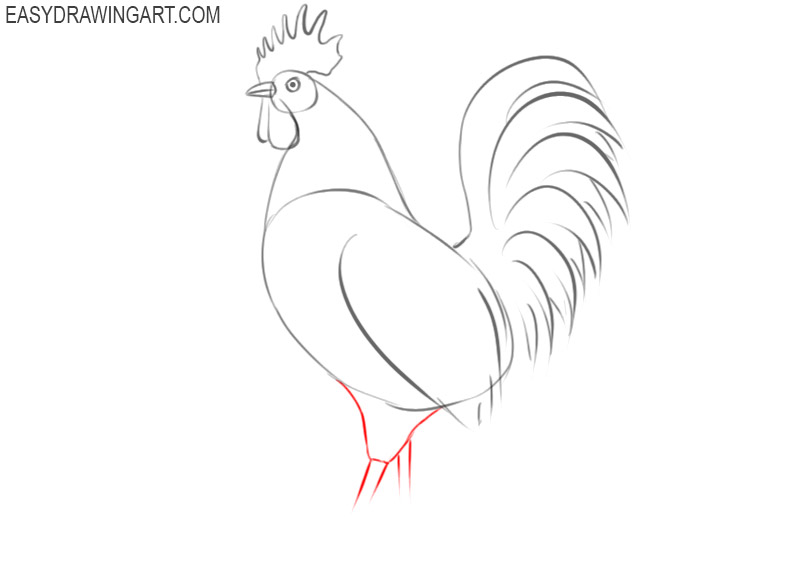
- Sketch out the top of the rooster’s legs.
Below the previously drawn body of the rooster, draw curved lines, as well as four straight lines of different lengths.
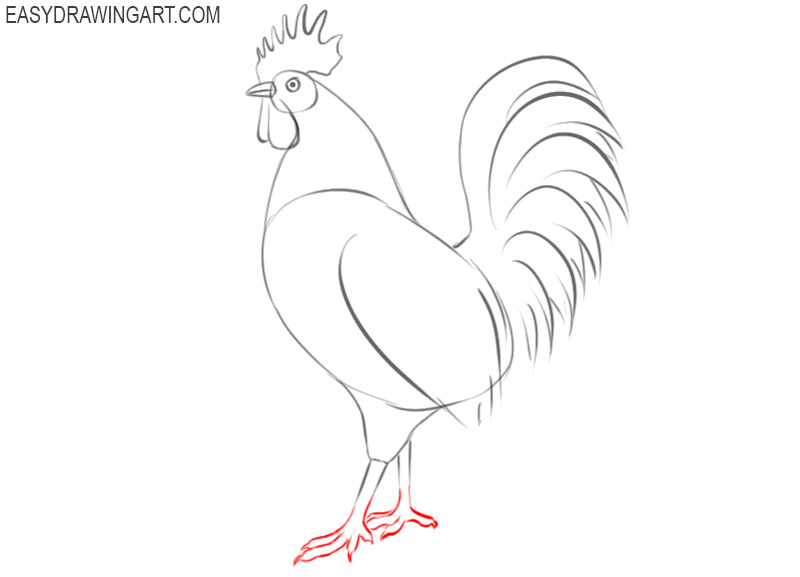
- Finish drawing the legs of the rooster.
Add the fingers and pointed claws of the rooster using curved lines as shown. One paw is partially closed.
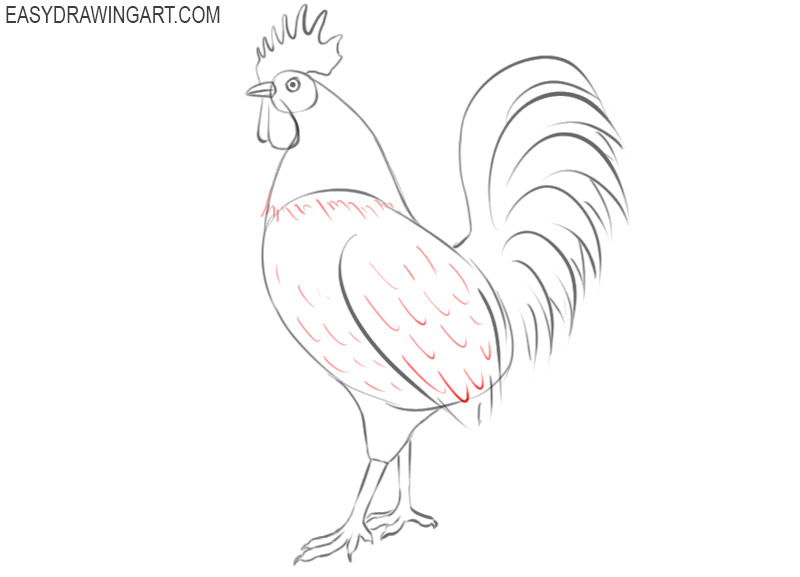
- Draw the plumage of the rooster.
On the neck, wings and torso, add many curved and rounded lines of different lengths, as shown in the picture.
- Prepare the drawing for coloring.
Now you should use the eraser to remove all unnecessary elements from your drawing and prepare it for coloring.
- Color the drawing.
To color the rooster, use red, brown, yellow, gray, and orange. Don’t forget to mark the shadow and highlight areas.
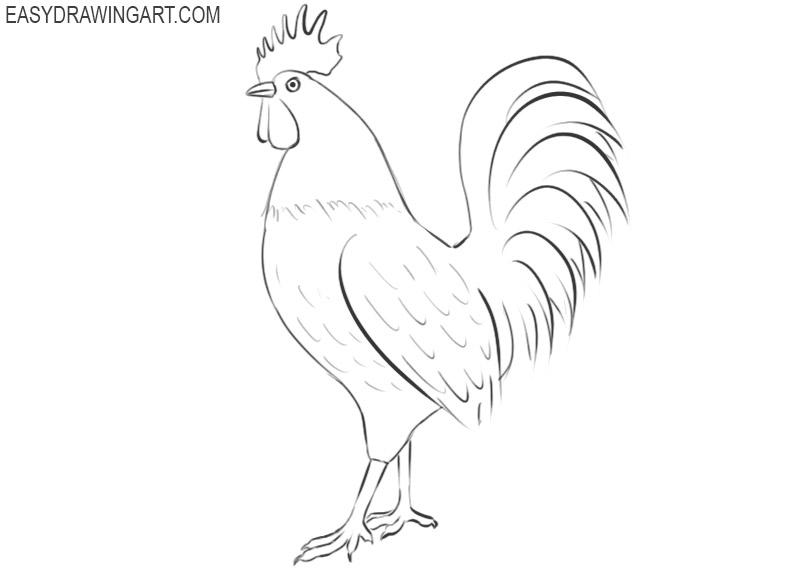
On this, this step-by-step instruction, in which you were able to learn how to draw a rooster, came to an end. With the help of this lesson, you have learned how to draw another wonderful poultry. Now you will be able to complete many of your drawings with a rooster, and also draw this bird as the main subject of your drawing.