How to Draw a Raccoon
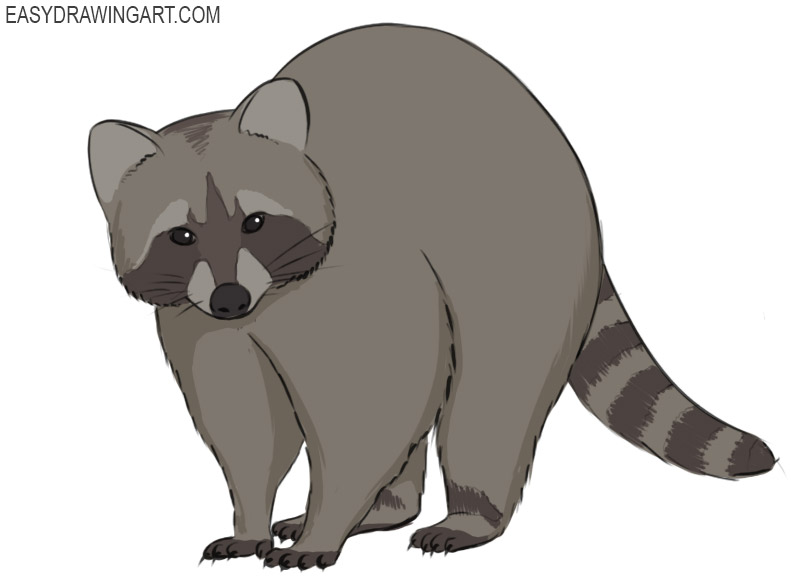
This is an intelligent mammals best known for its distinctive facial markings and ringed tails. In this tutorial, you will learn how to draw a raccoon step by step.
This drawing shows a raccoon standing in a side view with a slightly turned head. As you work through the steps, you’ll also add the raccoon’s striped tail and facial markings.
Time needed: 1 hour
How to Draw a Raccoon
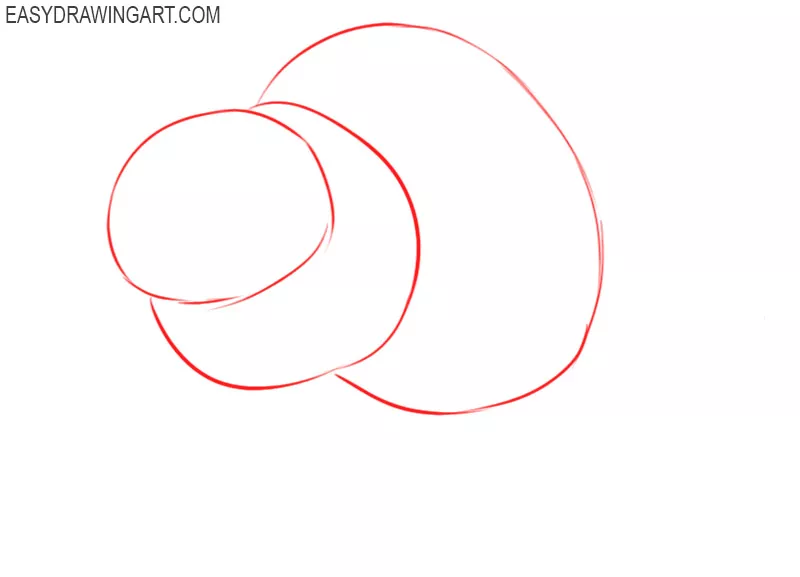
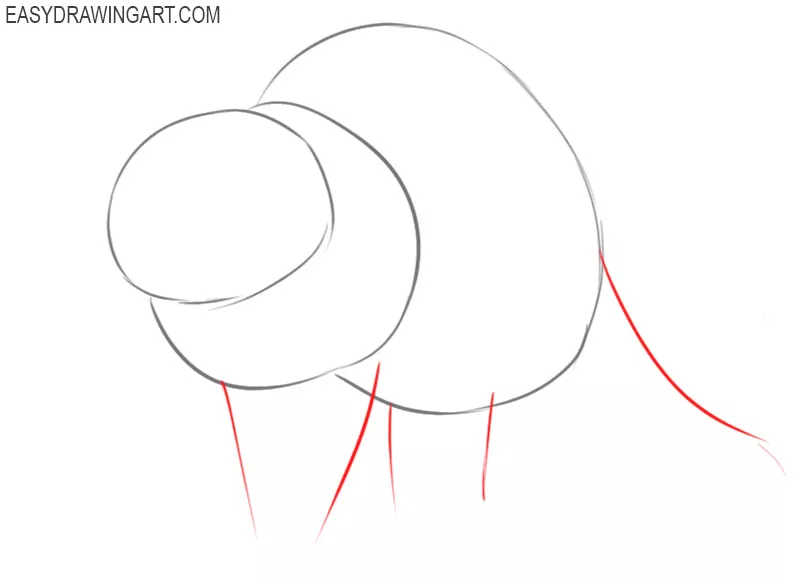
- Add basic drawing markup.
To indicate the location of the head, front, and back of the body of the raccoon, you should draw an oval and two incomplete ovals.

- Add guidelines.
At the bottom and side of the previously drawn elements, draw a few curved lines to indicate the location of the limbs and tail.
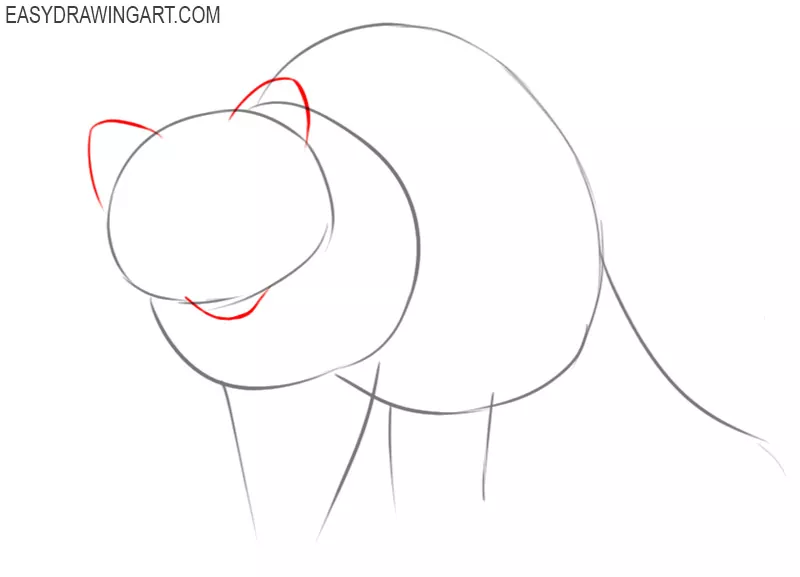
- Draw the chin and ears of the raccoon.
In the upper and lower parts of the previously drawn outline of the head, draw two symmetrical ears and a chin in the form of arcs.
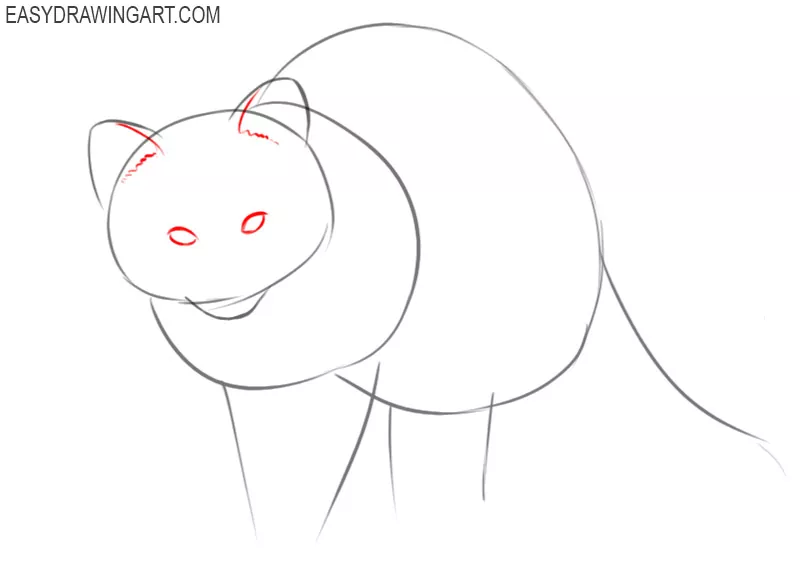
- Depict the eyes and the inside of the ears.
Add the eyes inside the outline of the head using arcs, and also add the inside of the ears in the form of curved and wavy lines.
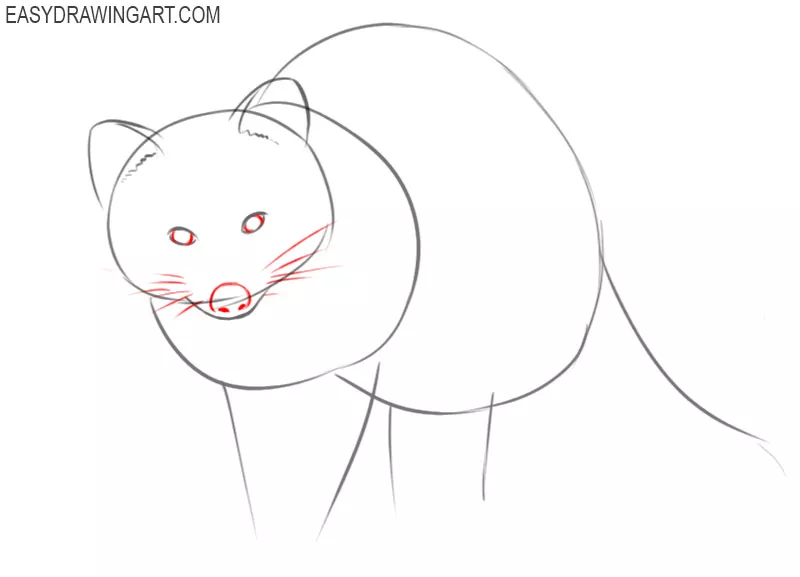
- Add elements of the muzzle of the raccoon.
Sketch out curved lines inside the eyes, add the nose in the form of an arc and dots, draw the raccoon whisker using thin straight lines.
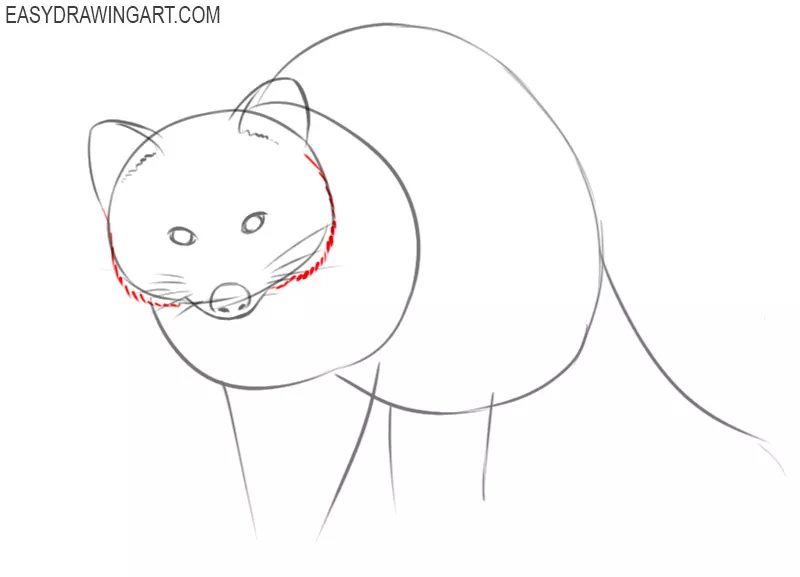
- Sketch out the fur on the raccoon’s head.
To make the raccoon’s head look more realistic, draw many short lines on the sides of the head.
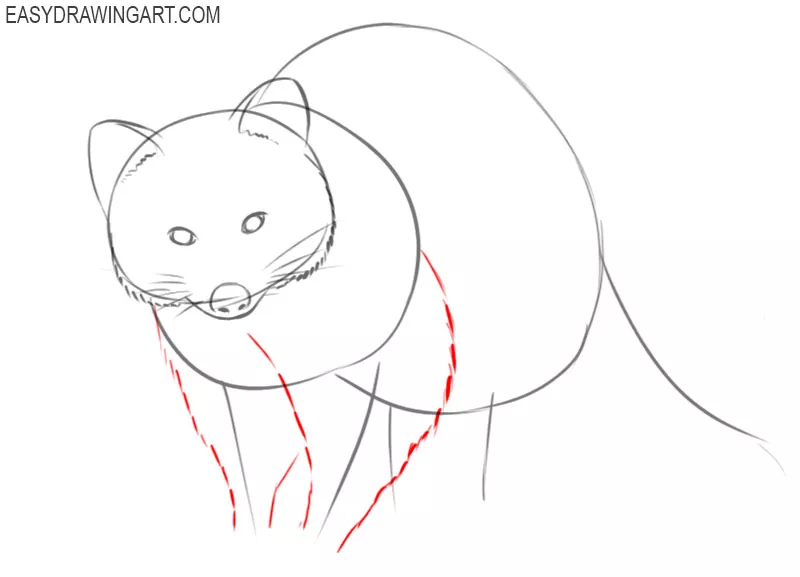
- Add the outlines of the front paws of the raccoon.
Use short dashed lines to draw the outline of the raccoon’s front paws near the previously drawn guidelines.
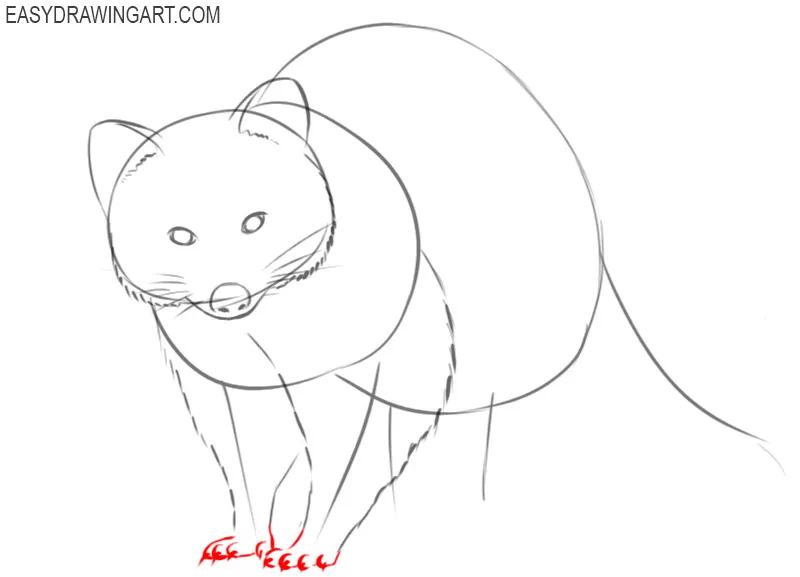
- Finish drawing the front paws of the raccoon.
Add the feet and toes with the pointed claws, using rounded and thick lines at the bottom of the raccoon’s front paws.
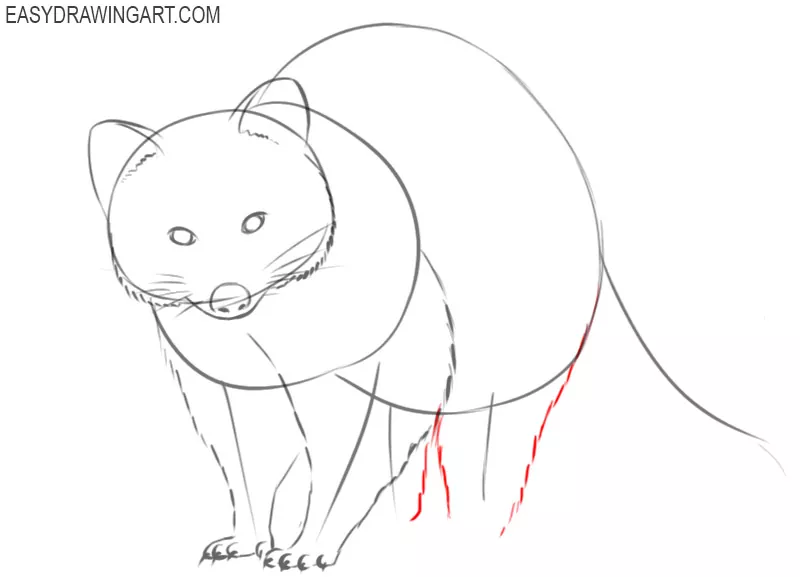
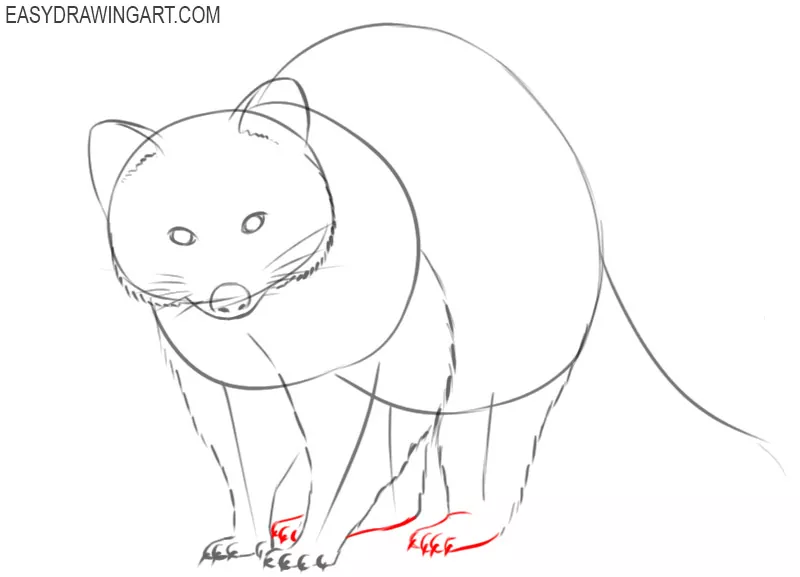
- Draw the outlines of the raccoon’s hind legs.
Now you should draw many short broken lines near the markings indicating the location of the raccoon’s hind legs.
- Finish drawing the hind legs.
Add the large feet, fingers, each of which has the pointed claw. To depict this, use curved lines.
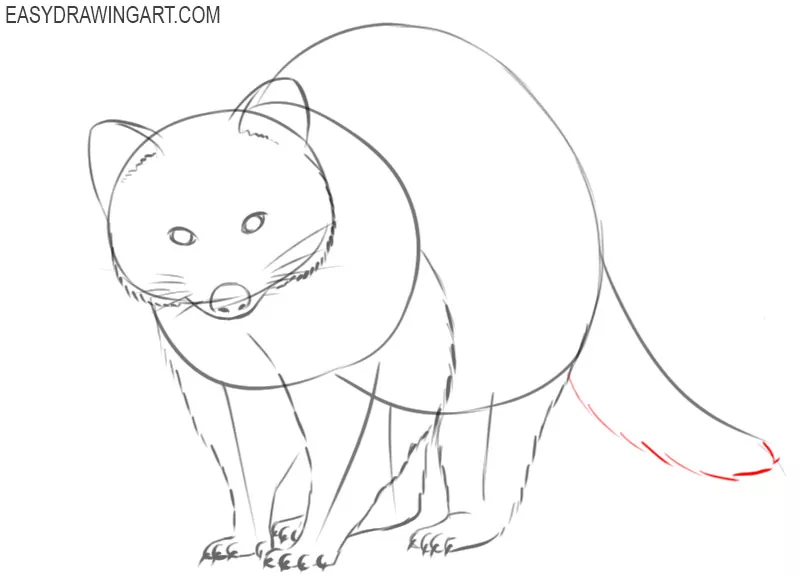
- Finish drawing the tail of the raccoon.
Connect the lower torso and the previously drawn tail line using short, broken, curved lines.
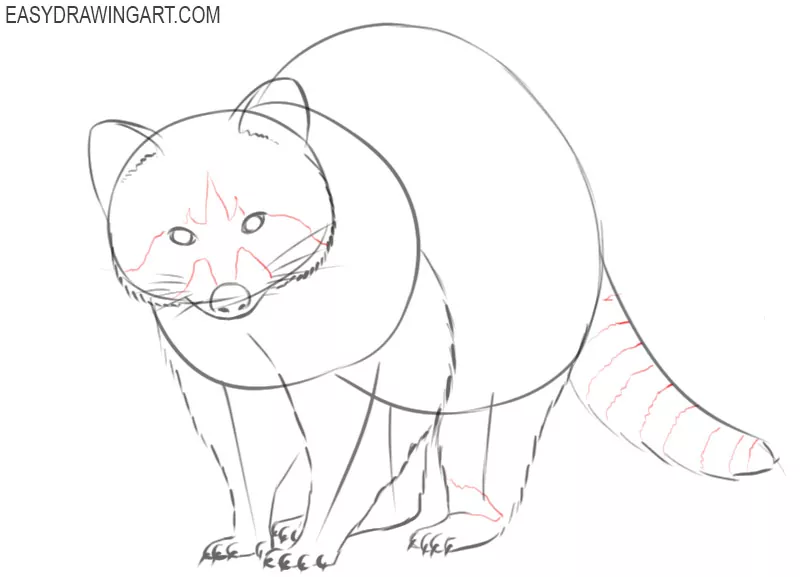
- Add decorative elements.
To draw the pattern on the face of the raccoon, as well as add stripes on the legs and tail, draw thin, curved and wavy lines.
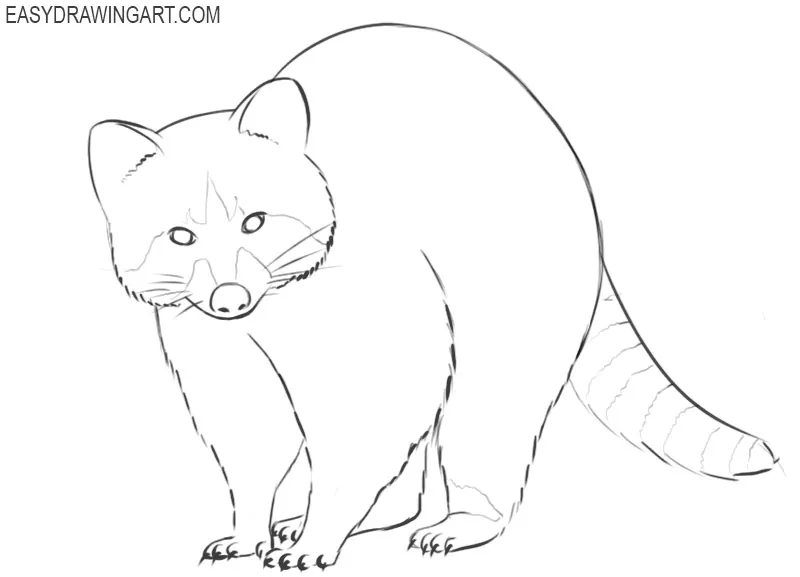
- Prepare the drawing for coloring.
Before you start coloring this drawing, you should remove all unnecessary auxiliary lines using the eraser.
- Color the drawing.
To color the raccoon, use different shades of gray and black. Be sure to add hatching to represent the fur.
So this wonderful and very useful drawing lesson came to an end, with the help of which you could learn how to draw a raccoon step by step. Note that if you want your drawing to look more realistic, you can mark the shadow areas with a darker shade of gray. Follow the drawing lessons prepared by us to greatly improve your skills as an artist.