How to Draw a Playground
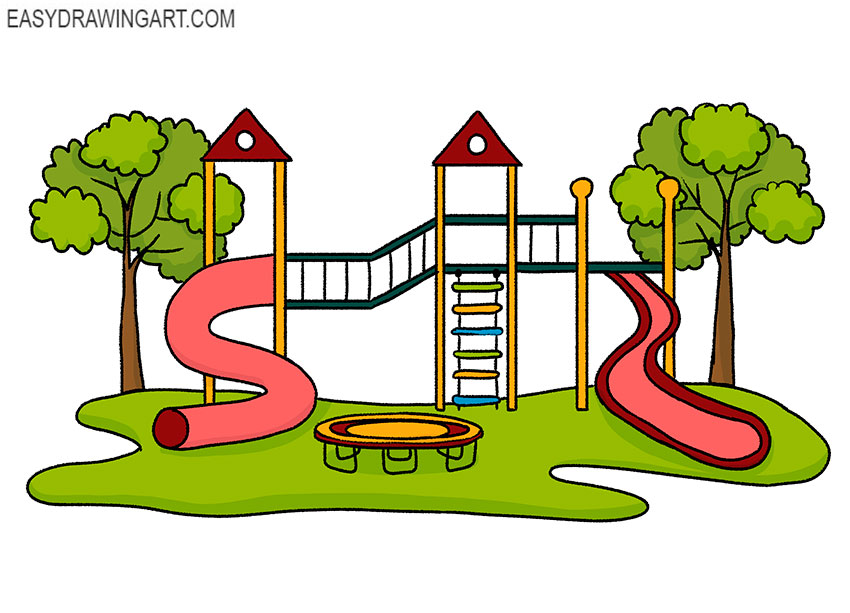
The Easydrawingart.com team has prepared a fascinating step-by-step tutorial where you’ll learn how to draw a playground.
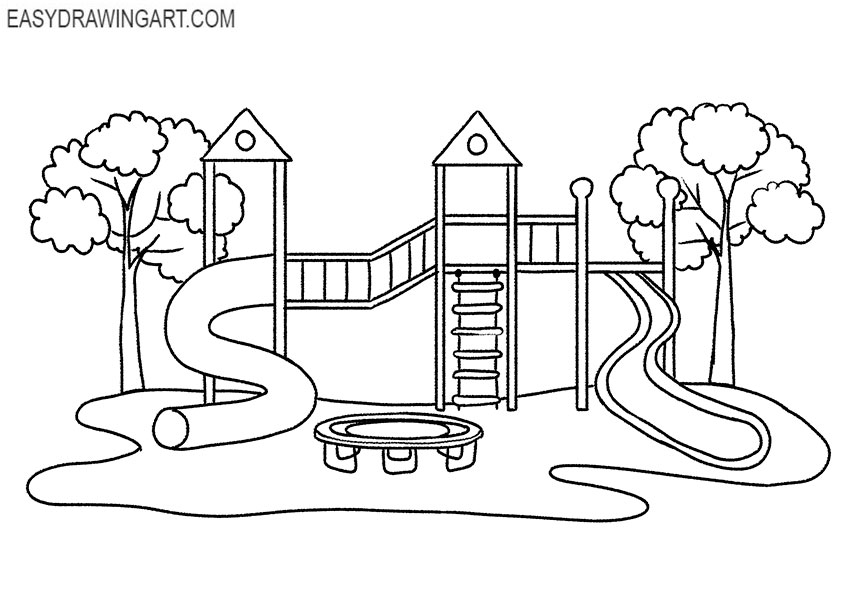
Here, you’ll learn to draw straight and curved lines, further strengthening your creative skills. The image depicts a typical playground with towers, ladders, slides, and a trampoline.
These playgrounds are found in many cities, and children enjoy playing on them.
Step 1: Sketch the playground layout
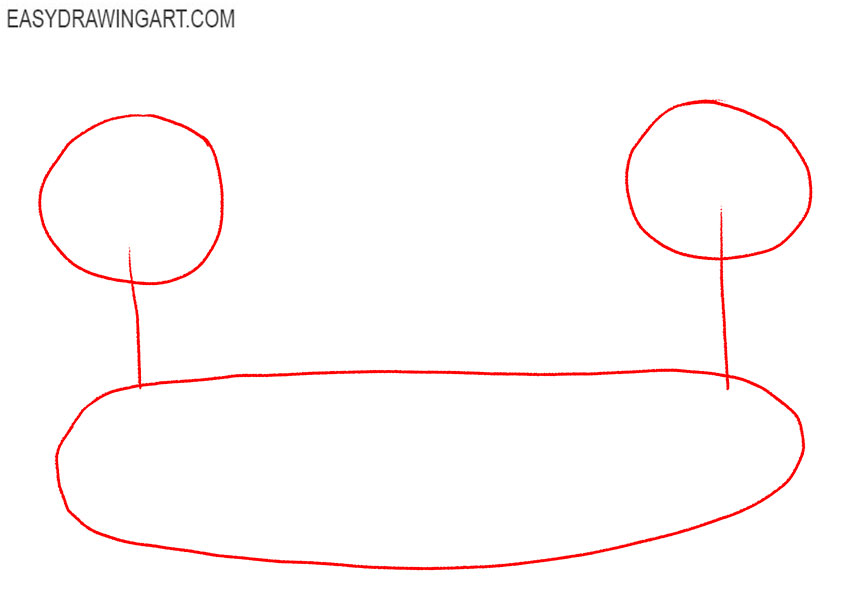
Choose the size of the playground drawing, then lightly sketch a long oval to mark the ground area. Add loose rounded outlines on both sides to indicate where the trees will stand.
Step 2: Draw the playground towers and slides
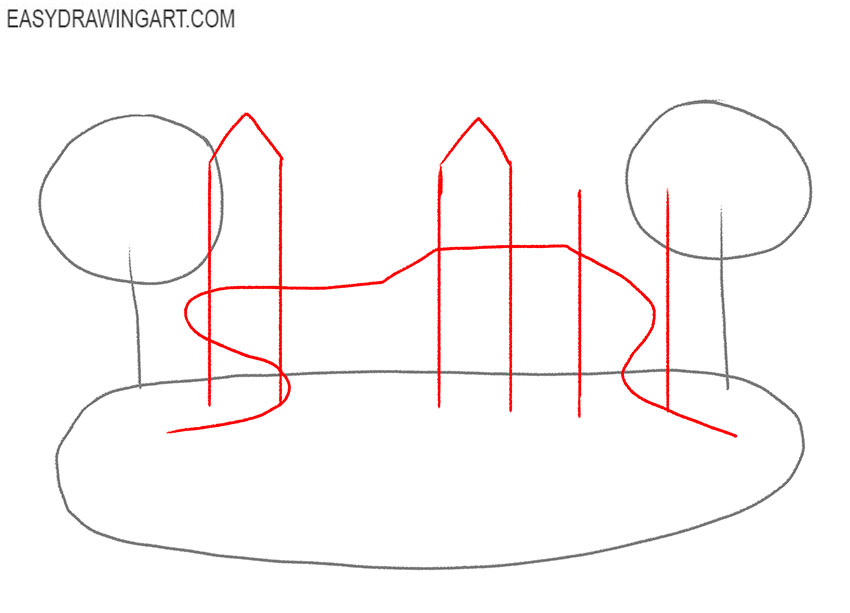
Use thin straight lines to place the main playground towers inside the oval. Add long curved guidelines extending from the structures to mark the direction and shape of the slides.
Step 3: Add the tower roofs
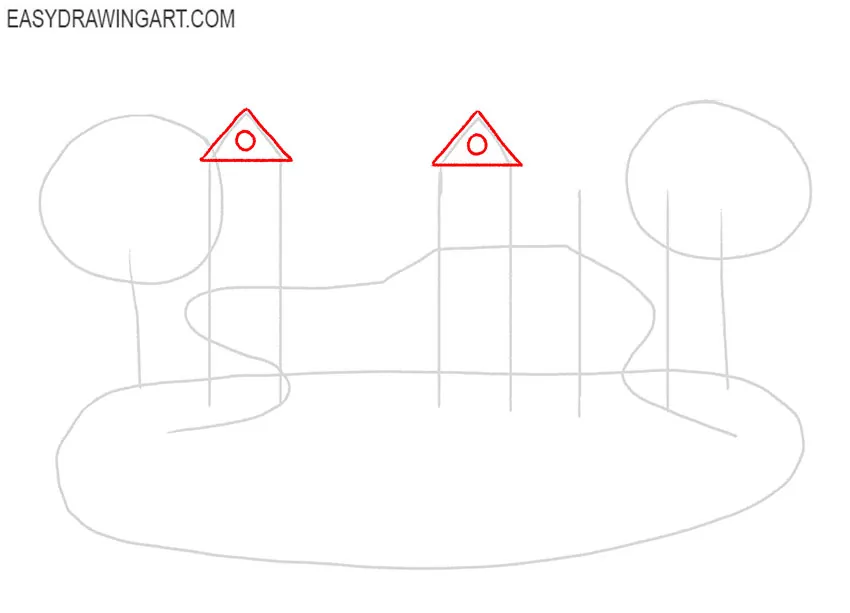
Draw a triangular roof above each playground tower. Place a small circle beneath the peak of each triangle to form the decorative openings on the front of the roofs.
Step 4: Outline the first playground tower
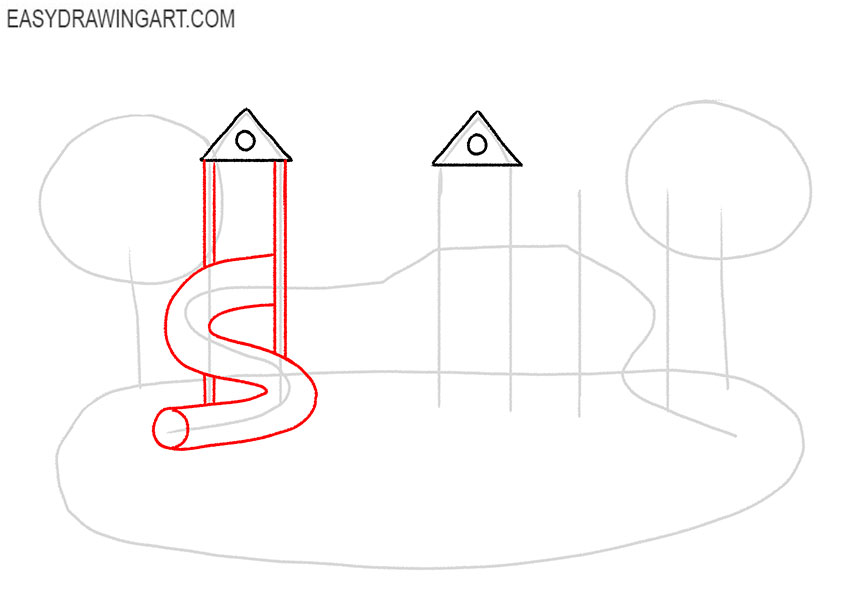
Define the sides of the first tower with straight vertical lines. Follow the curved guideline beside it to outline the first slide, keeping the upper end attached to the raised platform.
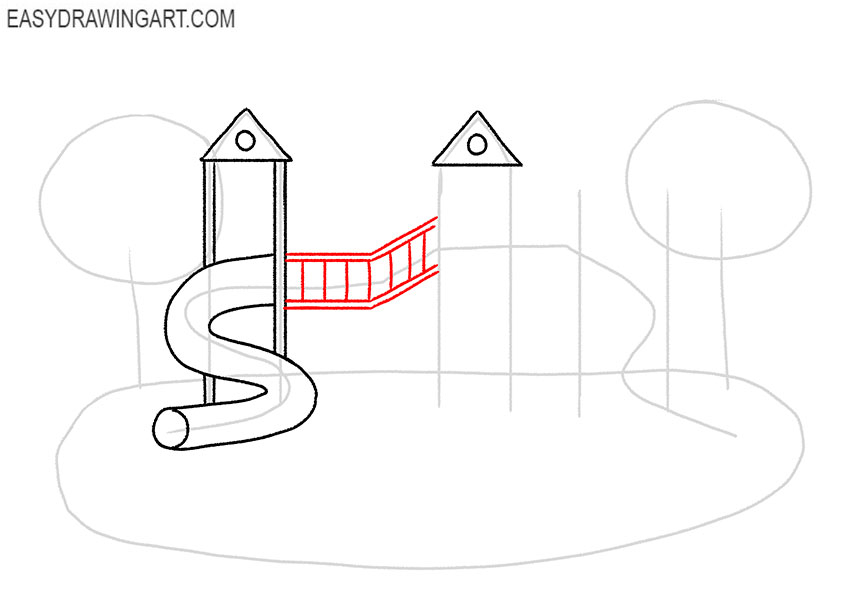
Step 5: Draw the connecting bridge
Connect the two playground towers with a narrow bridge. Draw its upper and lower edges first, then add several short crossbars between them to form the bridge railing.
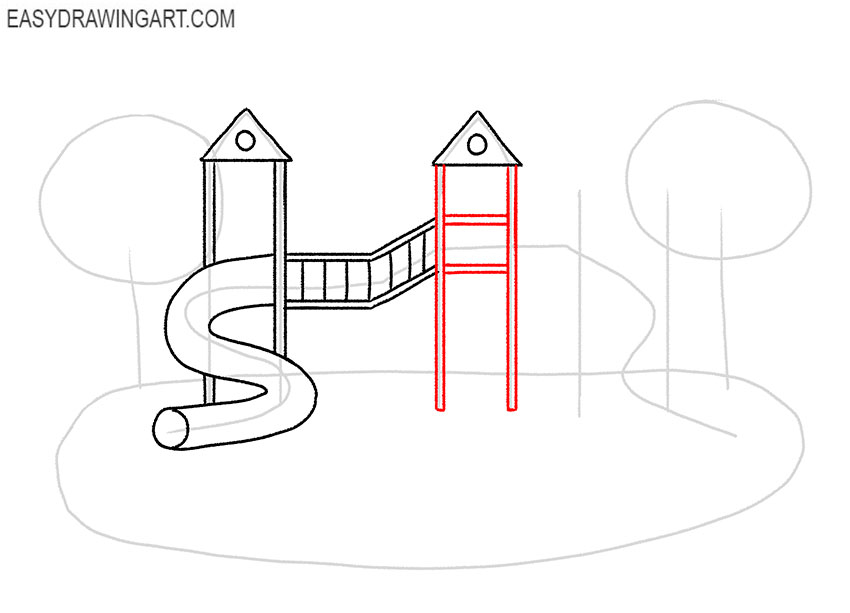
Step 6: Draw the second playground tower
Outline the sides of the second tower with clean straight lines. Add the horizontal bars across its upper section, following the existing construction lines for the structure.
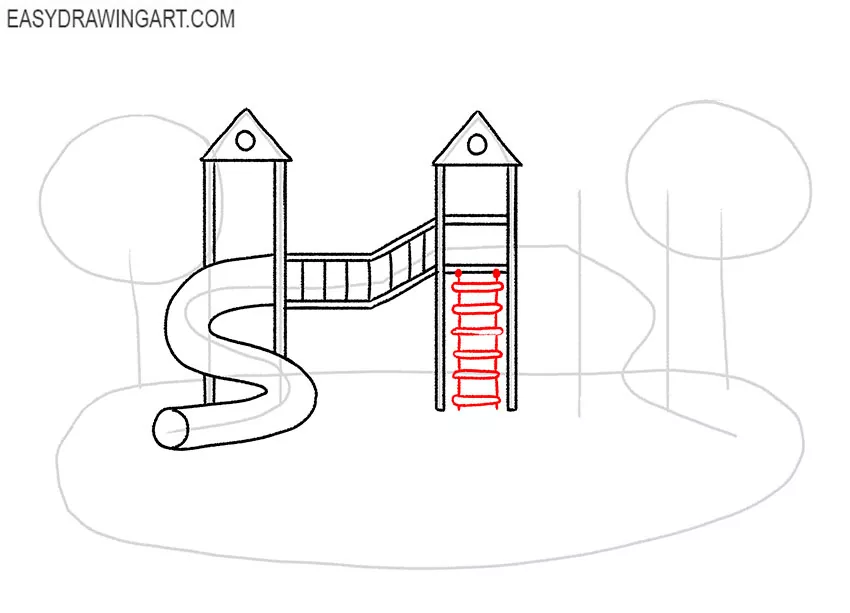
Step 7: Draw the playground ladder
Below the second tower, draw two parallel side rails for the ladder. Fill the space between them with several short horizontal rungs leading up to the raised platform.
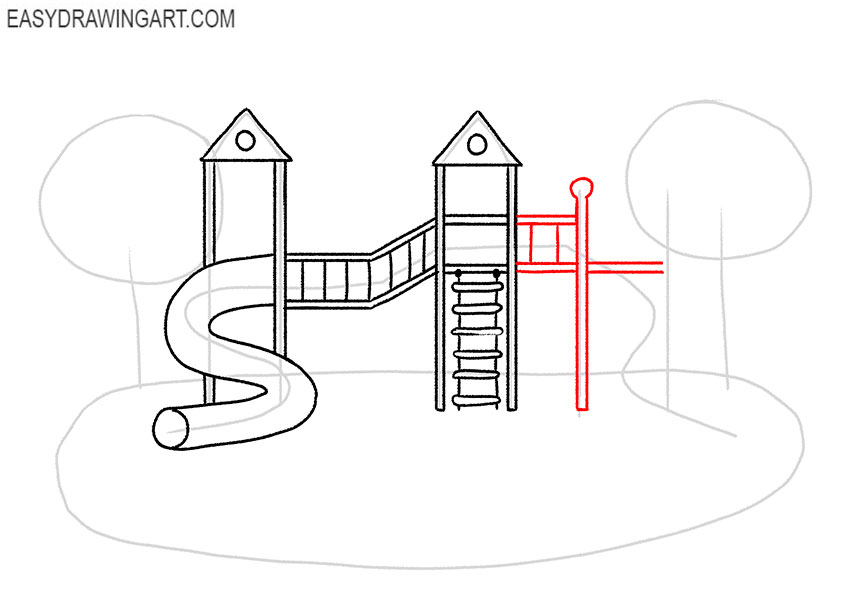
Step 8: Draw the side playground equipment
Draw the additional playground details on the right using straight vertical and horizontal lines. Add the visible supports and upper bars that form this part of the play area.
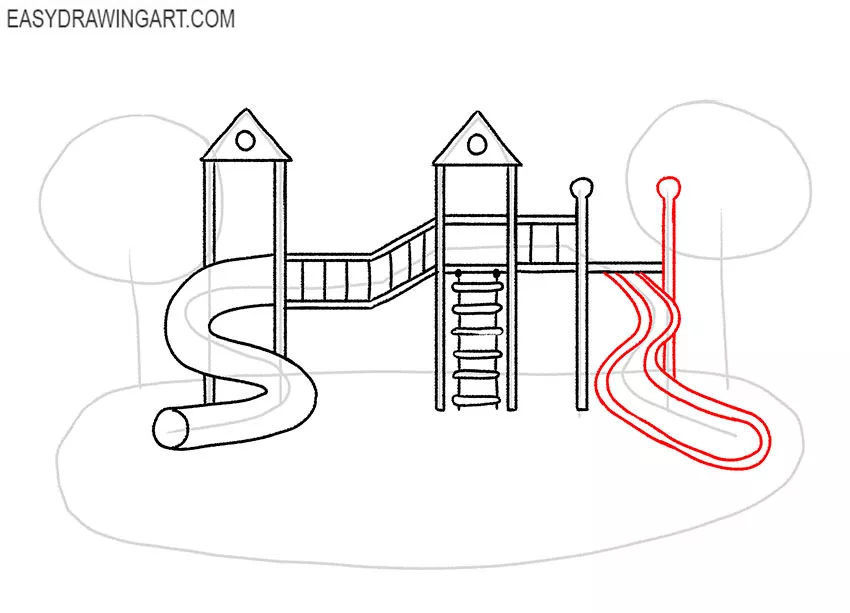
Step 9: Outline the second slide and support
Complete the right-side support with straight lines, then trace the second slide with two curved contours. Connect its upper end to the platform and bring the lower end toward the ground.
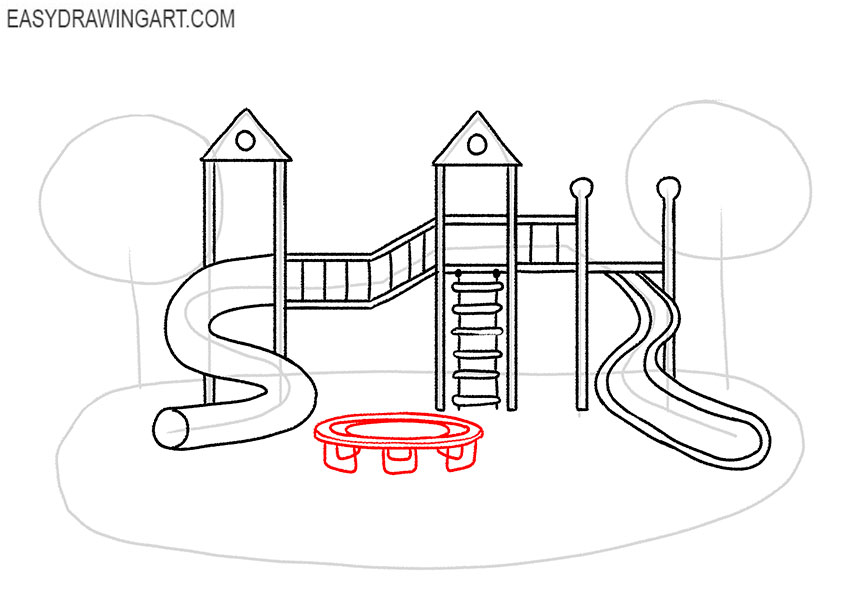
Step 10: Sketch the round trampoline
Place a small round trampoline near the center of the playground. Draw the oval top surface, add its lower edge, and sketch several short supports beneath the frame.
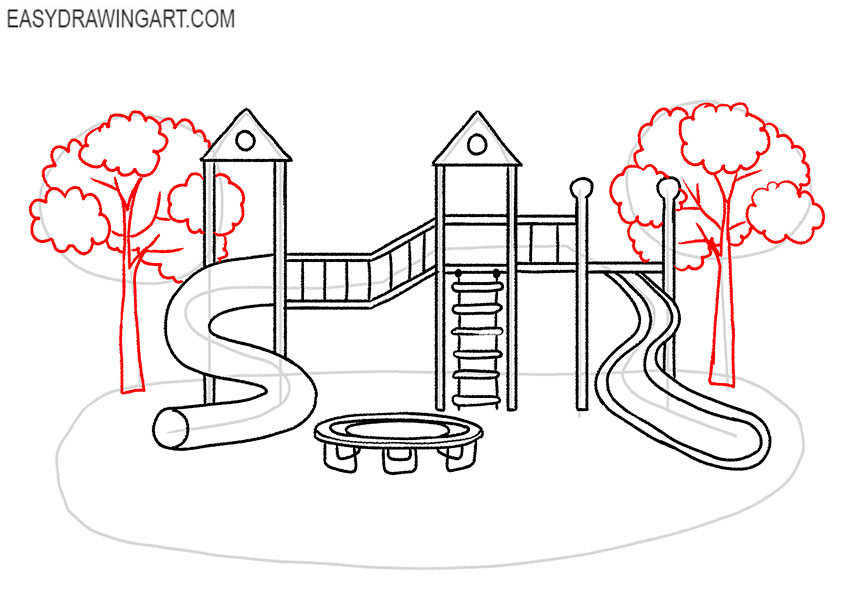
Step 11: Draw the trees around the playground
Draw the trees on both sides of the playground. Sketch narrow trunks with branching lines, then use rounded, irregular contours to shape the broad leafy crowns.
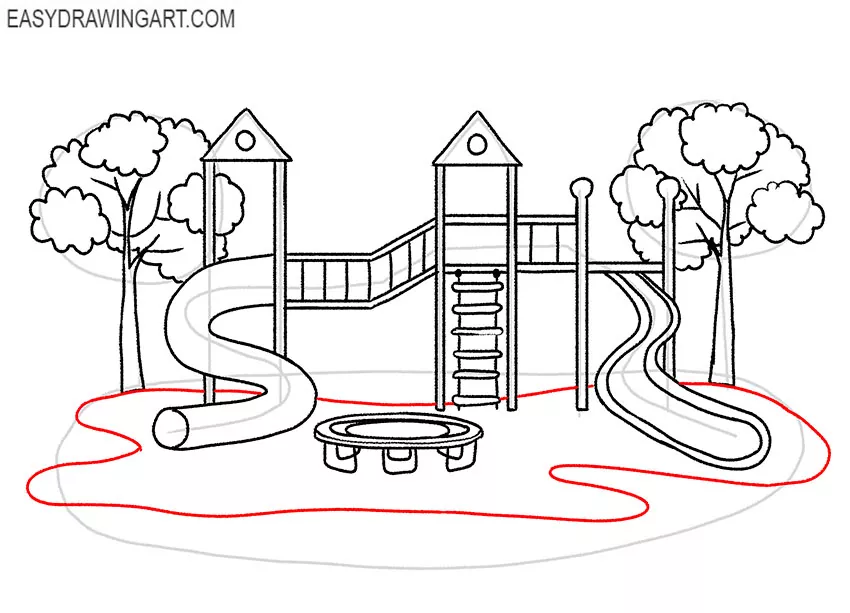
Step 12: Outline the ground area
Trace a smooth curved line around the playground equipment and trees to define the edge of the ground area. Make the contour wide enough to contain the entire scene.
Step 13: Finish the playground line drawing
Erase the remaining construction lines from the towers, slides, trees, and ground. Refine any broken contours and leave only the clean outlines needed for the finished playground scene.
Step 14: Color the playground drawing
Color the grass and foliage green and fill the tree trunks with brown. Use red, blue, yellow, orange, and other bright colors for the roofs, slides, towers, bridge, and trampoline.
The lesson is over, and now you know how to draw a playground in a simple way. If you enjoyed drawing this playground, you may also like learning how to draw other outdoor scenes.
Try drawing a tree house, or continue with drawing a house to create a complete park or neighborhood scene around your playground.
We will be glad to receive feedback from you. If you want to be aware of all the new products, then be sure to subscribe to us on social networks.