How to Draw a Pigeon
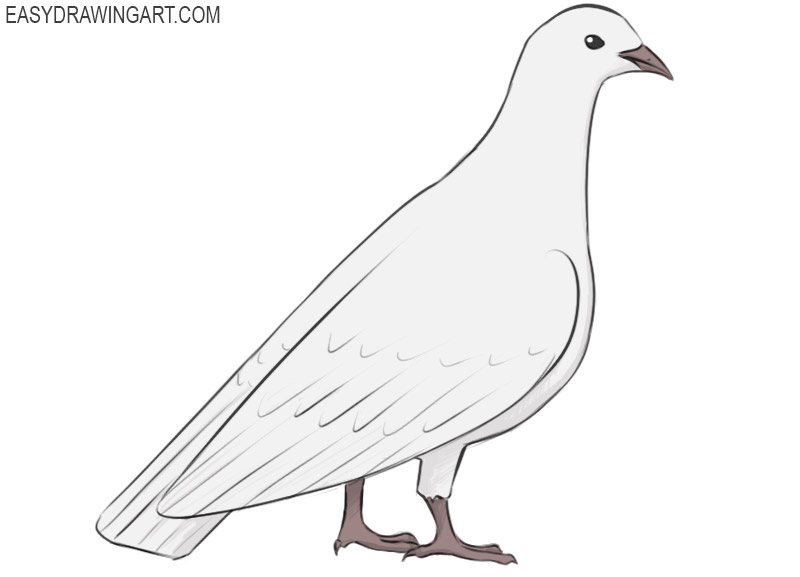
In this tutorial, we will show you how to draw a pigeon step by step. You can also apply the skills you learn when drawing other birds.
Pigeons have an amazing memory and can easily remember visual and olfactory information. Because of this ability, pigeons were formerly used as carrier birds. Pigeons also have great stamina and can fly very long distances.
Now that you have learned a few facts about pigeons, you can begin the tutorial. Carefully follow the instructions and try to draw the same lines as in the example. You’ll draw a pigeon standing in profile with its wings folded.
Time needed: 1 hour
How to Draw a Pigeon
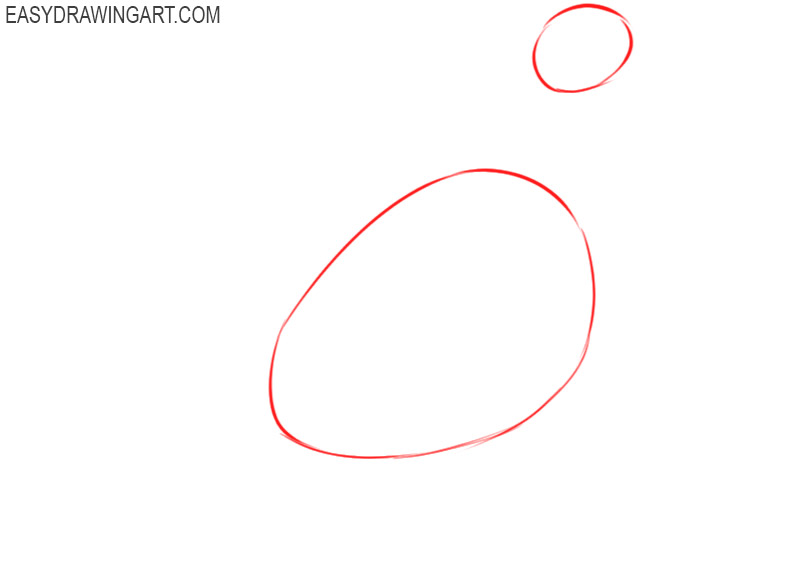
- Draw the base.
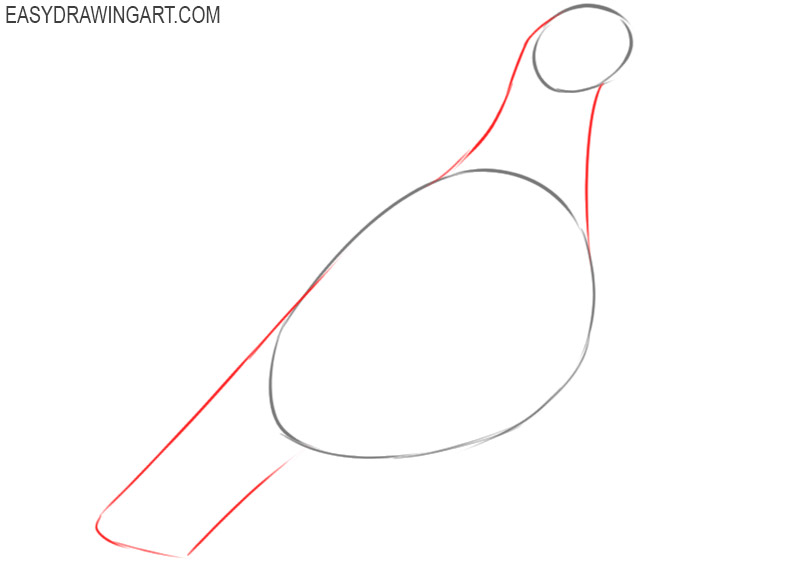
Depict two rounded shapes at some distance from each other to outline of the torso and head. At the initial stage, draw thin lines, then more clear ones.

- Depict the neck and tail.
Add smooth connecting lines between the head and torso to represent the neck. Sketch out the wide tail in the lower part of the body.
- Add the wing.
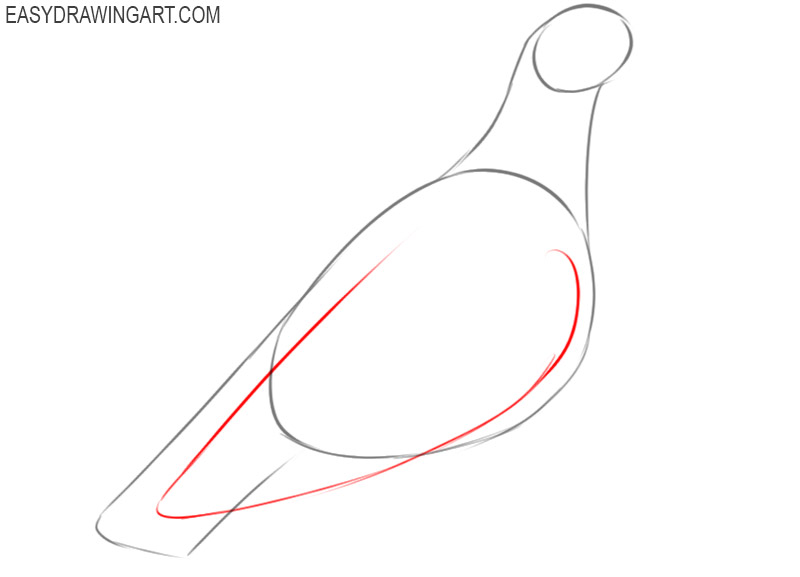
Draw smooth lines from the upper body to represent one wing. The upper part of the body is straight, while the lower part has a curved contour.
- Sketch out the elements of the head.
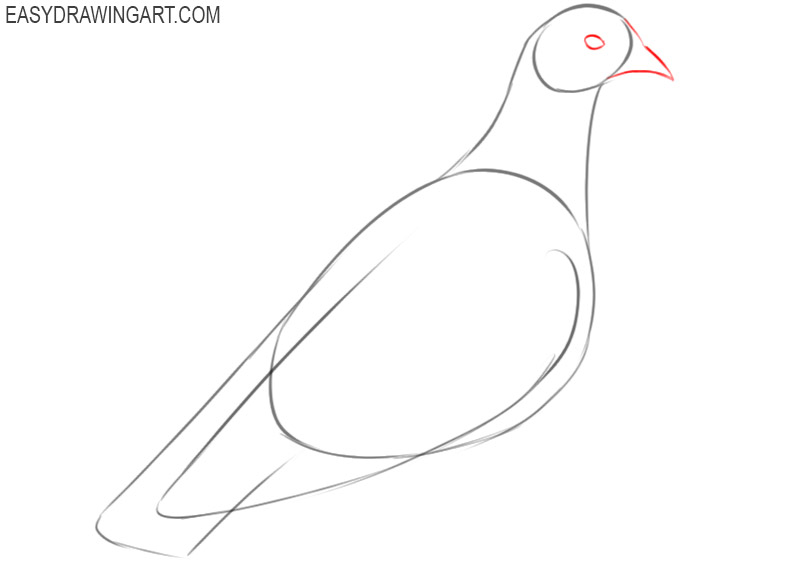
In this step, you should detail the head. Add the pointed beak and draw a small oval-shaped eye.
- Detail the beak.
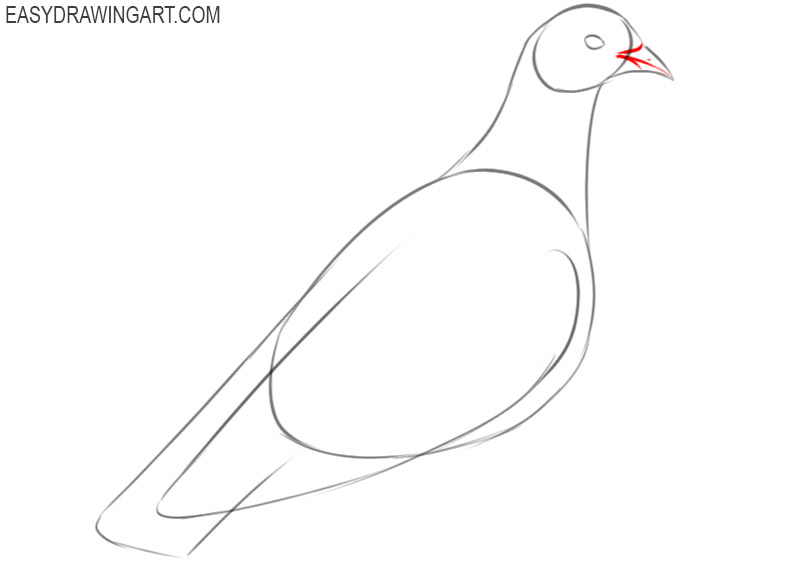
Smooth lines mark the lateral contour of the beak. Draw a transverse line to mark the top and bottom of the beak.
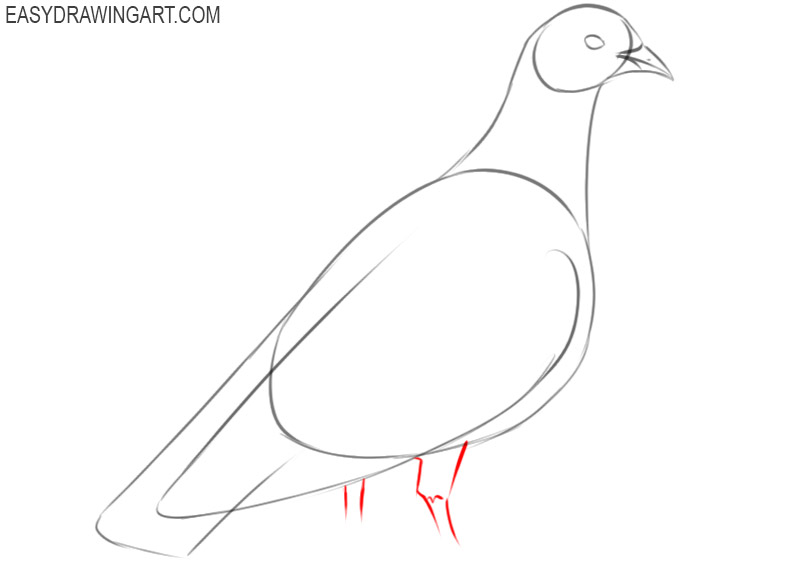
- Draw the top of the paws.
Start drawing the paws, for this, draw several straight and curved lines in the lower part of the body. The paws have a wide base and taper downwards.
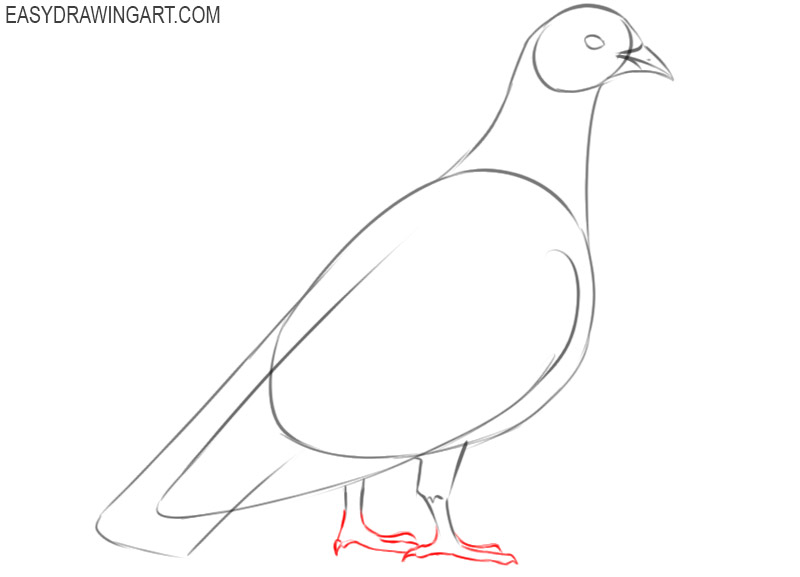
- Depict the lower parts of the paws.
On each paw draw long thin toes that point forward and add short toes from the back of the foot. Depict the claws at the ends of the paws.
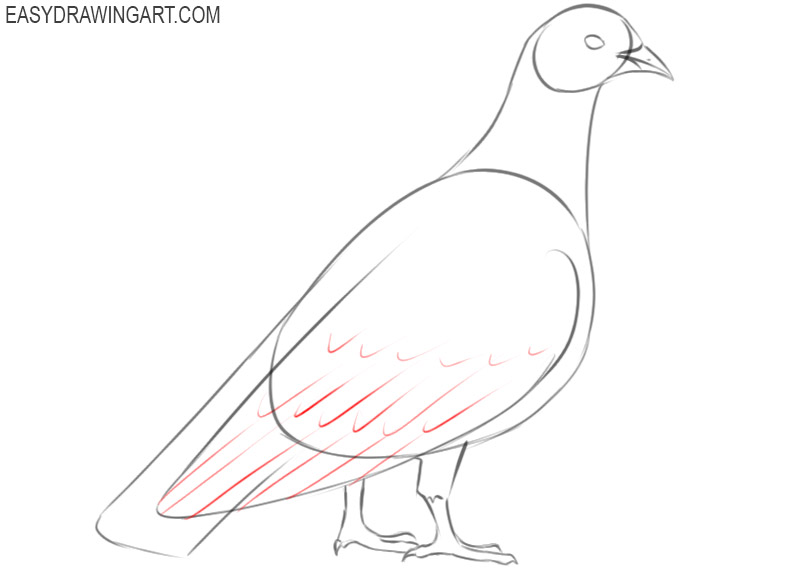
- Add the plumage on the wing.
Draw straight and curved lines on the surface of the wing to indicate the individual feathers. In this step, use thin lines.
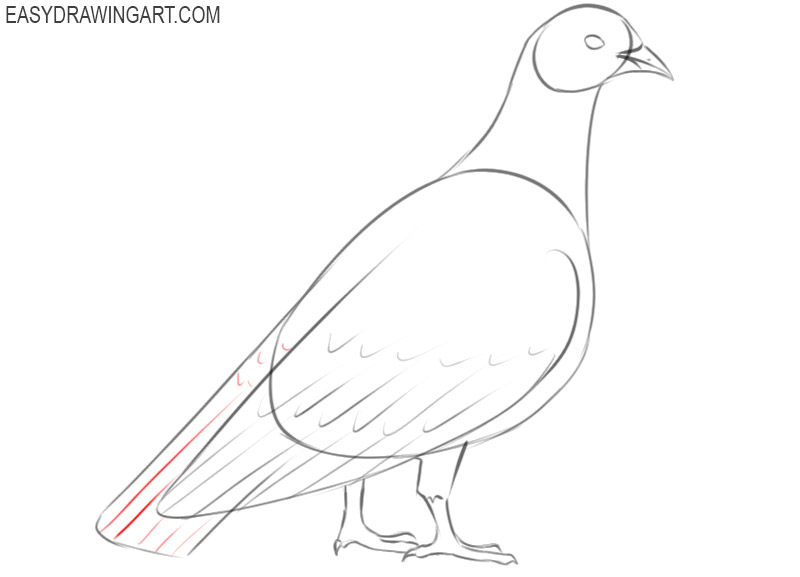
- Sketch out the plumage on the tail.
Repeat the previous step and draw some thin curved lines on the tail and draw straight lines on the end of the tail.
- Correct inaccuracies.
Now you have drawn all the main outlines and can evaluate your drawing. If you notice mistakes, you can correct them at this stage.
- Color the pigeon.
In this tutorial, you are drawing a white pigeon, but the bird will look more realistic if you color the plumage in light blue or light gray.
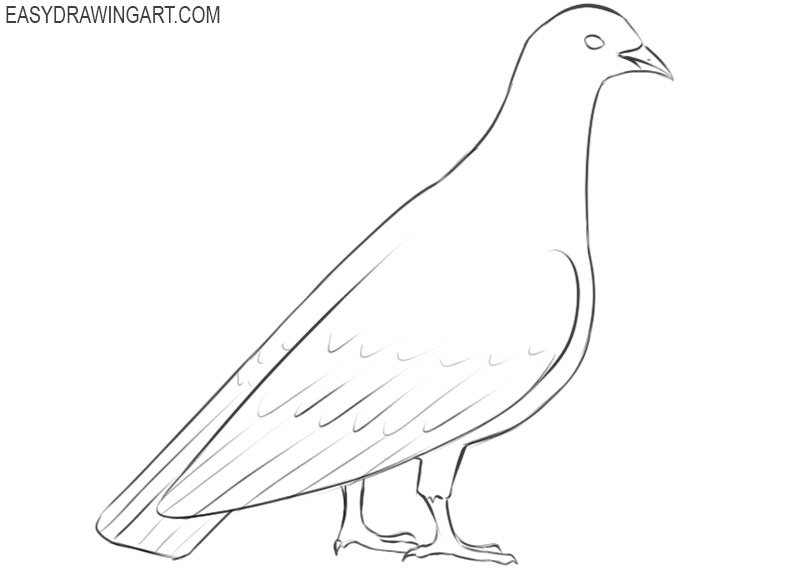
This was a fun step-by-step guide on how to draw a basic pigeon. You can further practice and draw pigeons that have a different color plumage, such as gray or brown. Practice more often and improve your creativity. Be sure to write a short review about this lesson. Your opinion is very important for us.