How to Draw a Nintendo Switch

We invite you to complete another exciting drawing lesson in which we will show you how to draw a Nintendo Switch. With this lesson you will once again train your creative abilities and have a good time.
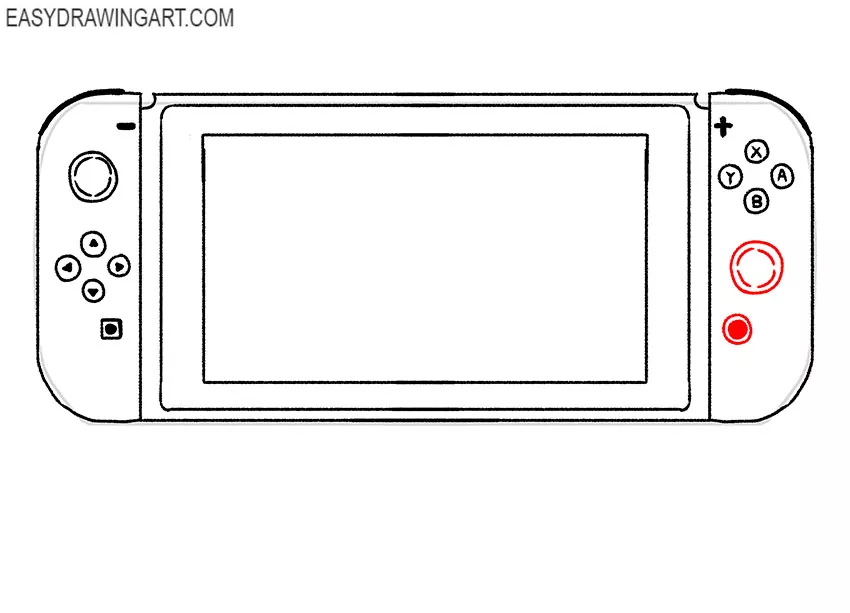
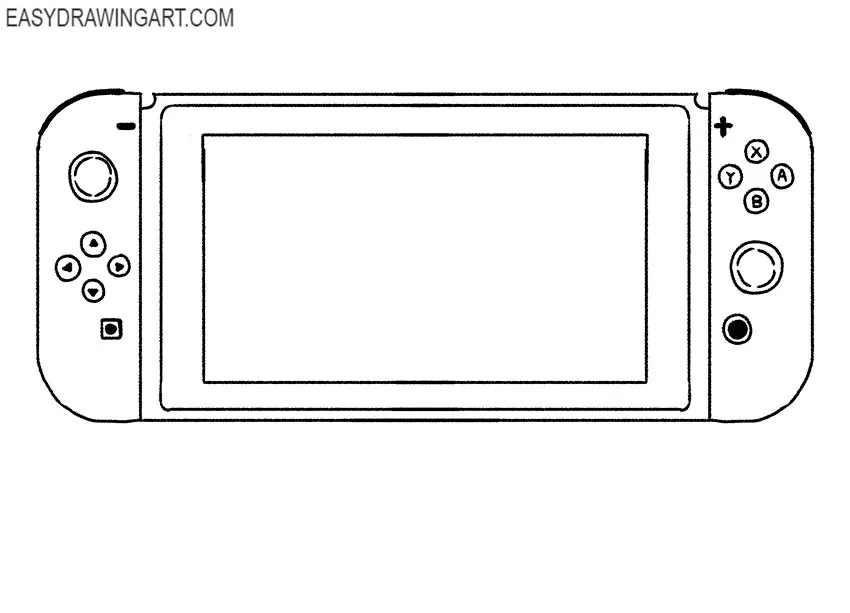
So, here is a detailed step-by-step tutorial on how to draw a Nintendo Switch. This is a gaming console that was developed by a Japanese company. This switch combines the functions of a game console and a gaming system.
There is a rectangular screen in the center of the switch and controls on the sides. Thanks to our detailed instructions, you will easily draw these elements. I am sure that you will really like the lesson on drawing a Nintendo Switch.
Time needed: 1 hour
How to Draw a Nintendo Switch
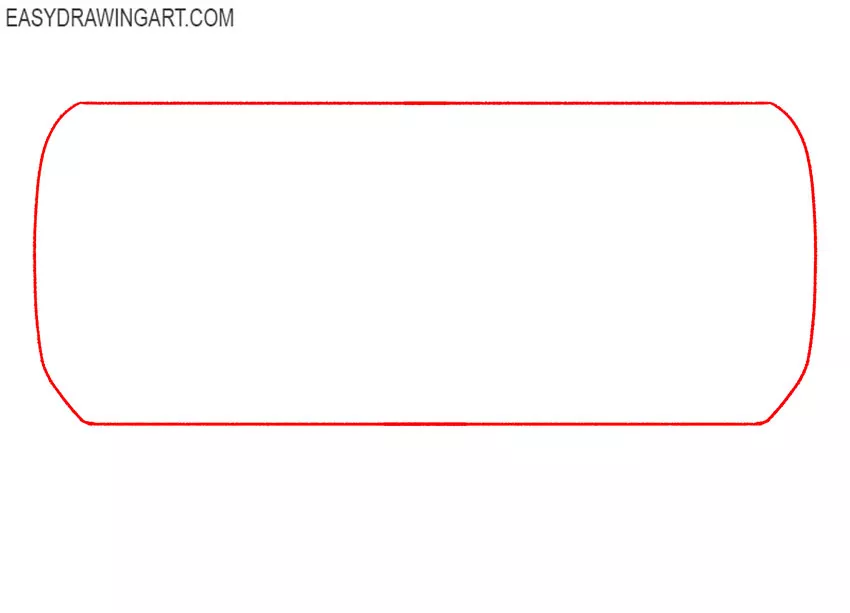
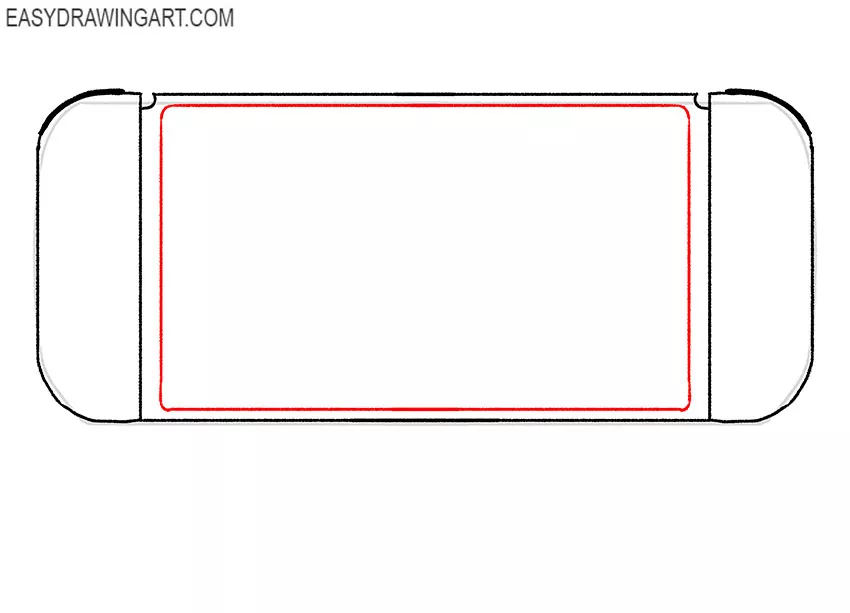
- Prepare the base.
Determine the size of your drawing and sketch out the main outline as a rectangle with rounded corners.

- Draw the side elements.
Use guidelines as a guide and sharpen the outlines of the controls that are located on the sides. Try to keep both sides the same.
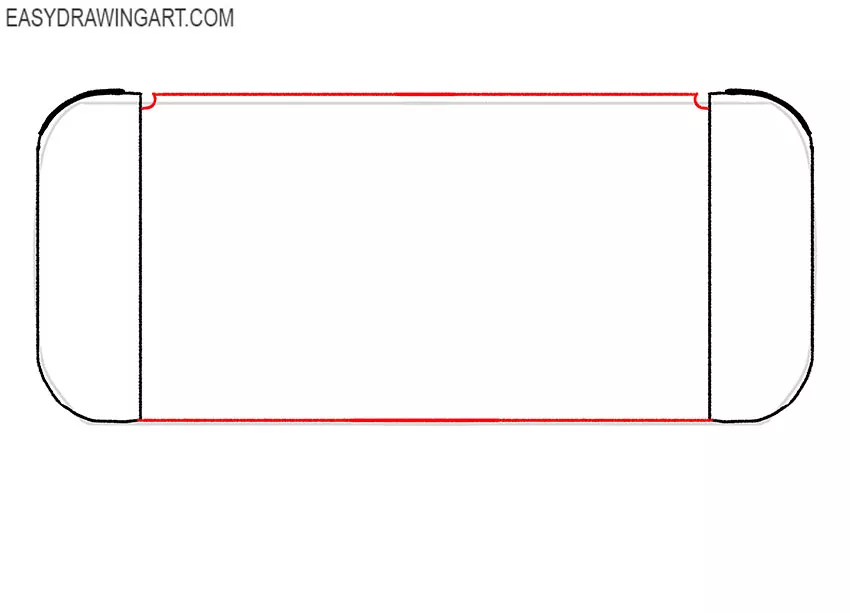
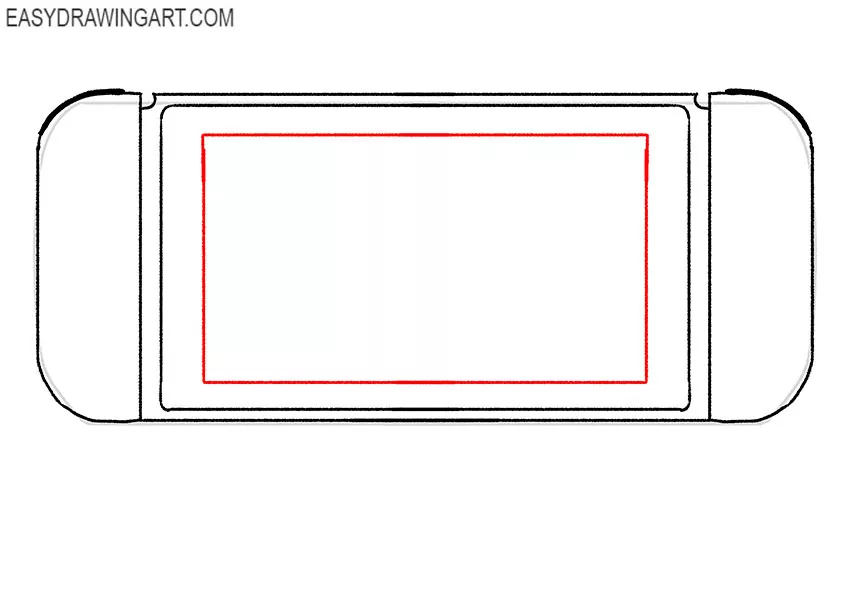
- Make the outline of the screen clear.
Depict a straight horizontal line at the bottom. Also draw a horizontal line at the top and add small semicircular indentations on the sides.
- Add the outline of the screen.
Using several smooth, straight lines, draw the outer contour of the screen. Please note that the corners of the screen are rounded.
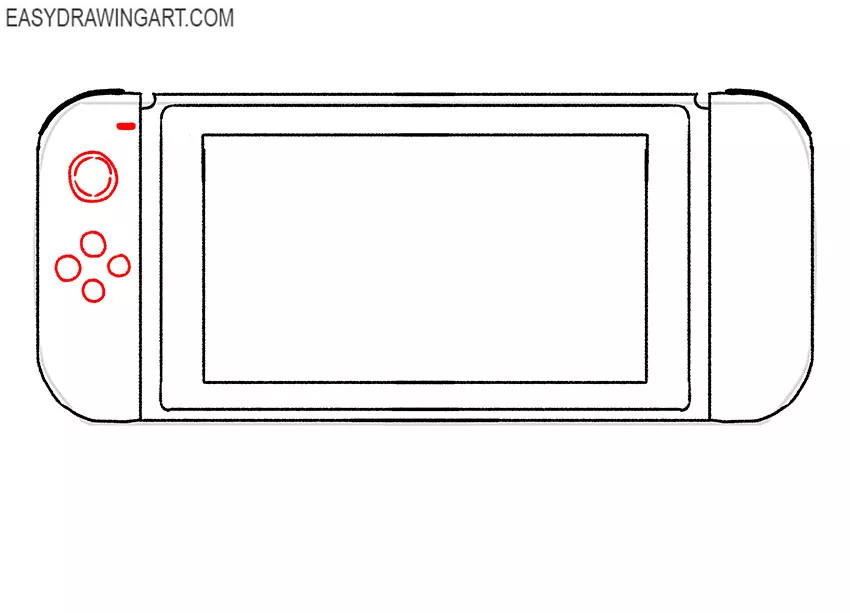
- Depict the inner outline of the screen.
In the middle of the switch, draw another rectangle using a few straight lines. Try to keep the lines straight. If you can’t do it by hand, use a ruler.
- Start drawing out the controls.
On the left control panel, draw one large round button and just below draw four small buttons. Add a small element at the top of the panel.
- Detail the buttons.
Draw triangles on the round buttons. Add another small button that is square. Drawing these details is easy and quick.
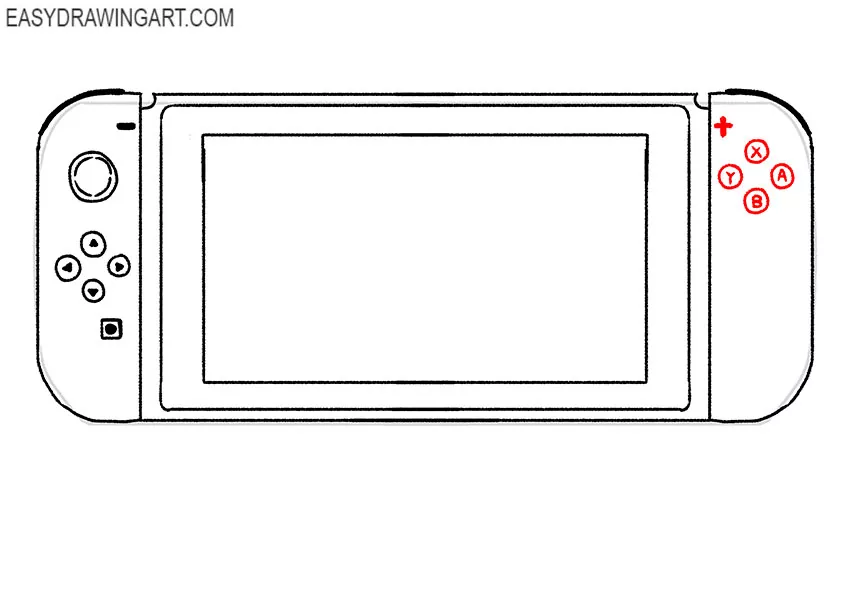
- Sketch out the buttons on the other side.
On the right side of the drawing, draw four round buttons and add symbols in the form of letters. Draw a small element at the top of the right control panel.
- Draw the remaining buttons.
At this stage you need to add the final details. On the right side, draw one large round button and just below add another round button.
- Correct any inaccuracies.
Check if you have drawn all the elements of the Nintendo Switch correctly. If you notice errors, correct them immediately.
- Color the drawing.
To color the front panel you will need black and gray. Also use two bright colors – red and blue. If you want, you can choose other colors that you like.
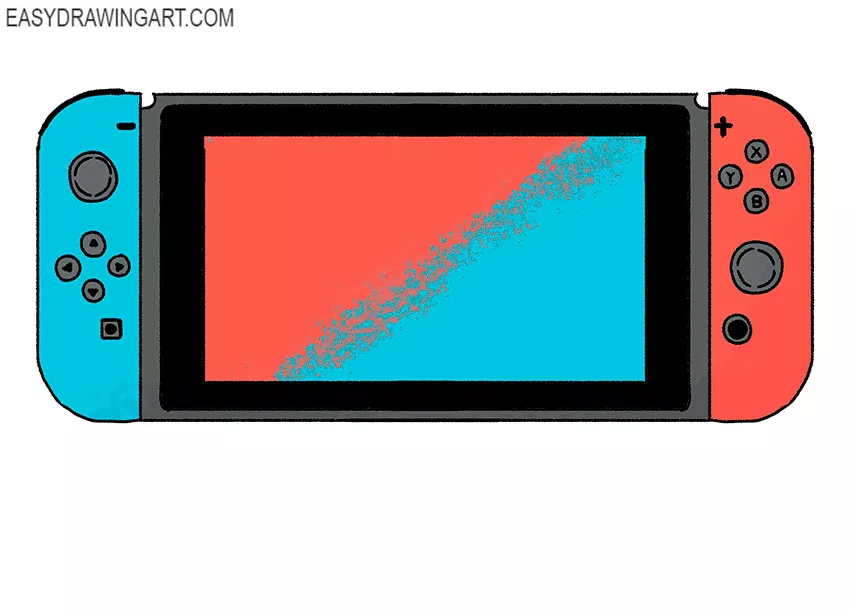


Nintendo Switch is ready! We hope you have a great drawing. Don’t forget to follow us on social media if you haven’t already.