How to Draw a Mummy

Now you can learn how to draw a mummy step by step. This simple drawing lesson consists of fourteen easy steps.
Today you will learn how to draw a mummy. Even if you are a child or an aspiring artist with little drawing experience, this tutorial will not be difficult for you to master.
Archaeologists have found mummies on almost every continent. Mummies are quite an important part of history and attract the attention of many researchers. You can also sometimes see a mummy as a character in a movie or video game. Usually, the Mummy is depicted wrapped in many bandages or dressings.
So, you can start this interesting drawing lesson by preparing your art supplies. Carefully follow the instructions, and then you will get a great drawing.
Time needed: 1 hour
How to Draw a Mummy
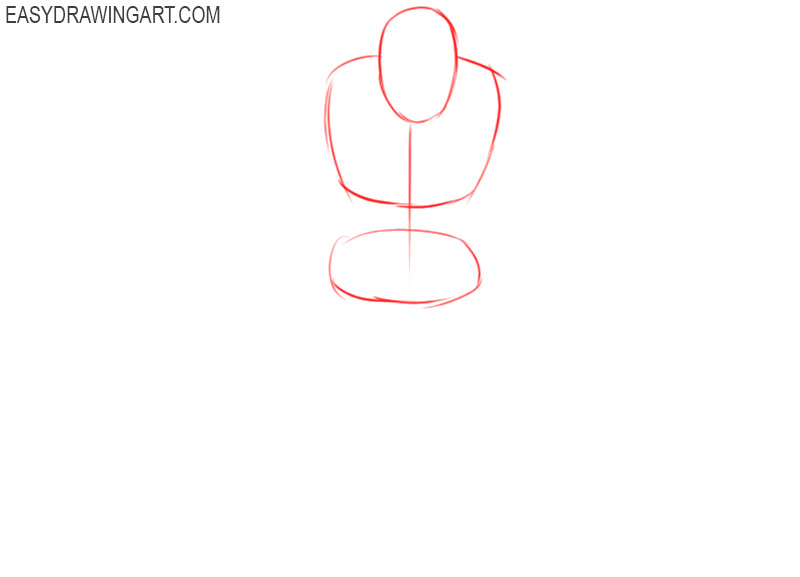
- Draw the outline of the head and guidelines.
Depict the mummy’s head as an oval shape, and add a straight line and two more shapes.

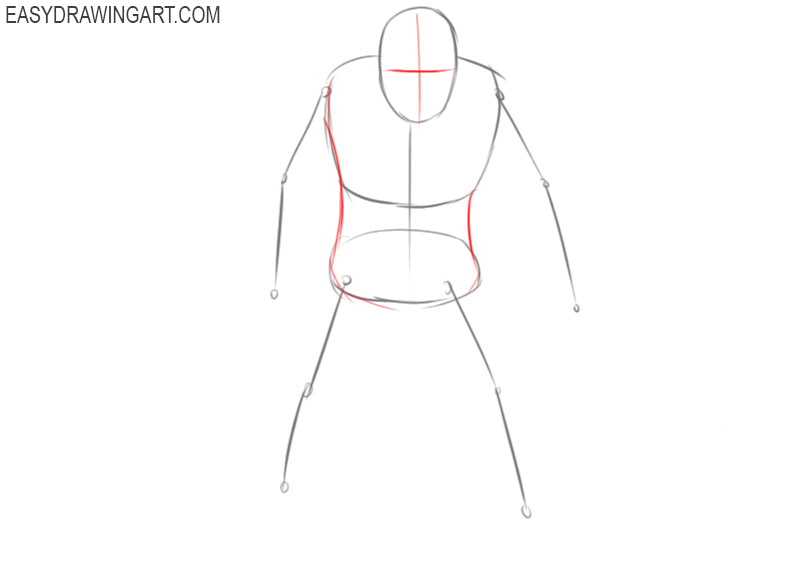
- Mark the location of the limbs.
Next to the previously drawn elements, depict the arms and legs using straight lines and small circles.
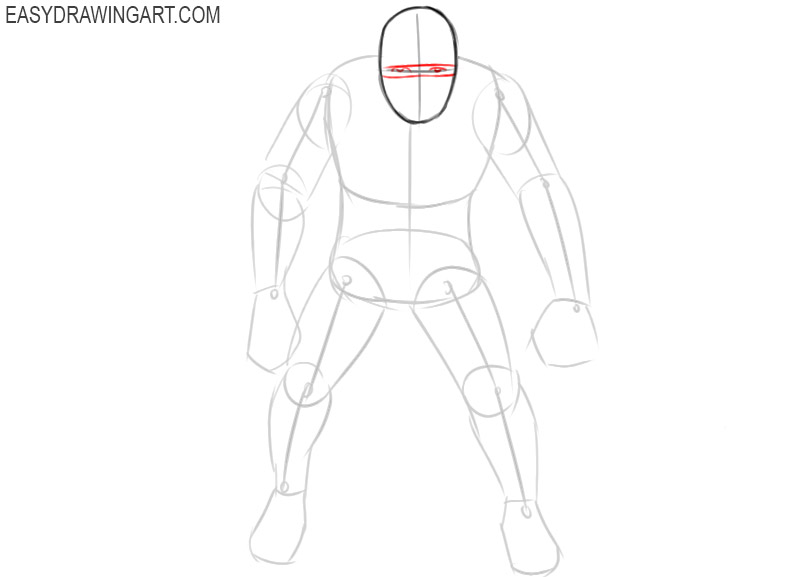
- Add the markings on the face and torso lines.
Depict two straight lines intersecting inside the previously drawn outline of the head, and also add curved lines on the sides of the mummy.
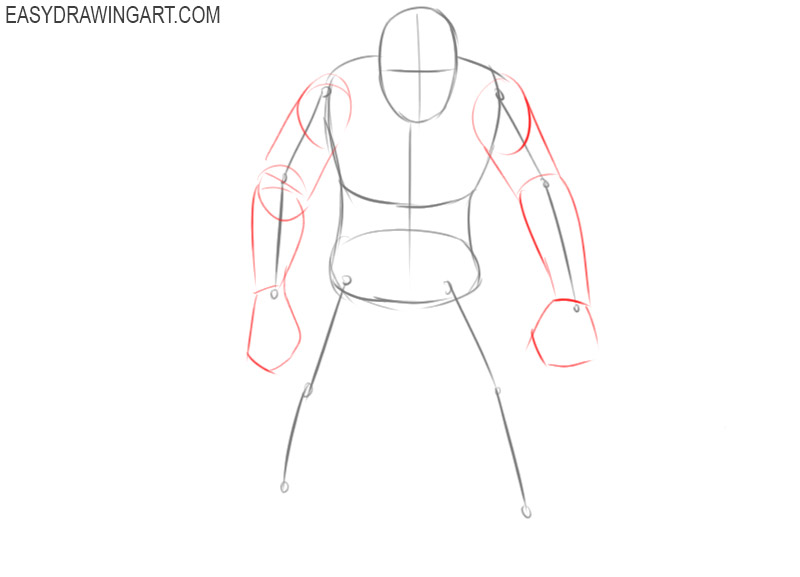
- Depict the outlines of the hands.
Around the previously drawn auxiliary lines, depict the arms, parted sides. Use straight and curved lines.
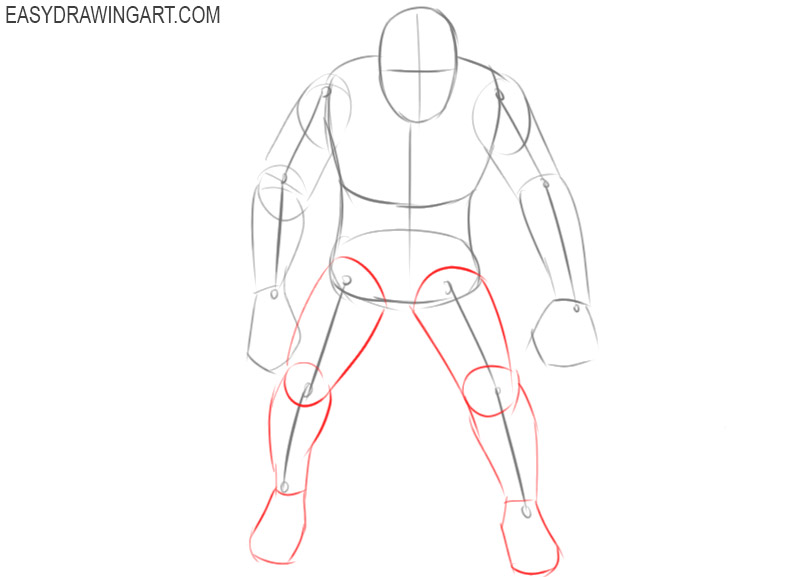
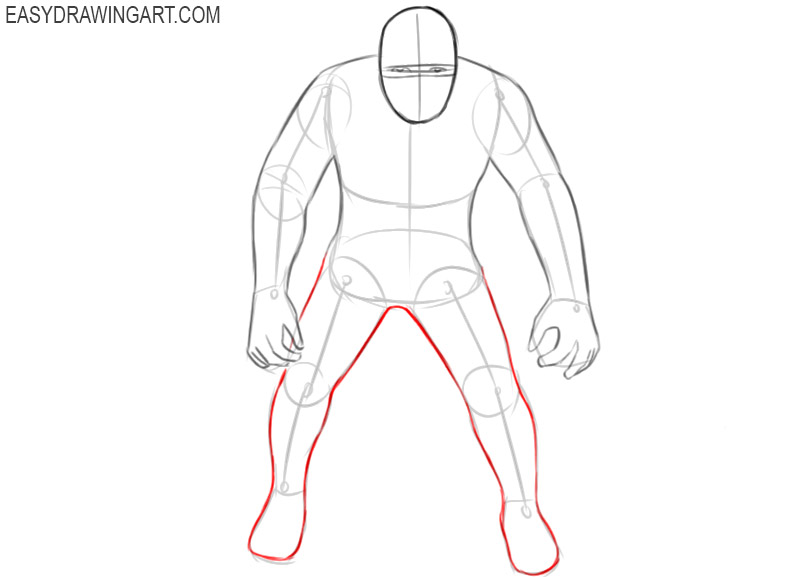
- Sketch out the outlines of the legs.
Now you should add curved lines, as shown in the picture, next to the previously drawn straight lines.
- Start drawing the face.
Depict two eyes inside the outline of the head, as well as lines of bandages at the top and bottom of them.
- Draw the lines of the upper torso.
On top of the previously drawn auxiliary lines, draw curved lines, as shown in the figure.
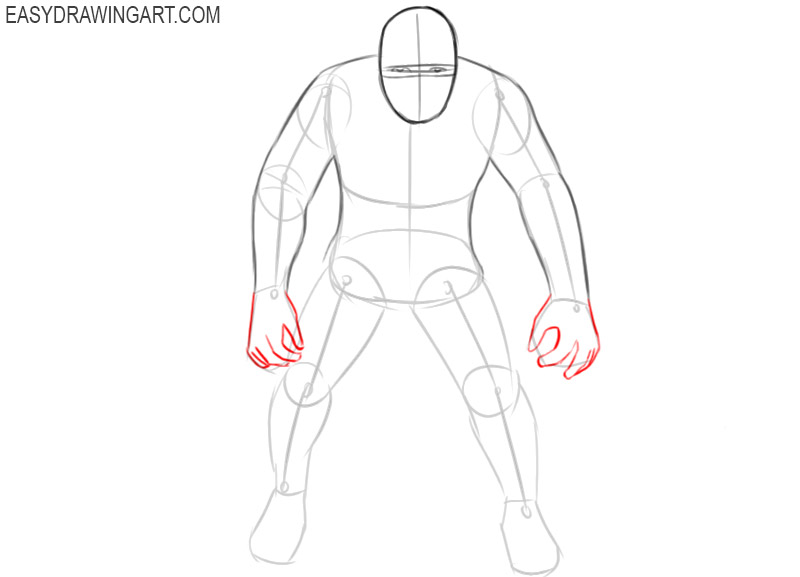
- Depict the hands.
To complete the outline of the mummy’s hands, add the outlines of the fingers using curved lines.
- Add lines at the bottom of the torso.
Now you should add curved smooth lines at the bottom of the torso, as shown in the picture.
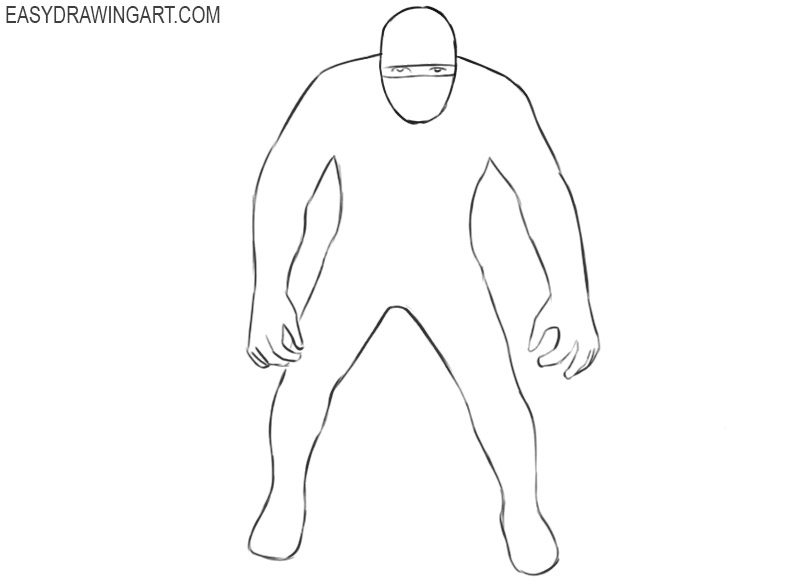
- Correct the inaccuracies.
Now you can remove all unnecessary guidelines from the drawing. If you notice errors, correct them at this stage.
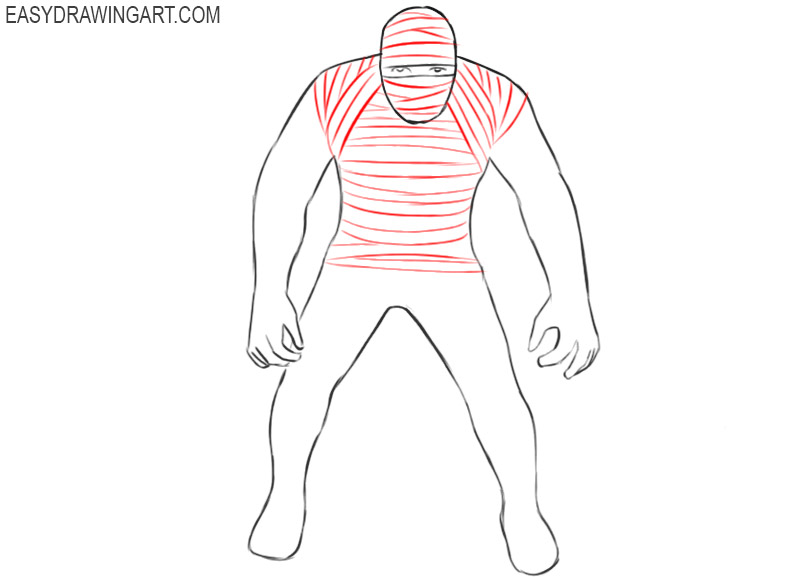
- Start drawing the bandages on the mummy’s body.
Depict many curved lines on the head and upper body of the mummy, as shown in the figure.
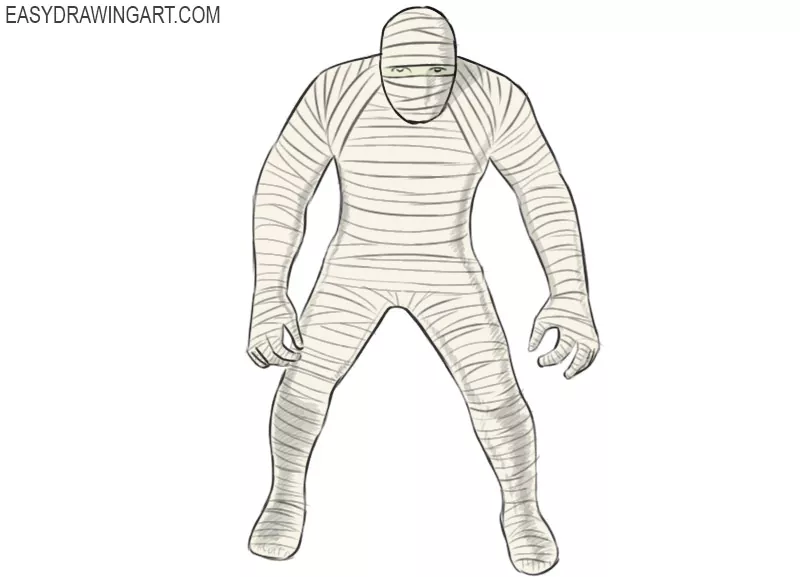
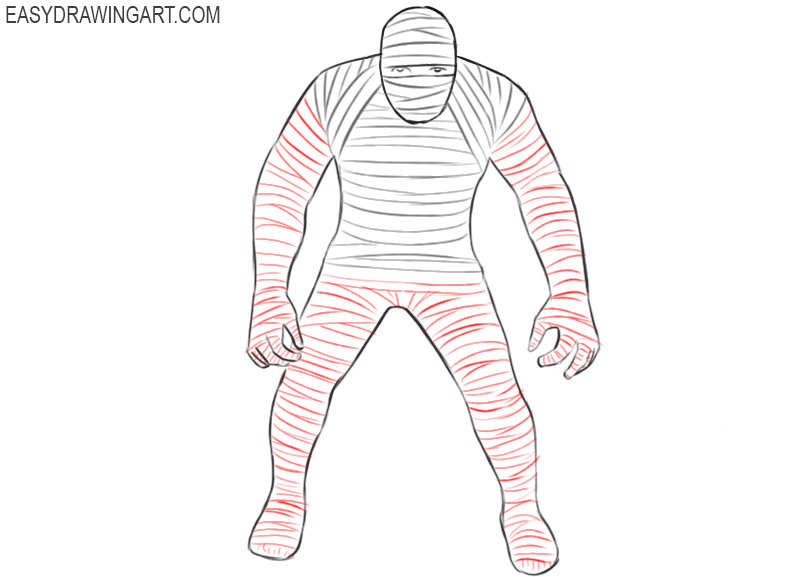
- Finish drawing the mummy’s bandages.
Now you should add many curved and straight lines of different lengths on the arms and legs of the mummy.
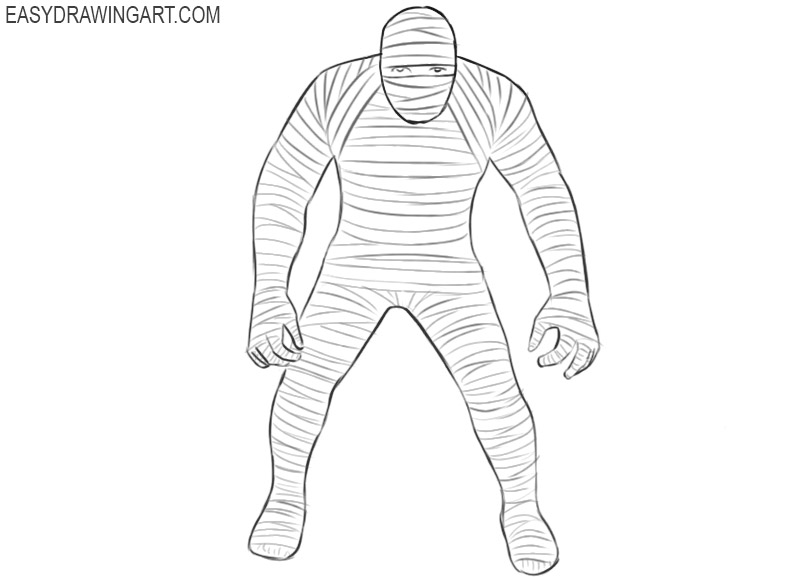
- Remove unnecessary elements.
Check if there are any extra auxiliary lines in your drawing and remove them if necessary.
- Color the drawing.
Use shades of gray and grey-green to color the mummy. Don’t forget to mark the shadow areas.


So this drawing lesson came to an end, with the help of which you could learn how to draw a mummy step by step. We will be happy to read your comments to see if you succeeded in completing this drawing lesson. We will also be happy to take into account your wishes for new drawing lessons. If you liked this tutorial and found it useful, you can share it with your friends.