How to Draw a Mullet
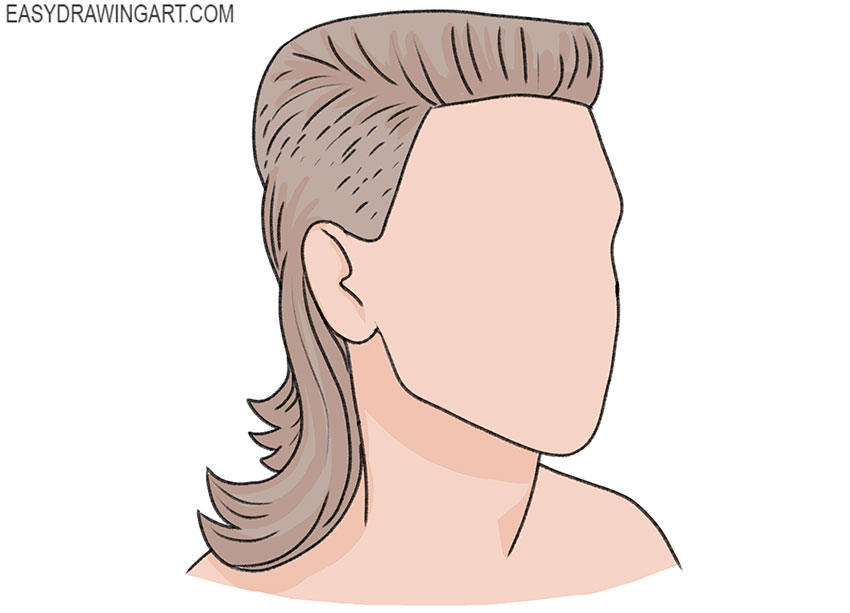
We invite you to follow another interesting and useful tutorial in which we will show you how to draw a mullet.
This is a hairstyle with short hair at the front and sides and longer hair at the back. The mullet leaves the face open and has remained popular over the years because of its distinctive look and versatility.
Follow each step carefully so that you can easily draw this hairstyle again whenever you need it.
Time needed: 45 minutes
How to Draw a Mullet
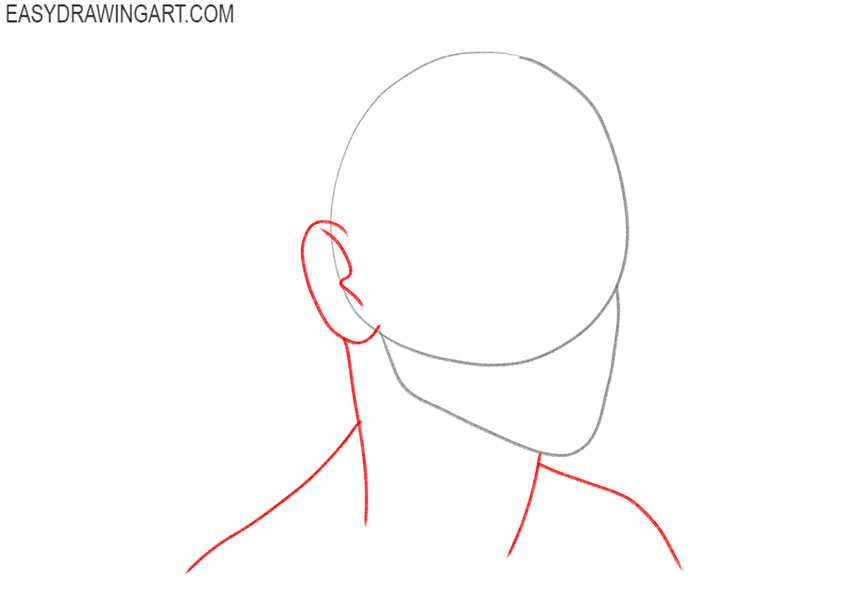
- Prepare baselines.
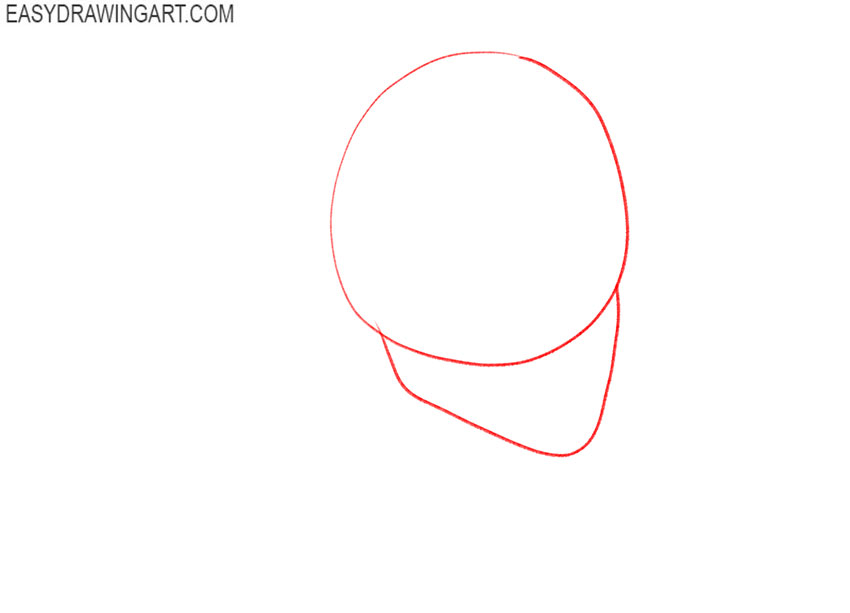
Determine the size of your drawing and mark the outline of the head. First draw a circle and then use a curved line to draw the bottom of the head.

- Add the rest of the body.
On the side of the head draw the ear, with the help of several lines draw the contour of the neck and the contour of the shoulders.
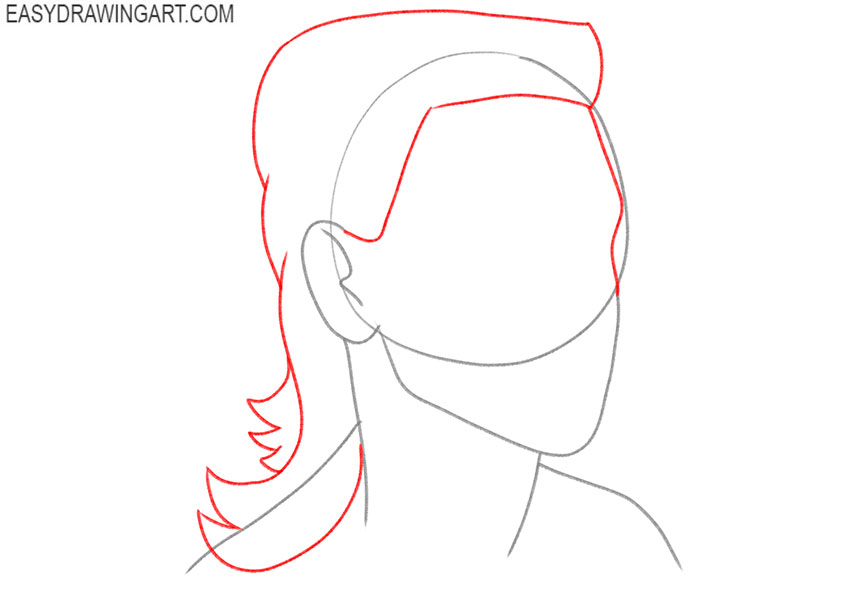
- Depict the outline of the hair.
Be careful at this step and try to correctly depict the shape of the hairstyle. Observe all proportions.
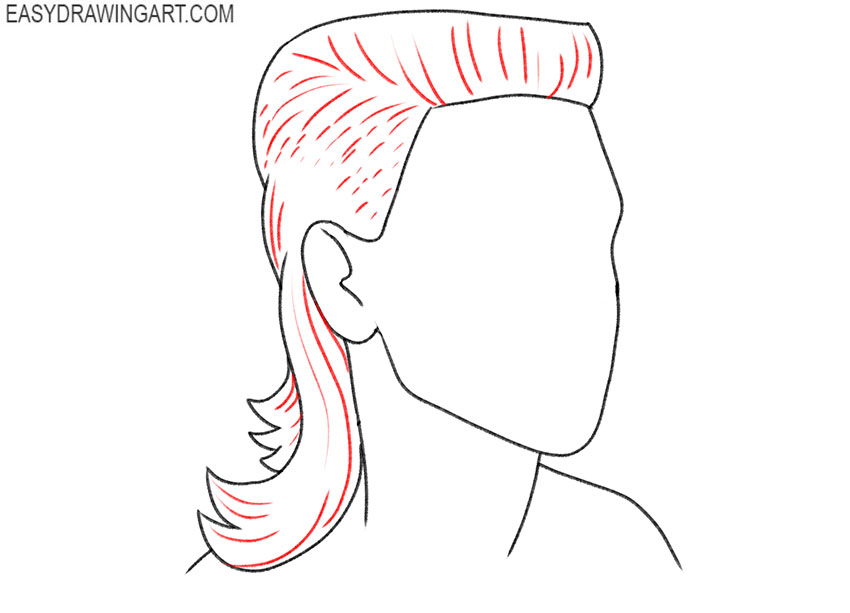
- Detail the hair.
Using short, thin strokes, draw individual strands of the hair. Please note that the strokes have different lengths on different parts of the head.
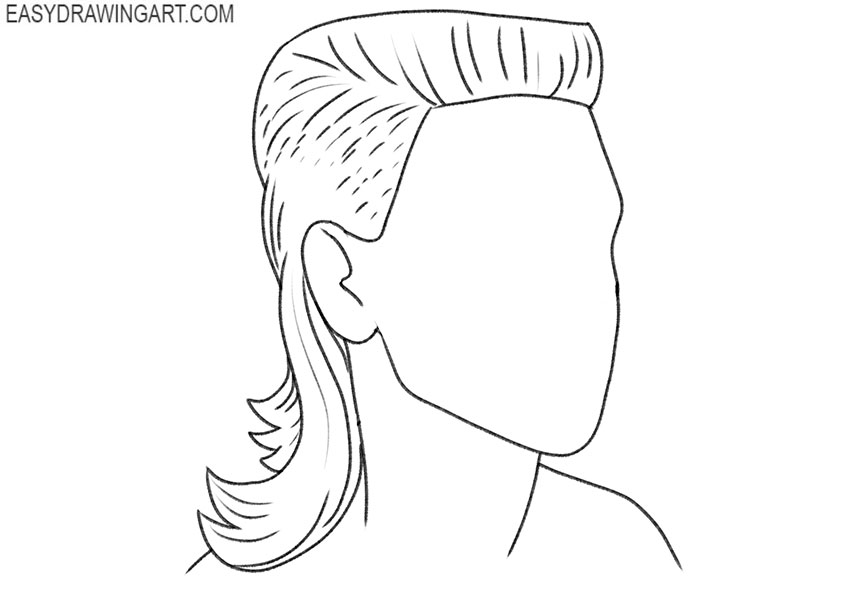
- Correct inaccuracies.
Now look at your drawing and if you notice any mistakes, correct them. Remove the guidelines.
- Color the drawing.
For coloring the skin and hair, choose any natural shades. Highlight the dark areas to improve your drawing.
Now you have learned how to draw a popular hairstyle. Write in the comments if you liked this lesson. Join us on social networks to receive information about new drawing lessons.