How to Draw a Microwave
In this lesson we will show you how to draw a microwave. If you follow this lesson, you will improve your creativity.
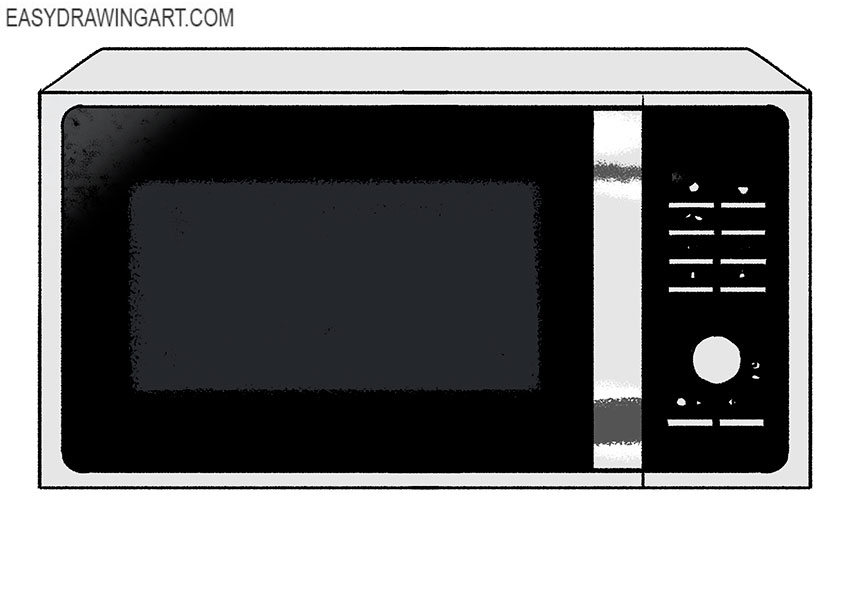
We decided to devote this lesson to drawing a popular household device, and now you will learn how to draw a microwave oven step by step. This household appliance helps you quickly cook or heat food. The microwave is also used to defrost food.
The controls are located on the front of the microwave. Here you can select the desired function, set the power and exposure time. There is also a large door in front that has translucent glass. With the help of our detailed instructions you will easily draw all these elements. The microwave drawing lesson consists of just a few simple steps with useful tips.
Time needed: 1 hour
How to Draw a Microwave
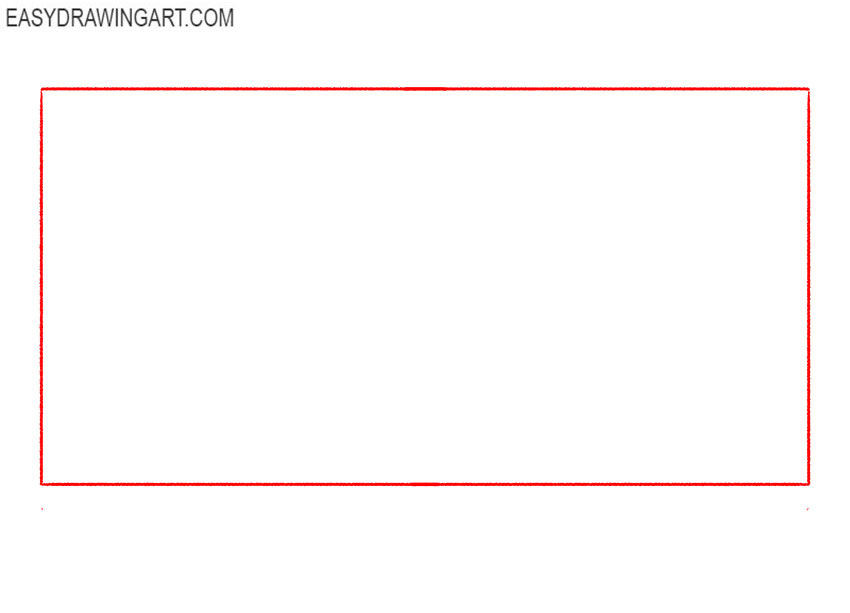
- Prepare the base.
The first step is very simple and does not require much effort. Determine the size of your drawing and use a few thin straight lines to draw a rectangle.

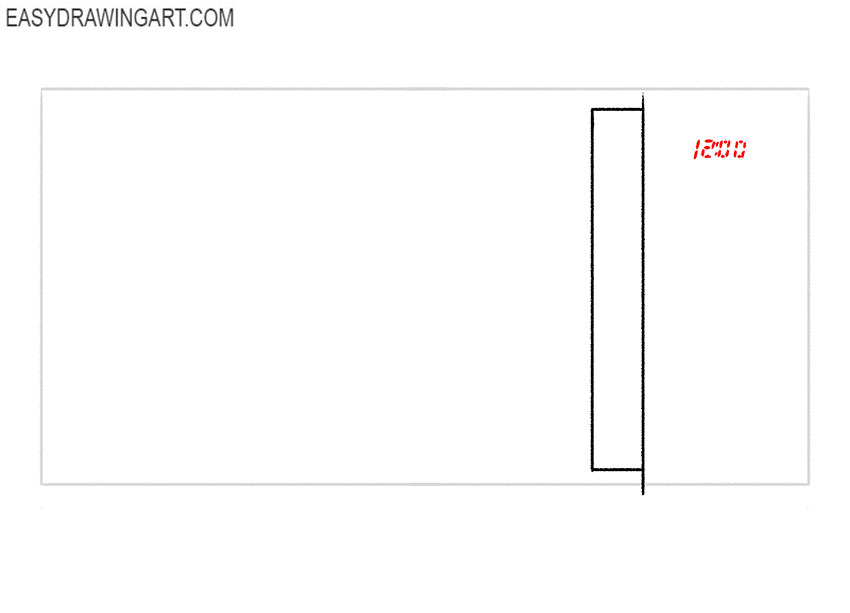
- Draw the handle on the door.
On the right side of the picture, draw an elongated rectangle, the height of which is slightly less than the height of the microwave itself.
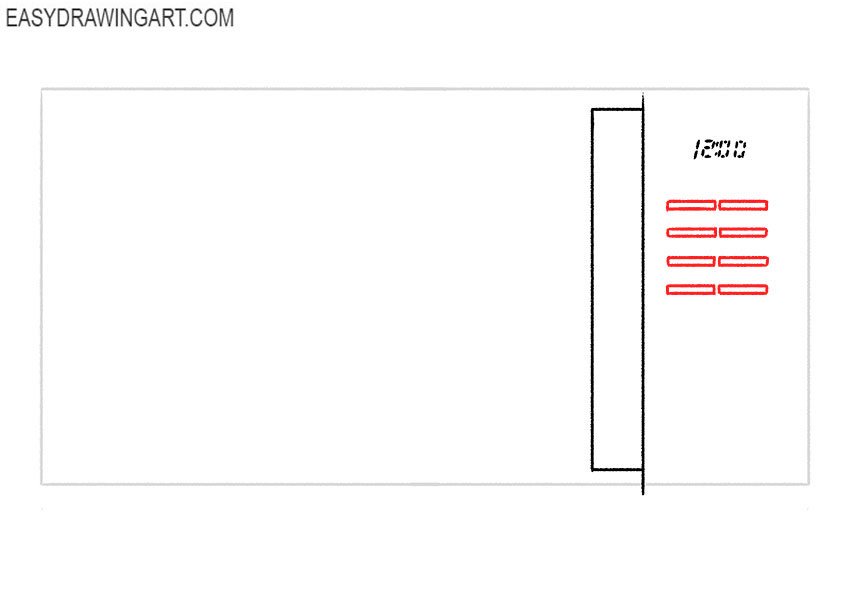
- Depict the time indicator.
At this stage, start adding small details that are easy to draw. In the upper right corner, depict the numbers using short strokes.
- Add the buttons.
On the control panel, draw eight small rectangular buttons that are located next to each other as shown in the example.
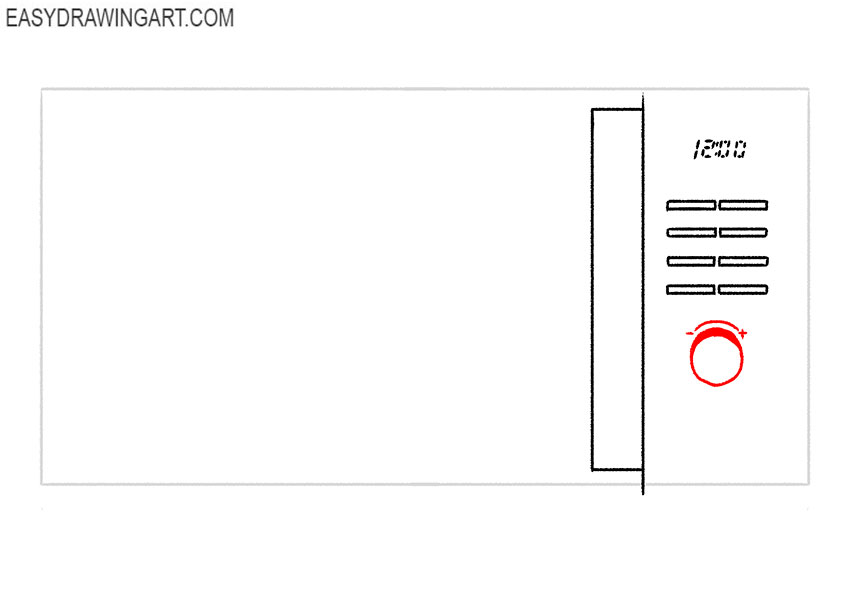
- Sketch out the power regulator.
Continue adding controls and draw the large button. Add a corresponding pointer above the button. Take your time and be careful.
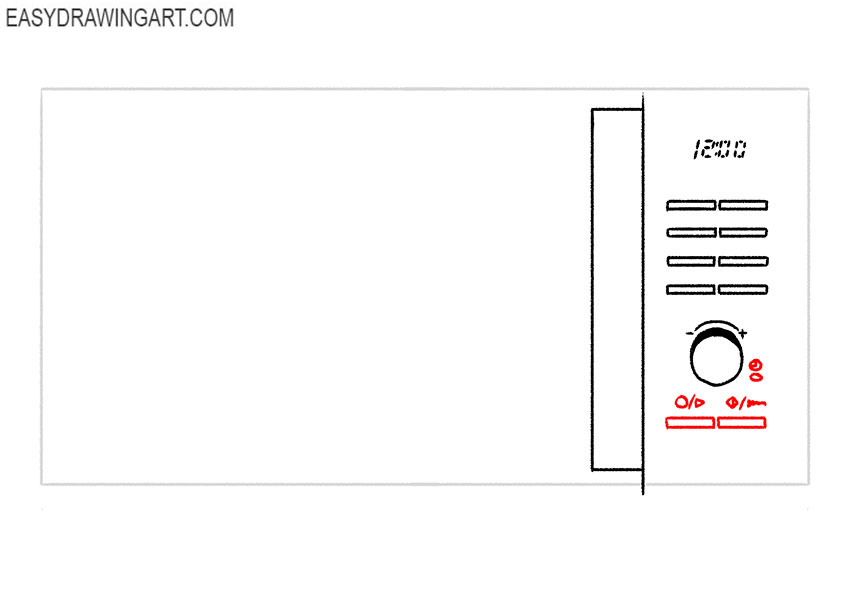
- Draw the remaining controls.
At the bottom of the control panel, add a few more buttons of different shapes and add corresponding pointers to these buttons.
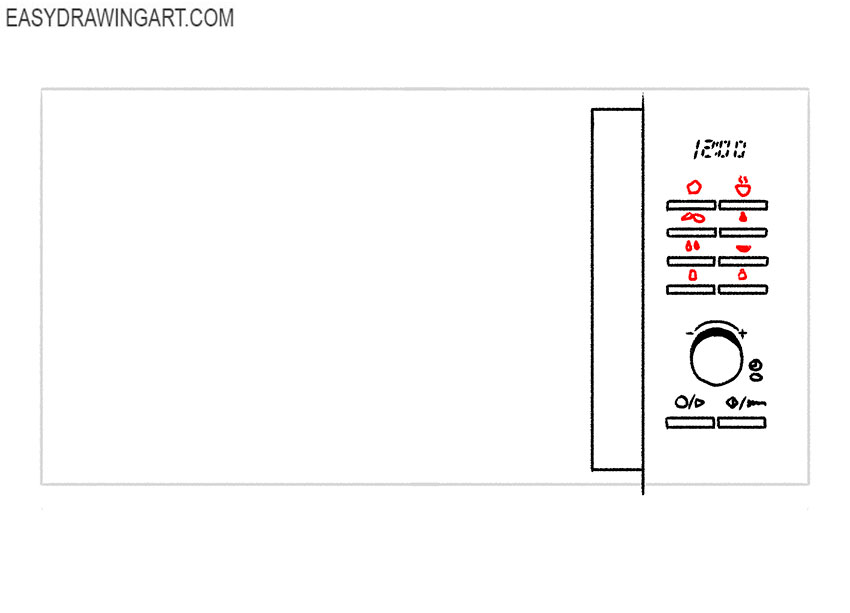
- Depict the button pointers.
Above each button, add a small image that indicates the button’s purpose. These are indicators of which products can be reheated or defrosted in which mode.
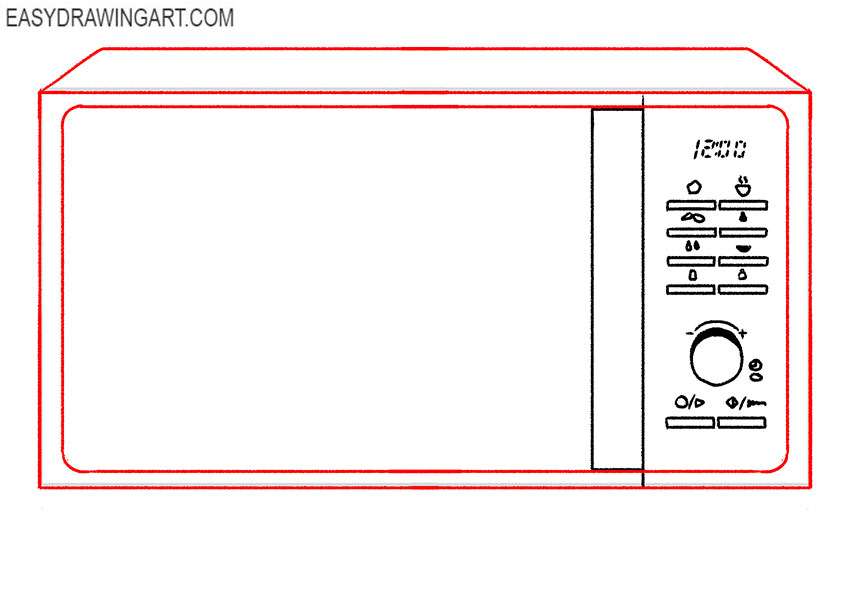
- Make the outer contour clearer.
Trace the outline of the microwave, giving it the desired shape. Draw the top of the microwave and add the inner outline, which is a rectangle with rounded corners.
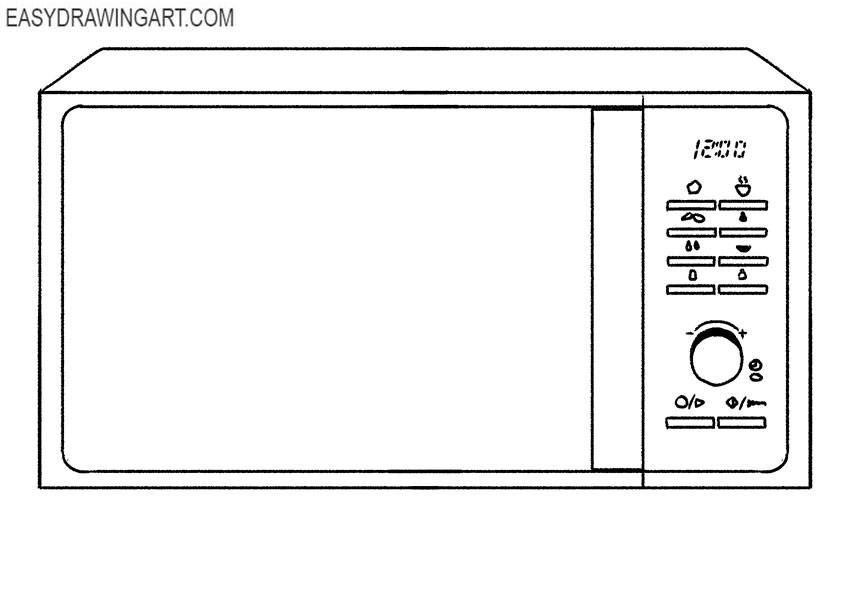
- Correct any inaccuracies.
Compare your drawing with our example and if you notice any errors, correct them at this stage. This step is very important, so be careful before you start coloring.
- Color the drawing.
For coloring, you will need different shades of gray. Color the glass on the door and control panel black. You can use your imagination and choose any other colors.

The next lesson has come to an end, and now you can evaluate the result of your work. If you tried your best at each stage of drawing, then you should get a beautiful drawing. Follow us on social networks and stay tuned for updates on the website.